Sorry we're having trouble getting this optional feature installed [FIX]
![]() 4 min. read
4 min. read
![]() Updated on
Updated on
Share this article

Improve this guide
Read our disclosure page to find out how can you help Windows Report sustain the editorial team Read more

Windows 10 comes with multiple language options making it easier for the non-English users to use the Windows OS. However, if you have installed the Windows OS with a single language pack, you may want to install other languages easily from the settings.
However, at times the user may face Sorry we’re having trouble getting this optional feature installed error while downloading any optional features such as language packs, etc. If you are facing similar error, here is how to fix it.
What to do if you can’t install optional language packs
1. Turn off Metered Connection
Windows 10 allows you to turn on the Metered Connection feature to prevent the OS from downloading automatic updates on a limited network data connection.
If you have the feature turned on and are getting the error, turning it off can fix the issue.
- Click on Start and select Settings.
- Select Network and Internet.
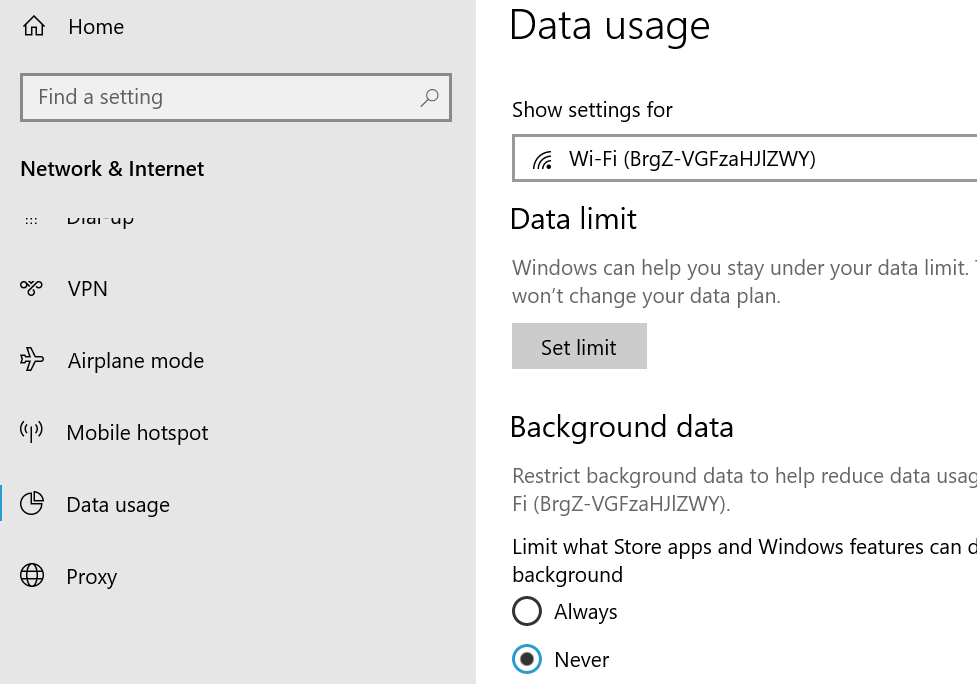
- Go to Data usage.

- Under Background data select “Never” for “Limit what Store apps and Windows features can do in the background.”
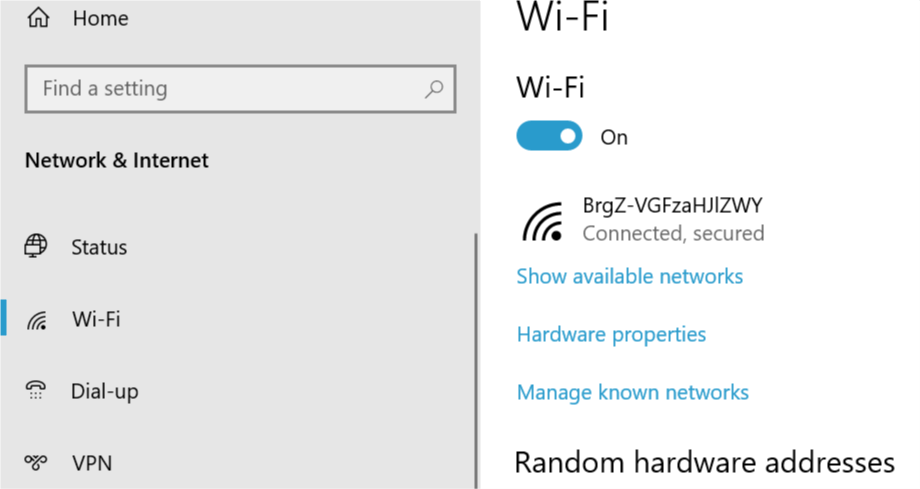
- Go to WiFi tab, click on Manager known networks.

- Click on your WiFi / Hotspot Network and click Properties.

- Scroll down and Turn off “Set as metered connection” option.

Close the settings window and try to download the language pack and check for any improvements.
2. Restart your PC in Clean Boot Mode
By restarting your PC in Clean Boot mode, you can make sure that no third party software installed on your system is creating conflict with the download and update operation.
- Press Windows Key + R to open the Run dialogue box.
- Type msconfig and hit enter.
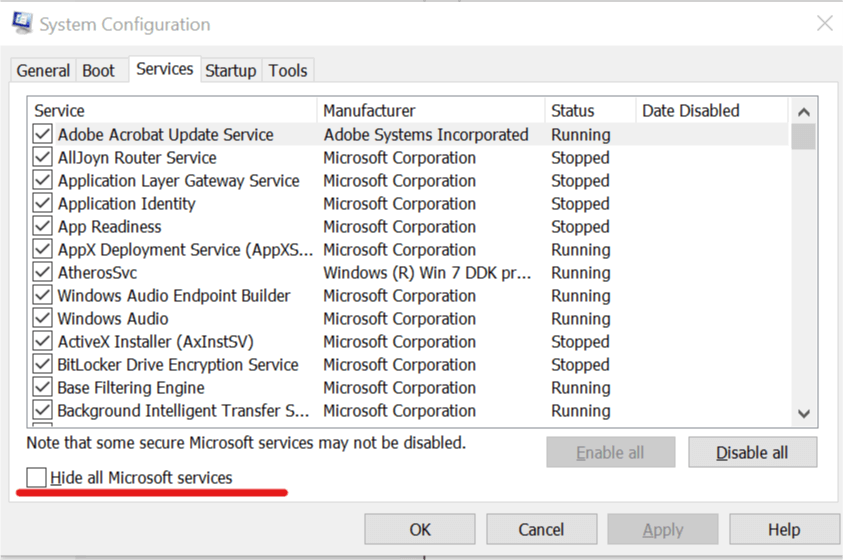
- In the System Configuration window, go to Services tab.

- Tick the “Hide all Microsoft services” box at the bottom. This will hide all the important services related to the OS.
- Select, all the other remaining services and click on Disable All.
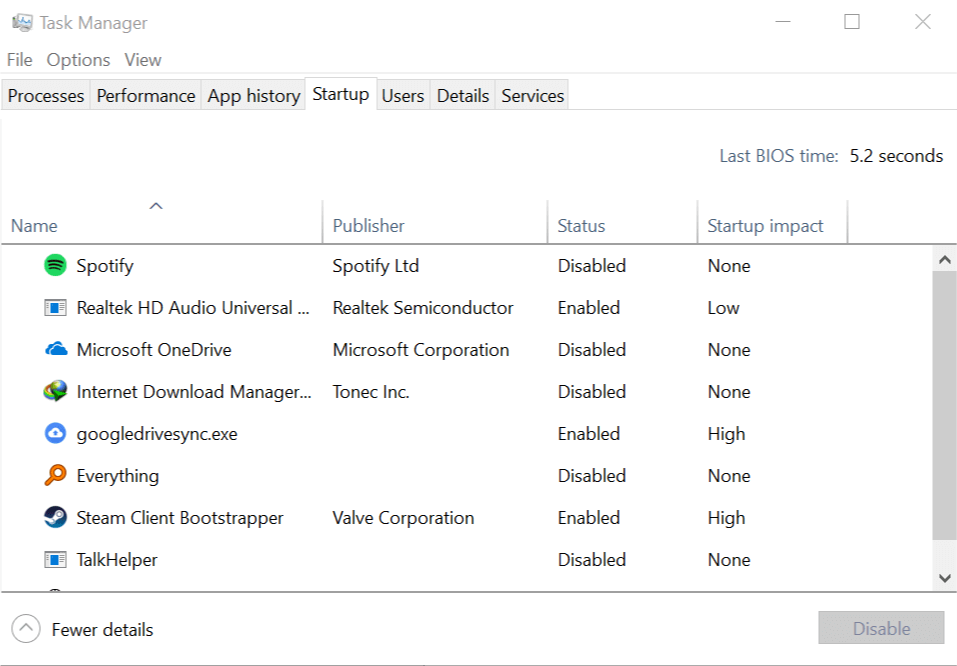
- Go to the Startup tab, click on Open Task Manager.
- From the Startup tab in Task Manager, disable all the startup services.

- Close the Task Manager. Click OK on the System Configuration window to save the changes.
- Restart your computer.
Once the system is booted in the clean boot state, try to install the optional features, in this case, the language pack and see if it can be successfully installed.
If the optional features can be installed in the Clean boot state, then you probably have a third-party software creating conflict with the Windows update and installation.
To fix this problem, you can try to uninstall any recently installed software on your PC.
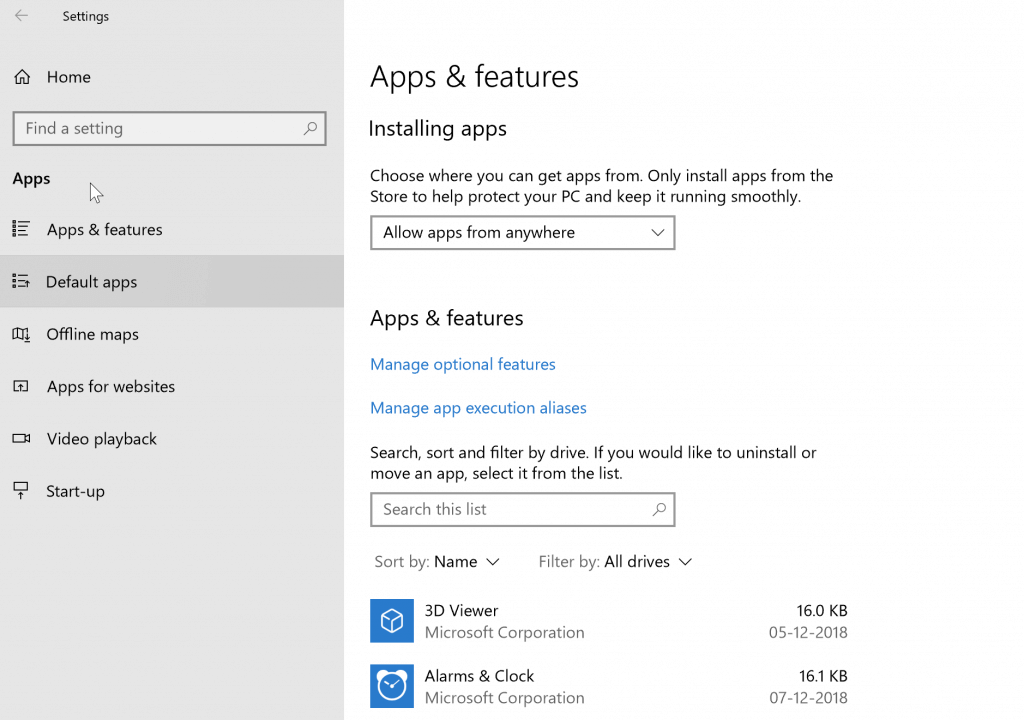
- Go to Setting > Apps > Apps and Features.

- Select any of the recently installed programs and uninstall it.
- Restart the PC to save the changes.
3. Install Language Packs Manually
First, download the language pack you want to install from the internet. Make sure you download the language pack that is supported by your Windows 10 build and edition (32-bit/64-bit). Once downloaded, follow the below steps to install the language pack manually.
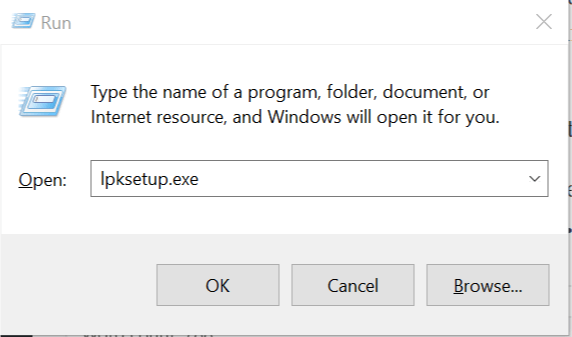
- Press Windows Key + R to open the Run dialog.

- Type, lpksetup.exe and hit enter.
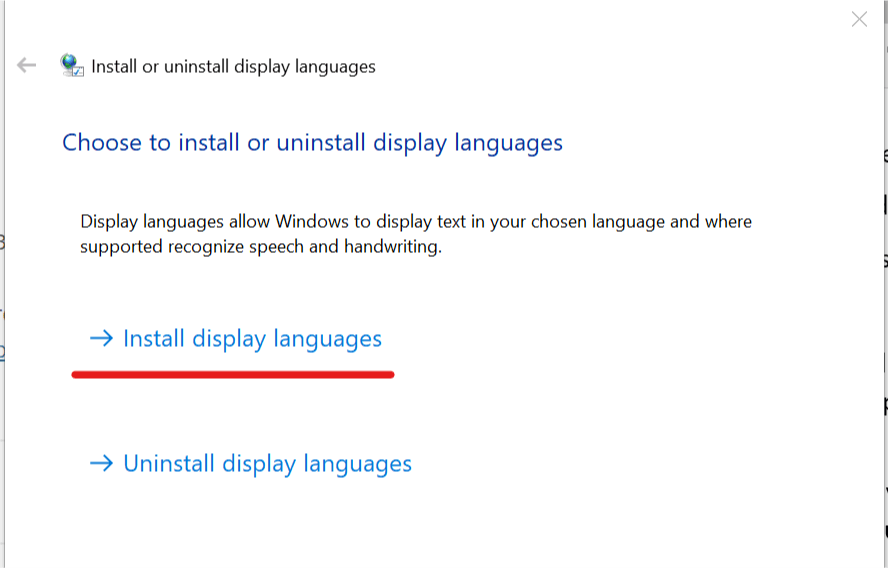
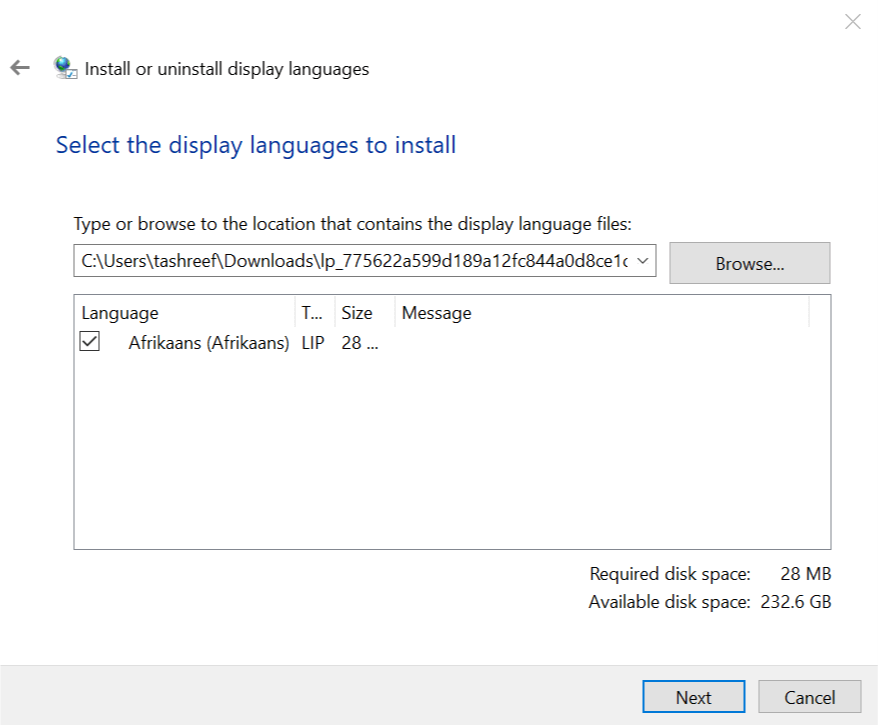
- You will see Install or Uninstall display languages option — select Install display languages.

- Click the Browse button and select the downloaded Language pack (.cab) from your hard drive and click OK.

- Click Next to continue and wait for the installation to complete. The installation does take some time, so have patience until it is installed.
Once the language pack is installed, you need to switch the language for your user account. Here is how to do it.
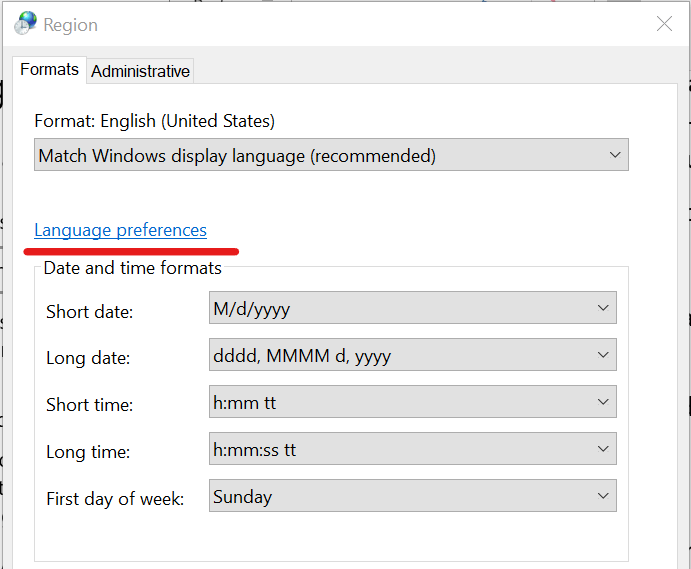
- Open Control Panel (type control panel in the search bar).
- Click on Clock and Region > Region.

- Click on Languages Preferences.
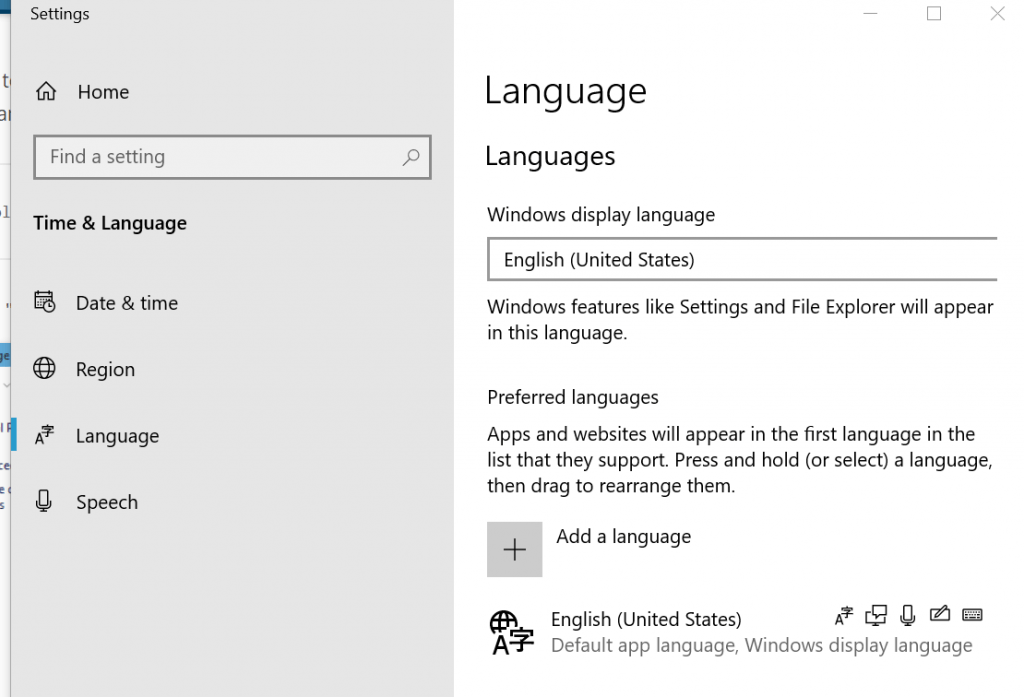
- In the Settings page, click on Add a language.

- Search for the language pack you installed and select it.
- It may ask you to install the selected Language pack again. Make sure the box “Install language pack and set as my Windows display language” is checked.

- Click on Install to proceed.

- If you want, you can change the Display language from the Languages screen again.

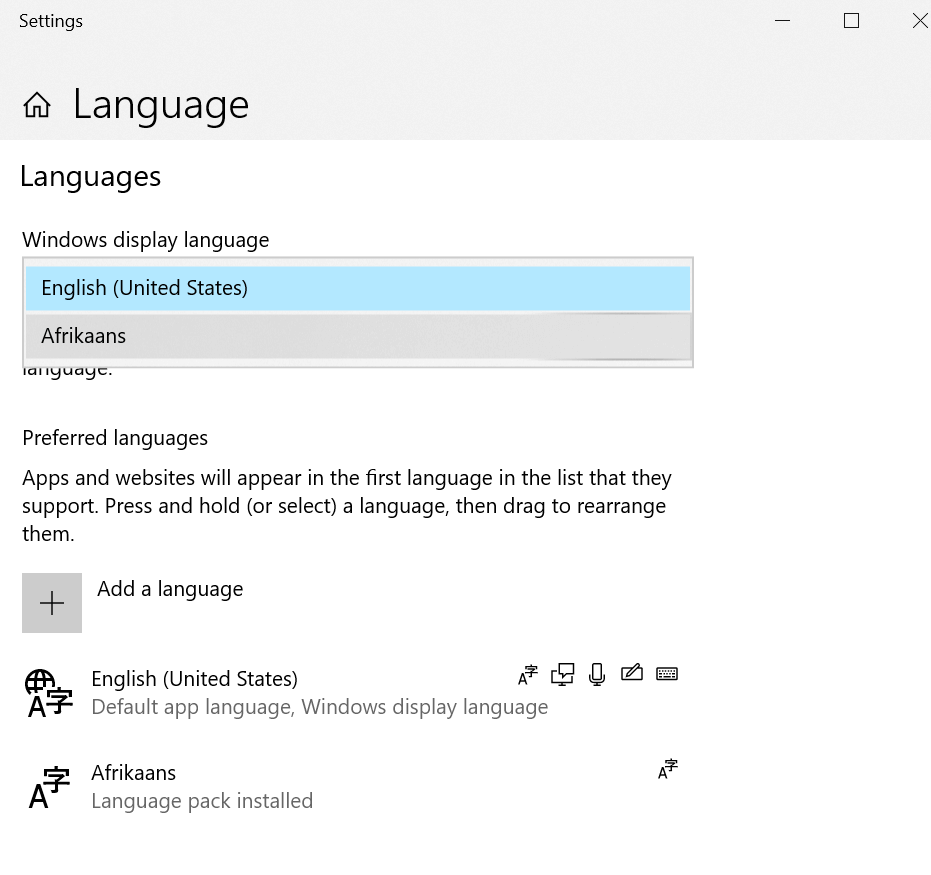
Restart your PC, and you should have installed your preferred language as a display language without any error.
Note that, like the first solution, for you to be able to install language packs manually, make sure the metered connection is turned off. Microsoft does not download any major update packages over the metered connection to save the data.