Sorry Your PC Name Can't be Changed [Fix]
Check your sync settings if you can't change the PC name
Key notes
- Make sure that you have the latest updates installed to avoid this issue on your PC.
- Switching to the local account can sometimes help with this problem.
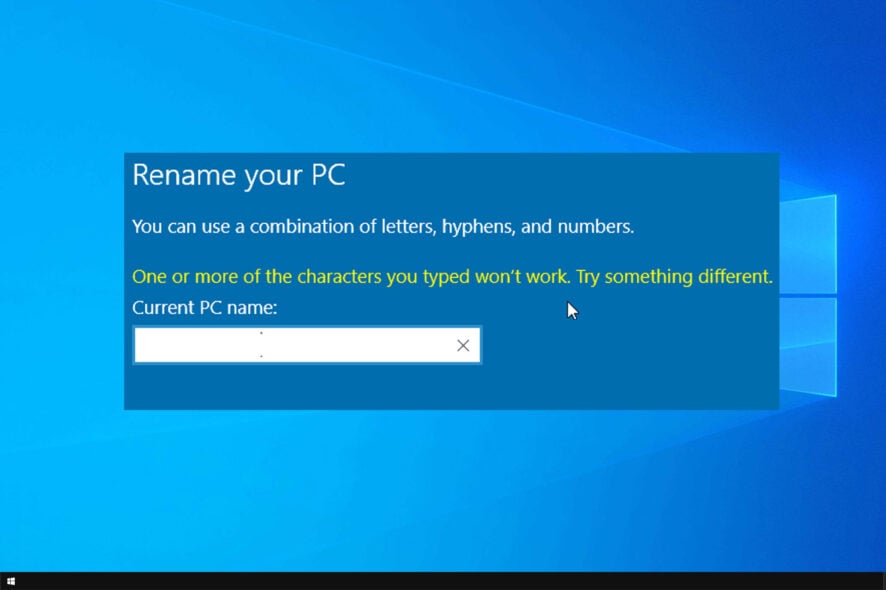
Sometimes it’s necessary to change your PC name, but many users reported Sorry your PC name can’t be changed message. This can be a problem, and today we’re going to show you how to fix this issue.
In case you’re not familiar with this process, we have a great guide on how to rename your Windows PC, so be sure to check it out.
In today’s guide, we will show you what to do if Windows 10 can’t change your computer name, so let’s get started.
Why can’t I rename my PC?
- Your PC might be having some glitches due to missing updates.
- Settings on your PC aren’t syncing properly with the cloud.
- Issues with your Microsoft account.
- You have a damaged user profile on your PC.
How can I fix Sorry your PC name can’t be changed message?
1. Install the missing updates
- Open the Settings app. You can do that by pressing the Windows key + I. When the Settings app opens, go to the Update & Security section.

- Click the Check for updates button in the right pane. Available updates will now be downloaded automatically in the background.

If you keep getting Sorry your PC name can’t be changed message, the issue might be a glitch on your system. Bugs and glitches can sometimes occur, and the best way to deal with them is to keep Windows up to date.
2. Rename the device and remove it from your Microsoft account
- Rename your PC name.
- Now open your web browser and access your Microsoft account.
- In there, you should see a device with your PC name on it. Delete that device.
After doing that, you’ll need to wait 24 hours or more for the changes to take effect. After 24 hours have passed, the issue should be completely resolved.
3. Turn off Sync settings
- Open the Settings app and navigate to the Account section.

- Select Sync your settings from the left pane. In the right pane, turn off Sync settings feature.
- Wait for a couple of minutes and then turn Sync settings feature back on again.
Your PC will now be synced, and the list of devices will show a different name for your PC. Keep in mind that it might take 24 hours or more for the changes to take effect, so be patient.
This is a simple solution, but it can help with Sorry your PC name can’t be changed error.
4. Switch to the local account and then back to the Microsoft account
- Open the Settings app and navigate to the Accounts section.
- Select Sign in with a local account instead in the right pane.

- Now you’ll be asked to enter your current password. Enter it and click Next.

- Now enter the desired username and password and click Next.
- Once you’re done, click on Sign out and finish.
After switching to the local account, sign back in again. Now you need to convert the local account to the Microsoft account. To do that, follow these steps:
- Open the Settings app and navigate to the Accounts section.
- Click the Sign in with a Microsoft account option in the right pane instead.
- Now enter your email and password. You’ll need to enter your security code if you’re using two-step verification.
After doing that, you should have your Microsoft account working again, and the PC name should be updated in 24-48 hours.
After the specified period has passed, check if Sorry your PC name can’t be changed error is gone.
5. Try using the Safe Mode
- Open the Settings app and go to the Update & Security section.
- Select Recovery in the left pane. Click the Restart now button.

- Now go to Troubleshoot > Advanced options > Startup Settings and click the Restart button.
- After your PC restarts, you should see a list of options. Select the desired version of Safe Mode by pressing the corresponding key.
6. Try using the hidden administrator account
- Open Command Prompt as administrator. The quickest way to do that is to press Windows key + X and then choose Command Prompt (Admin) or PowerShell (Admin) from the list.

- When Command Prompt opens, run the following command:
net user administrator /active:yes - Now log out of your current account and switch back to the administrative account.
- Once you access the administrator account, try to change your PC name.
If this method works for you, be sure to disable the administrator account after you’re done. To do that, start Command Prompt as administrator and run the following command: net user administrator /active:no
7. Try renaming your PC in Command Prompt
- Start Command Prompt as an administrator.
- When Command Prompt opens, run the following command:
wmic computersystem where name="%computername%" call rename name="New-PC-Name" - Be sure to replace New-PC-Name with the actual name that you want to use for your PC.
After doing that, check if the name is changed. This method is perfect if you’re an advanced user or if you simply want to change your PC name quickly without too much hassle.
8. Rename your PC using PowerShell
- Press Windows key + S and enter powershell. Locate Windows PowerShell from the list of results, right-click it and choose Run as administrator.

- When PowerShell starts, run the following:
Rename-Computer -NewName "New-PC-Name" - Be sure to replace New-PC-Name with the desired name.
9. Perform a System Restore
- Type system restore in the search field. Now select Create a restore point from the list.

- Once the System Properties window appears, click the System Restore button.

- System Restore window will now open. Click Next to proceed.

- If available, check Show more restore points option. Select the desired restore point and click Next.

- Follow the instructions on the screen to complete the restoration process.
After your PC is restored, check if the problem is still there.
Sorry, your PC name can’t be changed message can be quite annoying. We hope you solved this issue after using one of our solutions.
In case the issue is still there, we have a great guide about Compname is not accessible that might give you more ways to fix this issue.
What method did you use to fix this problem? Let us know in the comments below.
Read our disclosure page to find out how can you help Windows Report sustain the editorial team. Read more


Improve this guide


User forum
1 messages