Strict NAT Type: Fix it & Increase your Internet Performance
Note that this NAT type restricts incoming internet traffic to a PC
Key notes
- NAT (Network Address Translation) type indicates local network accessibility; there are three NAT types; Open, Moderate, and Strict.
- In this guide, we will discuss what the Strict NAT type means and how to easily change it to Open.

Imagine you’re in the middle of an intense gaming session, and suddenly you are unable to join your friends on another server due to a Strict NAT type. Frustrating, right? Don’t worry; we’ve got you covered with a solution.
Say goodbye to connectivity issues and hello to seamless online gaming! This guide will explain the Strict NAT type and how to change it to Open, allowing you to connect with other devices and enjoy an enhanced gaming experience.
What does the Strict NAT type mean?
Strict NAT is a firewall configuration that stops all data from traveling through a local network. It makes initiating connections with the computer difficult.
Also, it might restrict the computer’s ability to connect to other devices on the internet, which can cause difficulties with online gaming, video conferencing, and file sharing, among other activities.
This is the safest type of NAT type as it could prevent attacks, thereby keeping your computer secure. However, if you are a gamer, you might not like this configuration as it stops you from joining other servers and sharing files, and you might also experience lags when playing games.
For a better gaming experience, you need to change it to Open NAT type. You can follow this detailed guide on how to change NAT type on Windows 11 to improve connectivity and fix multiplayer issues.
How can I change the NAT type from Strict to Open?
Before moving to the advanced troubleshooting steps, you should consider performing the following:
- Make sure that your router’s firmware is upgraded to the latest version.
- Unplug your router for about 10 minutes and plug it back in.
- Disable any firewall or other network filtering for the game.
1. Enable UPnP (Universal Plug and Play) on your router
UPnP allows devices on your network to discover and communicate with each other, improving connectivity automatically.
- Login to your router. Here we are taking TP-Link Router for demonstration purposes.
- Go to Forwarding and select UPnP. You need to look for UPnP in your router settings.

- Click Enable, then Refresh to check the status.
2. Port Forwarding
- Login to your router.
- Go to Forwarding, then click Virtual Server.
- Click Add New.

- Enter Service Port, IP Address, and Internal Port. Now under Protocol, select All, and under Status, select Enabled.

- Click Save.
3. Enable Network discovery
- Press the Windows key, type Control Panel, and click Open.

- Select Category for View by, and click Network & Internet.

- Now click Network and Sharing Centre.

- From the left pane, click Change advanced sharing settings.

- Under Private networks, toggle on the switch for Network discovery.
- Also, place a checkmark next to Set up network connected devices automatically.

4. Change IPv4 properties and enable DMZ
4.1 Change the IPv4 properties
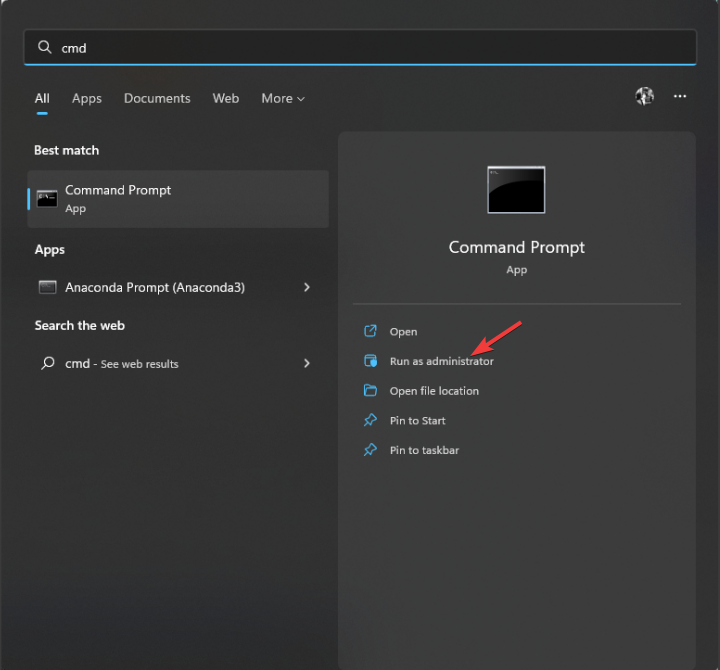
- Press the Windows key, type CMD, and click Run as administrator.
- Type the following command to get the IPv4 address and press Enter:
ipconfig
- Press Windows + R to open the Run window.
- Type ncpa.cpl and hit Enter to open Network Connections.

- Right-click on the connection, and select Properties.

- From The connection uses the following items, locate and double-click Internet Protocol Version 4 (TCP/IPv4) to open Properties.

- Click the radio button next to Use the following address and enter the IPv4 address, Subnet mask, and Default gateway.

- Now, click OK.
4.2 Enable DMZ
- Login to your router.
- Go to Forwarding, and select DMZ.
- Now, choose Enable for DMZ.

- For DMZ Host IP Address, enter the IPv4 address you got from Command Prompt.
- Click Save.
5. Make changes to the Configuration file
- Go to your router page and log in. Here, we use TP-LINK.
- Click System Tools, then click Backup and Restore.

- Click on Backup to download the configuration file.
- Double-click the file to open it and locate last bind.
- Under the last bind, type the following after replacing 5555-5555 with your port number:
bind application=CONE(UDP) port=5555-5555 - You can add open several ports if you like. Once done, click Save.
- Now go to the router page, navigate to System Tools, and then click Backup and Restore.
- Click Choose File, and upload the modified Configuration file.

- Now click Restore and restart your router.
So, this is how you can change the NAT type from Strict to Open. If you’re still experiencing issues, consider switching from public to private network type, which will allow you to share files across devices,
Also, if you happen to be an Xbox One user and the Double NAT detected error is bothering you, the solutions from our guide can help.
Please let us know in the comments section below if you have any questions or concerns about NAT type. We will be happy to help!
Read our disclosure page to find out how can you help Windows Report sustain the editorial team. Read more


Improve this guide


User forum
0 messages