4 Easy Ways to Disable the Touchpad on Windows 10 Laptops
If the touchpad is no longer of use to you, turn it off
Key notes
- Using a mouse and having your touchpad active can get pretty difficult when you are trying to work on the laptop and suddenly the mouse cursor jumps all over the screen.
- If you want to disable the laptop touchpad, you have an option baked into Windows, but failing that, there are other solutions you can try.
- Some laptops have a built-in shortcut that can be used to turn off the touchpad.

Many Windows 10 users, while working on their laptops, are accidentally touching the laptop’s touchpad, thus making the mouse cursor move.
By following the tutorial below you can learn how to turn off the touchpad and also from where you can activate it again if you ever want to switch from the classical mouse to the touchpad again in Windows.
We also have an article on how to disable the touchpad when the mouse is plugged in that you can check out.
How do I turn off the touchpad in Windows 10?
1. Use the functions keys
- Usually and in most cases, on the laptop’s keyboard, you should have an Fn button and a Touchpad button situated on the upper side of the keyboard.
- Press and hold on to the Fn button and the Touchpad button in order to toggle it on and off.
Note that this feature is not available on all Windows laptops.
2. Use a third-party app
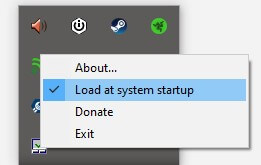
- Download TouchFreeze.
- Follow the installation wizard to install it on your system.
- After the installation is complete an icon will appear in your system tray. This program will disable your touchpad but only when it detects typing on the keyboard..
3. Disable the touchpad via Device Manager
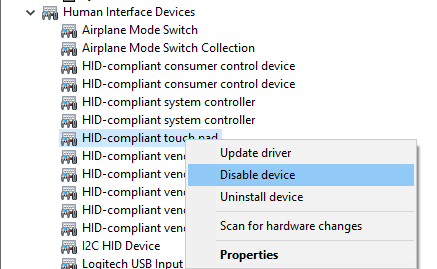
- Right-click on the Start Button and select Device Manager.
- Expand the Human Interface Devices list.
- Find the touchpad driver (note the name might be different on your device).
- Right-click on the device and select Disable device.
4. Turn off the touchpad from Windows Settings
1. Press the Windows + I keyboard shortcut.
2. The Windows Settings menu will open on the screen.
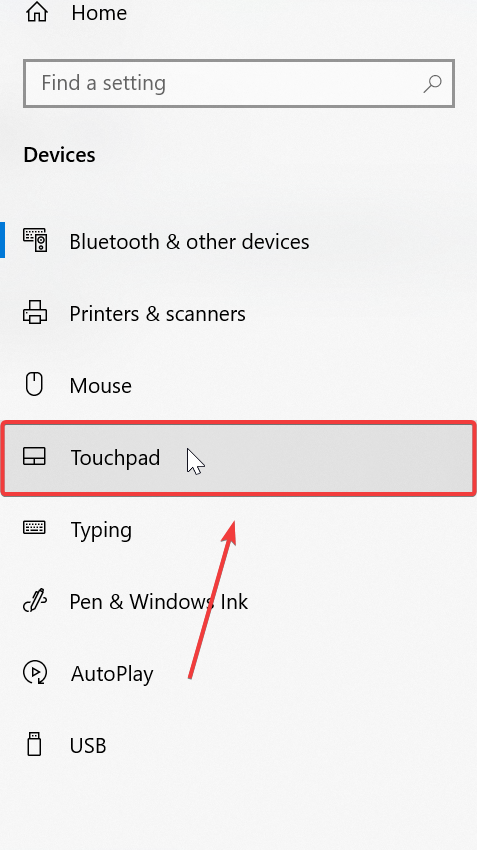
3. Navigate to the Devices tab.
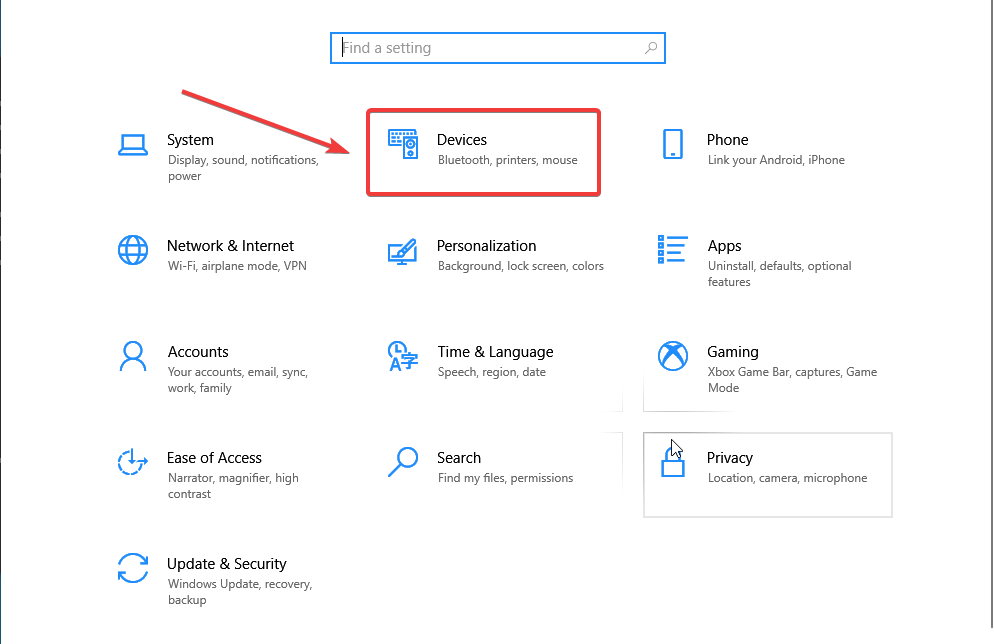
4. Go to Touchpad.
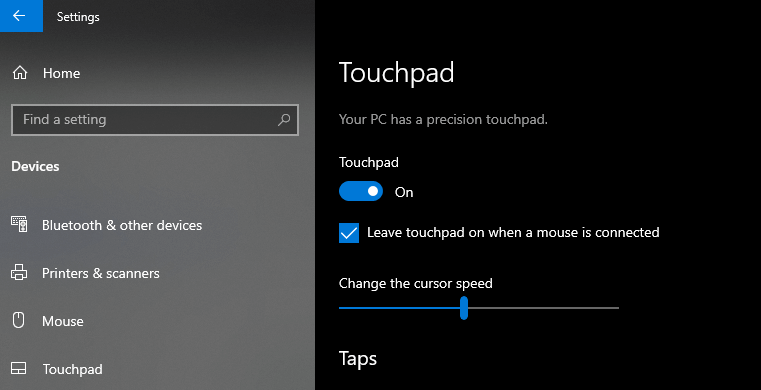
5. Here there is a switch that turns the touchpad on and off. Toggle the feature off. Alternatively, you can also untick the box below to automatically turn it off when a mouse is connected.
Another easy method you can use to disable the touchpad involves modifying your Settings via Windows Settings.
There is a built-in menu on your Windows 10 device that allows you to configure your touchpad’s settings however you like.
Laptop touchpad fixes and tips on Windows 10
If you are an advanced user, you can try to access your touchpad’s advanced options and personalize its functionalities to your needs.
You can also encounter some issues with your touchpad random freeze or touchpad simply not working. This is not a problem as there are lots of fixes on the internet and we have some as well. Just check our fix guide for the touchpad freezes problem or for touchpad not working issues.
You have above four quick methods to turn off the laptop’s touchpad in a Windows operating system environment. For any questions on these methods don’t hesitate to write us below in the comment section of the page.
Read our disclosure page to find out how can you help Windows Report sustain the editorial team. Read more


Improve this guide


User forum
0 messages