Ubisoft Connect Chat not Working: How to Fix it
Disabling your antivirus temporarily should do the trick here
Key notes
- If the Ubisoft Connect chat is not working, it might be because of your proxy settings.
- You can fix this issue for good by flushing your DNS cache.
While it is fun to play games with friends, things become problematic when you are unable to communicate with them. This is what is happening to Ubisoft users as they complain that the Connect chat is not working.
Usually, the chat returns the following message: We are unable to deliver that message. Try again. Furthermore, others said that all their conversations and discussion groups have disappeared on the Uplay Overlay.
This is a pretty annoying issue and is most likely related to the connection. Fortunately, there are some solutions to fix it.
How can I fix Ubisoft Connect chat if its not working?
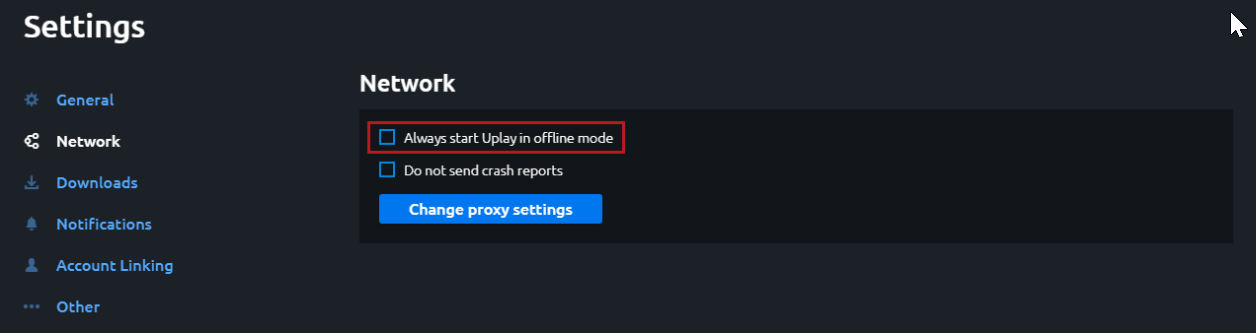
1. Make sure Uplay doesn’t start in Offline Mode
- Open Uplay.
- In the top-left corner, click on the menu icon.
- Click on Settings.
- Now select the Network tab.
- Under the Network tab, make sure that Always Start Uplay in Offline Mode is unchecked.
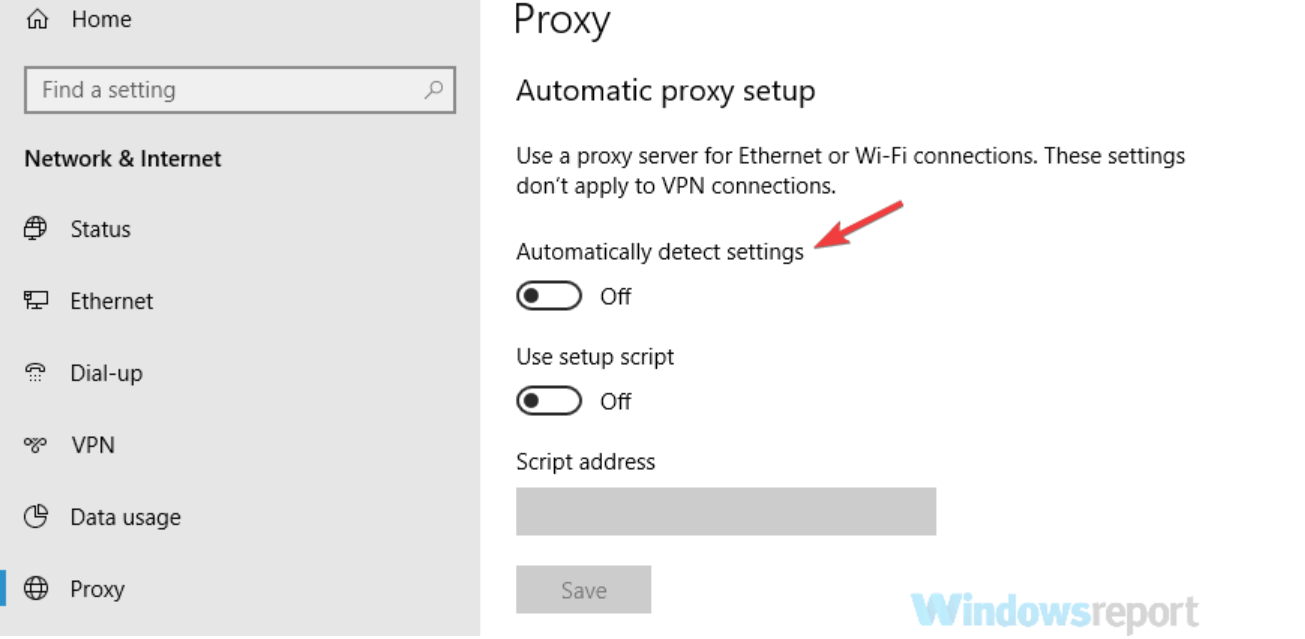
2. Change proxy settings
- In your Windows search box, type proxy and click on the first result.
- In the Proxy settings window that appears, check if you have a manual proxy set up.
- If so, under Manual proxy setup, uncheck Use a proxy server.
- On the top of the window, under Automatic proxy setup, check Automatically detect settings.
Proxy server issues are pretty annoying. Make them a thing of the past with the help of this guide.
3. Disable your antivirus and VPN
If you are using an antivirus solution or one of the best VPNs, make sure to disable them. Sometimes, antiviruses or the Windows Firewall can interfere with your internet connection or your apps and block certain features.
To make sure that’s not the case, disable your antivirus and check if the chat in Uplay is working. In certain cases, you might have to uninstall your antivirus.
For Norton users, we’ve got a dedicated guide on how to remove it from your PC completely. There’s a similar guide for McAfee users, as well.
If uninstalling the antivirus worked, and the Uplay chat doesn’t have issues anymore, you can install another antivirus solution.
4. Forward ports
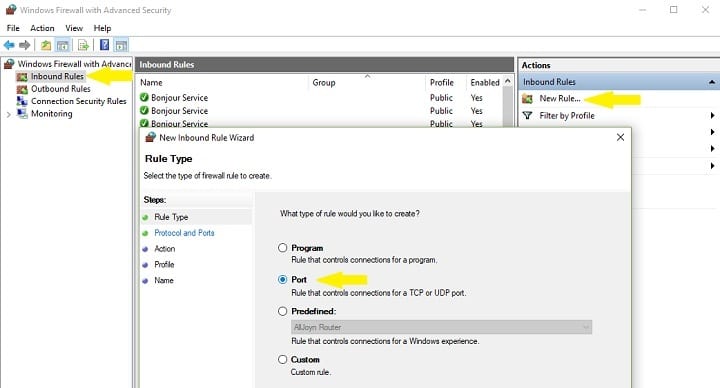
If you can’t stop your firewall, you’ll need to configure it to follow some network ports. The Uplay Launcher ports are TCP: 80, 443, 13000, 13005, 13200, 14000, 14001, 14008.
After that, your Chat should be working properly. If you need more info on how to open firewall ports in Windows 10, we’ve prepared this useful guide to help you do it with ease.
5. Flush the DNS cache
- In your Windows search box, type cmd, right-click on the first result, and select Run as administrator.
- A Command Prompt (Admin) window should appear.
- Now type the command below and hit Enter:
ipconfig /flushdns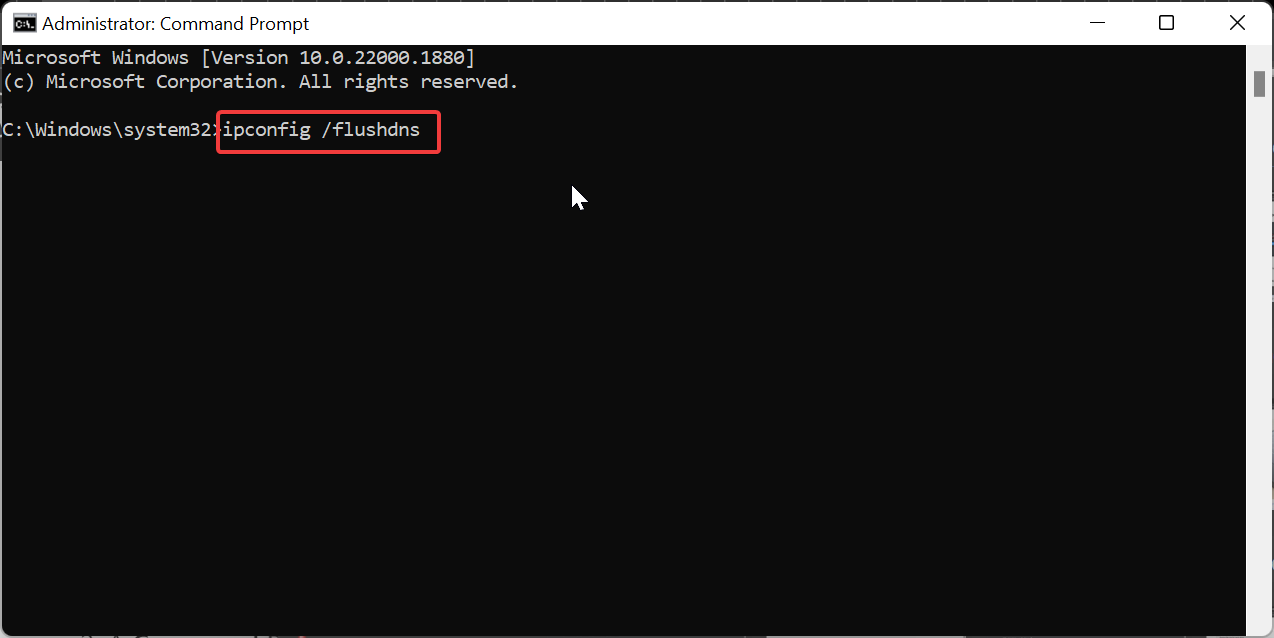
- After the process finishes, you should get the Windows IP Configuration Successfully flushed the DNS Resolver Cache message.
If you’re having trouble accessing Command Prompt as an admin, then you better take a closer look at this guide.
6. Reinstall Uplay
- Completely close Uplay.
- Optionally, before uninstalling the client you can backup your save files.
- Uninstall the current Uplay client from your Windows 10 PC. Usually, you can find the uninstaller in:
C:/Program Files (x86)/Ubisoft/Ubisoft Game Launcher - Also, remember to delete the cache folder from the same location after the process is completed.
- When you uninstall Uplay, you’ll get the option to uninstall your games. Check the box to uninstall them, or leave it unchecked if you want to keep your games.
- Download the latest version of Uplay from Ubisoft’s official site.
- After you download the installer, run it with Administrator rights.
- Follow the on-screen steps to finish the process.
If you want to make sure that you completely remove an app from your Windows 10 PC, follow this guide with the best uninstaller software available.
After following these solutions, you should be able to fix the Ubisoft connect chat not working issue and communicate with your friends without any issues.
If you have any other suggestions or questions, leave them in the comments section below.
Read our disclosure page to find out how can you help Windows Report sustain the editorial team. Read more


Improve this guide


User forum
0 messages