Fix: Can't Upload Photos from iPod/iPad to Windows 10, Windows 8.1
How to import photos from iPhone or iPad on Windows PC?
I know most of you had issues while trying to upload photos from your iPod or iPad directly to the Windows 10 or Windows 8.1 device but I can tell you now that there is a very easy fix to this issue and you will learn a couple of lines below what you need to do in order to fix your Windows 8.1 or Windows 10 and upload photos from the iPod or iPad.

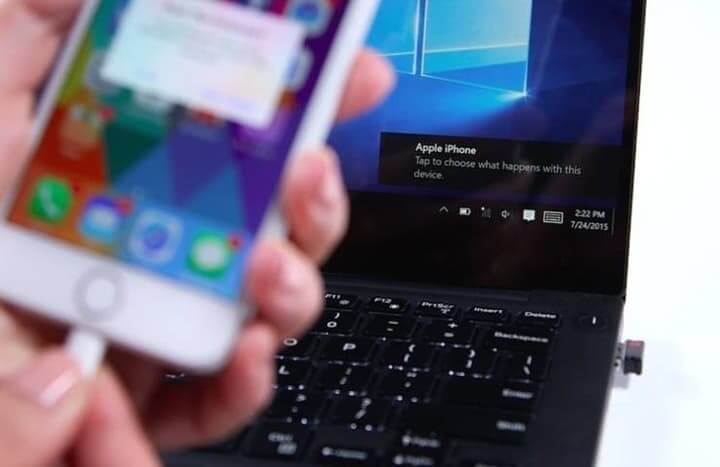
Although in Windows 7 or older when you connected your iPad or iPod directly via a USB device the Windows operating system would of automatically detect but this is no longer the case for Windows 10 and Windows 8.1. So following the tutorial below will show you what other modifications you need to make to the system and also from where you can download the latest version of the iTunes that should be compatible with the latest versions of Windows systems.
How to upload photos from iPod or iPad to Windows 10 and Windows 8.1 PC?
1. Install iTunes
- Left click or tap on the link presented below in order to download the latest version of iTunes.
- Download here iTunes
- From the apple website you will need to left click or tap on the “Download Now” icon .
- Left click or tap on the “Save File” button to save the executable file to your Windows 8.1 or Windows 10
- After the download is completed go to the directory where you saved it and double click on it to open.
- Follow the instructions on the screen to finish the installation of iTunes.
2. Update Apple driver manually
- While on the Start screen of your Windows 8.1 or Windows 10 left click on the arrow pointing down to access the “Apps” window.
Note: Another way to open the “Apps” feature is by right clicking on an open space on the screen and selecting “All Apps” from the menu that pops up. - While on the Apps window you need to swipe to the right side of the screen and find the “Windows System” topic.
- Now within the “Windows System” category open the “Control Panel” icon.
- Find and double-click to open the “Hardware and Sound” icon.
- Left click or tap on the “Devices and Printers” feature.
- You will have there a topic named “Unspecified” and your iPad or iPod should be present there if you properly connected it to the Windows 8.1 or Windows 10 device.
- Right-click or hold tap on the iPad or iPod from that menu and left click or tap on the “Properties” feature.
- In the “Properties” window you need to left click or tap on the “Hardware” tab situated on the upper side of this window.
- In the “Hardware” tab left-click or tap on the “Properties” button in the lower right side if this window.
- Left click or tap on the “General” tab situated in the upper side of this window.
- Left click or tap on the “Change Settings” button situated on the lower left side of this window.
Note: Left click or tap on the “Yes” button if you are prompt by a user account control pop up message. - Left click or tap on the “Driver” tab situated on the upper side of this window.
- Left click or tap on the “Update Driver” button in this window.
- Left click or tap on the “Browse my computer for driver software” option.
- In the next window that pops up you will need to left click or tap on the “Browse” button to select another path.
- Go to the “C:Program FilesCommon FilesAppleMobile Device SupportDrivers “directory and left click on the “open button.
Note: if you don’t have the path specified above you will need to go to “C:Program Files (x86)Common FilesAppleMobile Device SupportDrivers” - Left click or tap on the “Next” button after you selected the path above.
- Left click or tap on the “Close” button.
- Try connecting your iPad or iPod once more to the Windows 8.1 or Windows 10 system and see if it works for you now.
3. Use File Explorer
- Connect your iPhone or iPad through a USB cable
- Launch Windows Explorer from the search bar or press ‘Windows Key’ + ‘E’
- Expand ‘This PC’ by using the arrow at its left

- Click the name of your Apple device
- In the window that shows the drives inside your device, double-click on ‘Internal storage’ and then double-click on ‘DCIM’
- Click on a folder (it should contain the images). The folder’s name should look like that: 100APPLE (or something similar)
- Find your photo/photos, copy it/them to the folder you need or try to export them and ‘save as’ in a folder you want.
We also recommend you to check our guide on how to import photos from iPhone/iPad on Windows 10 only. In case, your PC or Apple device has a serious malfunction and it cannot get the job done, let this to a third-party software that can import data for you.
Now that you have the methods for uploading photos from your iPod or iPad to your Windows 8.1 or Windows 10 device you only have to go and try them yourself. Please write us below in the comments topic of the page a little bit below if you have any other questions on this tutorial and I will help you further with your issue as soon as possible.
READ ALSO: You can now mount iPods as USB storage devices on Windows 10
Read our disclosure page to find out how can you help Windows Report sustain the editorial team. Read more


Improve this guide


User forum
0 messages