VGA Light Not On: Causes & How to Fix it
This process will also involve some good old hardware troubleshooting
![]() 5 min. read
5 min. read
![]() Updated on
Updated on
Share this article

Improve this guide
Read our disclosure page to find out how can you help Windows Report sustain the editorial team Read more
Key notes
- If the VGA light on your motherboard is not lighting up, we have a problem.
- There are many things to check, and this guide contains all you need to know.
- Carefully go through the steps below and you will be up and running quickly.
Out of all of the things that can malfunction when it comes to PCs, this has to be amongst the worst scenarios, as it involves a lot of hardware troubleshooting as well.
Even a software troubleshooting process can sometimes prove overwhelming for some, and most of us lack the skill or time to fiddle with our device’s innards.
Yes, we’re talking about the VGA light on your motherboard, which some users reported not going on anymore, so we decided to come and lend a helping hand.
We can also help if your laptop’s VGA signal when it’s not working. Even more, you can find information on how to download and install FTDI drivers on Windows 10 & 11.
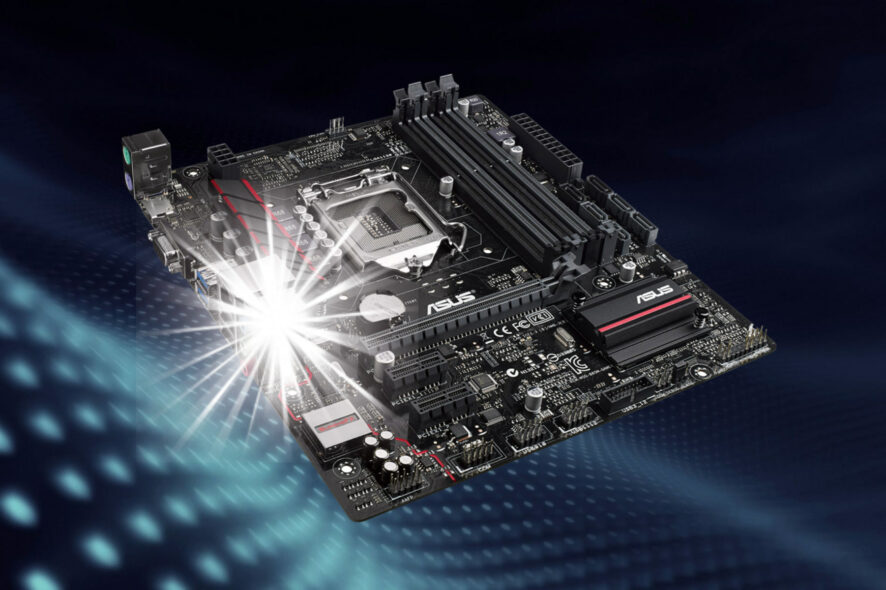
Does my motherboard have a VGA light?
Yes, it does. In fact, VGA lights on motherboards are present there to indicate malfunctioning hardware, if there is any.
The GPU (Graphics Processing Unit) is known to be susceptible to malfunctioning, so if that is the case, the light will turn on and remain on until the error is fixed.
Now, depending on the manufacturing year, motherboards may have multiple LEDs on the board for specific CPU components to detect the issue quickly.
You should also know that older models mostly have one light on their motherboards, and whenever the light is turned on, it is required to inspect the PC components to detect what is wrong.
Newer PC/laptop models come with several LEDs on the motherboard connected with different parts of the computer, such as the CPU, RAM, GPU, and Boot.
However, before we get to these fixes, make sure that the motherboard and the GPU are compatible, as there are situations when they simply aren’t.
How do I fix the motherboard VGA light not turning on?
1. Check/replace the power supply
As we all know, the power supply unit is the main component of the CPU that helps provide power to the parts for them to work.
Please keep in mind that low-wattage PSU (Power Supply Unit) for your system can stop some parts from functioning, in this case, the graphics card.
Be absolutely sure that is properly plugged in and that the voltage is set to the correct level because if it is not, you will most likely need to replace the power supply.
Various online Power Supply Calculators show the requirement of your system’s supply, so you might want to check that out as well.
2. Boot PC without hardware
Now another proven method for solving this annoying situation would be for you to remove all peripheral hardware connected to your PC.
Why? Because removing all unnecessary hardware and booting up your PC will help you narrow down where the problem arises, so eject any USB devices, hard drives, and PCIe cards.
Just power on your PC only using the CPU, CPU fan, and RAM and, if the device turns on normally, reconnect the devices one at a time to determine which parts are causing the issue.
3. Inspect GPU or PCIe Slots for stains or damage
Another intricate and annoying part of this troubleshooting process is actually taking the PC apart and inspecting all these small details.
Don’t worry, fixing the VGA lights on the motherboard is not a daunting task, however, there are many possible reasons for this issue, therefore many solutions.
Know that damages on either the PCIe slots or the GPU can stop the motherboard from detecting the graphics card, or prevent the VGA light from going on.
You might not know it, but your PC’s GPU has a PCIe Express x16 connector that might get damaged, so you might want to have a look.
Also, dust can settle on the slot and can obstruct data flow between GPU and motherboard, so we recommend you clean this area thoroughly and carefully, maybe with some compressed air.
4. Reset BIOS
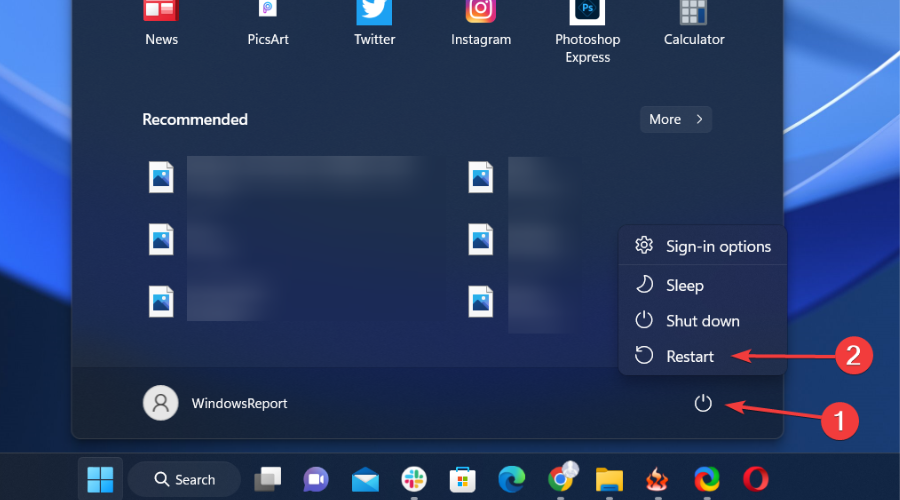
- Click on the Power button, in your Start menu, and select Restart.

- Press F10, F2, or F12 to access the BIOS menu on your PC (depending on the PC you have).
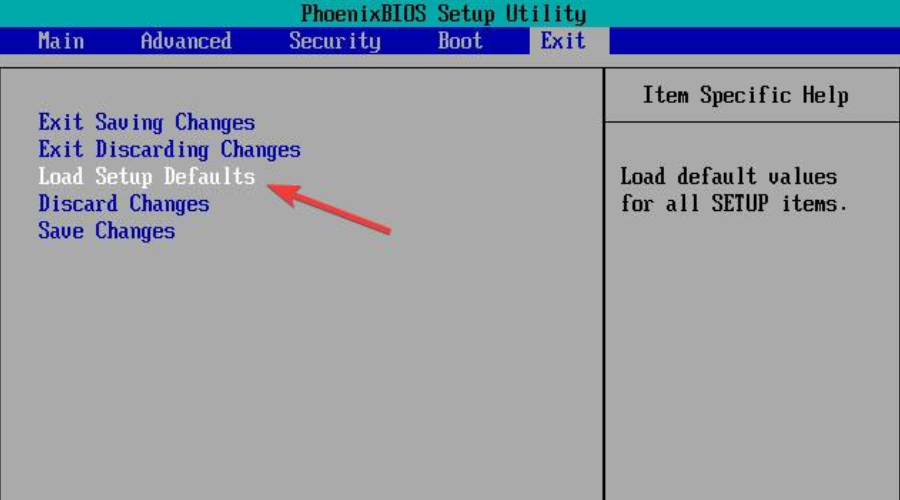
- Go directly to the Exit tab.
- Select Load Setup Defaults, then press Enter.
- Select Yes.
5. Replace CMOS
This is the absolute last step in today’s troubleshooting process, and it will involve you leaving the house or ordering something off the internet.
If resetting the BIOS, as shown above, did not fix the issue, you can also replace the motherboard CMOS itself.
The Complementary metal-oxide-semiconductor (CMOS) is a small amount of memory on a PC’s motherboard that stores the Basic Input/Output System (BIOS) settings.
So, as the final solution, make sure you remove the CMOS from the motherboard and replace it with another one.
What if my VGA light never turns off?
As we said, this VGA light stays on when there is a problem. Everything can be working fine, but if one little detail is out of place, this will happen.
If this is the case, please consider resetting the jumper. Also, you should also think about reseating the graphics card, just to be sure.
If that doesn’t work, try powering up your device without the GPU altogether, and see if that works for you.
Has this article been helpful to you? Please make sure to share your experience in the comments section located below.