VirtualBox not detecting USB in Windows 10/11 [Full Guide]
2 min. read
Updated on
Read our disclosure page to find out how can you help Windows Report sustain the editorial team Read more
Key notes
- If the VirtualBox is not detecting USB on Windows 10, you can fix it with one of these solutions.
- Installing the latest VirtualBox is a quick and easy way of solving the issue once and for all.
- Another quick way of fixing the VirtualBox not detecting USB Windows 10 is by installing the necessary components.
- Be sure to follow all the solutions from this guide to fix the Failed to attach USB device Virtualbox error on your PC.
If for example, you want to backup data to an external drive or transfer data between virtual machines that aren’t on the same subnet, then you need the USB to work with VirtualBox.
Unfortunately, this does not seem to be the case from the start, and USB doesn’t work without small adjustments which are very frustrating for users. This happens in VirtualBox but it can happen with other virtual machine software as well.
In this article we will explore how you can fix the VirtualBox not detecting USB in Windows 10 in just a few easy steps, so make sure to keep on reading.
How can I fix VirtualBox not detecting USB in Windows 10?
1. Install the latest VirtualBox
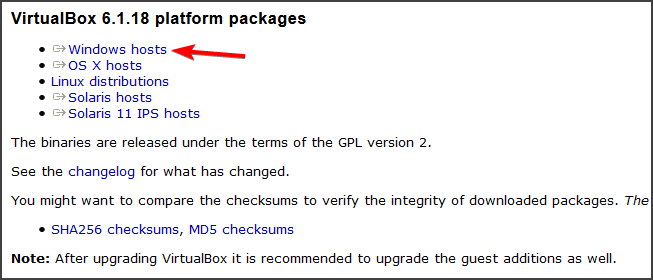
- Visit the VirtualBox website.
- Go to the Download section and click on Windows hosts.
- Download the new version and run the setup file.
If this method doesn’t work, you might have to remove VirtualBox. You can remove it just like any other application, or you can use a dedicated tool such as CCleaner to make sure all files an registry entries related to it are removed.
2. Install the Extension Pack
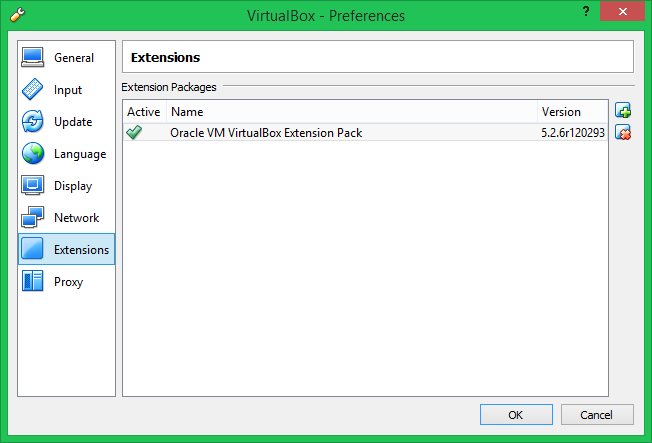
- Click File and go to Preferences.
- Here, click on the Extension tab and then click the + button.
- Next, navigate to the place where you saved the Extension Pack.
- Select the Extension Pack and click Open.
- Click the Install button when asked.
- Scroll through the EULA and then click I Agree.
- Allow the installation to complete.
After doing that, check if Virtualbox not detecting USB issue is still there.
3. Activate USB support
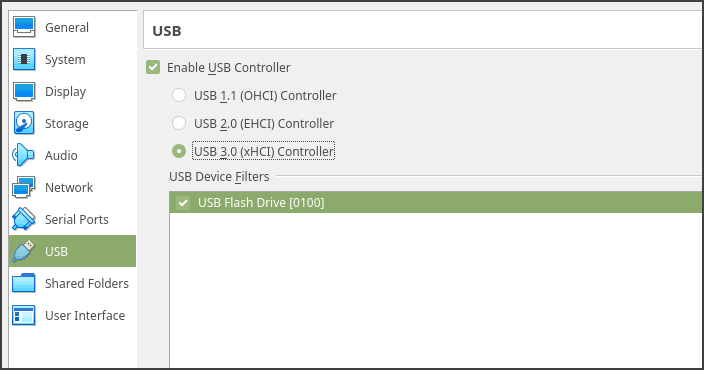
- Open VirtualBox and right-click on the virtual machine that needs USB access.
- Next, click on Settings.
- Locate USB in the VM window and click on it.
- The USB should appear as available.
- Click on the + button located under the USB Device Filter to add a new device.
- That is all, when you start the Virtual Machine it should now have access to the USB.
By following the exact steps we’ve indicated in this article you should be able to complexly solve the VirtualBox not detecting USB in Windows 10.
Which of the solutions presented above worked best for you? Please let us know in the comments section below if you have additional recommendations or suggestions.

