What is vmnat.exe & What is it Used For?
Find out all about the process and some quick fixes
4 min. read
Updated on
Read our disclosure page to find out how can you help Windows Report sustain the editorial team. Read more
Key notes
- The vmnat.exe process is linked to VMWare Workstation and is a vital process when running the virtual machine.
- The process handles network-related tasks and ensures seamless Internet connectivity.
- Many users reported high CPU usage due to vmnat.exe, but it's easily fixable with a quick reset.

When we have too many background processes running the PC, the performance takes a hit. Surprisingly, it’s just a few that cause problems, while the others consume minimal resources. And vmnat.exe is one of these.
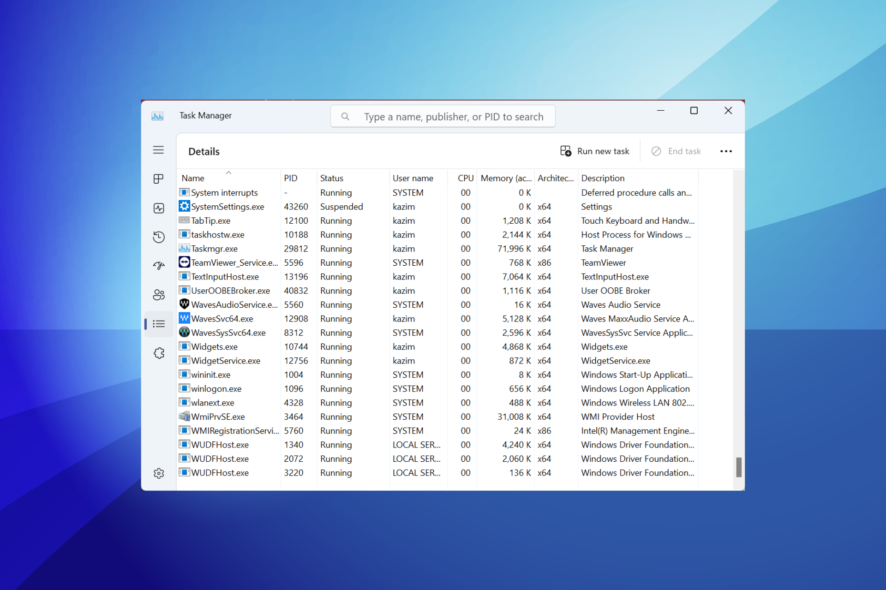
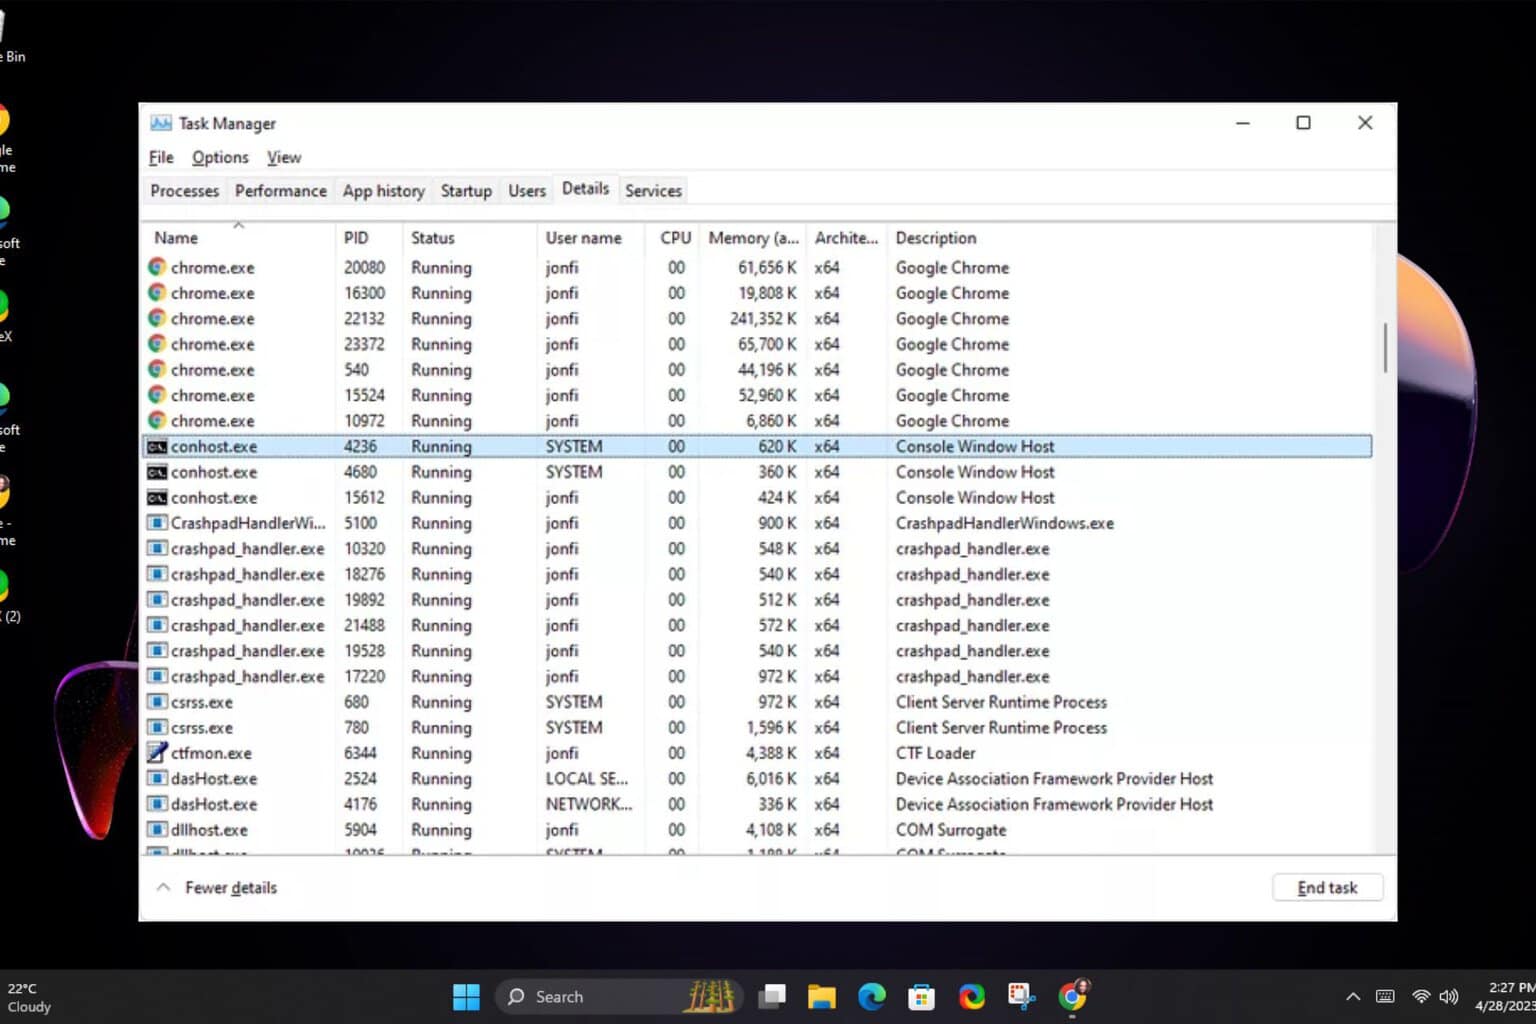
Many found the process in the Task Manager and had no idea what it did. Some users reported high CPU usage due to vmnat.exe. Besides, for a few, third-party antiviruses like Malwarebytes and Bitdefender flagged the process as malware. Keep reading to find out all about it!
What is vmnat?
The vmnat.exe process is linked to VMWare Workstation, a virtual machine software, that enables users to run different operating systems on the PC. Its primary role is to ensure network connectivity on the virtual machine and allow users to browse the Internet.
But, many are unsure whether it’s a legitimate process or a malware in disguise. To verify that, you will need to verify the file location. For those wondering where vmnat.exe is located, the path is:C:\Windows\SysWOW64
So, if you have VMWare Workstation installed, and the executable file is found in the SysWOW64 folder, vmnat.exe is not a virus. Also, you could check the file’s digital signature to verify the same.
But it still makes sense to run a malware scan, given the advanced nature of viruses these days. Besides, we have a few solutions for other issues pertaining to the process.
How do I fix vmnat.exe issues?
Before we proceed, here are a few quick tricks to try:
- Disable any third-party antivirus on the PC and verify whether the problem is resolved.
- Make sure you have downloaded Java and are running the latest version.
If none work, move to the solutions listed next.
1. Scan for malware
- Press Windows + S to open Search, type Windows Security in the text field, and click on the relevant search result.
- Click on Virus & threat protection.
- Click on Scan options.
- Select Full scan, then click the Scan now button and wait for it to complete.
If Malwarebytes blocks vmnat.exe or flags it as a threat, we recommend you scan the PC using Windows Security, the built-in antivirus. When it comes to identifying issues, Windows Security is usually more reliable than its third-party counterparts.
And if it, too, delivers the same results, you need to delete the executable file.
Otherwise, it’s also beneficial to employ an alternative antivirus that offers great compatibility and standout detection technology to find and remove any malware threats.
2. Reset the network settings
- Press Windows + I to open Settings, select Network & Internet from the navigation pane, and click on Advanced network settings.
- Click on Network reset.
- Click the Reset now button.
- Finally, click Yes in the confirmation prompt.
Since vmnat.exe is responsible for network-related functions, any issues with the latter can trigger high CPU usage as well as lead to frequent crashes. So, reset the network settings.
3. Perform a system restore
- Press Windows + S to open Search, type Create a restore point, and click on the relevant search result.
- Click on System Restore.
- Select Choose a different restore point, and click Next.
- Pick a restore point from the list, one created the earliest, and then click Next.
- Verify the restore details and click Finish to start the process.
If it’s a recent issue, performing a system restore usually works. You may lose a few apps, but the personal files remain unaffected.
4. Delete vmnat.exe
- Press Windows + R to open Run, type appwiz.cpl in the text field, and hit Enter.
- Select the VMWare Workstation app from the list, and click Uninstall.
- Follow the on-screen instructions to complete the process.
- Once done, press Windows + E to open File Explorer, and navigate the following path:
C:\Windows\SysWOW64 - Select the vmnat.exe file, and hit Delete.
- Choose the appropriate response in case a confirmation prompt appears.
In case nothing else works, the last option is to delete the program and the vmnat.exe file. Do that only if you don’t heavily rely on it and can use another reliable Virtual Machine. Or you could again download Workstation to do a clean install.
Before you leave, check some quick tips to make emulators run faster on the PC.
For any queries or to share what worked for you, use the comments section below.


User forum
0 messages