5 Ways to Fix VT-x Is Not Available (VERR_VMX_NO_VMX)
Discover expert solutions to get rid of the error
5 min. read
Updated on
Read our disclosure page to find out how can you help Windows Report sustain the editorial team. Read more
Key notes
- The VT-x is not available (VERR_VMX_NO_VMX) error is generally encountered when running a Virtual Machine.
- The problem appears due to misconfigured BIOS settings, conflicting features, or third-party apps.
- To fix things, install the latest Windows updates, enable VT-x in BIOS, or download an older version of the VM software, amongst other solutions.

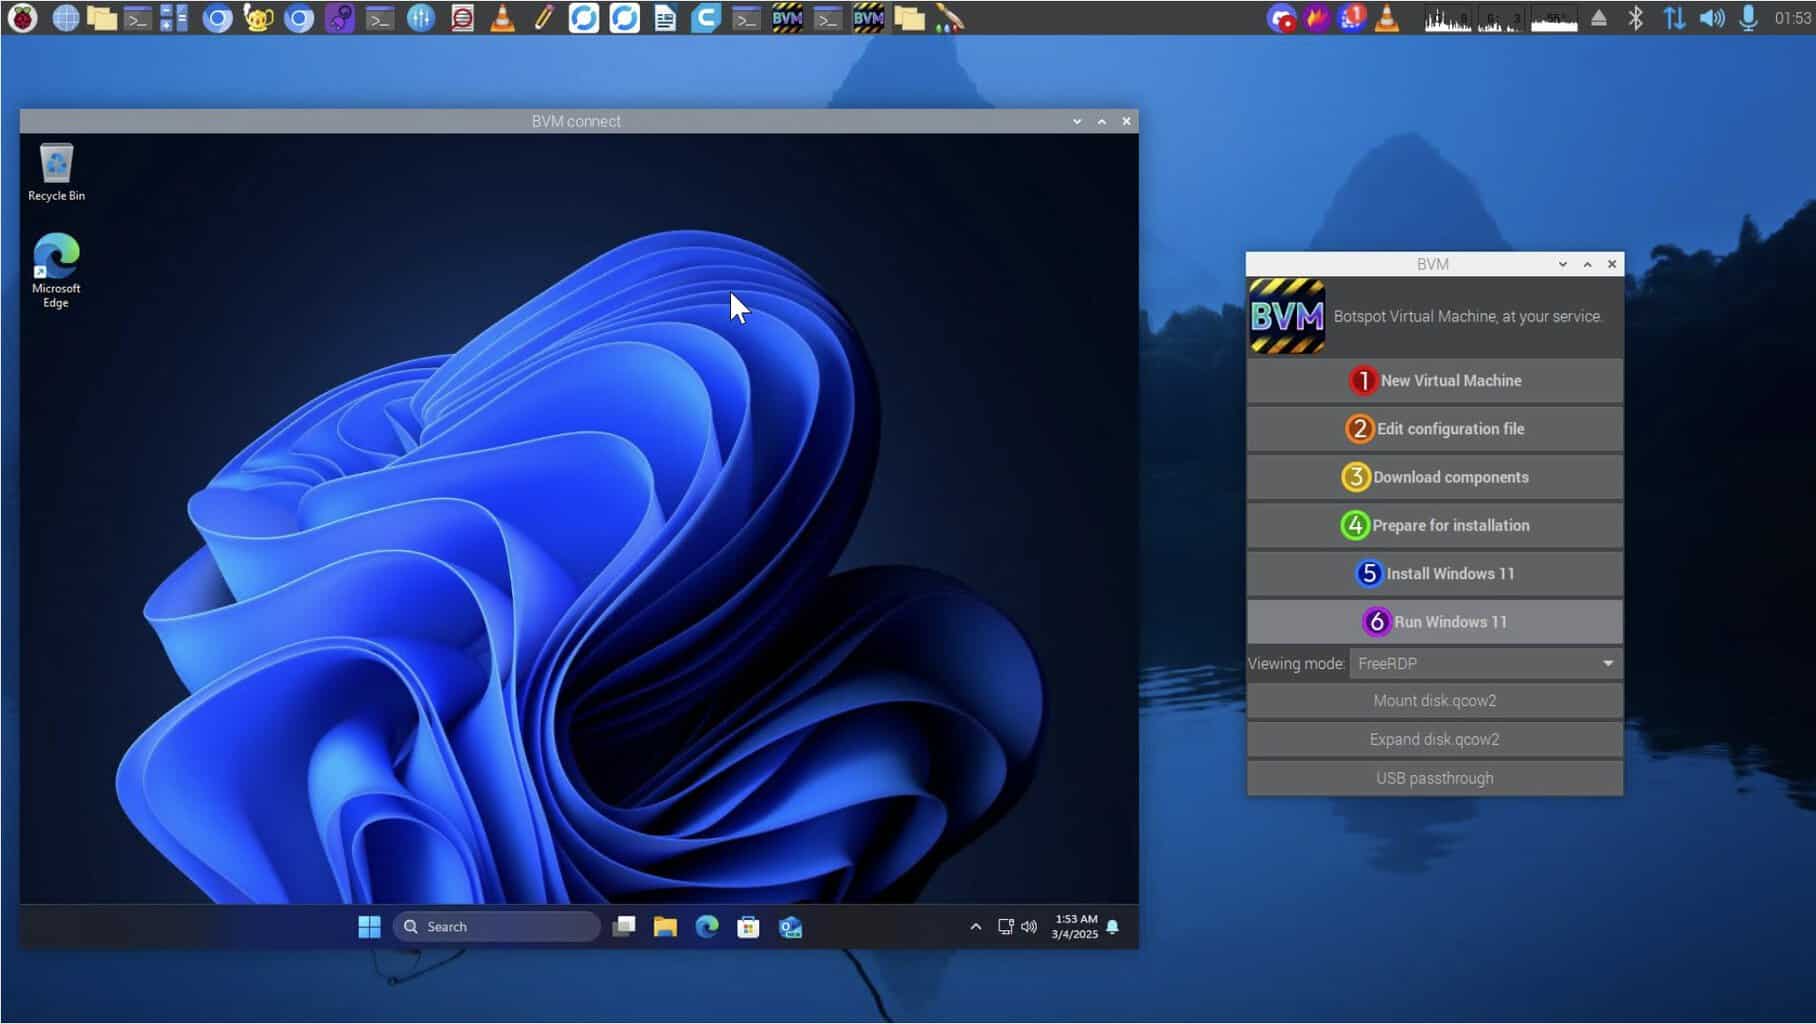
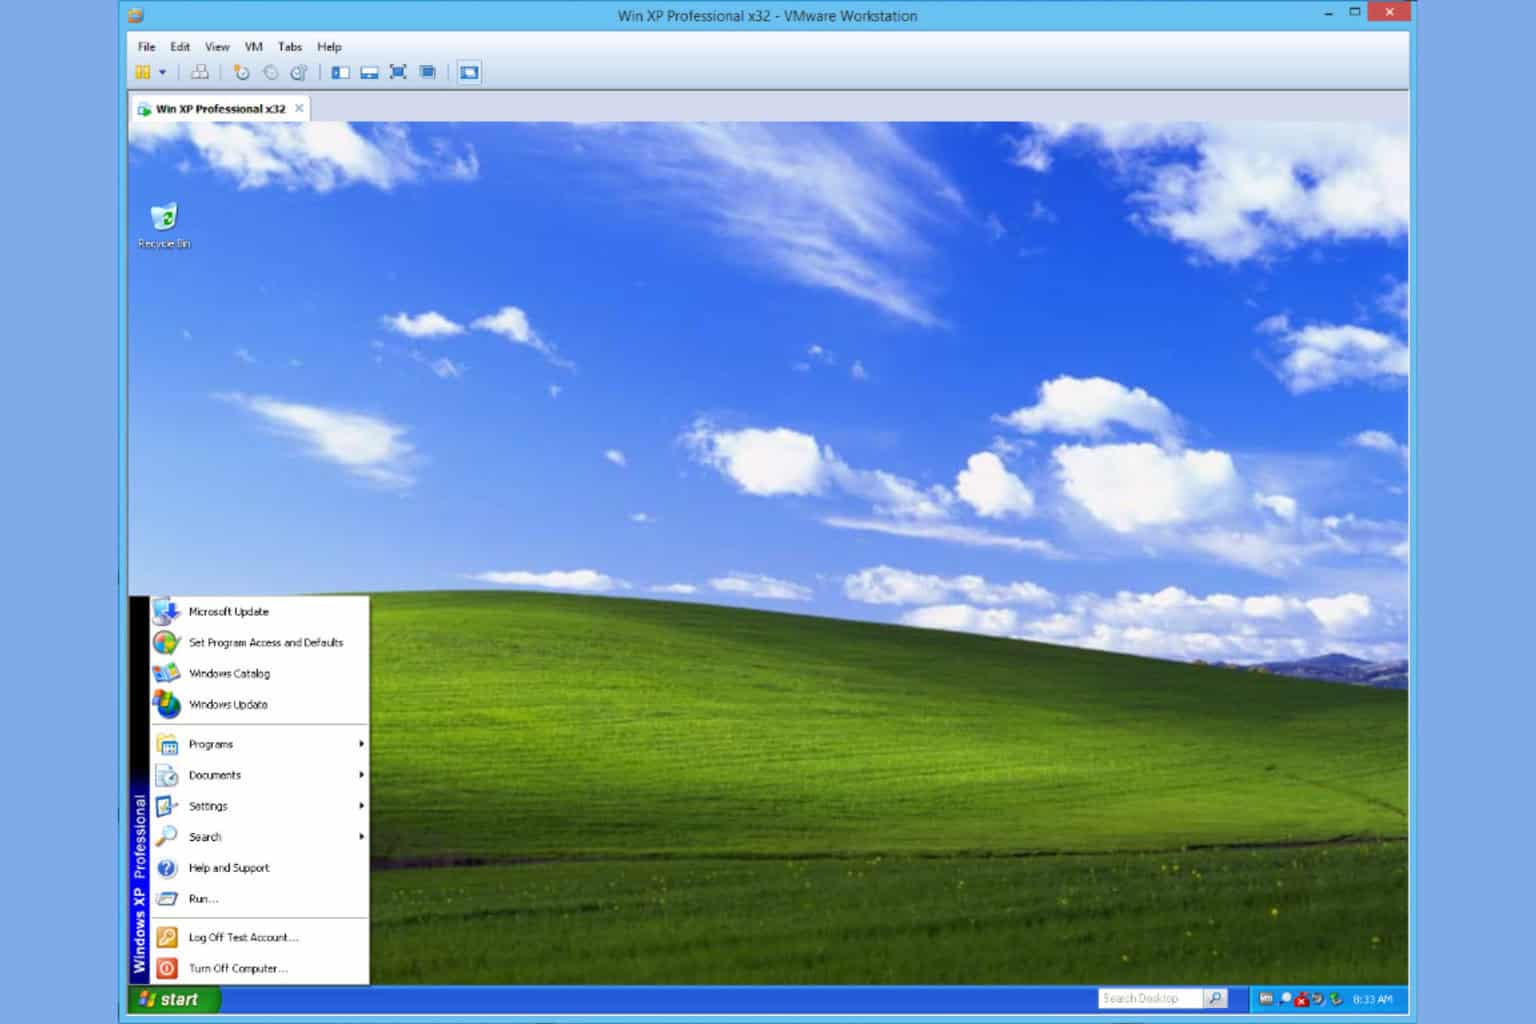
Virtual Machine forms an integral part of many PCs by eliminating the need for another device. But running one is not as easy, and users encounter various errors due to the dependency on a wide array of settings. One such is the VT-x is not available (VERR_VMX_NO_VMX) error.
Though commonly seen on VirtualBox, other similar software can throw the error and prevent users from running the Virtual Machine. Fret not! It’s usually a trivial problem to blame, and you can get things up and running in no time. So, let’s find out!
Why is my VTx not working in VirtualBox?
Here are a few reasons you are facing the problem:
- VT-x is not enabled: In most cases, users realized that VT-x or Virtualization Technology was disabled in the BIOS, and enabling it did the trick.
- Hyper-virtualization is enabled: Another reason users face the issue is when Hyper-V or Hyper-Virtualization is enabled in Windows because it conflicts with VT-x.
- VT-x is not supported: For some users, the problem appeared when VT-x was not supported on the PC, and it should be apparent right away when using the virtual machine for the first time.
- Third-party apps triggering conflicts: Several antiviruses and security software can conflict with the functioning of the OS, including the VT-x setting, and trigger errors.
How do I fix error VT-x is not available (VERR_VMX_NO_VMX)?
Before we move to the slightly complex solutions, here are a few quick ones to try:
- Restart the computer to terminate all non-critical background processes.
- Install any available Windows updates in case the problem is a known bug and a patch is available for it.
- Revert any recent changes to the PC. For instance, if you got the VT-x is not available (VERR_VMX_NO_VMX) error after downloading software, uninstall the program to get things running.
If none work, move to the fixes listed next.
1. Enable VT-x in BIOS
- Power off the computer, then turn it on and repeatedly hit the Esc, F10, F12, or Delete key, depending on the device manufacturer, to access the BIOS. You can find the exact key on the OEM’s website or the in manual that came along with the PC.
- Once in the BIOS, head to the Security or System Security section.
- Now, enable the Virtualization Technology (VT-x) feature.
- Save the changes, exit the BIOS, and boot Windows.
When faced with the VT-x is not available (VERR_VMX_NO_VMX) Ubuntu error, your primary approach should be to ensure that VT-x is indeed enabled. Also, if you find it already activated, re-enable the setting.
2. Disable Hyper-V
- Press Windows + R to open Run, type cmd, and hit Ctrl + Shift + Enter.
- Click Yes in the UAC prompt.
- Now, paste the following commands one at a time and hit Enter after each:
bcdedit /set hypervisorlaunchtype Offbcdedit /set vm Nodism.exe /Online /Disable-Feature:Microsoft-Hyper-V - Once done, restart the computer and run the Virtual Machine to verify whether the problem persists.
While this is not the case by default, an update led to Hyper-V conflicting with VT-x when enabled, which triggered the VT-x is not available (VERR_VMX_NO_VMX) Windows 7 error. And disabling the former, in this case, should get things up and running.
3. Turn off Memory Integrity
- Press Windows + S to open Search, type Windows Security in the text field, and click on the relevant search result.
- Now, click on Device security.
- Click on Core isolation details.
- Now, disable the toggle for Memory integrity.
- Once done, restart the computer, and run the Virtual Machine.
Another feature often found to conflict with the Virtual Machine is Core isolation or Memory integrity, which triggers the VT-x is not available (VERR_VMX_NO_VMX) Windows Server 2019 error.
The purpose of Memory integrity is to prevent unauthorized code from running on the PC. Besides this, it may also conflict with performance-boosting software. So, you should try disabling these and verify whether the error is fixed.
4. Uninstall your antivirus
- Press Windows + R to open Run, type appwiz.cpl in the text field, and hit Enter.
- Select the installed third-party antivirus from the list, and click Uninstall.
- Follow the on-screen instructions to complete the process.
In case the previous solutions didn’t work, it could the antivirus to blame for the VT-x is not available (VERR_VMX_NO_VMX) Oracle VirtualBox error.
Make sure to remove any cache or revert changes made by the program. A quick solution to ensure this is to use a dedicated uninstaller software, which clears the Registry entries created by the antivirus, thus reverting any changes made to the PC.
5. Downgrade the VM software
When nothing works, it’s mostly like non-compatibility with the recent version of the VM software to blame for the VT-x is not available (VERR_VMX_NO_VMX) Windows 10 error. And for this, the only viable solution is to downgrade the software.
Check which version you have, uninstall the software, and then download an older version from the official website. Here are the direct links to download pages for the various VM software:
- VirtualBox
- VMWare (Choose an older version from the dropdown menu)
That’s it! And after you have fixed the error, do not forget to find out how to enable Windows 11 on a Virtual Machine and test out the latest iteration before making the final upgrade.
For any queries or to share what worked for you, drop a comment below.


User forum
0 messages