Is my PC ready for the Windows 10 April Update?
3 min. read
Updated on
Read our disclosure page to find out how can you help Windows Report sustain the editorial team. Read more
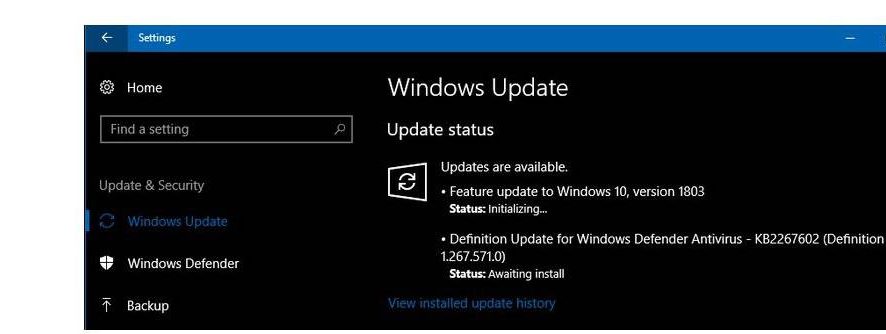
Those who have been keeping an eye out for Microsoft’s Windows 10 April Update know that the update was promised a long time ago and since then, Microsoft has been hard at work adding polishing the OS. The update’s release has taken so long because it is actually a huge patch that incorporates updates and new features across pretty much every aspect of Windows 10. Moreover, some unexpected BSOD errors ruined Microsoft’s release plans forcing the company to delay the update.
That being said, the wait is finally over. You can now upgrade to the Windows 10 April Update with the help of Microsoft’s Update Assistant. We’re sure that many Windows fans have eagerly waited for this new update as it’s one of the most anticipated updates ever released by Microsoft.
However, certain preparations need to be made before installing the Windows 10 April Update. While these are not mandatory, performing them will help tremendously both during and after installation. Here are the top things to do before upgrading to the Windows 10 April Update.
Checklist for installing the Windows 10 April Update
1. Backup and clean your computer
Both the update process as well as its results will be much more pleasant to look at if there is a little bit of a spring cleaning done beforehand. As such, delete any unnecessary files because they may slow down the upgrade process.
Make sure you have enough free space on your hard drive to install the Windows 10 April Update. Microsoft’s Update Assistant will first check the available free space, but you can always give the tool a helping hand by deleting unnecessary files and programs. Also, don’t forget to clear your browser’s cookies and cache.
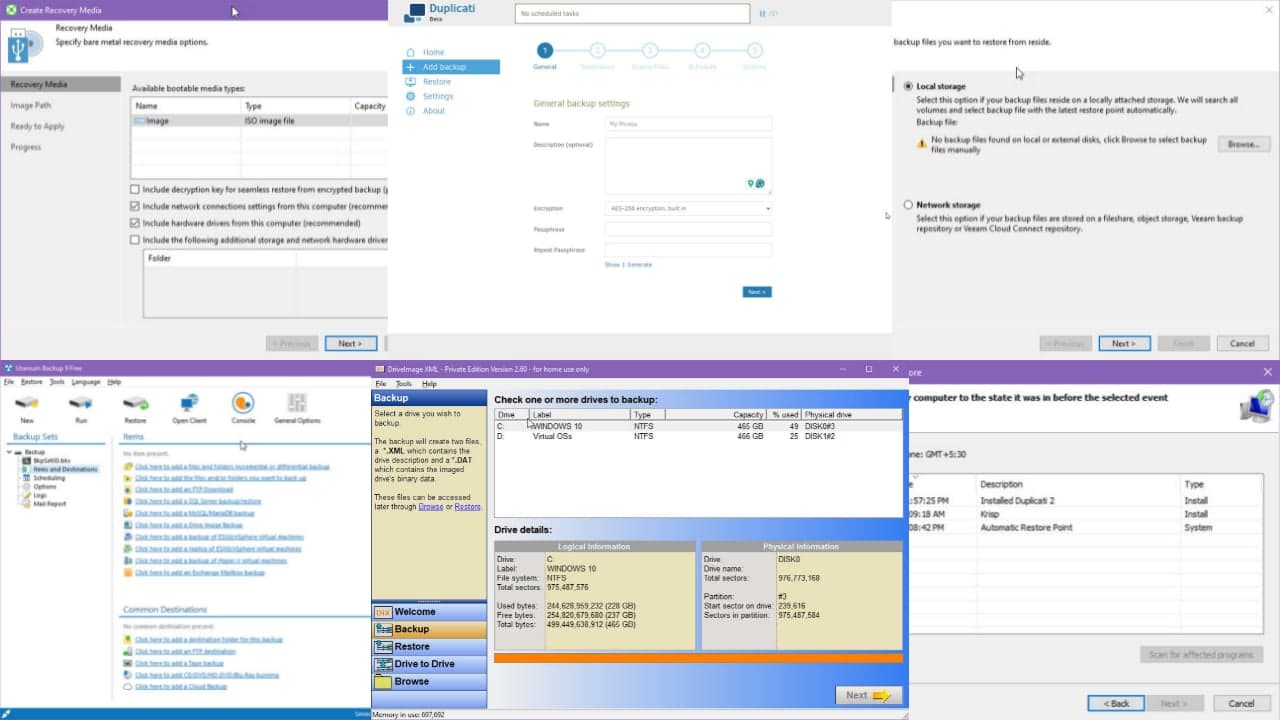
Additionally, backup all the important files stored on your computer. In this manner, you’ll avoid being subject to various errors that might just delete important documents or files.
- RELATED: PC won’t wake up from sleep after Windows 10 April Update install [FIX]
2. Run a full system scan
Make sure your antivirus is up to date and run a full system scan to detect and remove any malware and virus programs that may have snuck into your computer.
3. Update your OS and programs
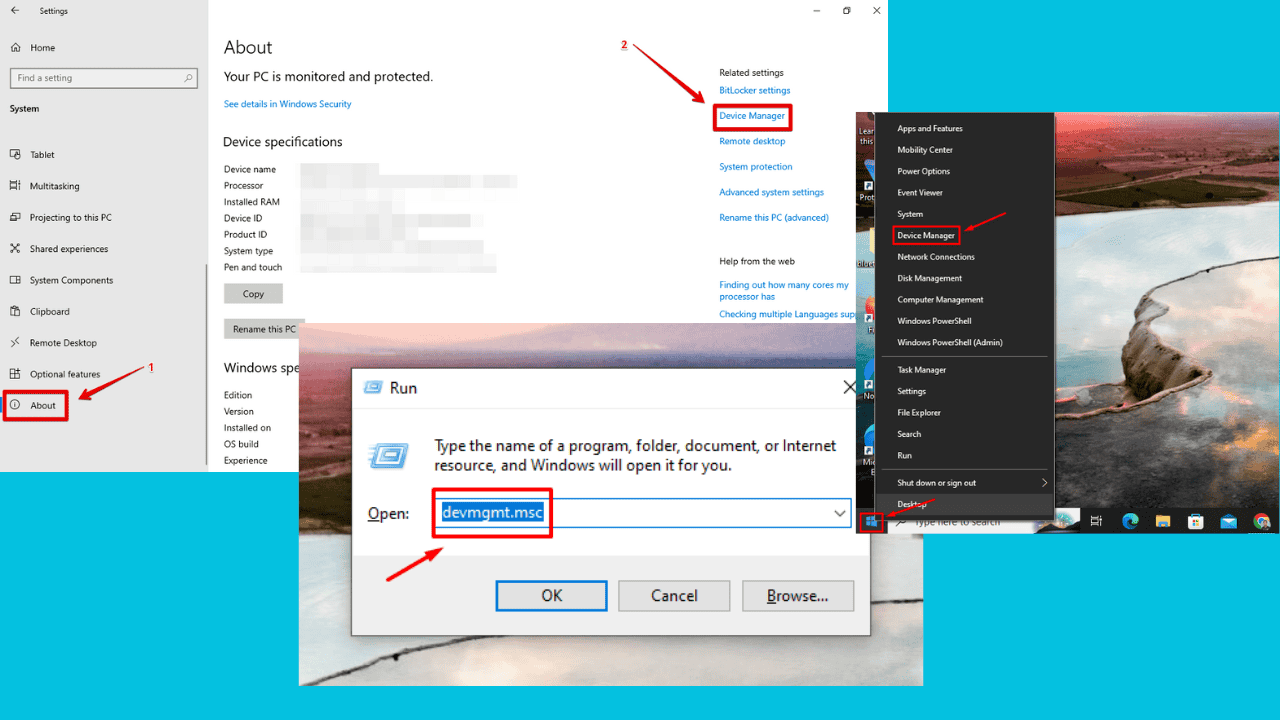
It is also very important that you install the latest Windows updates on your computer. Additionally, refresh your drivers and install the latest updates for all your programs.
4. Keep product keys and software licenses at hand
Should your computer fail to activate some programs after the upgrade, you’ll need the product keys or licenses to enable them again. Print this information so you can always have it in hand in case something goes wrong.
5. Create recovery media
Should your computer become completely unresponsive after the upgrade, having recovery media handy is a real treasure. For more information on how to create a recovery drive, check out Microsoft’s Support page.
6. Check system requirements
Last but not least, make sure that your computer meets the system requirements necessary to run the OS:
- Processor: 1 GHz or faster processor or SoC
- RAM: 1 GB for 32-bit or 2 GB for 64-bit
- Hard disk space: 16 GB for 32-bit OS 20 GB for 64-bit OS
- Graphics card: DirectX 9 or later with WDDM 1.0 driver
- Display: 800×600
RELATED STORIES TO CHECK OUT:

User forum
2 messages