0x8000ffff on Windows 11: How to Fix This Update Error
Check out the simple fixes that worked for other users
Key notes
- Several users, after upgrading to the latest iteration, have reported encountering the 0x8000ffff error code in Windows 11.
- The error prevents users from installing updates for Windows 11, which puts their PC at risk.
- To fix things, run the dedicated troubleshooter or uninstall third-party antivirus, amongst other methods here.
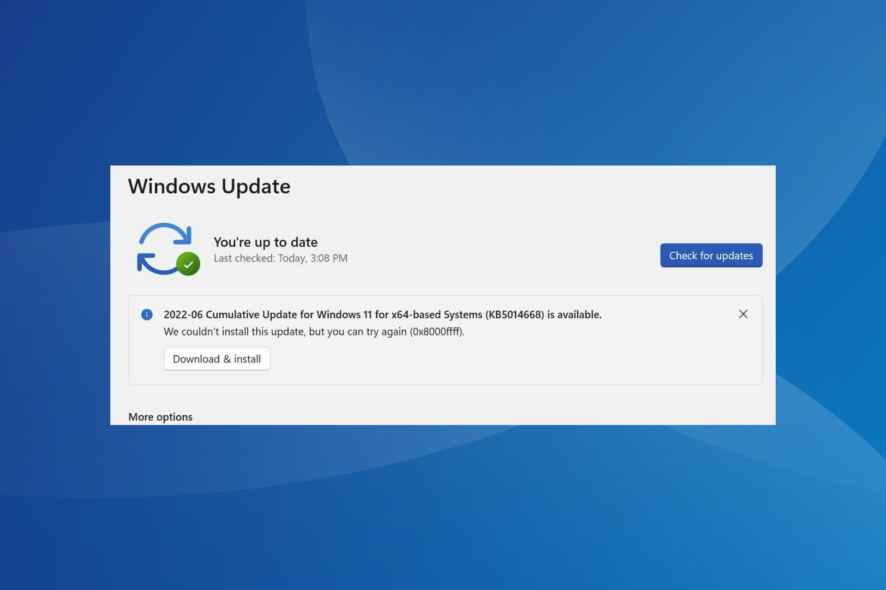
Windows 11 is still in the early stages, and users are likely to encounter errors more frequently. While most of the errors are trivial and can be fixed by a simple reboot, some just make things a lot more difficult. One example is the 0x8000ffff error code in Windows 11.
This doesn’t allow you to use Windows Update, and in turn, you are left with an outdated version of the OS which puts your system at risk. So, let’s find out how you can fix 0x8000ffff in Windows 11.
 NOTE
NOTE
What does error code 0x8000ffff mean?
The 0x8000ffff error in Windows 11 usually points to an issue preventing the update process from going through. And it’s usually easily fixable.
Here are some of the reasons why you may be seeing the error:
- Corrupt system files – If the system has corrupt system files, you will likely face a range of issues, including some while updating Windows.
- Critical services not running – Many users found that Windows Update and other critical services were not running.
- Malware or virus infection – The presence of malware or virus on the computer can also affect the update process and also lead to issues launching the Microsoft Store.
- Conflicting apps or third-party antiviruses – Several users reported that a third-party antivirus caused the issue, and our solutions will help fix the Windows Update error code 0x8000ffff.
How can I fix the 0x8000ffff error code in Windows 11?
Before we head to the slightly complex solutions, here are a few quick ones to get things up and running:
- If this is the first time you are encountering the update error, we recommend you try again in some time. In a few cases, the error appeared due to issues with the Microsoft servers.
- Disable all third-party antiviruses and security software installed on the PC.
If none works, the solutions listed next certainly would.
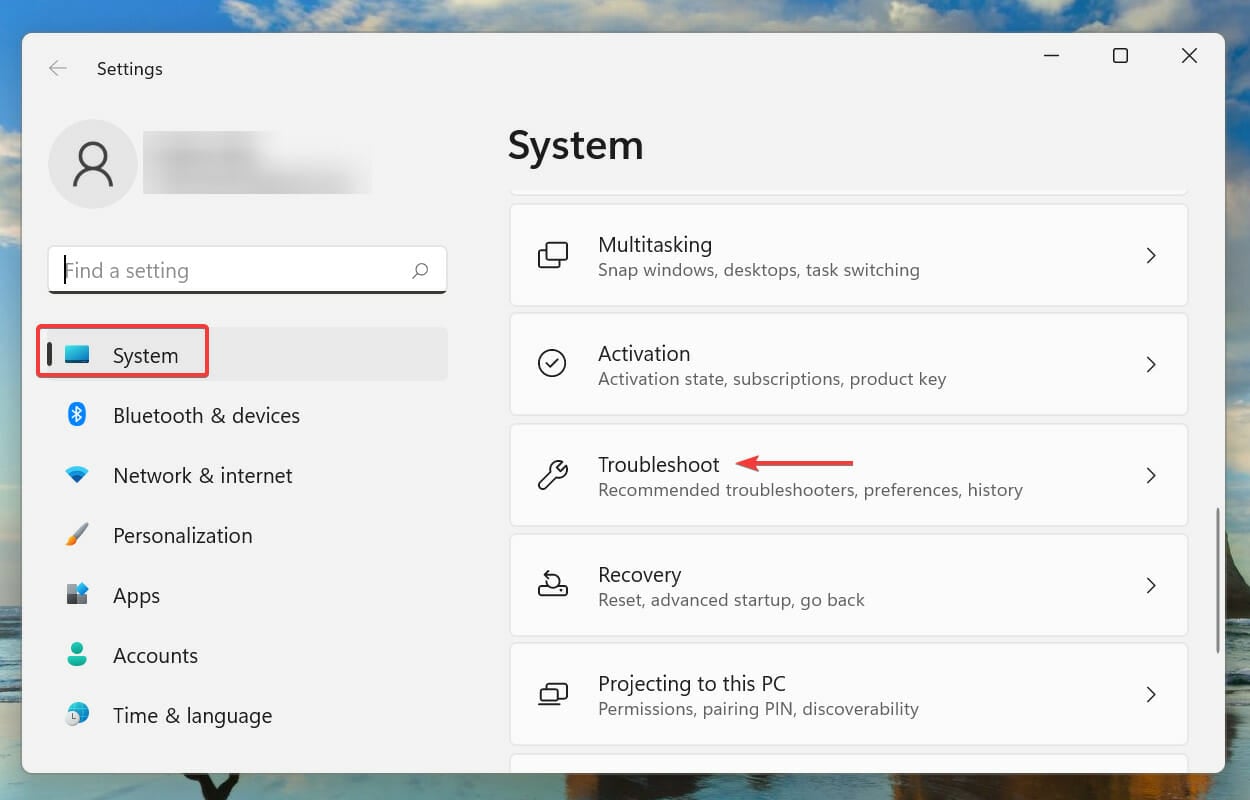
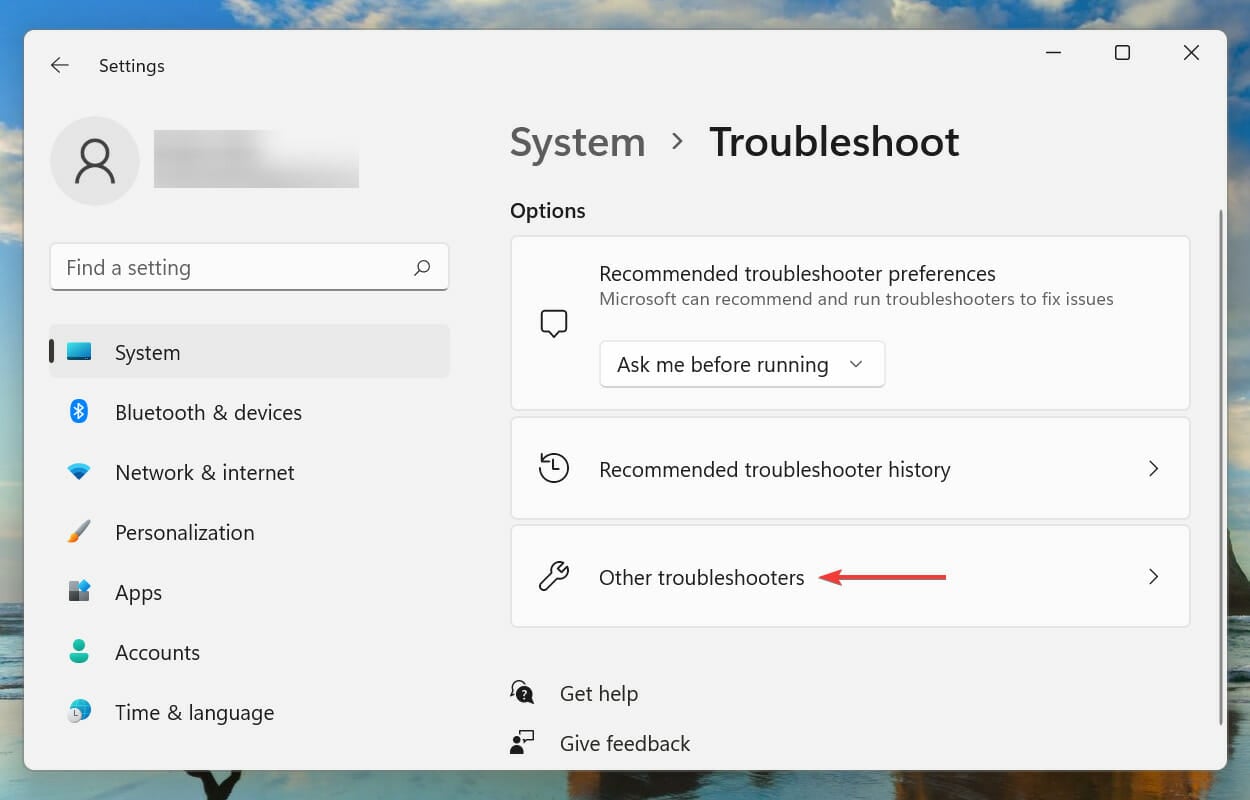
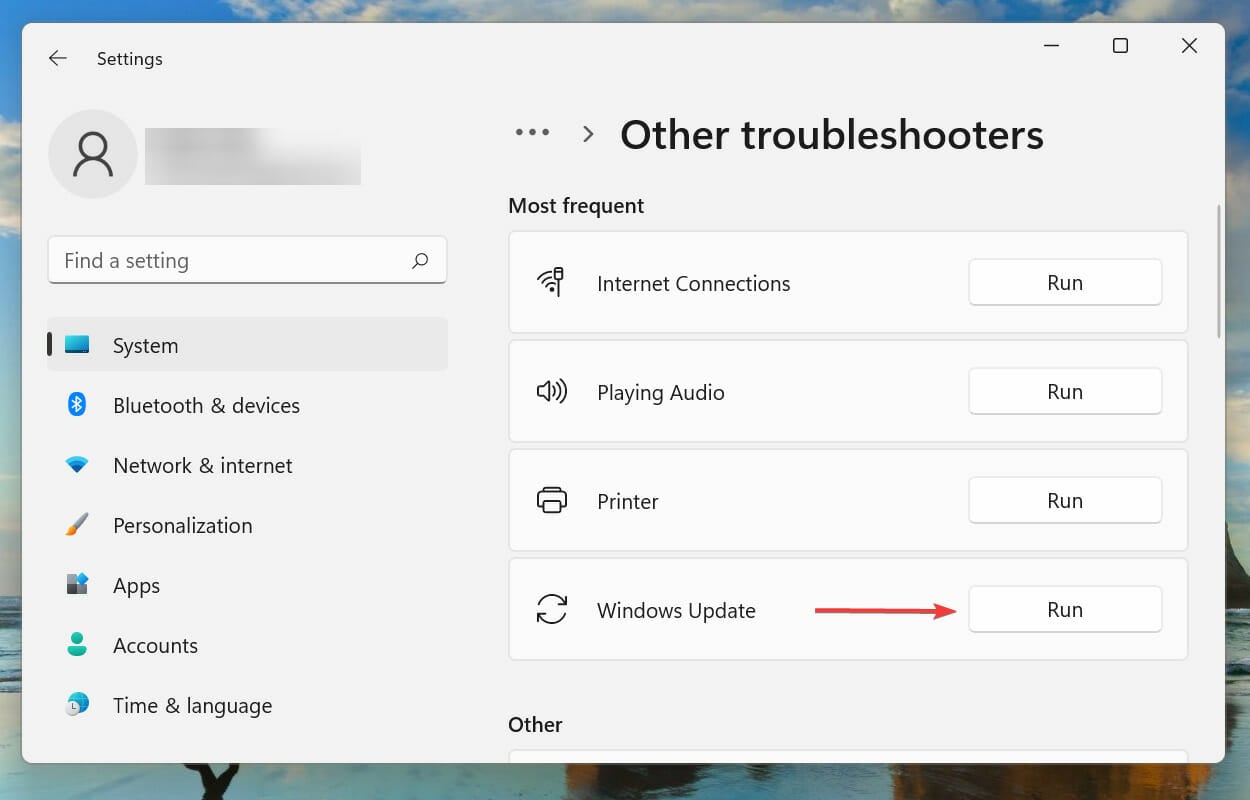
1. Run the Windows Update troubleshooter
- Press Windows + I to launch the Settings app, and click on Troubleshoot on the right in the System tab.

- Next, click on Other troubleshooters.

- Locate the Windows Update troubleshooter and click on the Run button next to it.

- Wait for the troubleshooter to diagnose the problem and follow the listed instructions to resolve it.
Your primary approach when eliminating errors should be to run a relevant troubleshooter if there’s one for the problem. The troubleshooter automatically diagnoses the problem and, in most cases, makes the necessary changes to the system to fix it.
Once the troubleshooter is done running, check if the 0x8000ffff error code in Windows 11 is fixed. If the issue still persists, we recommend specialized repair software, it will scan your PC for damaged and missing system files and automatically repair or replace them.
2. Uninstall BitDefender and Malwarebytes
If you have either BitDefender or MalwareBytes installed on the PC, uninstall them. While disabling works for other third-party antiviruses, these two, in particular, are known to affect the update process, even when disabled.

You can either use a reliable software uninstaller to remove these or go with the dedicated uninstaller tool released by the MalwareBytes and BitDefender. Once done, verify if the Windows Update error 0x8000ffff is still encountered.
3. Disable .NET Framework
- Press Windows + S to open the Search menu, enter Turn Windows features on or off in the text field, and click on the relevant search result.

- Uncheck all the .NET Framework entries here, and click on OK.

- Once done, restart the computer for the changes to come into effect.
- Now, press Windows + I to open Settings, select Windows Update from the navigation pane, and click on Check for updates.

It should now install all the pending updates without throwing the 0x8000ffff error in Windows 11. Also, many users reported that it was a combination of disabling/uninstalling the antivirus and the .NET Framework that fixed things. So try that as well.
This method will fix things for the following two updates:
- KB5015814 error 0x8000ffff
- KB5016629 Windows 11 update 0x8000ffff
Also, once done, re-enable the .NET Framework from Windows Features. This time, simply select the entries you unchecked earlier and click OK.
4. Disable Windows Security
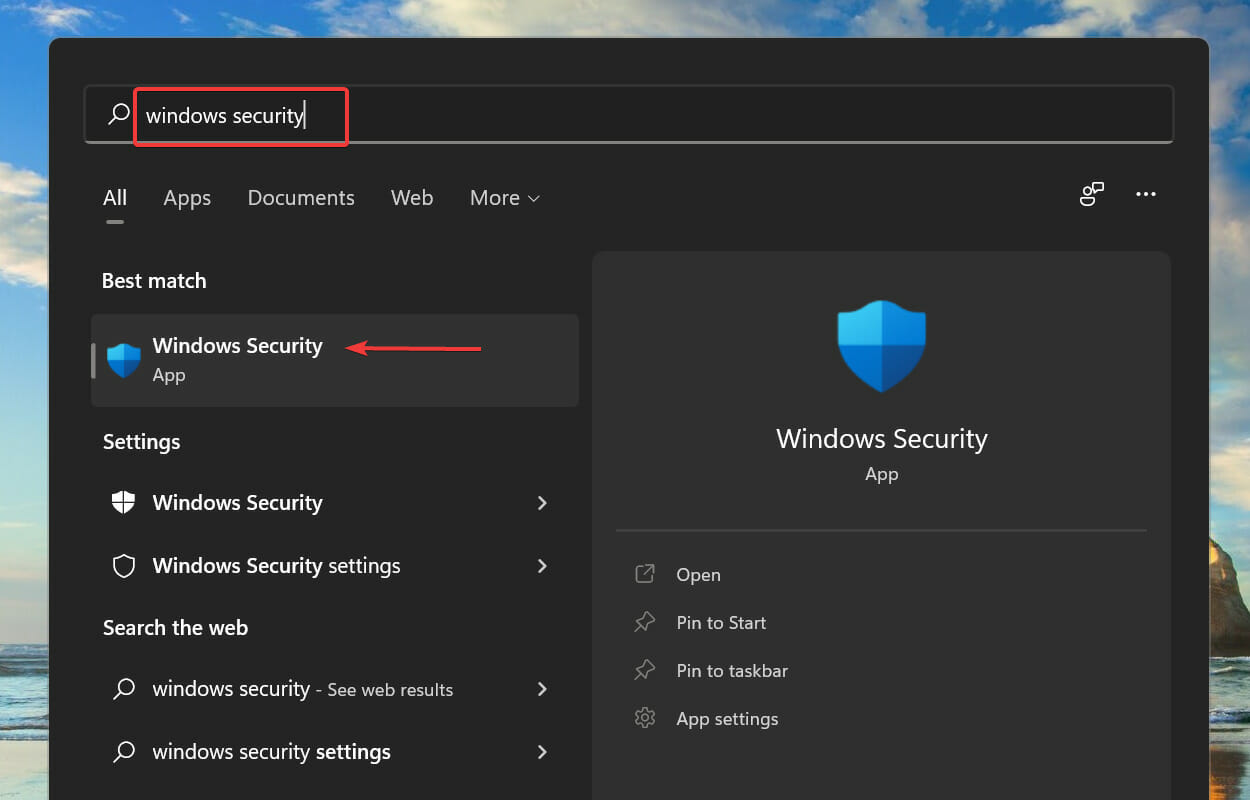
- Press Windows + S to launch the Search menu. Enter Windows Security in the text field at the top, and click on the relevant search result that appears.

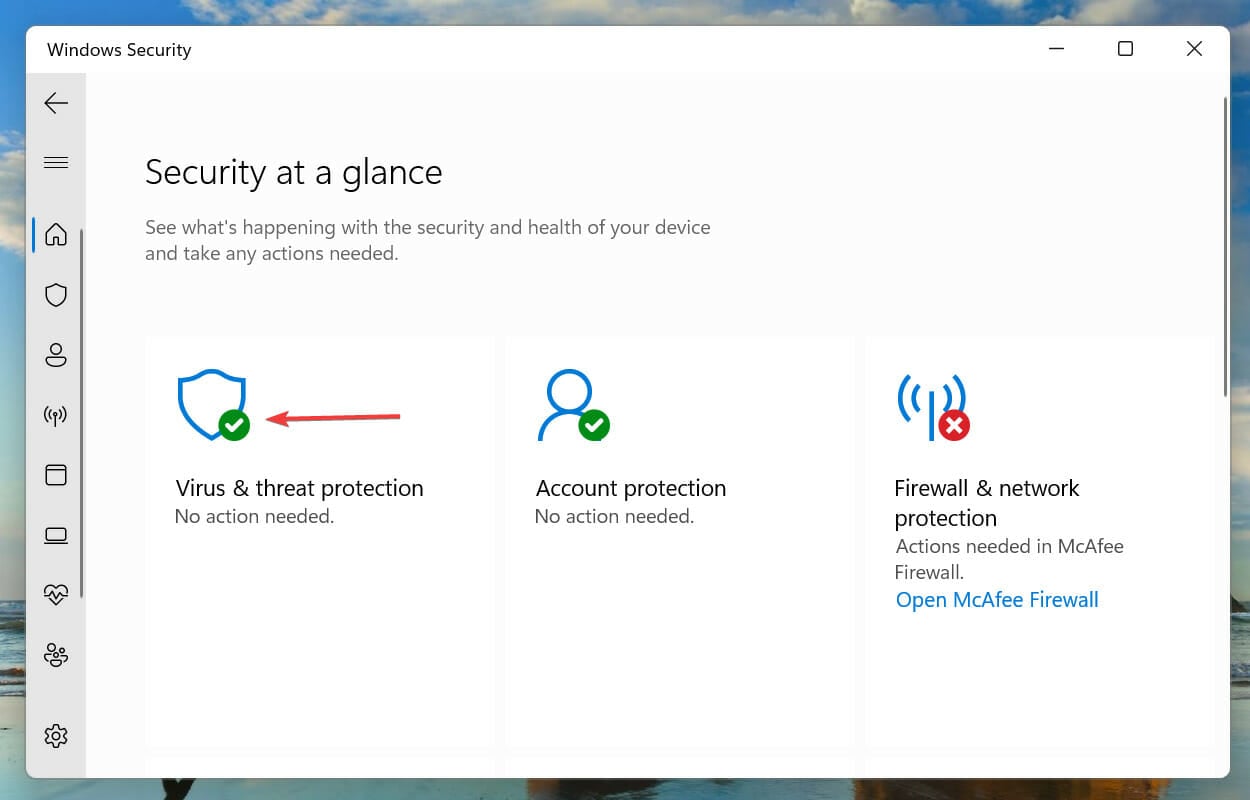
- Click on Virus & threat protection from the options that appear here.

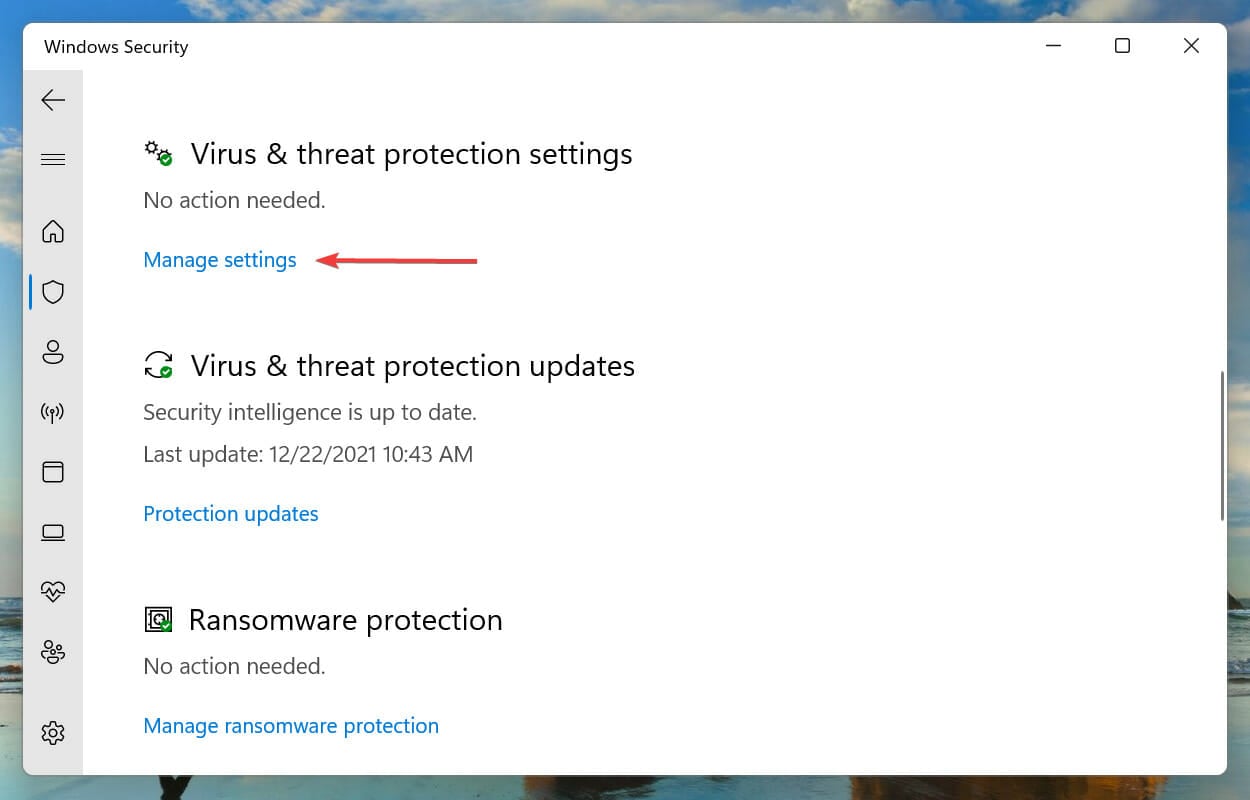
- Next, click on Manage settings under Virus & threat protection settings.

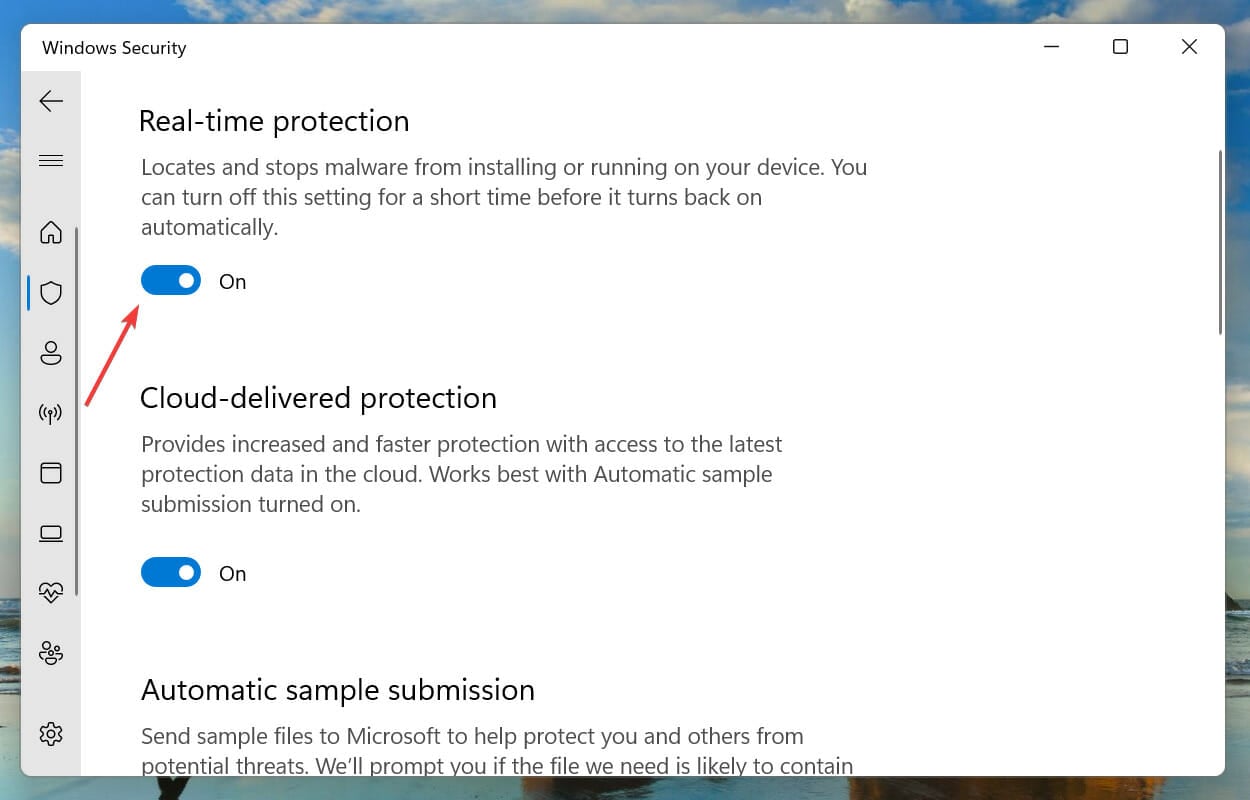
- Disable the toggle for Real-time protection.

- Click Yes on the UAC (User Account Control) prompt that pops up.


If disabling/uninstalling the third-party antivirus didn’t do the trick, it could be the built-in Windows security that kicked in and is now triggering the 0x8000ffff install error in Windows 11. So make sure to disable it as well.
5. Perform an in-place upgrade
- Head to Microsoft’s official website, choose the edition for the ISO and click on the Download now button.

- Choose the installer language from the dropdown menu, and click Confirm.

- Now, click on the 64-bit Download button.

- Once the ISO file is downloaded, double-click to open it.

- Click Open in the prompt that appears.

- Run the setup.exe file here.

- Click Yes in the UAC prompt.
- Click Next in the Windows 11 Setup window.

- Now, click on Accept to agree to the license terms.

- Finally, verify that the Keep personal files and apps option is selected, and click on Install.

- The in-place upgrade would now start, and your computer would restart several times during the process.
Most users fixed the 0x8000ffff update error in Windows 11 with an in-place upgrade. Though the method is slightly time-consuming, it most certainly, will eliminate the underlying cause and get things up and running.
These are all the ways you can fix the 0x8000ffff error code in Windows 11. In case you are encountering it in the previous iteration as well, learn how to eliminate 0x8000ffff in Windows 10.
Several users have also reported coming across Windows 11 installation assistant error code 0x8000ffff, which, too, can be resolved with the methods listed above.
Whether you are on Windows 10 or Windows 11, the error 0x8000ffff catastrophic failure may suddenly appear. Check out this complete error 0x8000ffff catastrophic failure guide to troubleshoot and apply working solutions.
Also, find out how to make your Windows 11 PC faster than ever.
Tell us which fix worked for you in the comments section below.
Read our disclosure page to find out how can you help Windows Report sustain the editorial team. Read more


Improve this guide


User forum
0 messages