How to Split Screen in Portrait Mode [Easy Guide]
Place your windows side-by-side using split screen
4 min. read
Updated on
Read our disclosure page to find out how can you help Windows Report sustain the editorial team. Read more
Key notes
- Are you looking for a way to enhance your productivity by using two or more windows simultaneously? If so, you'll find the split screen feature worthy of your time.
- In this article, we show you how to use built-in tools to achieve a split screen in portrait mode.

Split screen is a feature that allows you to use two apps simultaneously. It’s very useful for multitasking and keeping track of multiple things simultaneously. For example, you can have a video playing on one half of the screen while you browse the web on the other half.
Before Windows 11, users had to install split screen software if they wanted to split their screens. While these work great, not everyone enjoys installing third-party software, especially if you have limited space. Today, we show you how to split in portrait mode.
Can I split my portrait screen into two?
Before we get into the details of how to split screen in portrait mode, let’s talk about what portrait mode is. For those unfamiliar with this term, portrait mode refers to vertical orientation. The horizontal orientation is called landscape.
This is an important distinction when it comes to using two apps at once because most apps can only be used in one orientation or another but not both.
How do I split my screen vertically in portrait mode?
1. Use Windows keys
- On the window you wish to split, press the Win + Left or Right keys.
- Your main window will move in the direction you selected. Next, select another window you wish to place on the other side, then press the Win + Left or Right keys combination again. This time, press the direction that is yet to be filled up.
- If you would like more than two sections, click on one of the two windows and press the Win + Up or Down keys combo to create space.
- Now, your screen will be split into different sections.
2. Use Snap layout
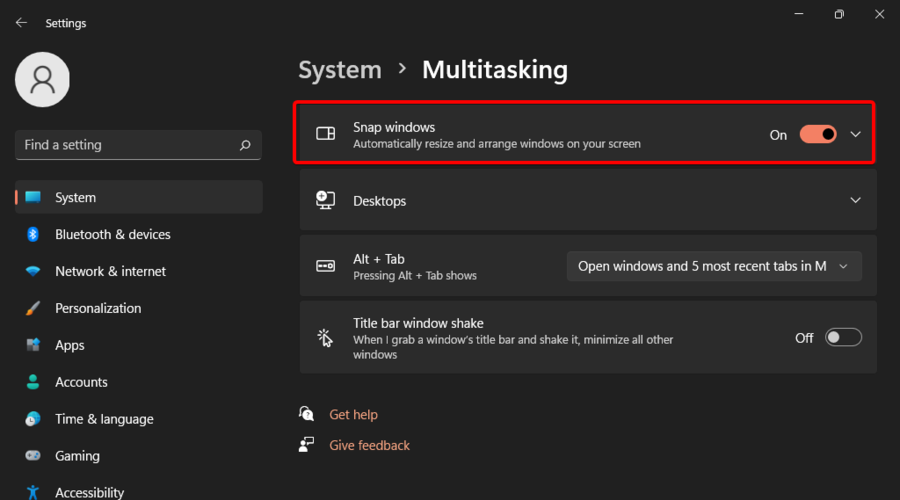
- Click on the Windows key, then open the Settings menu.
- Go to System, then navigate to Multitasking.
- Find the Snap windows section and turn it On.
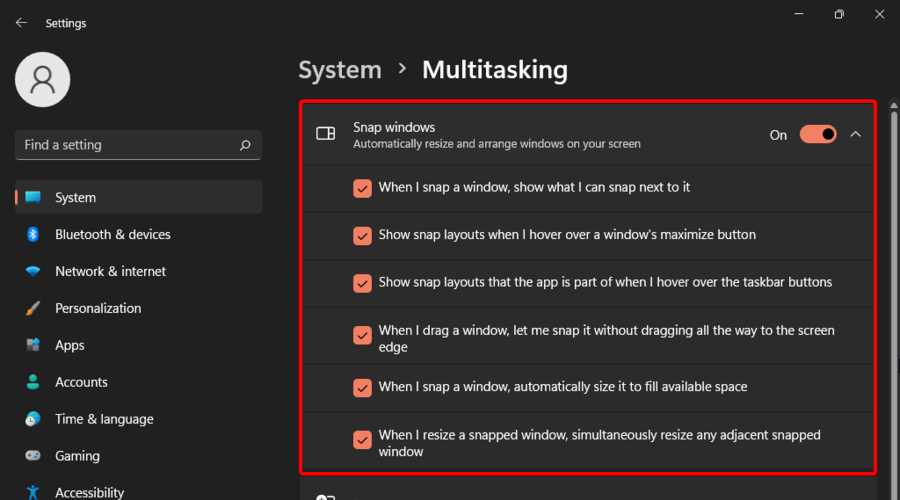
- To explore various options, you can expand this section by clicking on it.
- There, checkmark whatever you need. Keep in mind that you can choose multiple options.
- To split the screen into two sections, you have to open the window you want to split and hover the mouse cursor over the maximize button near the top-right corner of the window. Do not click until the layouts appear.
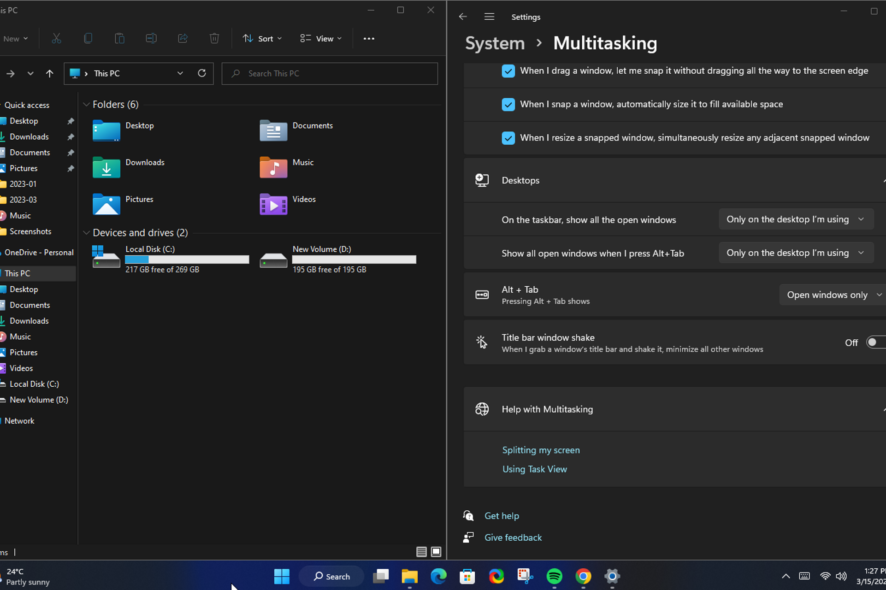
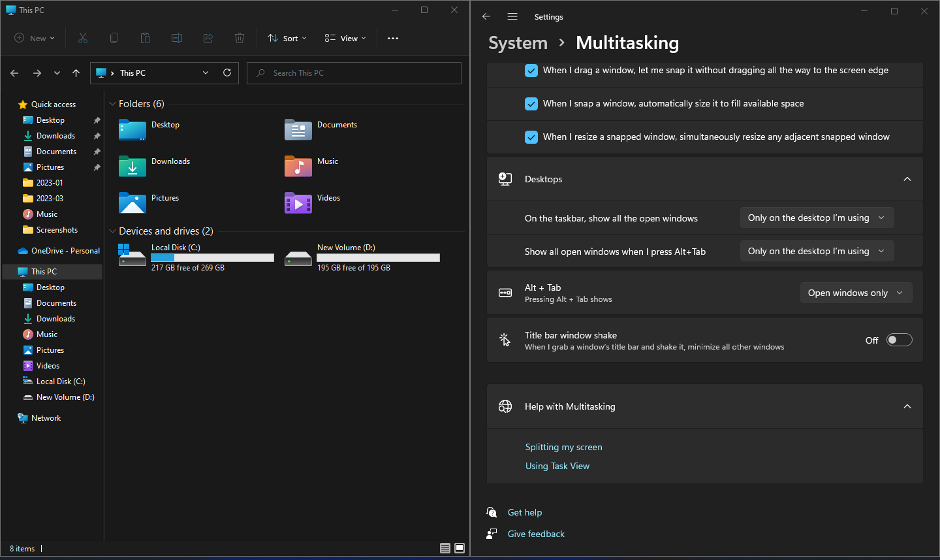
- Select the first layout to split the window into two portrait sections.
- Now, your current app window will snap into the selected half of the screen, and the other open apps will be displayed as thumbnails in the other half.
- Click on the one you want to add to the other half of the screen.
- You’ll now see two app windows. And the best part is that you can access and work on them simultaneously.
3. Use the mouse to resize
Another alternative to split screen in portrait mode is using your mouse. This will require a lot of manual work as you resize your windows and drag them from side to side until they are your desired size.
If they are two windows, you can easily create a balance, but any more would be too much work, and we recommend using any of the above two methods instead.
If an app or windows fails to split, it does not support the feature. Sometimes, it’s not the app, and you’ll find that the split screen is just not working. If so, feel free to check out our fix guide on how to get it to work again.
You can also enjoy the split screen feature on your Chrome browser. We have compiled a list of split-screen extensions allowing you to view multiple windows simultaneously.
And that’s how to split your screen in portrait mode on your PC. If you have any additional thoughts on this topic, leave us a comment below.


User forum
0 messages