Windows 11 Recovery USB: Download, Install & Create
Everything you need to create and use a recovery drive for your PC
4 min. read
Updated on
Read our disclosure page to find out how can you help Windows Report sustain the editorial team. Read more
Key notes
- If your Windows 11 PC encounters an issue preventing it from booting, you can revive it using a recovery USB.
- You need a clean 16 GB USB drive to create the recovery drive.
- You can download a recovery USB for your PC from another device of the same architecture.
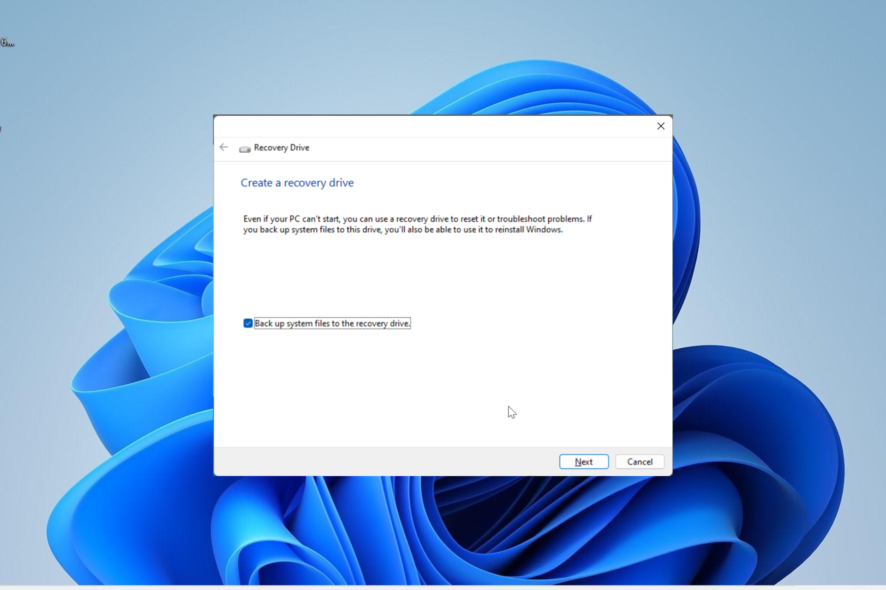
Your PC can sometimes run into issues that make it difficult to boot into it normally. In this case, you can revive it using a Windows 11 recovery USB.
While all this looks simple and straightforward, you still need to know how to create and use the recovery USB. In this guide, we will walk you through the steps you need to follow to perform this task effortlessly.
Can I download a Windows 11 recovery USB?
If your operating system crashes completely, you can download a Windows 11 recovery USB from another PC that works perfectly. However, the PC you are creating the recovery drive from must be of the same architecture as yours.
The best option still remains to create the USB from your PC when it is functional. This eliminates any compatibility risk.
Alternatively, you can also download and use a Media Creation Tool instead on another PC. This can also help you recover your PC if you have trouble booting into it.
How long does it take to create a Windows 11 recovery USB?
The duration it takes to create a recovery USB depends on many variables, like your PC strength and the quality of the USB drive. On average, it should take about an hour because of the number of files to be moved.
However, if your PC is slow, you can spend a few hours trying to finish the job.
How do I create a Windows 11 recovery USB drive?
1. Creating the drive
- Get a new and empty USB drive of 16 GB size ready to prevent issues
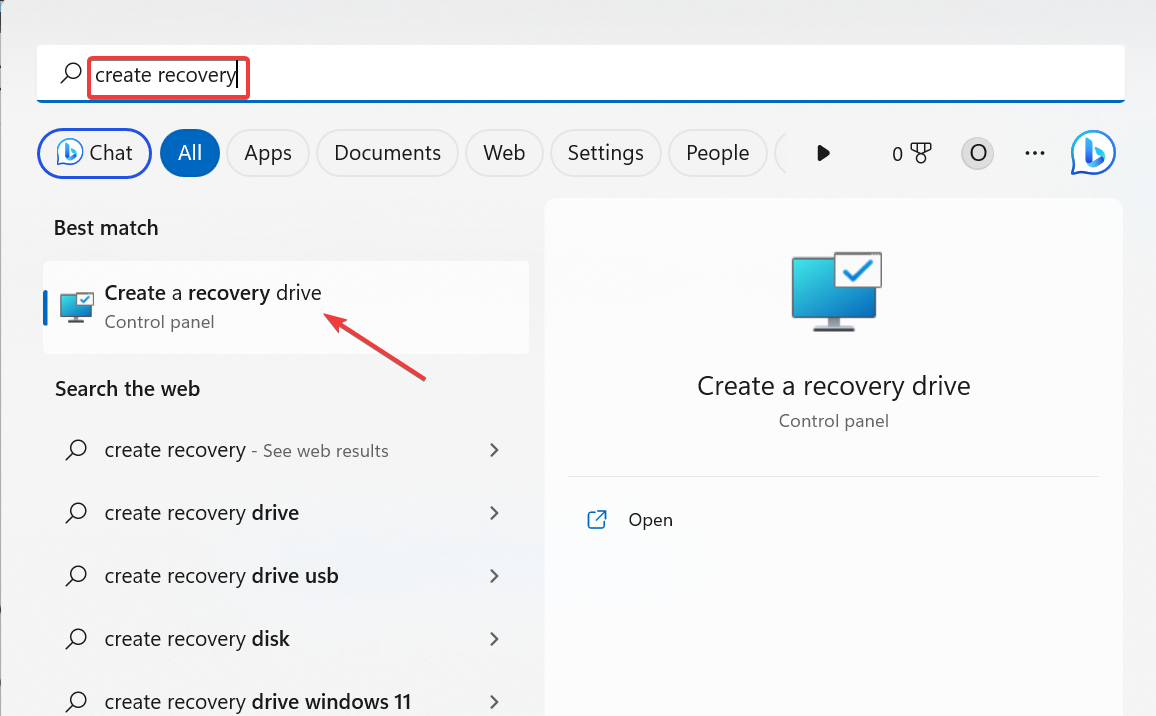
- Press the Windows key + S, type create recovery, and select Create recovery drive.
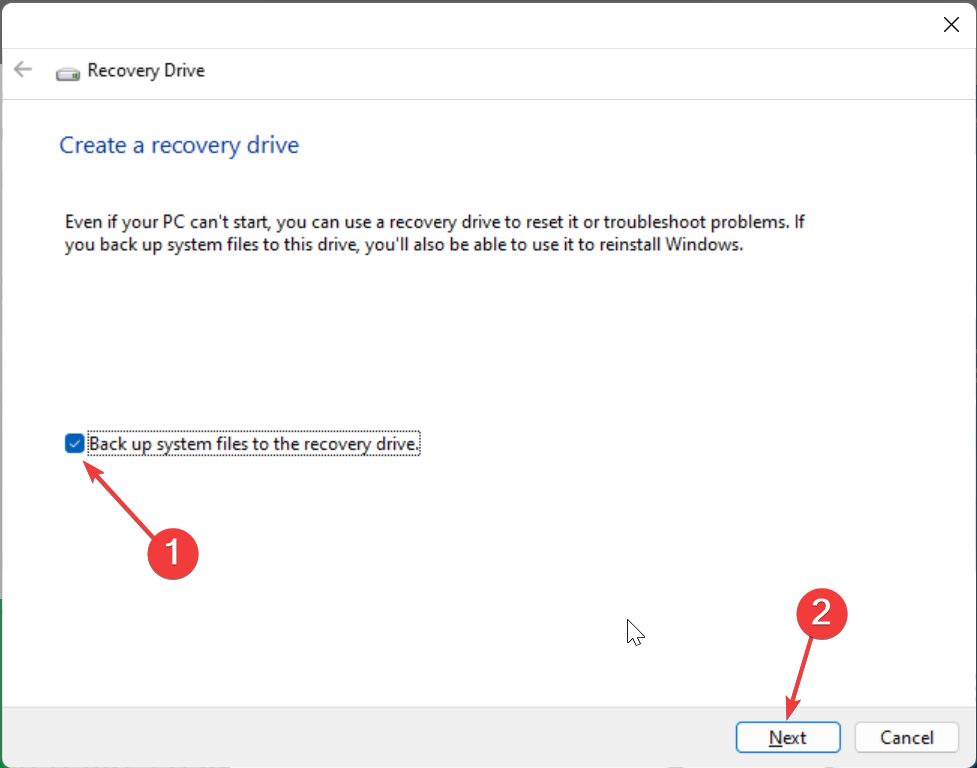
- Now, check the box for Back up system files to the recovery drive.
- Click the Next button to proceed.
- From here, connect the 16 GB USB drive to your PC and select it.
- Now, click the select Next.
- Finally, click the Create button and wait for the process to complete.
With this, we have completed the first step in creating the Windows 11 recovery USB. Note that using an empty USB drive is important because this process will wipe its contents.
Also, this process will take a while because many files will be copied to the recovery drive. So, you need to be patient and ensure your PC is connected to a power source and active.
2. Using the drive
- Connect the recovery drive to your PC and Power it on. If your PC does not boot from the recovery USB, restart it and change the boot order to the USB drive.
- When your PC boots from the recovery drive, select your language, keyboard, and other vital information, and click the Next button.
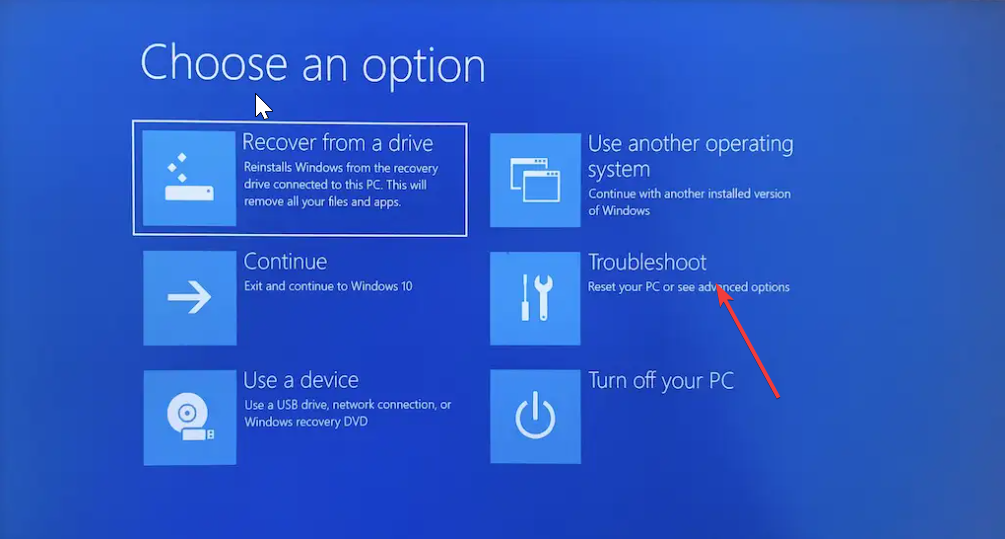
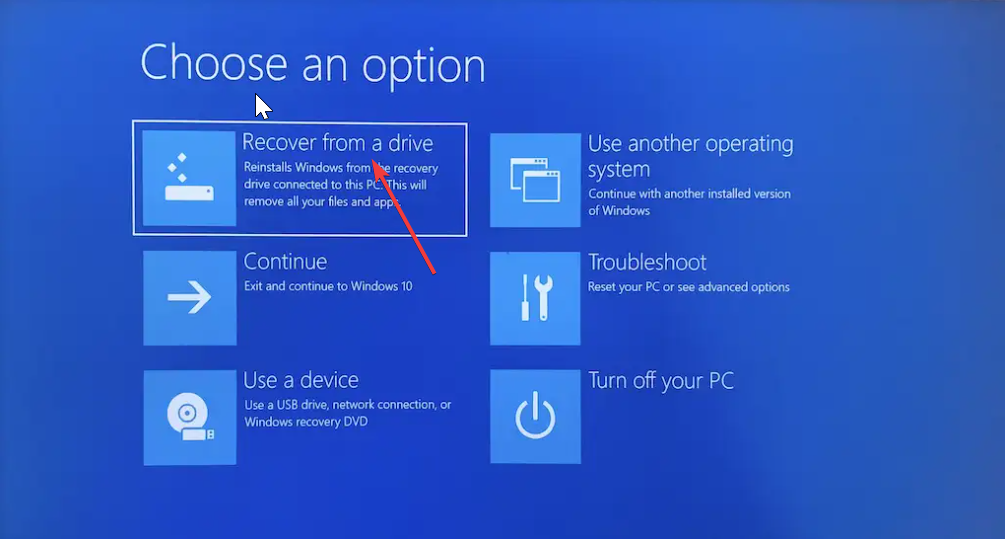
- Now, you will be presented with a few options.
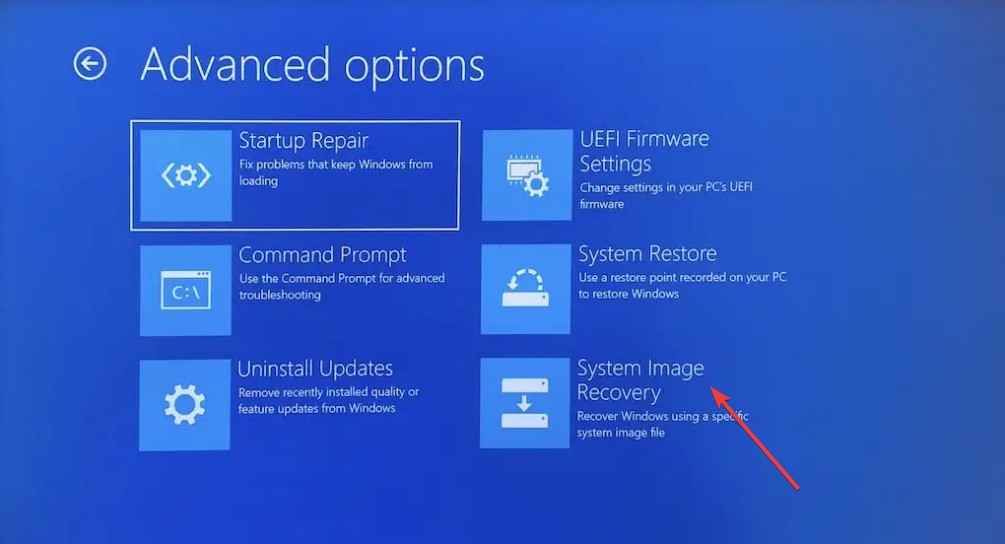
- Before choosing the option to Recover from a drive, you should select the Troubleshoot option to use some of these recovery tools:
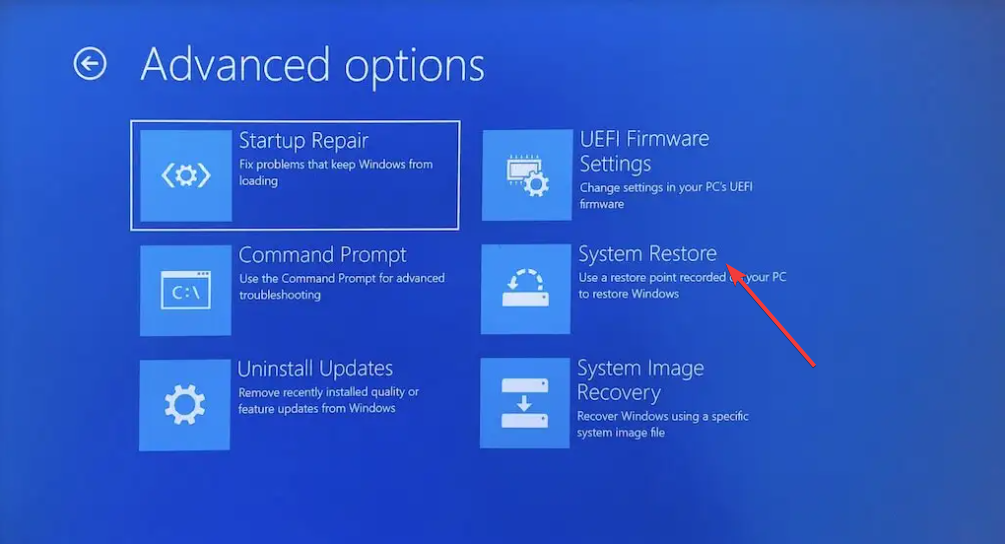
- System Restore: This helps to restore your PC to an earlier point when it was working well. This works if you have created a restore point in the past or your PC created them after an update.
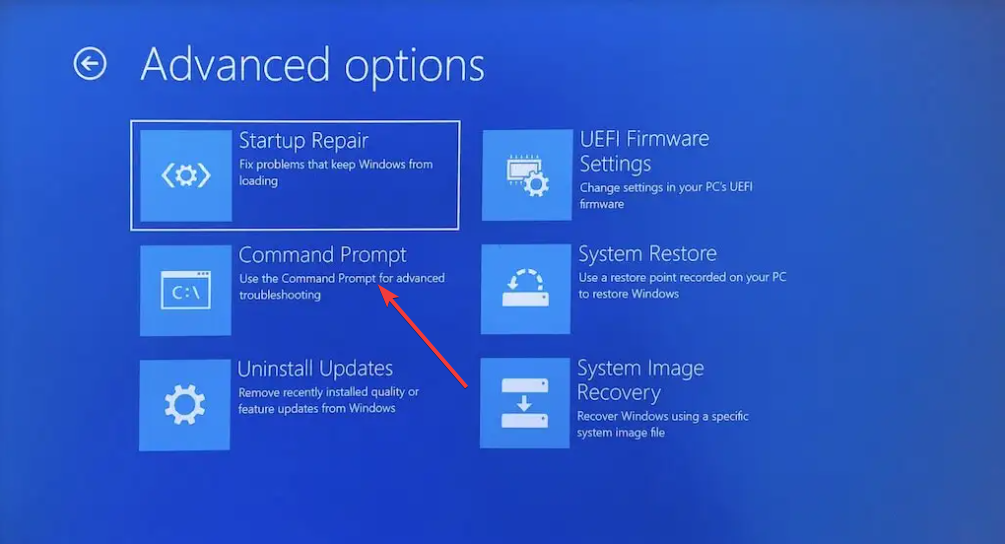
- Command Prompt: Using the Command Prompt, you can run a few commands like SFC, DISM, and CHKDSK to repair your system files.
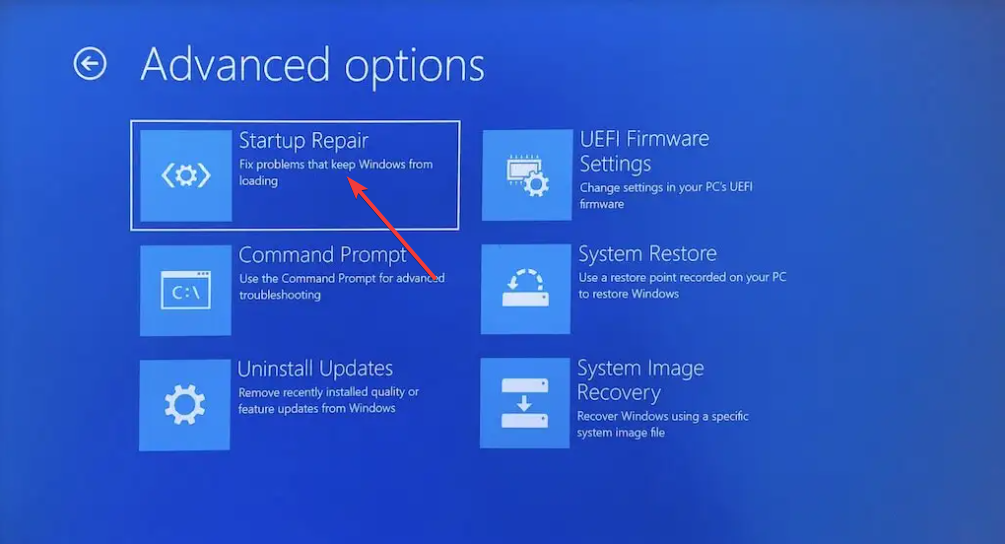
- Startup Repair: This should be one of the first options you should try if you are having problems booting into your PC. This tool will automatically try to repair your startup files.
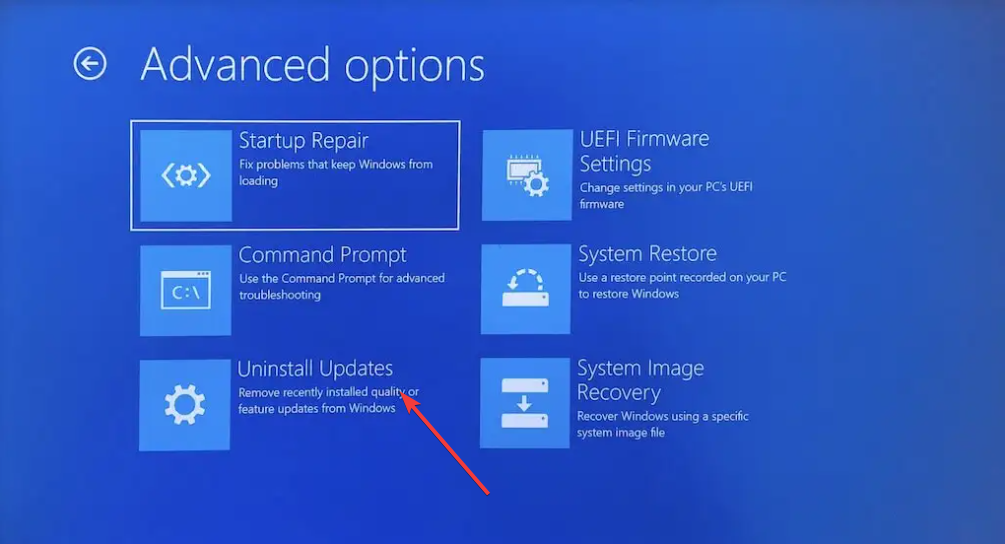
- Uninstall Updates: If you started encountering issues on your PC after installing an update, this tool is the perfect option for you. It will help you remove these updates and restore normalcy on your PC.
- System Image Recovery: This option should be the last resort as it will restore your operating system and personal data.
- System Restore: This helps to restore your PC to an earlier point when it was working well. This works if you have created a restore point in the past or your PC created them after an update.
- Lastly, if the options above fail, you need to restart your PC, boot from the recovery drive, and select Recover from a drive instead in Step 4.
At this juncture, we can conclude this guide on creating and using a Windows 11 recovery USB. Overall, creating a recovery drive when your PC is healthy is a good practice.
This will make it easy to recover your operating system when you encounter serious issues like the dreaded Blue Screen of Death.
However, if you can’t create a recovery drive on your PC, check our detailed guide to force it through.
Feel free to let us know in the comments below if you encounter any issues applying the steps above.


User forum
0 messages