You Can Record Your Screen through Snipping Tool
The good news comes within Windows 11 Moment 2 update
2 min. read
Updated on
Read our disclosure page to find out how can you help Windows Report sustain the editorial team. Read more
Key notes
- Microsoft is continuing to improve some of the older apps on the Windows OS.
- Now, you have a feature to record your screen through Snipping Tool, which previously was only available for insiders.
- However, it doesn't capture the voice from the PC itself and it's still plagued by errors.
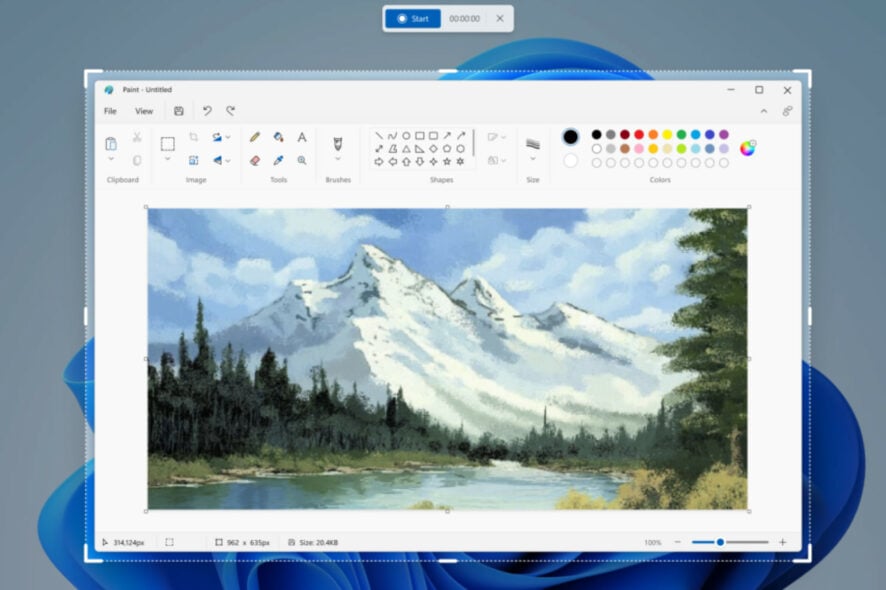
Do you often use Windows 11’s built-in Snipping Tool to capture your PC screen? If so, you’re in for a treat.
Microsoft rolled out a bunch of new features within the Windows 11 Moment 2 update for general availability. Besides the hotly-anticipated Bing AI chatbot on the taskbar, the operating system also welcomes a nice addition of a screen record feature in the Snipping Tool and its autosave feature.
From now onward, you can use it to record and store your screen. As a matter of fact, you can free-form whichever part of your screen you want to record.
If you’re still curious about how it works, here’s how to record your screen through the Snipping Tool.
How to record screen through Snipping Tool?
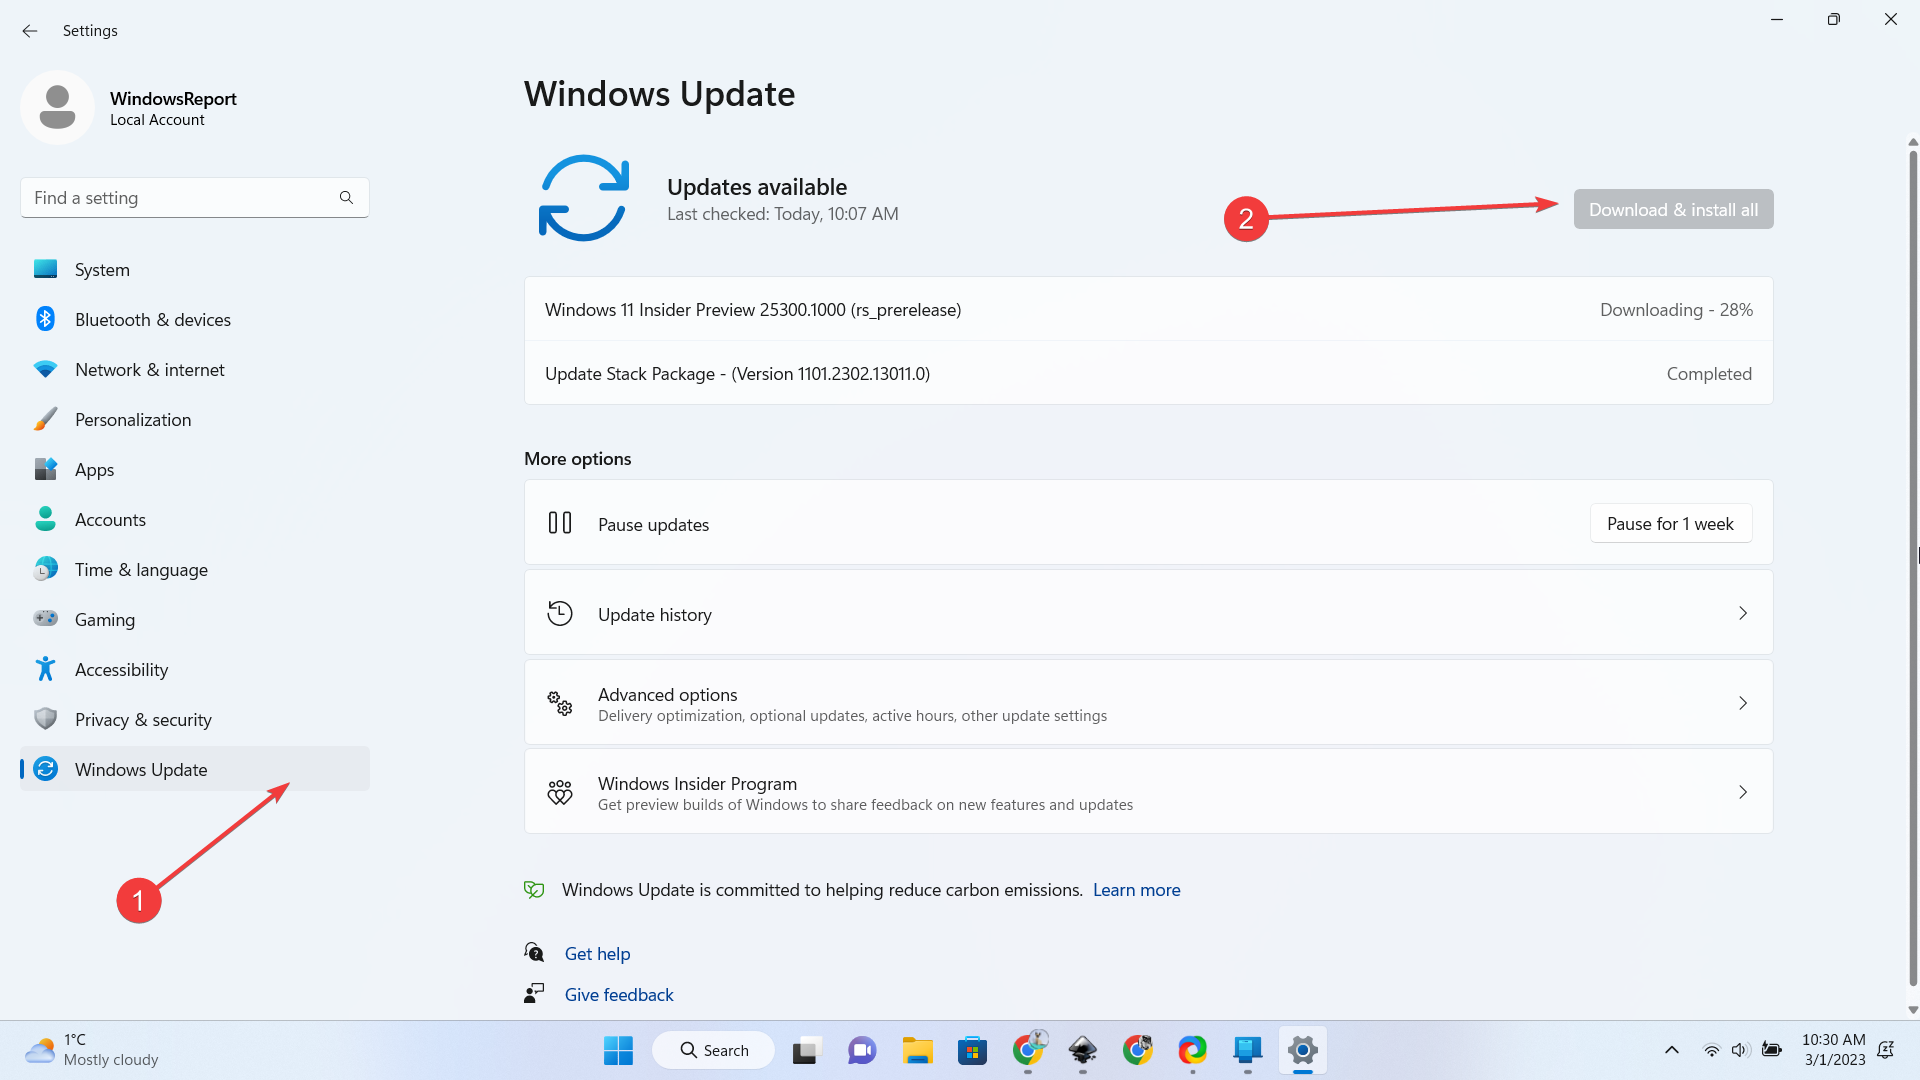
1. Make sure you have the latest Windows 11 update installed. Check on Settings ➜ Windows Update to find out. If not, click on Download & update.
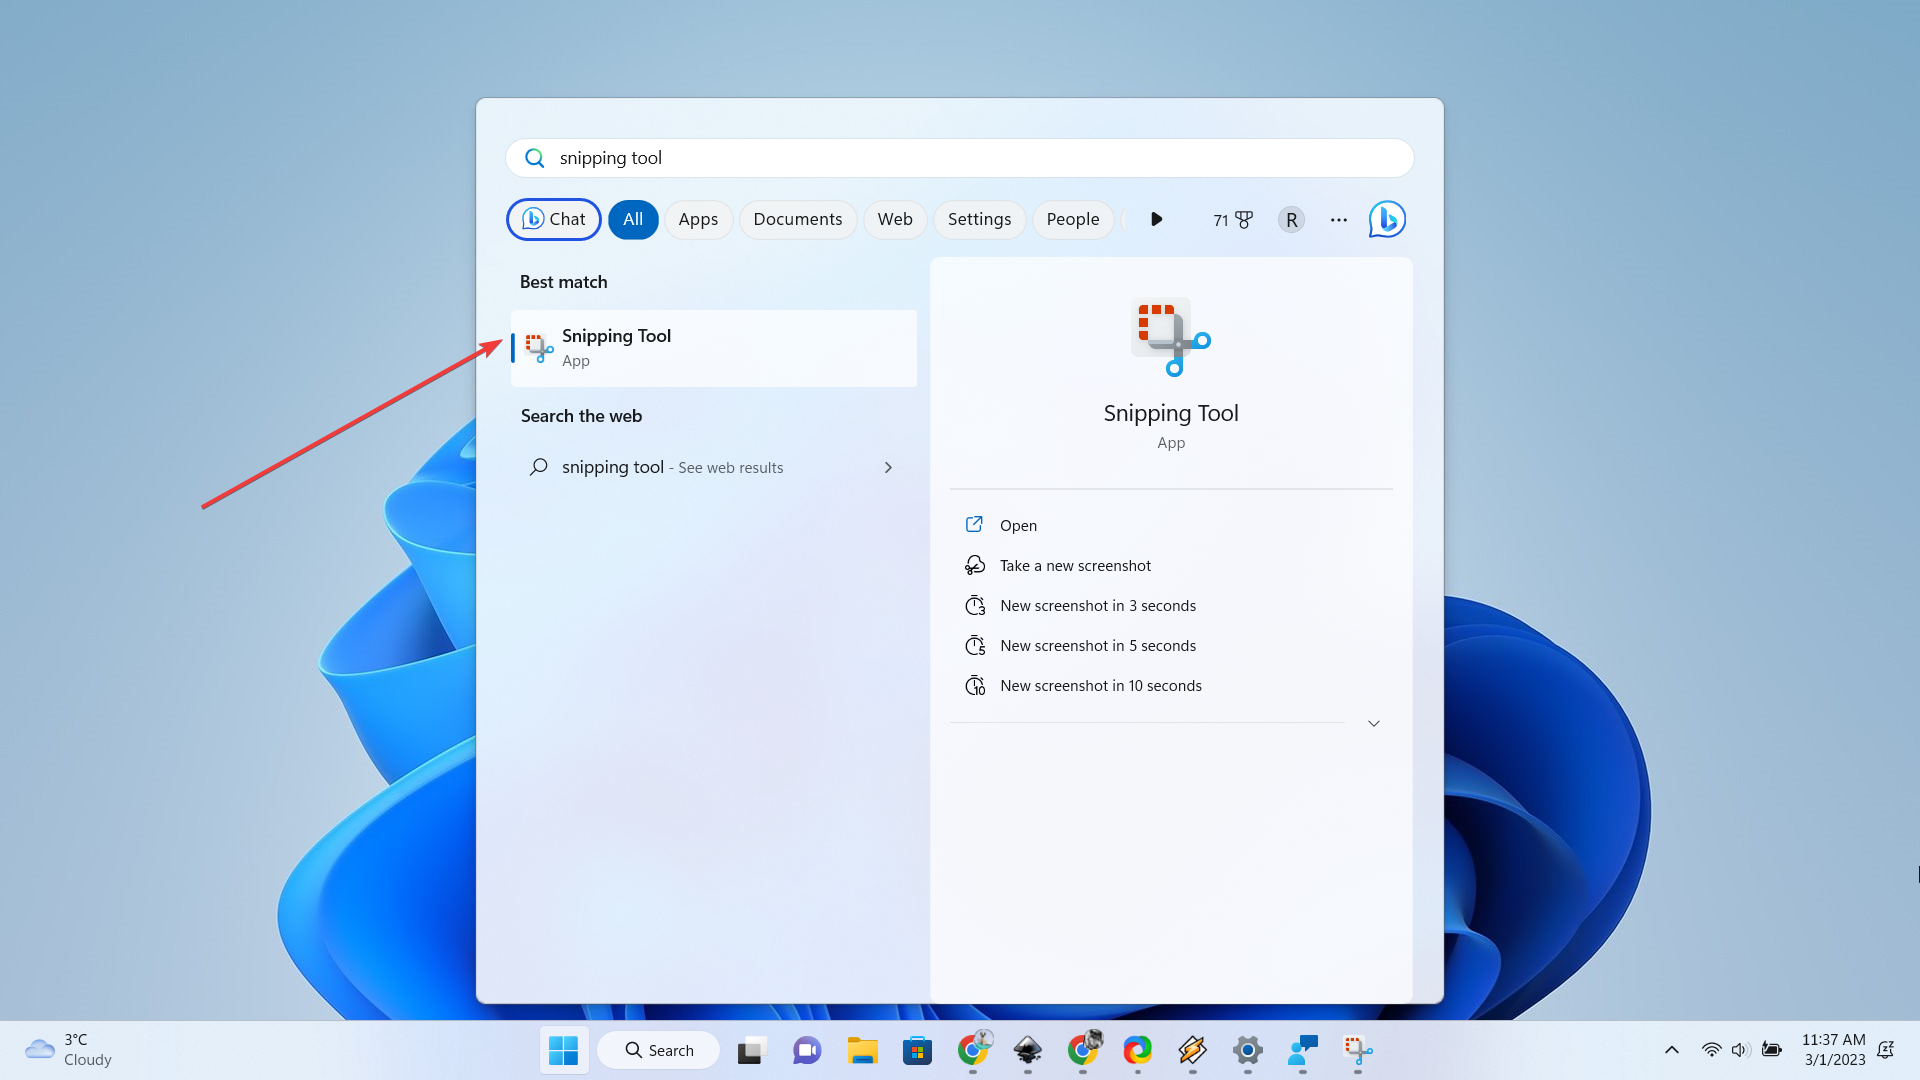
2. Open your Snipping Tool app.
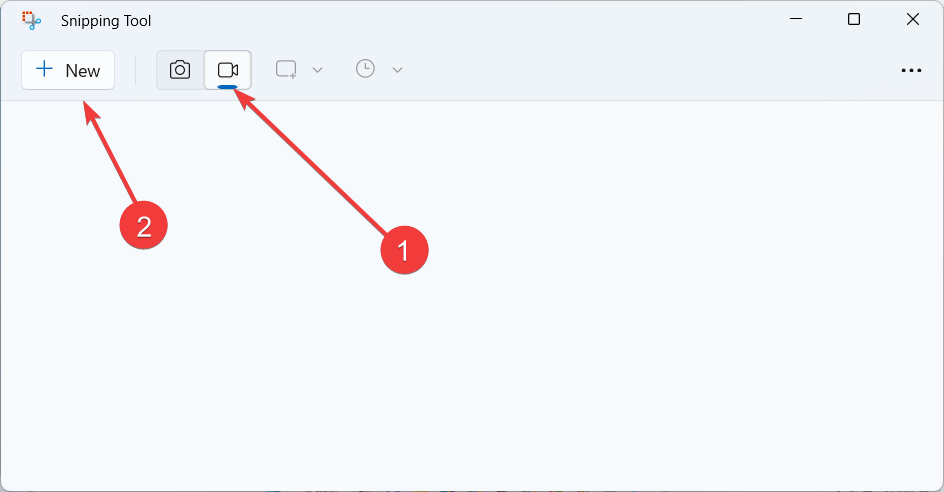
3. Click on the camcorder icon, then click New.
4. Select the area you want to record, then click Start.
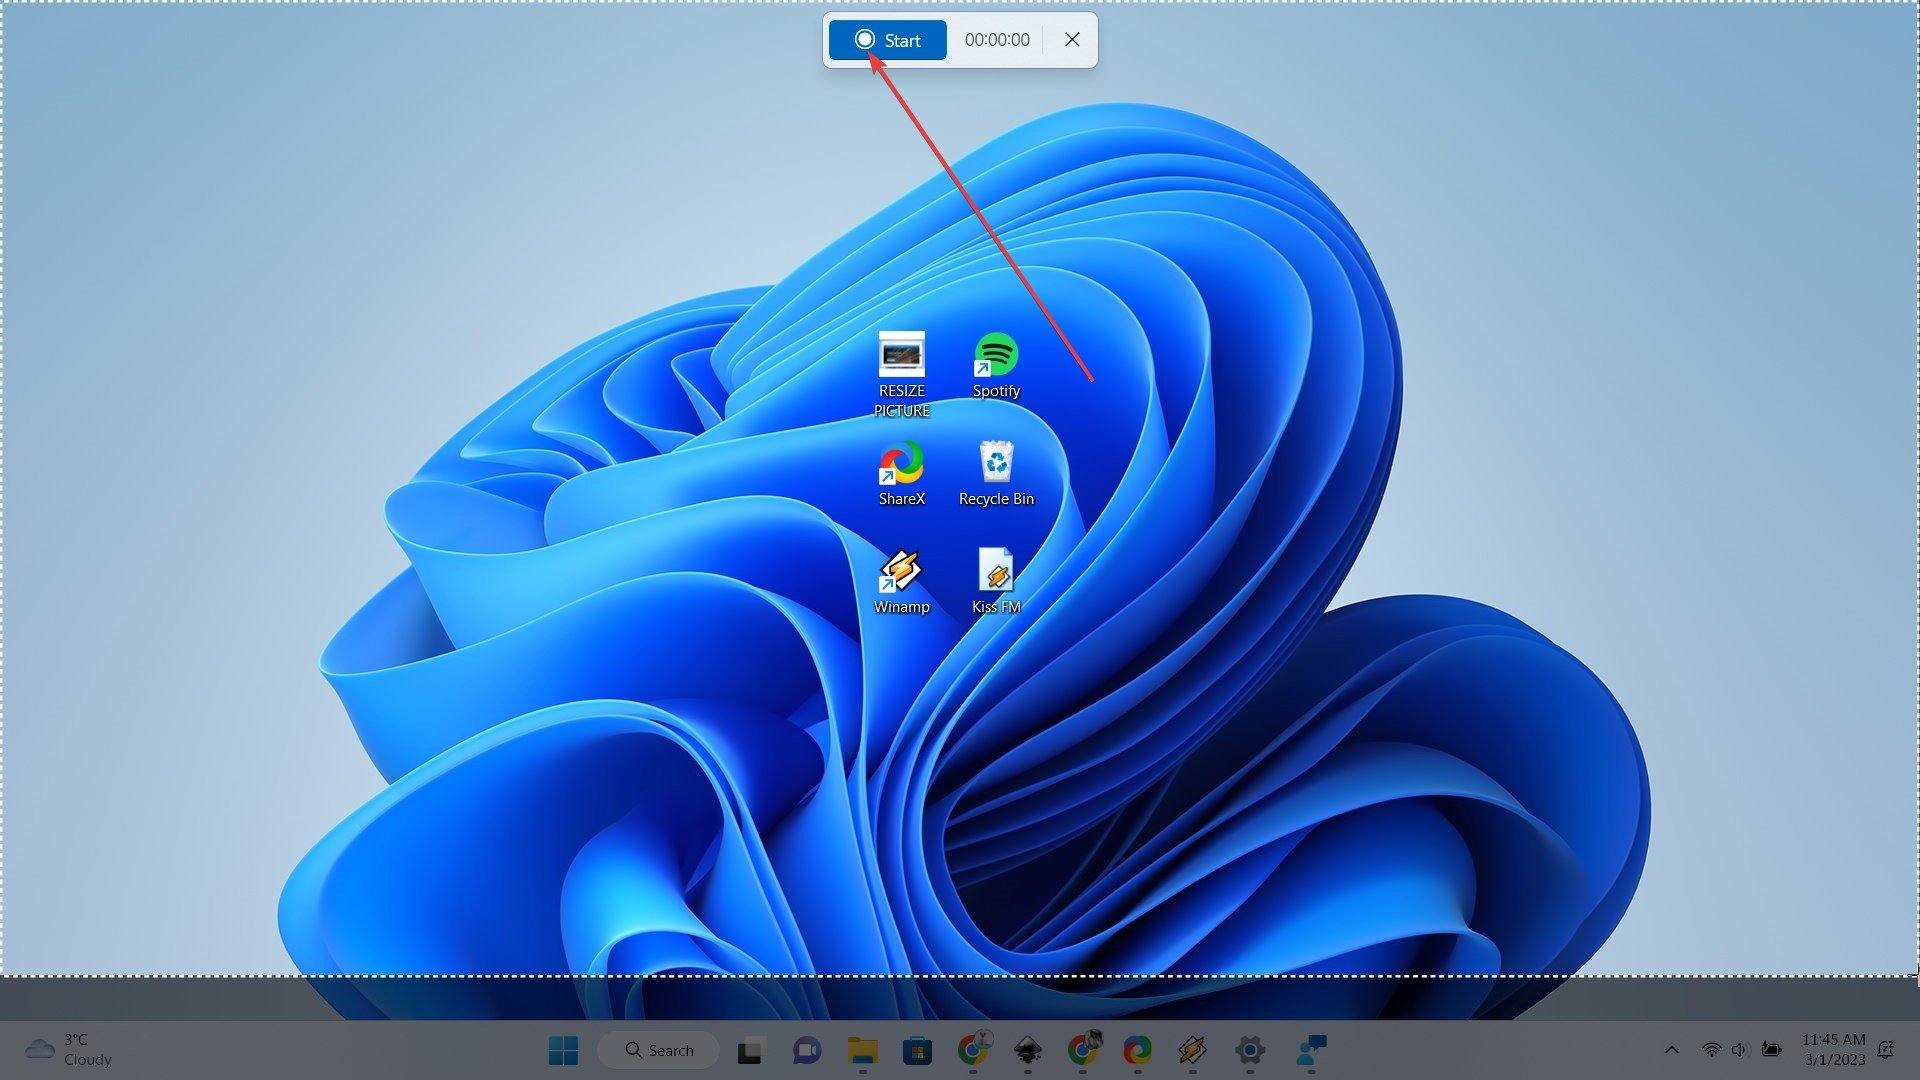
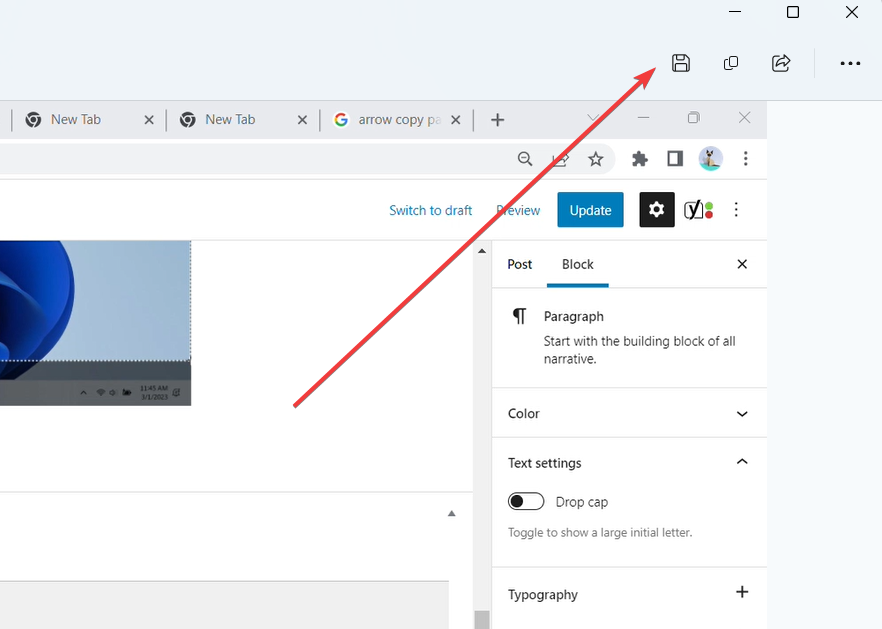
5. Once you’re finished, click the Save button. Pictures
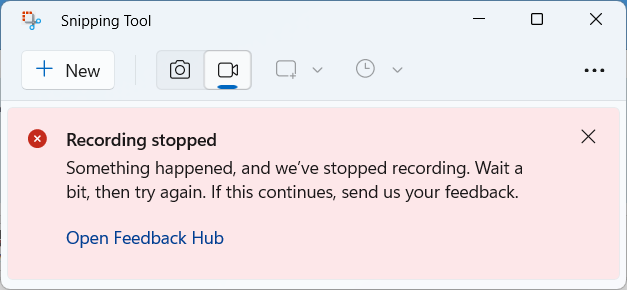
However, upon our testing, the feature hasn’t really worked smoothly. There is no option to pick up sound from the device and it immediately shows an error screen once capturing a constantly moving object (eg.: YouTube video).
You can check out our article on what to do when the screen record video feature is not working and see if you have better luck.
What do you think about this nice addition? Let us know in the comments!


User forum
0 messages