Windows Update Error 0x8007139f: 7 Methods to Use
Check expert-recommended solutions bound to work
Key notes
- Some users complained that they encountered the Windows Update 0x8007139f error while downloading or installing updates.
- Your primary approach should be to disable the antivirus since it may conflict with the built-in option and lead to an error.
- Some users fixed things by manually downloading and installing the update.

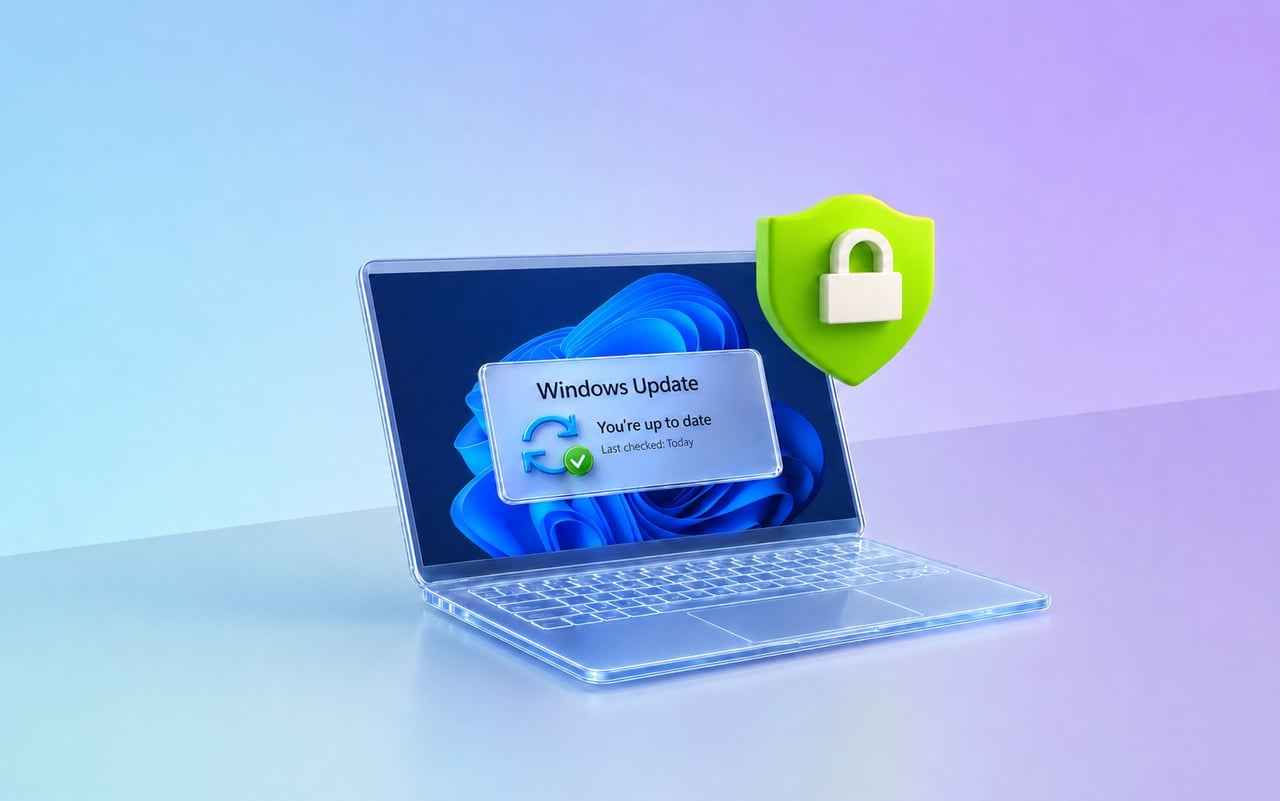
Keeping Windows up to date is quite important, but sometimes you might encounter Windows Update error 0x8007139f while trying to download updates. For some users, while Windows shows it’s up-to-date, the update history lists the error code.
Apart from that, some users reported the error when updating an app via the Microsoft Store, and the solutions presented here would work in that case. So, let’s get straight to it.
What causes the 0x8007139f Windows Update error?
Here are some of the reasons behind the 0x8007139f update error in Windows:
- A conflict between antiviruses – In most cases, the error arises when there is a conflict between the built-in Windows Defender and a third-party antivirus installed on the PC.
- Corrupt update components – In this case, Windows Update would throw errors, and resetting the update script is the ideal way to go.
- Problems with the OS – This is usually due to corrupt system files, but other issues, too, can lead to the 0x8007139f error.
How can I fix Windows Update error 0x8007139f?
Before you try the slightly intricate solutions, here are a few common ones that would work:
- Restart the computer and check if Windows automatically installs the update throwing the error.
- Disable any third-party antivirus or other security software installed on the computer. In case that works out, uninstall the app for the antivirus.
If these two don’t work, head to the ones listed next.
1. Check your antivirus
The leading cause for error 0x8007139f can sometimes be your antivirus. Of course, having a good antivirus is essential, but sometimes your antivirus can interfere with your system and prevent you from downloading updates.
To fix this issue, it’s advised to disable certain antivirus features temporarily. In addition, you might want to disable your antivirus and check if that solves your problem. Finally, in the error message is still there, we advise you to uninstall your antivirus.
Windows 10 comes with its antivirus in the form of Windows Defender, so you’ll have at least some protection even if you remove your antivirus.
If removing the antivirus solves your issue, you might consider switching to a different antivirus solution.
There are many great antivirus applications on the market; some offer maximum protection and won’t interfere with your system.
2. Make sure the correct date and time are set
- Press Windows + I to open Settings, select Time & language from the navigation pane, and then click on Date & time.

- Next, click on the Change button to Set date & time manually. If the option is greyed out, disable the toggle for Set time automatically.

- Finally, choose the correct time from the dropdown menus, and click on Change.

3. Run a third-party PC repair utility
Sometimes using native solutions just doesn’t cut it anymore, and you can’t always use the exact solutions on Windows 7, 8, and 10 since they differ.
However, you can use a third-party tool that runs a complete scan and performs a full system repair of your PC without limitations on your OS.
4. Reset Windows Update components
- Press Windows + R to open Run, type cmd, and hit Ctrl + Shift + Enter.

- Click Yes in the UAC prompt.
- Now, paste the following commands one at a time, and hit Enter after each:
net stop wuauserv
net stop cryptSvc
net stop bits
net stop msiserver
Ren C:WindowsSoftwareDistribution SoftwareDistribution.old
Ren C:WindowsSystem32catroot2 Catroot2.old
net start wuauserv
net start cryptSvc
net start bits
net start msiserver
4. Once done, restart the computer and check if you can install the update.
Resetting the Windows update components can help fix various issues, including 0x8007139f 0x90019 in Windows. If it doesn’t work, head to the following method.
5. Manually install the update
- Copy the KB (Knowledge Base) number for the update throwing the error, then go to the Microsoft update catalog and locate it using the search box at the top-right corner.

- Now, click the Download button next to the one that best matches the system architecture.

- Click on the link here to start the download process.

- After it’s downloaded, launch the setup, and follow the on-screen instructions to complete the installation process.
That’s it! You can always use the Microsoft Update Catalog if an update cannot be installed automatically. In addition, every update released is available here and can be easily downloaded.
6. Create a new user account
- Press Windows + R to open Run, type netplwiz in the text field, and click OK.

- Now, click on Add.

- If you have another Microsoft-linked account, enter the email address and proceed with the instructions to complete the process.

- You can create a local account by clicking on Sign in without a Microsoft account.

- Now, choose Local account.

- Fill out all the fields here, and follow the on-screen instructions to create a new account.

After you have created a new account, check if you can install the updates on it. If that works, move the files on the previous account to the new one. A simple way to do this would be to use an external hard drive or a USB stick, whatever works best for you.
7. Perform an in-place upgrade
- Go to Microsoft’s official website, choose the appropriate options from the dropdown menus, and download the ISO file for Windows 11. You will also find the media creation tool for Windows 10, in case that’s the iteration you are running.

- Now, open the downloaded file, and run setup.exe.

- Click on Open.

- Click Next in the setup.

- Now, choose Accept to agree to the license terms.

- Finally, ensure the setup lists Keep personal files and apps, and then click on Install.

If nothing previously worked, you can always perform an in-place upgrade and almost every issue with the OS, including the 0x8007139f Windows Update error. And in this case, you would lose any files stored on the computer.
Also, find out how to fix any Windows Update error in Windows 11 and seamlessly eliminate any that appear.
Please tell us which fix worked for you in the comments section below.
Read our disclosure page to find out how can you help Windows Report sustain the editorial team. Read more


Improve this guide


User forum
0 messages