Wlanext.exe: What it is & Fix High CPU
Key notes
- Wlanext.exe can cause many problems with your wireless connection on Windows 10.
- Anyone can fix the wlanext.exe high CPU problem on their own using one of the steps provided below.
- It is also important to note that even though malware may camouflage as this process, it is a legitimate PC process.

Wlanext.exe can sometimes appear on your PC and can lead to various issues when it uses a lot of CPU, mostly to network connection problems.
Here are some of the most common issues related to wlanext.exe:
- Windows Wireless Lan 802.11 Extensibility Framework stopped working – This problem can sometimes occur due to your antivirus settings.
- exe Windows 10 high CPU – This problem occurs if your drivers are out of date.
- exe crash Windows 10/ stopped working/ keeps crashing – The built-in troubleshooter might help you solve any of these issues.
- exe application error/ event id 1000 – According to users, sometimes these problems can occur due to missing system updates.
And now, let’s find out what it is and get to the more specific solutions to fix wlanext.exe issues.
What is Wlan.exe?
Wlan.exe, also called Windows Wireless LAN, is a process associated with the built-in wireless networking feature on Windows operating systems.
It is used to manage wireless network connections on a Windows computer. This process can manage wireless network settings, connect to wireless networks, and diagnose and troubleshoot wireless connectivity issues.
It is located in the System32 folder and is a legitimate file required for the functioning of the Windows wireless network service. However, it is also a common target for malware, so it’s essential to ensure that the copy of wlan.exe on your system is legitimate and not a malicious imposter.
It is not harmful to the performance of your computer unless it is malware infected, but it may consume some of the memory and CPU usages.
Is Wlanext exe a virus?
Wlanext.exe is not a known virus but is associated with software installed on some PCs, but the file can also be used by malware to camouflage itself, which makes it hard to distinguish it as a genuine or malicious one.
It’s best to verify whether the Wlanext.exe file on your system is legitimate by checking its location and properties. The honest version of Wlanext.exe should be located in the C:\Program Files\Intel\WiFi\bin folder and signed by the Intel Corporation.
If you find a copy of Wlanext.exe located in a different folder, or if Intel Corporation does not sign it, it may be a malicious file that disguises itself as the legitimate version. In this case, you should run a full system scan with an antivirus or anti-malware program to check for any malicious software.
Also, you can check the process details and any other information that the task manager provides, which can help you determine if it is legitimate.
It is essential to keep your system and antivirus software updated to prevent possible malware attacks.
How can I fix wlanext.exe high CPU issues?
1. Update your drivers
Wlanext.exe can cause high CPU usage if some drivers, such as the wireless driver, are out of date.
If you’re using a laptop with a built-in wireless adapter, you should be able to get all the necessary drivers from the laptop manufacturer’s website.
Alternatively, you can use third-party tools such as Outbyte Driver Updater to automatically update all your drivers.
With just one click, the tool scans your PC, finds the problematic software. It then lists new compatible drivers, from a huge database of compatible programs.
We should mention that using this tool is completely safe. Besides, it only suggests drivers that are compatible with your device, so if you’re unsure about what to choose on your own, Outbyte Driver Updater can help you.
Plus you can perform any driver-related action you need to repair your system, for example installing or updating drivers, fixing corrupted ones, or finding missing drivers.
2. Check your antivirus
If you’re getting Wlanext.exe error on your PC, it’s possible that your antivirus is causing this issue.
In order to fix this problem, be sure to add wlanext.exe to the list of exclusions in your antivirus.
If that doesn’t work, you can try disabling certain antivirus features or disabling the software altogether. In case the problem is still there, you might be able to fix it simply by removing the tool.
If this solves the problem, this might be a good time to consider switching to a more reliable antivirus.
There are many great tools on the market, but if you’re looking for a reliable antivirus that won’t interfere with your system in any way. To find the fittest solution, you should see the best antivirus programs out there now.
The latest antivirus software will provide rounded anti-malware, anti-spyware removal, or ransomware security to actively detect viruses and clean up your PC.
3. Disable your wireless adapter
- Press Windows Key + X and select Device Manager.

- Locate your wireless adapter on the light, right-click it, and choose Disable device.

- Now wait for a few moments, right-click the disabled adapter, then choose Enable device.

After doing that, check if the problem with the wireless adapter is still there.
4. Run the Network troubleshooter
- Open the Settings app by pressing Windows Key + I.
- Now navigate to the Update & Security section.

- Choose Troubleshoot from the left pane.
- Select the Network adapter and click Run the troubleshooter button.

- Follow the instructions to complete the process.
Afterward, check if the problem is still there. If it is, you can try running Internet Connections troubleshooter and check once again if you can use the mobile hotspot now.
5. Enter Safe Mode
- Open the Settings app and navigate to the Update & Security section.
- Select Recovery from the menu on the left. In the right pane, click the Restart now button.

- Head over to Troubleshoot > Advanced options > Startup Settings and click the Restart button.
- Once your PC reboots, a list of options will appear.
- Select the Safe Mode with Networking option by pressing the corresponding keyboard key.
After entering Safe Mode, check if the problem still appears.
In case you’re not familiar, Safe Mode is a special segment of Windows that runs with default applications and drivers, and it can be useful for troubleshooting various problems.
If you’re getting a wlanext.exe error, you might be able to fix the problem by using Safe Mode.
6. Perform a Clean boot
- Press Windows Key + R to open the Run dialog.
- Enter msconfig in the input field and click OK or press Enter.

- The System Configuration window will now start.
- Head over to the Services tab and check Hide all Microsoft services checkbox.
- Click Disable all.

- Navigate to the Startup tab and click the Open Task Manager.

- Right-click the first entry on the list and choose Disable. Do this for all startup applications on the list.

- Head back to the System Configuration window.
- Now click Apply and OK to save changes and restart your PC.

Once your PC restarts, check if the problem is still there. If the issue doesn’t appear, it means that one of the disabled applications/services was causing it.
Remember that you’ll have to restart your PC, or at least log out and log back to apply changes. Once you find the problematic application or a service, keep it removed or uninstall it and the problem should be permanently resolved.
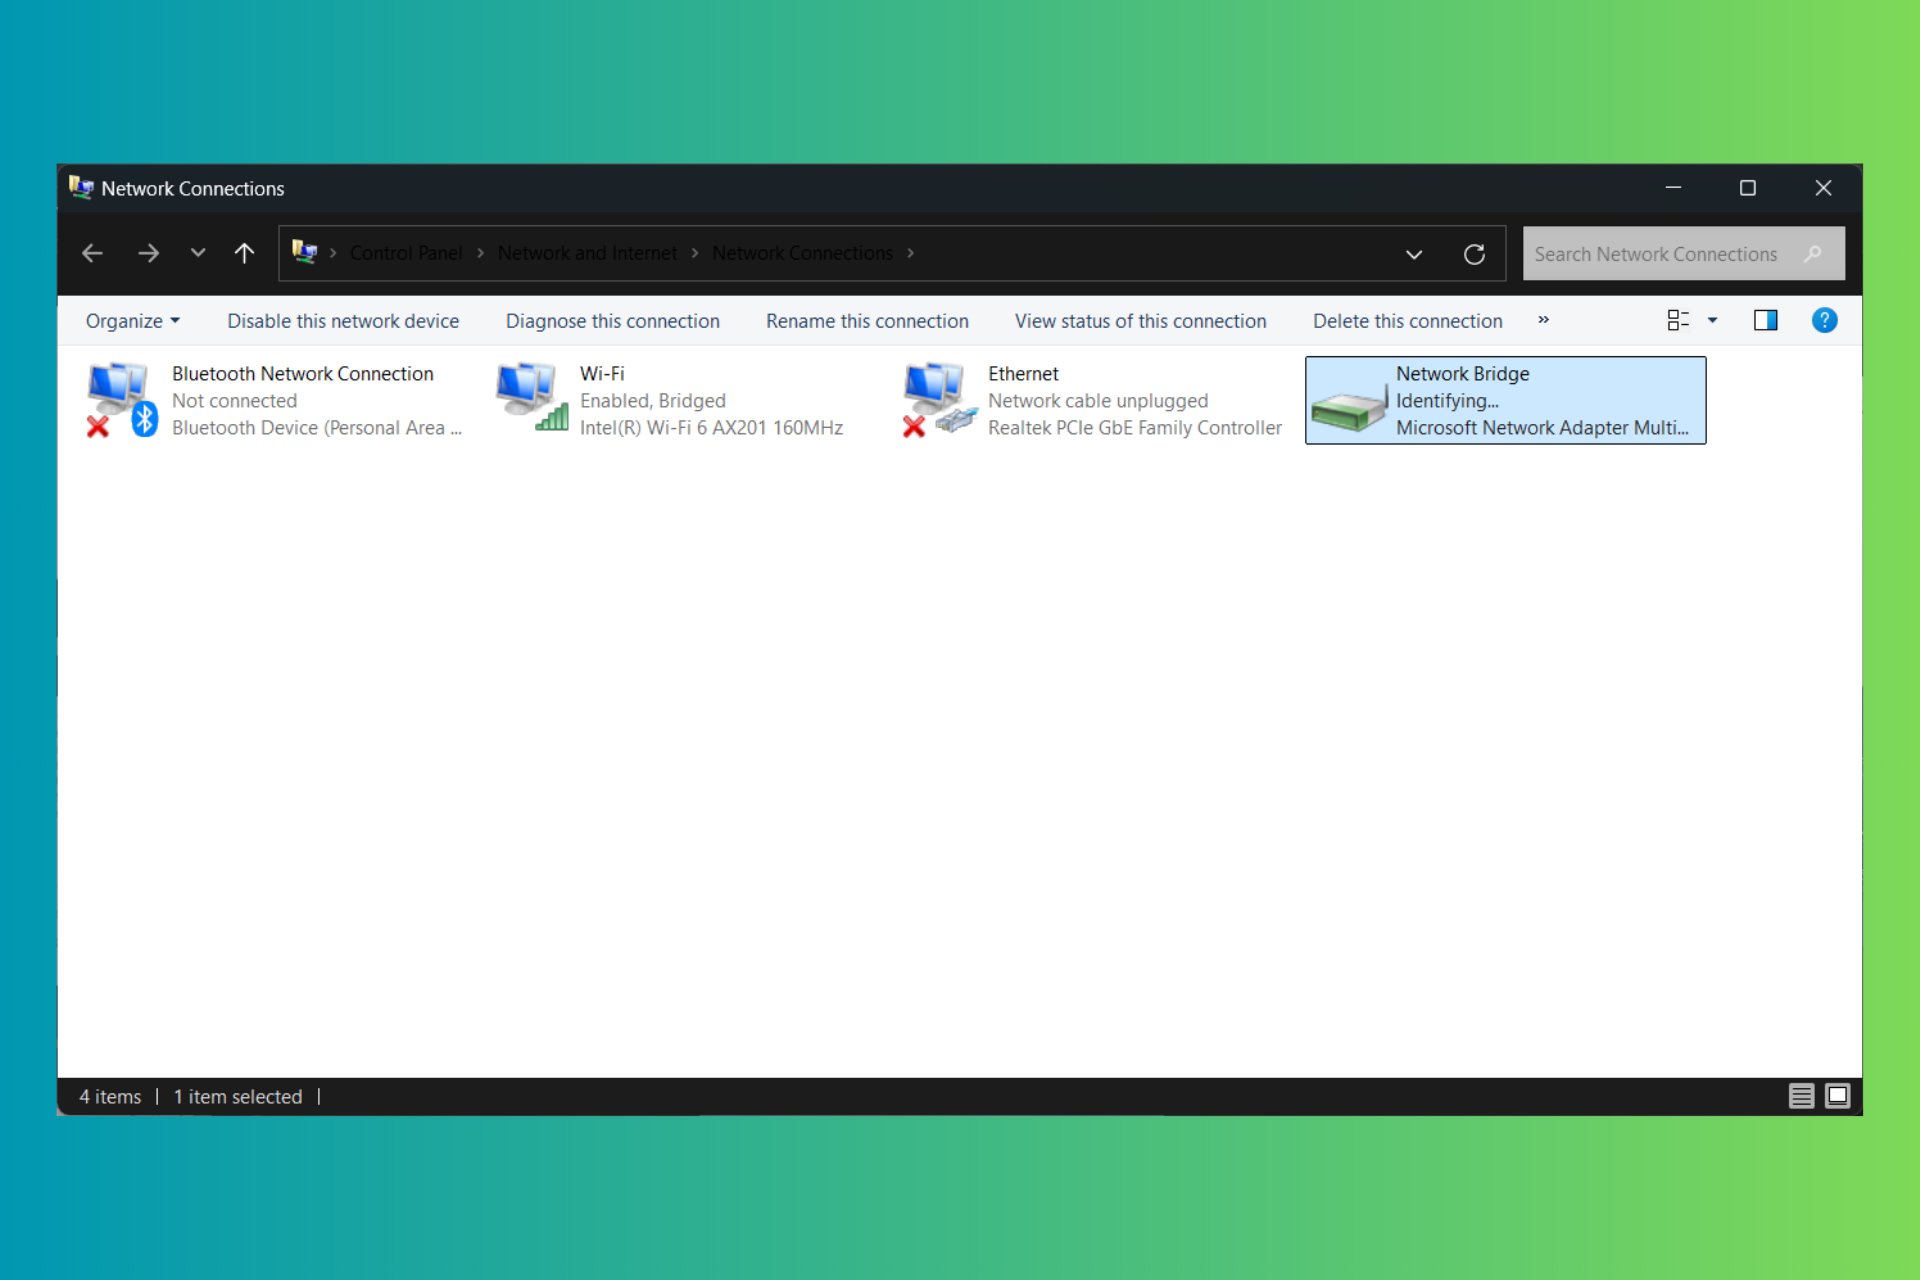
7. Temporarily disable your wireless connection
- Open the Settings app and navigate to the Network & Internet section.

- Now click on Change adapter options in the right pane.

- Locate your wireless connection on the displayed list, right-click it, and choose Disable from the menu.

- Once the connection is disabled, wait for about 30 seconds, right-click the connection and choose Enable.

After restarting the connection, check if the problem is still there.
8. Roll back or reinstall your drivers
- Open Device Manager.
- Locate your wireless adapter and double-click it.
- Navigate to the Driver tab and click the Roll Back Driver button.

- Now follow the instructions on the screen to roll back your driver to the previous version.
After doing that, check if the problem is resolved.
You can fix the problem by reinstalling your wireless driver if the rollback option is unavailable. To do that, follow these steps:
- Open the Device Manager and locate the wireless adapter driver.
- Right-click it and choose Uninstall device from the menu.

- Check Remove driver software for this device option, if it’s available.
- Then, click the Uninstall button.

- After the driver is removed, click on Scan for hardware changes icon.

This will install the default driver and the problem should be resolved entirely.
9. Make sure that your system is up to date
- Open the Settings app and navigate to the Update & Security section.
- In the right pane, click the Check for updates button.

- If any updates are available, they should be downloaded automatically in the background and installed as soon as you restart your PC.
Once your system is updated, check if the problem is still there.
10. Perform a System Restore
- Press Windows Key + S and type system restore.
- Select Create a restore point from the list.

- Click the System Restore button.

- Once the System Restore window opens, click the Next button.
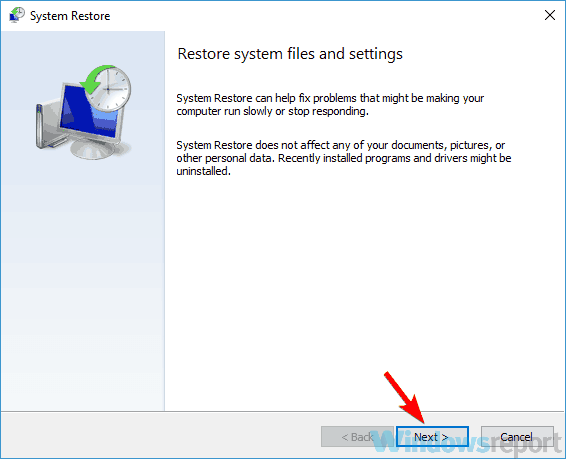
- Check Show more restore points option, if available.
- Select the desired restore point and click Next to proceed.

- Follow the instructions on the screen to complete the process.

After restoring your system to an earlier state, the problem should be resolved entirely.
We hope these methods worked for you and you got rid of the wlanext.exe high CPU issue on your Windows 10 device.
Note that there are other similar problems users face, like Ethernet spiking in the task manager; resolving this will increase the Ethernet speed on your device.
If you have further suggestions on this topic, contact us using the comments below.
Read our disclosure page to find out how can you help Windows Report sustain the editorial team. Read more


Improve this guide

User forum
0 messages