Netgear WiFi Adapter not Working: 6 Ways to Get it to Work
Users report that Netgear wireless adapter works fine when they start their computer, but after a while, the internet cuts off, and the adapter stops working.
This makes their network unreliable and, even worse, requires frequent reconnection to get going again. If you are also troubled by this issue, we will show you how to fix it and restore normal service in this guide.
Table of contents
Why is my Netgear WiFi adapter not working?
Several factors can cause the Netgear WiFi adapter to stop working. Below are some of the notable ones:
- Faulty or incompatible drivers: If your Netgear A6100 is not detecting networks, it might be due to incompatible or outdated drivers. You need to update your driver from the official source to fix this.
- Wrong power settings: Sometimes, your Netgear WiFi adapter disconnects because your PC needs to save power. The solution is to disable any power-saving feature that can cause your adapter to stop working.
What can I do if the Netgear WiFi adapter is not working?
1. Download and install the latest Netgear drivers
- Download the latest drivers for your adapter. Extract the driver in the download location.
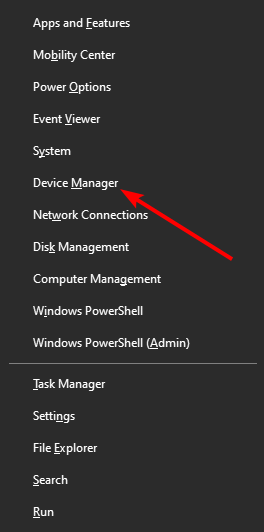
- Press the Windows key + X and select Device Manager.
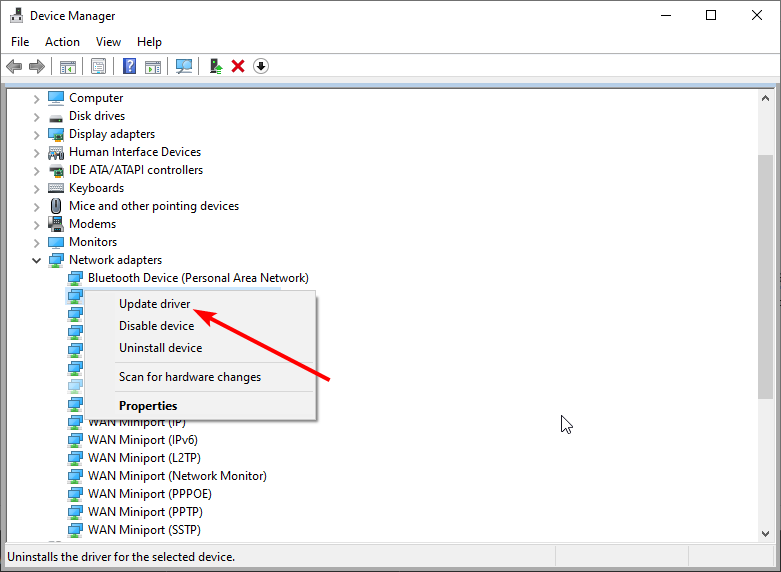
- Now, double-click the Network adapters option to expand it and right-click your Netgear adapter.
- Select Update driver.
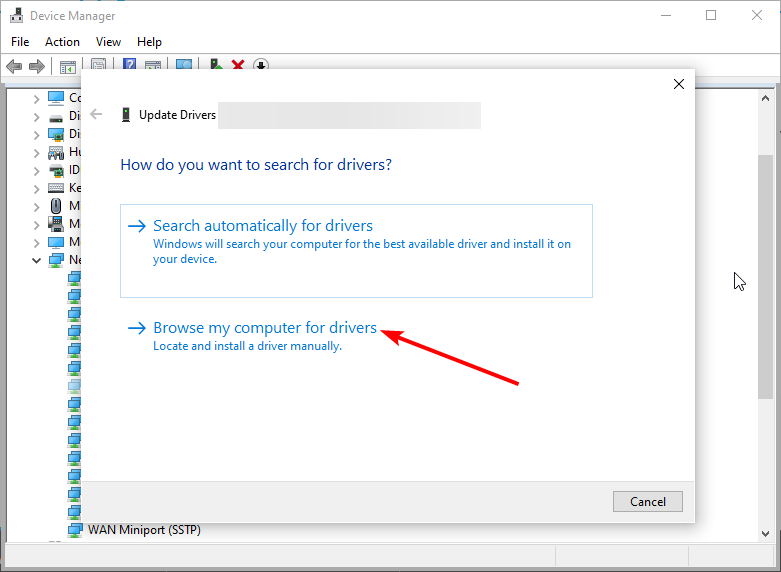
- Next, choose Browse my computer for driver software.
- Select the Browse button.
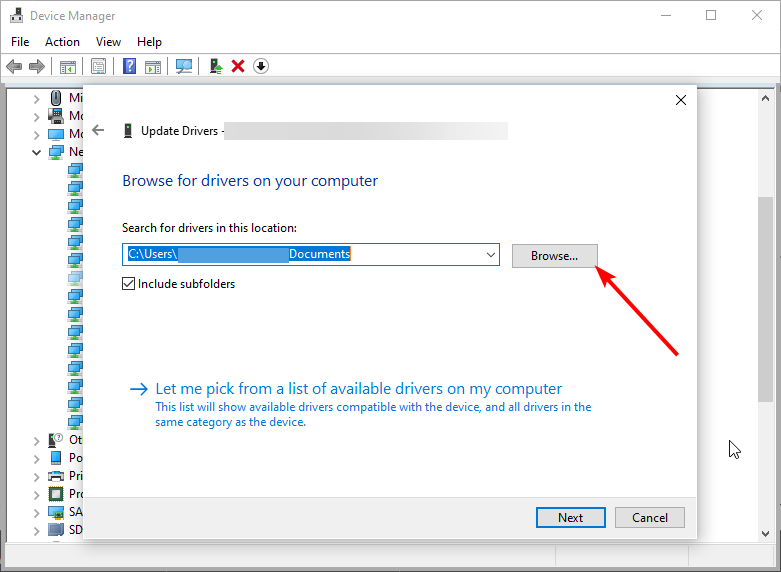
- Now, go to the driver location and choose the .inf file.
- Finally, click the OK button and wait for the installation to complete.
In most cases, the Netgear N300 wireless WiFi USB adapter WNA3100 stops working because of generic drivers installed by Windows update.
You must install the latest drivers from the Netgear website to fix this.
Alternatively, you can use the Outbyte Driver Updater tool to update your drivers to avoid permanently damaging your computer by manually downloading the wrong driver versions.
This incredible program looks for new hardware drivers and automatically downloads updates.
It scans your system and lists all existing and possibly missing drivers. The tool also detects if there is already a new version for current records. If necessary, these can be updated directly via Outbyte Driver Updater.
2. Change power settings
2.1. Disable USB selective suspend
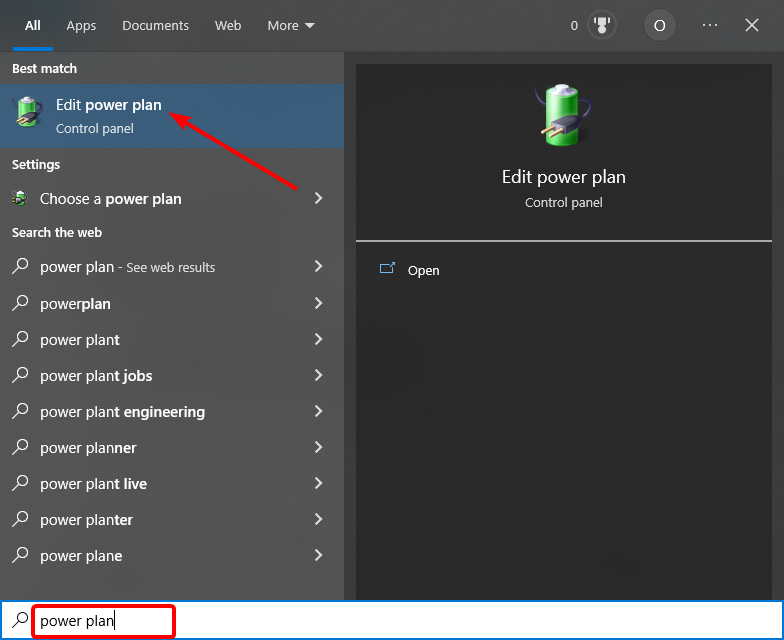
- Press the Windows key, type power plan, and select Edit power plan.
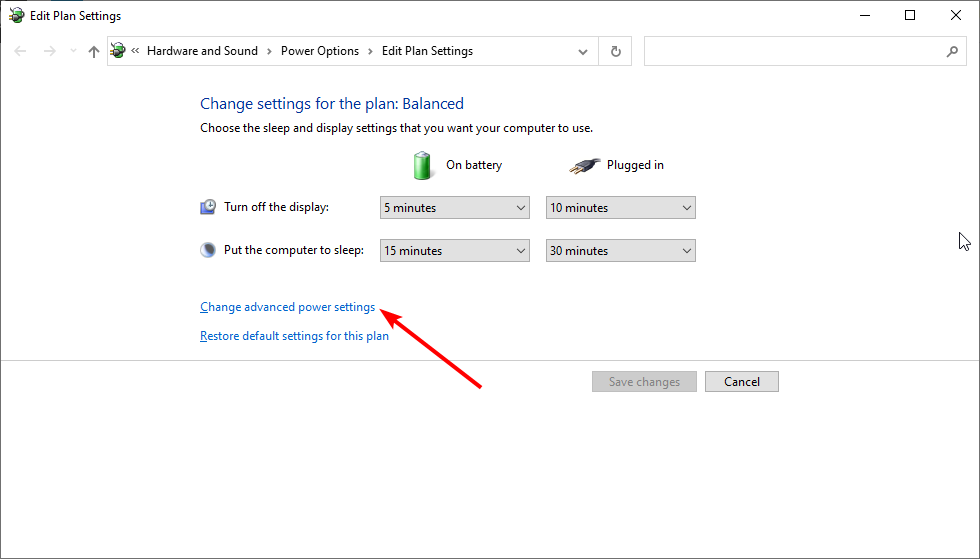
- Select Change advanced power settings.
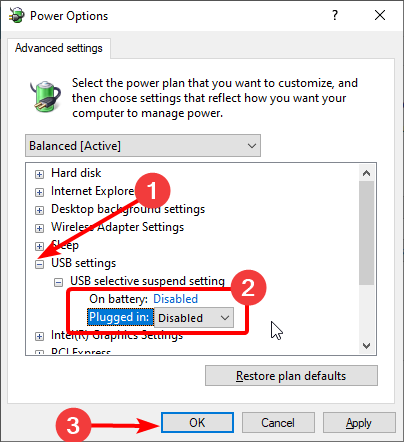
- Now, expand the USB settings option and then USB selective suspend settings.
- Next, disable the On battery and Plugged in options.
- Finally, click the OK button to save the changes.
One of the power management features of your PC is the ability to suspend your USB settings. Unfortunately, this can cause the Netgear WiFi adapter to stop working. Disabling the feature should help restore normalcy.
2.2. Disable USB root hub power preserving
- Right-click on Start and select Device Manager.
- Expand the Universal Serial Bus controllers option and double-click the USB root hub option.
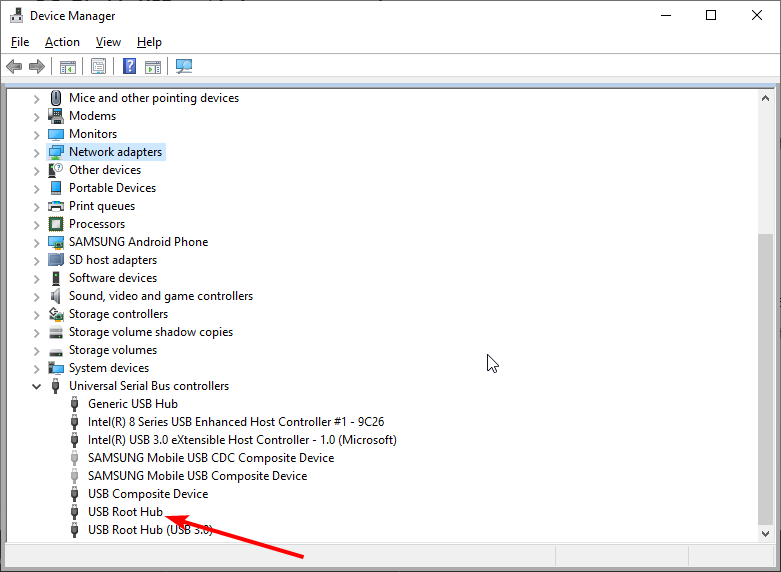
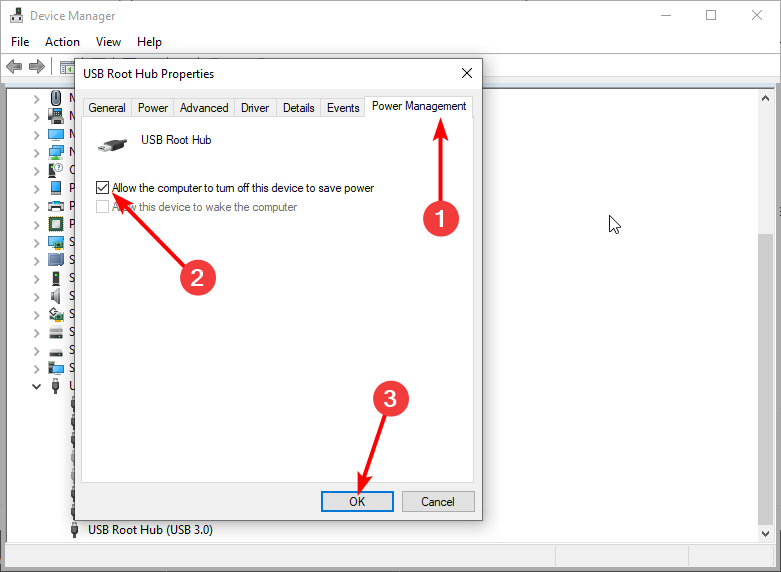
- Now, click on the Power Management tab.
- Uncheck the Allow the computer to turn off this device to save power box and click OK.
- Finally, repeat the steps above for all USB devices and restart your PC.
Another power-saving option that can cause the Netgear WiFi adapter to stop working is the ability to turn off your USB hubs. Unfortunately, this can cause any device connected to the USB port to stop working temporarily.
2.3. Disable WLAN adapter suspend
- Open Device Manager again.
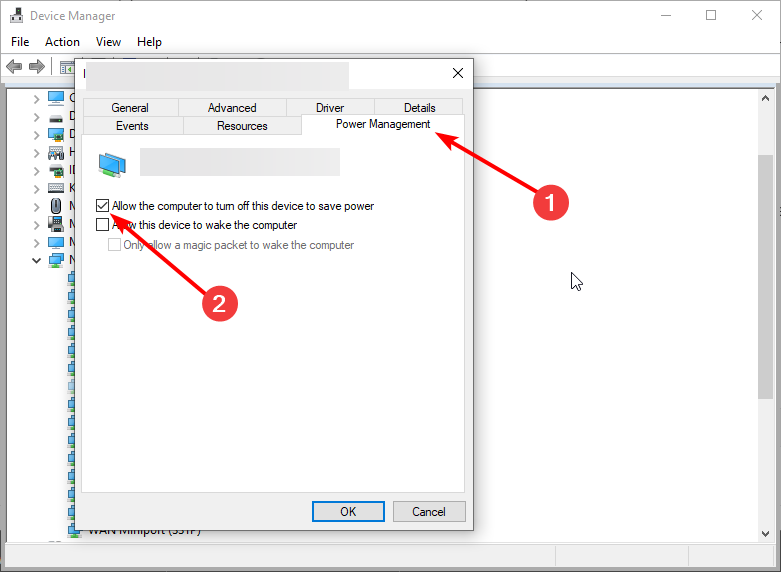
- Expand Network adapters and double-click on the Netgear adapter.
- Now, click the Power Management tab and uncheck the Allow the computer to turn off the device to save power box.
- Next, click the Advanced tab at the top and disable Selective suspend.
- Finally, click the OK button to confirm the changes.
Various power settings commonly hidden within the system are vital for the performance of the Netgear adapter.
Some of these are related to USB power reduction, while others are there to tend to wireless adapters. Both of these are valuable if you want to preserve the battery life.
The power-related settings are enabled by default, and what we need to do is to disable them.
3. Change channel settings
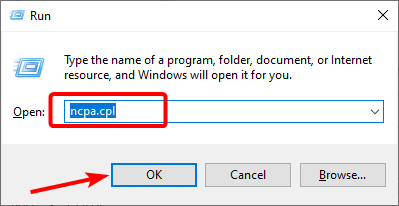
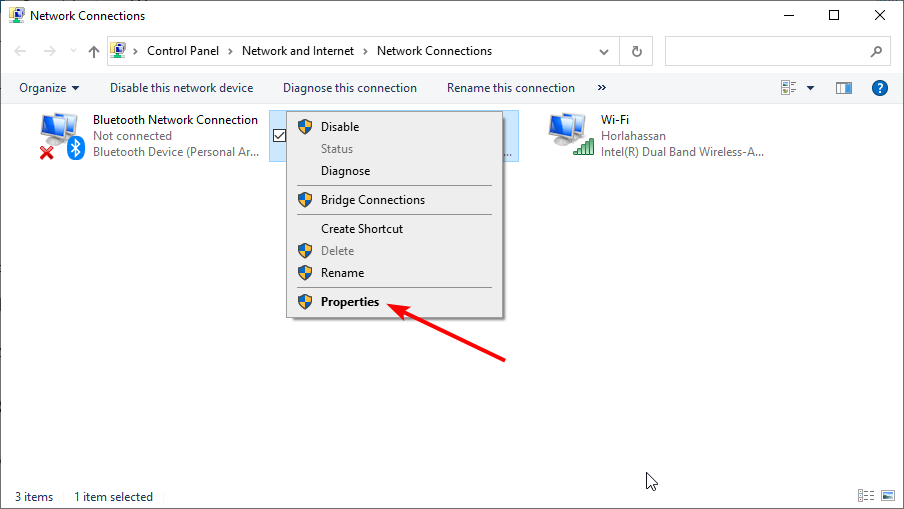
- Press the Windows key + R, type ncpa.cpl, and click OK.
- Right-click on your Netgear adapter and select Properties.
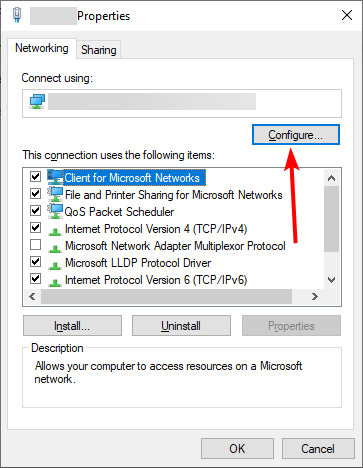
- Now, select Configure.
- Next, under the Advanced tab, scroll to WZC IBSS Number Channel.
- From the right drop-down menu, choose channels 1, 6, or 11 and confirm changes.
For the best overall WiFi performance, we advise you to stick to 20 MHz of channel width and channels 1, 6, or 11. This is because those are rarely crowded by non-Wi-Fi devices that use similar frequencies.
After doing this, check if the Netgear WiFi adapter is now working.
4. Check the equipment
Make sure that everything is working as intended hardware-wise. For example, try multiple USB ports and use the Netgear adapter on a different computer.
If everything works as it should, the problem lies in your PC rather than the Netgear adapter. That should point you toward the other solutions we provided in this article.
Note that it’s essential to know that USB 3.0 works properly on the 5 GHz bands. For 2.4 GHz, make sure to stick with USB 2.0.
5. Uninstall network adapter drivers
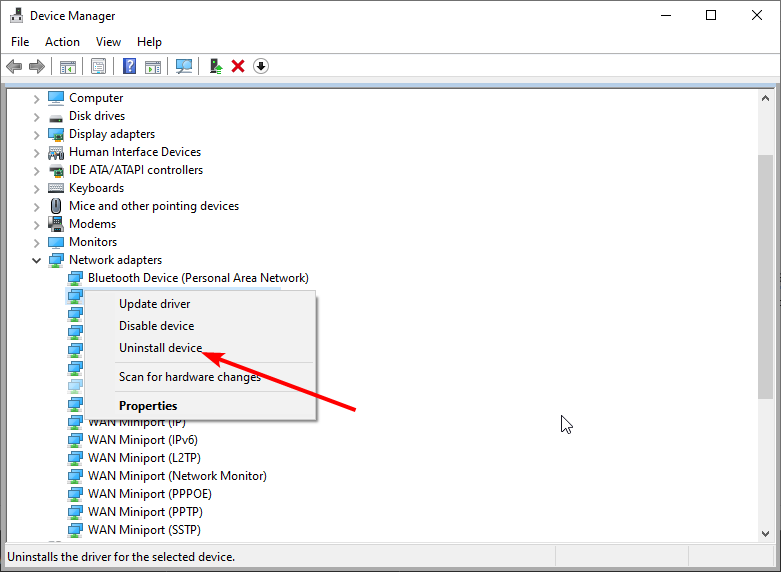
- Press the Windows key + X and select Device Manager.
- Expand the Network adapters option and right-click the Netgear adapter option.
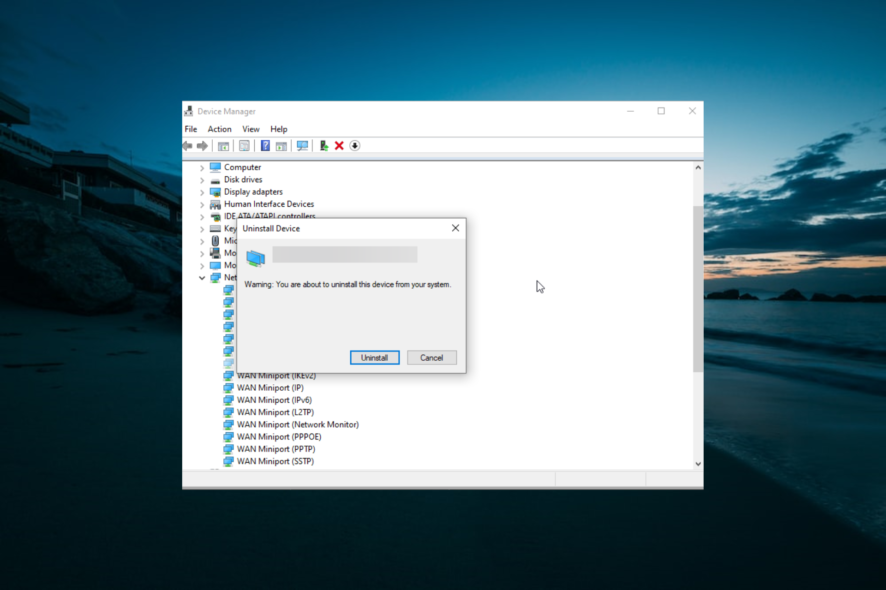
- Now, choose Uninstall device.
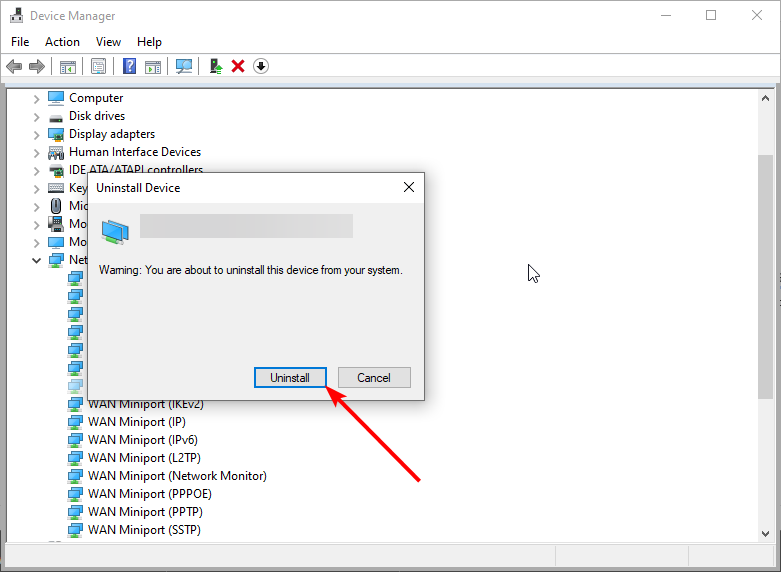
- Click the Uninstall button to confirm the action.
- Finally, click the Scan for hardware changes icon.
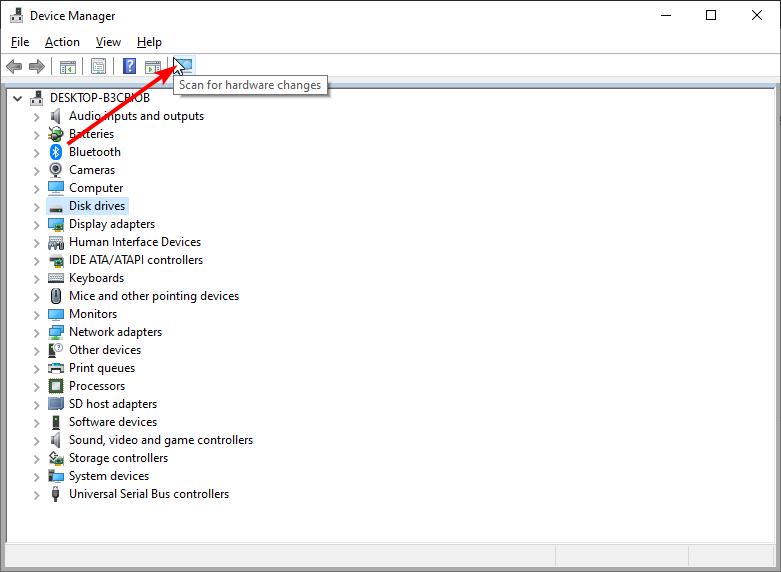
If you still can’t get your Netgear WiFi adapter to work, you might need to uninstall and reinstall the driver. Aside from scanning for hardware changes, you can install the latest drivers from the official website.
6. Disable the Block Internet Connection Sharing option
Antivirus software comes with a Firewall, and sometimes it can cause problems, so you might want to turn it off.
For example, Bitdefender has the Block Internet Connection Sharing option in its advanced settings, so to resolve this issue, it’s highly recommended that you turn it off.
That’s about it. You should now be able to fix the Netgear WiFi adapter not working issue with the solutions in this guide.
If no USB WiFi adapter works on your PC, check our detailed guide to fix it quickly.
Feel free to let us know the solution that helped you solve the problem in the comments below.
Read our disclosure page to find out how can you help Windows Report sustain the editorial team. Read more


Improve this guide


User forum
1 messages