What can I do if my laptop mousepad is not working?
![]() 5 min. read
5 min. read
![]() Updated on
Updated on
Share this article

Improve this guide
Read our disclosure page to find out how can you help Windows Report sustain the editorial team Read more

10 quick solutions to fix laptop mousepad issues
- Update mousepad or touchpad drivers
- Uninstall and reinstall mouse drivers
- Use Windows generic mousepad driver
- Run an System File Checker scan
- Run Hardware and Devices troubleshooter
- Roll back the driver
- Check your keyboard
- Get drivers form manufacturer’s website
- Install mousepad drivers in compatibility mode
- Disconnect all peripherals
One of the benefits of owning a laptop is its built-in mousepad. This works especially where you’re constantly moving about, and your physical mouse device has failed you.
The mousepad, however, can also be frustrating especially when it’s not working because it isn’t a plug and play device, like its predecessor, the USB mouse device.
Why is my touchpad not working in Windows 10?
This issue can be as a result of a missing or outdated driver.
In order to fix your mousepad when it’s not working, you’d have to check on a number of troubleshooting resolutions before you can resolve the issue. Here are solutions that can help you work around this issue.
What to do if your mousepad won’t respond
1. Update mousepad or touchpad drivers
Follow the steps below to do this:
- Right click Start
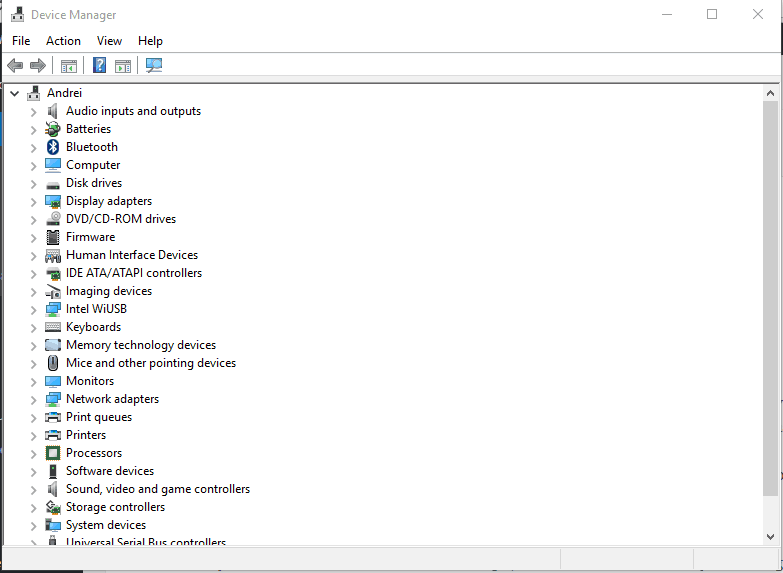
- Select Device Manager
- Click on Mice and other pointing devices to expand the list
- Right click on the mousepad driver
- Click Update Driver Software
- Follow on-screen instructions to update the mousepad driver
If the issue persists, try the next solution.
2. Uninstall and reinstall mouse drivers
Here’s how to do this:
- Right click Start
- Select Control Panel
- Double click System
- Click Hardware tab
- Select Device Manager
- Expand Mice and other pointing devices to open the list
- Right click the mouse device you want to remove
- Click Uninstall
- Click Yes when you get a confirmation message
- Restart your computer. Windows automatically detects the change in your hardware.
- Install the mouse driver
- Check for its functionality
Note: contact your device’s manufacturer for the latest mouse drivers.
3. Use Windows generic mousepad driver
- Right click Start
- Click Device Manager
- Right click your mousepad driver
- Click Update driver software
- Click Browse my computer for driver software
- Choose Let me pick from a list of device drivers on my computer</li>
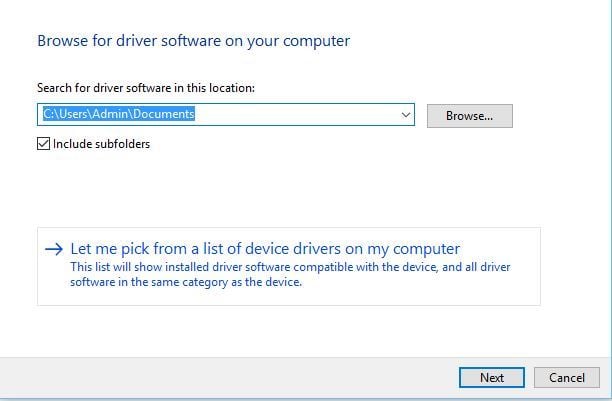
- Select HID compliant mouse
- Click Next
- Follow the prompts to install it
In case you tried changing your driver and it didn’t help, there is probably a problem with the mousepad itself, so you need to contact your computer’s manufacturer for further assistance.
4. Run an System File Checker scan
Here’s how to do this:
- Click Startg
- Go to the search field box and type CMD
- Select Command Prompt

- Press Enterong
- Right click and select Run as Administrator
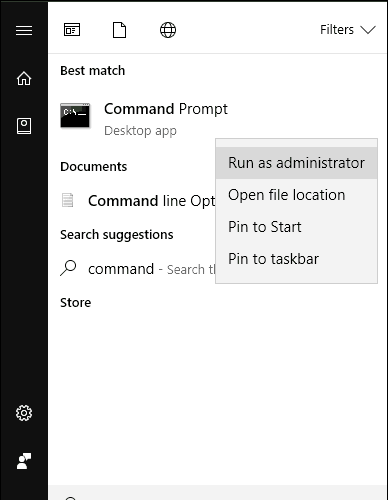
- Type sfc/scannow
- Press Enter
- Restart your computer
If your mousepad still won’t work, try the next solution.
ALSO READ: SteelSeries QcK Prism dual-surface RGB gaming mousepad costs only $59.99
5. Run Hardware and Devices troubleshooter
If you’re experiencing problems with your computer’s mousepad, then run the Hardware and Devices troubleshooter to resolve the issue. This checks for commonly occurring issues and ensures any new device or hardware is correctly installed on your computer.
Here’s how to go about it:
- Right click Start
- Select Control Panel
- Go to View by option on the top right corner
- Click the drop down arrow and select Large icons
![]()
- Click Troubleshooting
- Click View all option on the left pane
- Click Hardware and Devices
- Click Next
Follow the instructions to run the Hardware and Devices troubleshooter. The troubleshooter will begin detecting any issues.
Solution 6: Roll back the driver
- Right click Start
- Select Device Manager
- Expand Mice and other pointing devices
- Right click Properties
- Go to Driver tab
- Click Roll Back Driver
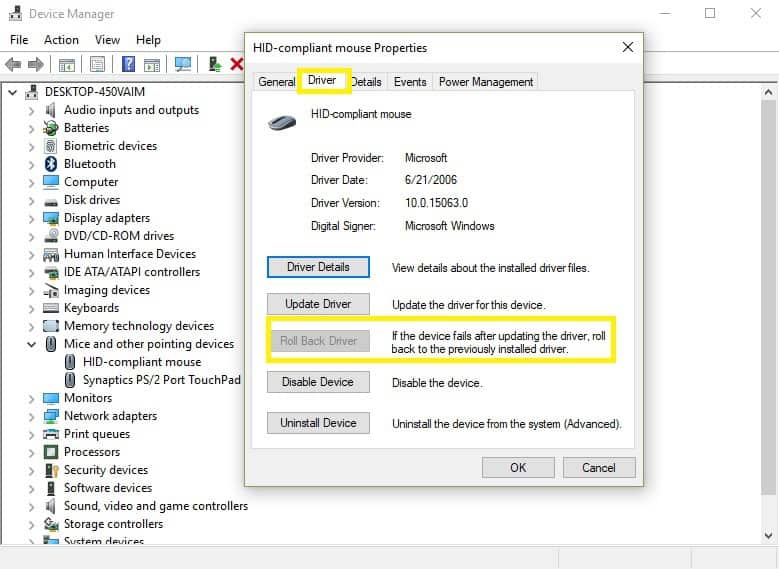
- In the Driver Package rollback dialog box, select Yes
- Restart your computer
Does the mousepad problem persist? Try the next solution.
7. Check your keyboard
- Right click Start
- Select Device Manager
- Go to Mice and other pointing devices
- Click Mousepad or touchpad drivers
- Double click on it to check its status
- Go to Driver tab
- Click Update Driver and follow the instructions
ALSO READ: 7 best mini wireless keyboards for PC
8. Get drivers form manufacturer’s website
You can download the latest mousepad drivers from the manufacturer’s website, and then install it on your computer and see if it works.
9. Install mousepad drivers in compatibility mode
Follow these steps to install in compatibility mode:
- Download the latest mousepad/touchpad driver from the manufacturer’s website
- Save it on your local disk
- Right click on the set up file of the downloaded mousepad driver
- Click Properties
- Click Compatibility tab
- Check the box next toRun this program in Compatibility mode
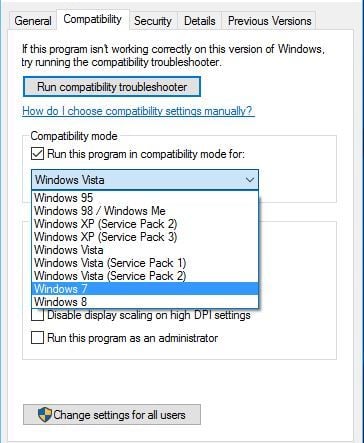
- Select the Operating System from the drop down list
- The driver will install, then check its functionality.
10. Disconnect all peripherals
Some peripherals may automatically disable the mousepad function. Fortunately, you can quickly fix this problem by disconnecting all the peripherals. Then reboot your computer and test to see if the problem persists. You can then plug the peripherals back in one by one to identify the culprit.
We’d love to hear from you if these solutions helped. Let us know your experience by leaving your comment in the section below.
RELATED STORIES TO CHECK OUT: