Some Settings are Managed by Your Organization [Fix]
This error is usually caused by the lack of privileges on your PC
![]() 6 min. read
6 min. read
![]() Updated on
Updated on
Share this article
This article is translated in


Improve this guide
Read our disclosure page to find out how can you help Windows Report sustain the editorial team Read more
Key notes
- Changing your Diagnostic and usage data settings can sometimes help.
- Also, try to change your settings from Group Policy Editor to fix this issue.
Many users encountered Some settings are managed by your organization message when they are trying to change their settings.
This can prevent you from adjusting certain settings, but there is a way to fix this issue.
Why does my personal computer say managed by your organization in settings?
This can happen because you have school or work accounts on your PC, or simply because you don’t have administrative access. Group Policy settings can also cause this issue.
How do I fix Some settings are managed by your organization?
Before we start fixing the problem, try asking for permission from the system administrator if you’re not one. Hard drive issues and antivirus settings can cause this problem, so be sure to check both.
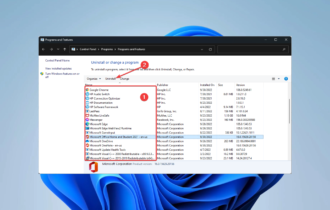
1. Remove work or school accounts
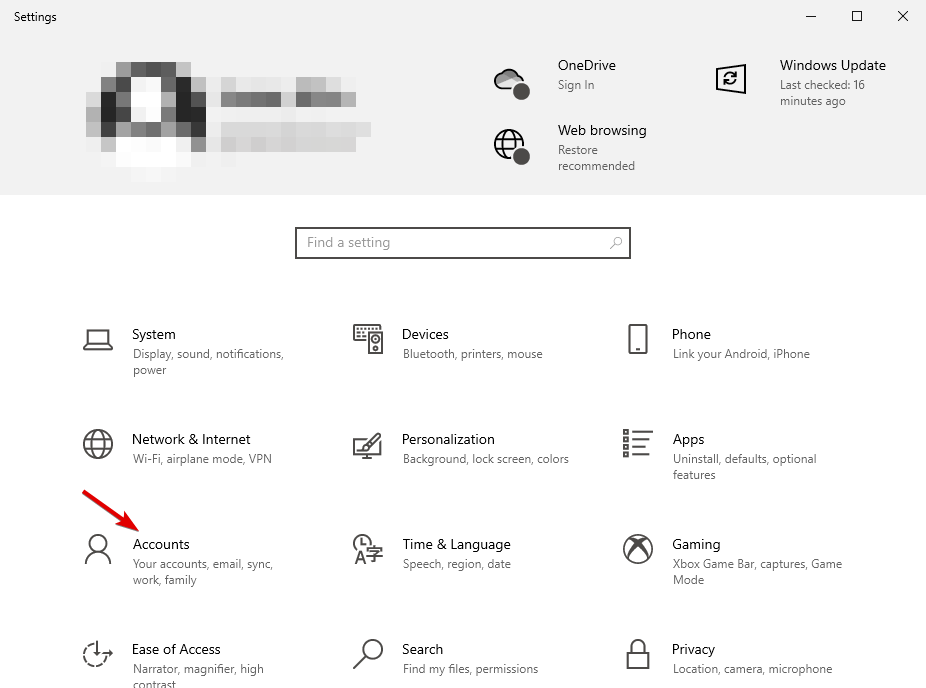
1. Click the Start button and select Settings.
2. Click on Accounts.
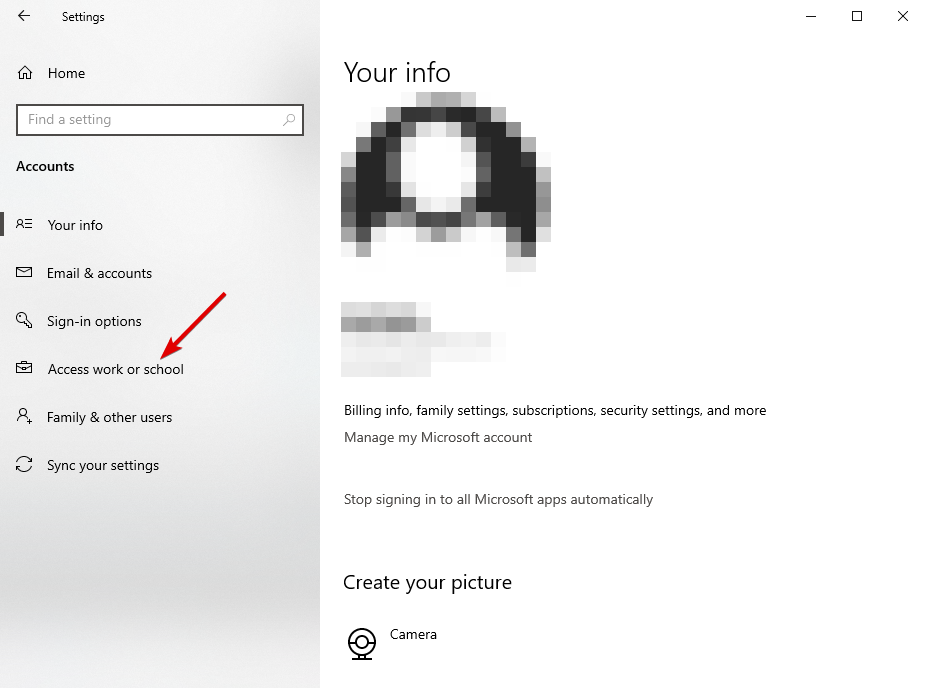
3. Go to Access work or school.
4. Select any connected account and remove it.
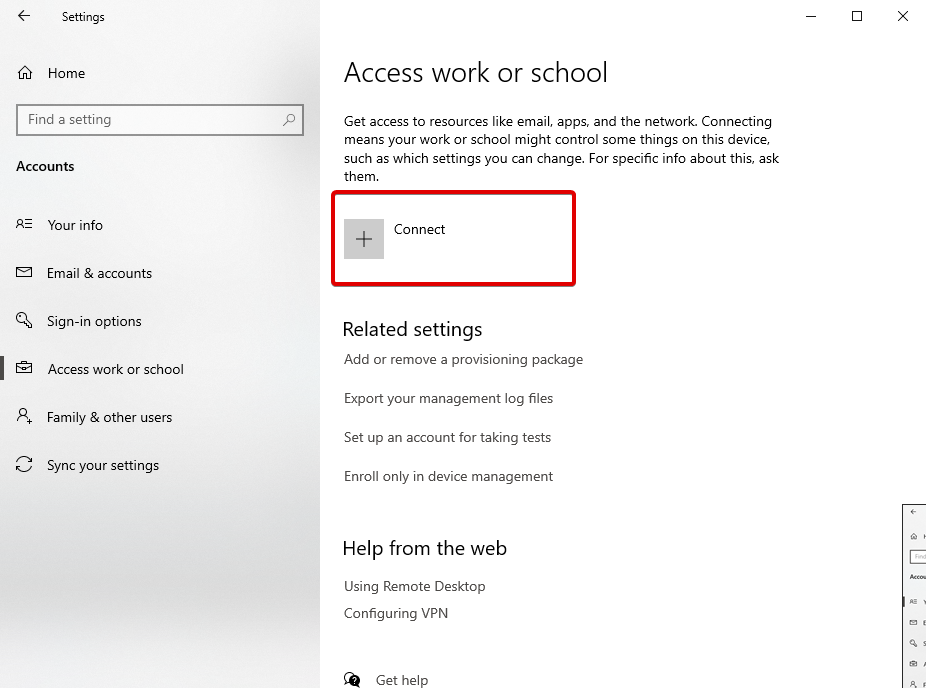
5. Restart your device.
2. Create a new Administrator account
- Click the Start button and go to Settings.
- Then, Accounts.
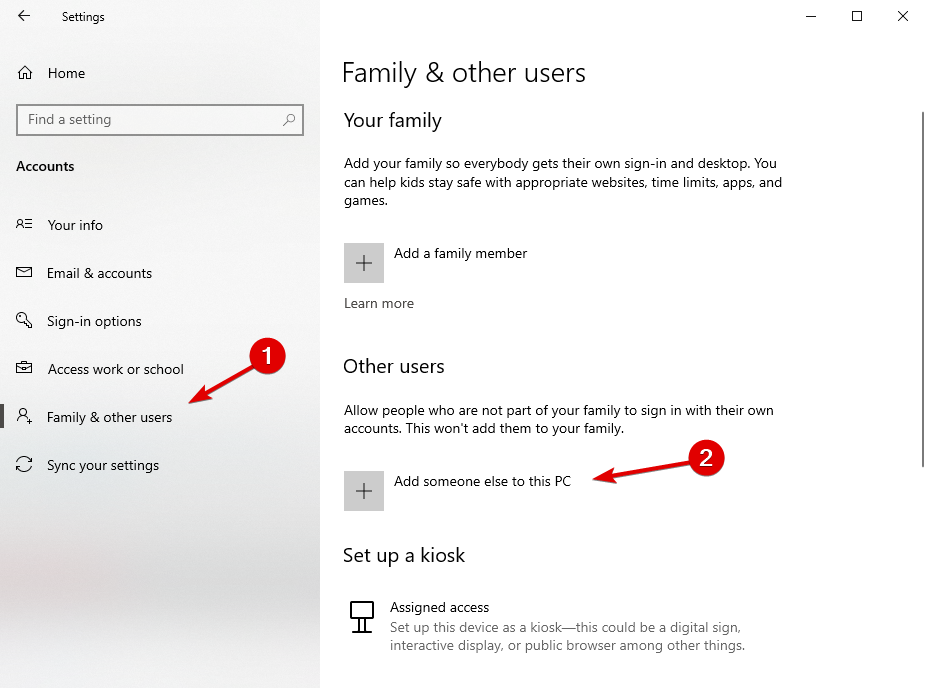
- Select Family & other users.

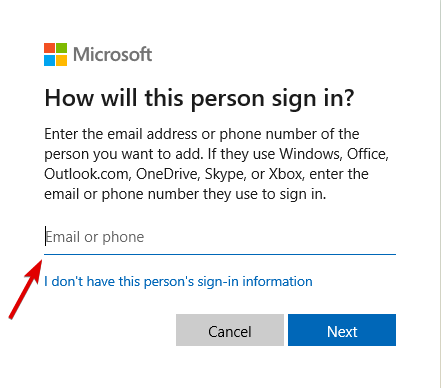
- Next, choose Add someone else to this PC.

- Enter the credentials in the box and follow the guidelines.
- After creating the account, change it to Administrator and click OK.
3. Change your Diagnostic and usage data
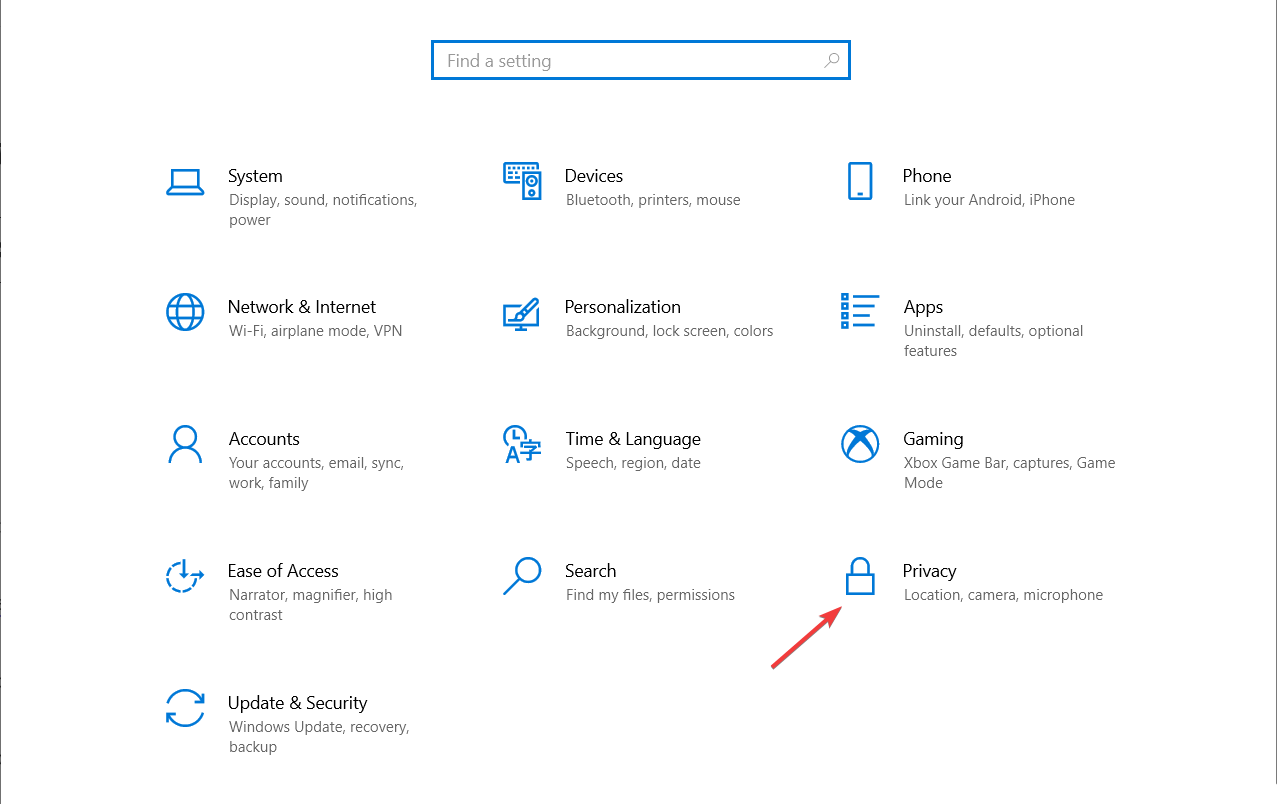
- Open Settings and select Privacy.

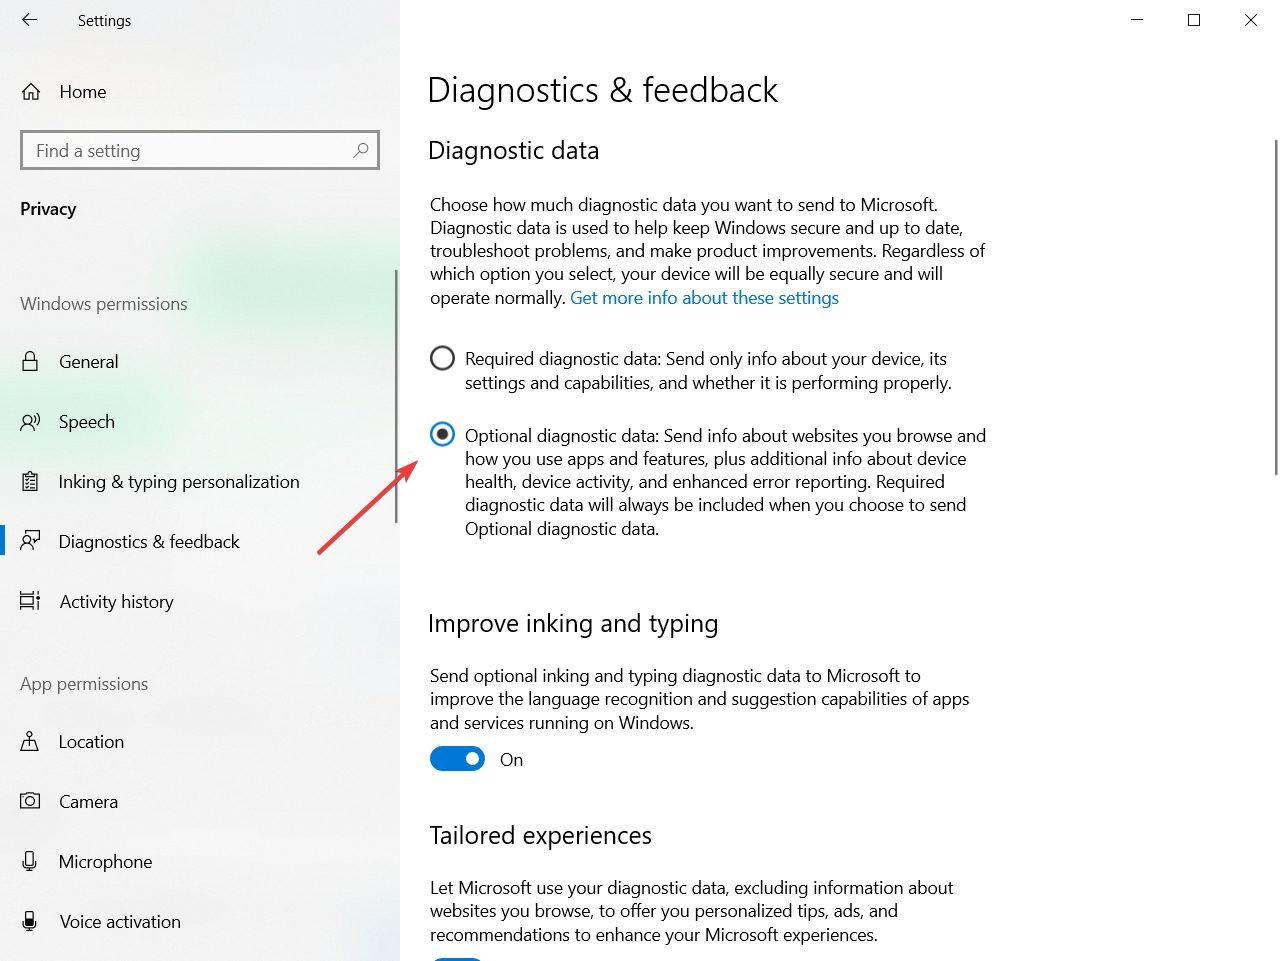
- On the menu on the left, choose Diagnostics & feedback.

- From the right pane, change the Diagnostic data to Optional.

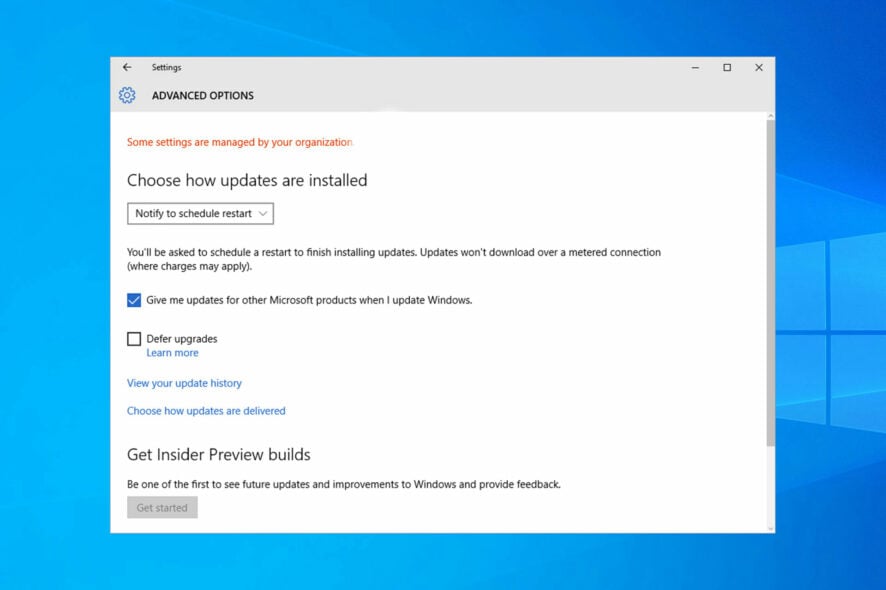
4. Change your settings from Group Policy Editor
- Open Group Policy Editor by pressing Windows key + R and typing gpedit.msc.

- When Group Policy Editor starts, you need to navigate to:
User Configuration/Administrative Templates/Start Menu and Taskbar/Notifications - On the right side of the window, find Turn off toast notifications setting and double click it.

- Try enabling it and disabling it a couple of times but remember to keep it disabled before you save your settings.


5. Edit your registry
- Press Windows key + R and enter regedit.
- Now press Enter or click OK. Registry Editor will now start.
- Before we make any changes, it’s recommended to export your registry. The registry is sensitive to changes, and sometimes new issues can appear if you modify your registry. Therefore, it’s a good idea to create a backup. To do that, follow these steps:
- Click on File and select Export.

- Now select All as Export range and enter the desired name. Choose a save location and click the Save button.

- Once you do that, you’ll create a backup of your registry. You can use this file at any time in order to restore your registry to its original state if anything goes wrong.
- Click on File and select Export.
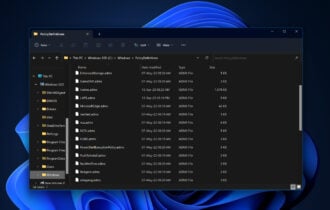
- In the left panel, navigate to the following key:
HKEY_LOCAL_MACHINE/SOFTWARE/Policies/Microsoft/Windows/WindowsUpdate - In the right pane, look for Wuserver.
- Right-click Wuserver and choose Delete from the menu.

- A confirmation dialog will now appear. Click Yes to remove this entry.


After making changes to the registry, the issue should be resolved. If you can’t find the key from Step 3 or the Wuserver DWORD, this solution won’t apply to you, so you can skip it.
If you have problems with the solution above, we have a guide on what to do if you can’t edit the registry.
6. Enable Telemetry
6.1 Change the Registry key
- Open Registry Editor and create a backup of your registry. We showed you in detail how to do that in the previous solution.
- When Registry Editor opens, in the left pane, navigate to the following key:
Computer/HKEY_LOCAL_MACHINE/SOFTWARE/Policies/Microsoft/WindowsDataCollection - In the right pane, locate AllowTelemetry DWORD and set it to 1. If this DWORD isn’t available, you’ll have to create it manually and change its Value data to 1.


If you’re getting Some settings are managed by your organization message, you might be able to fix the problem simply by enabling Telemetry. To do that, just follow the steps above.
6.2 Enable the Telemetry service
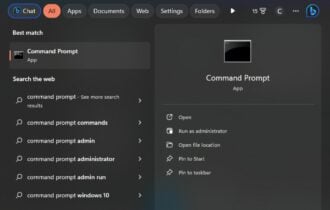
- Press Windows key + R and enter services.msc. Press Enter or click OK.
- When the Services window opens, double-click on Connected User Experiences and Telemetry.

- Set the Startup type to Automatic and click on Apply and OK to save the changes.

- Now locate dmwappushsvc and double-click it.
- Set the Startup Type to Automatic and make sure that the service is running.


After making the changes, you need to enable the Telemetry service. To do that, just follow the steps above. After doing that, check if the problem is resolved.
7. Remove the policies from the registry
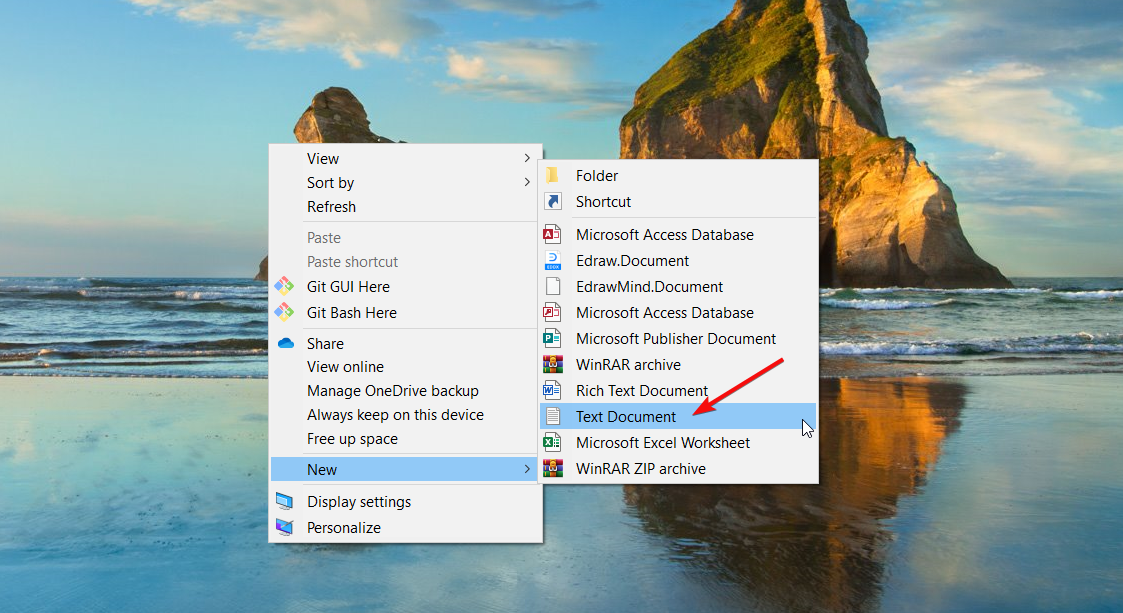
- Right-click on a free space on your desktop, select New, then choose Text document.

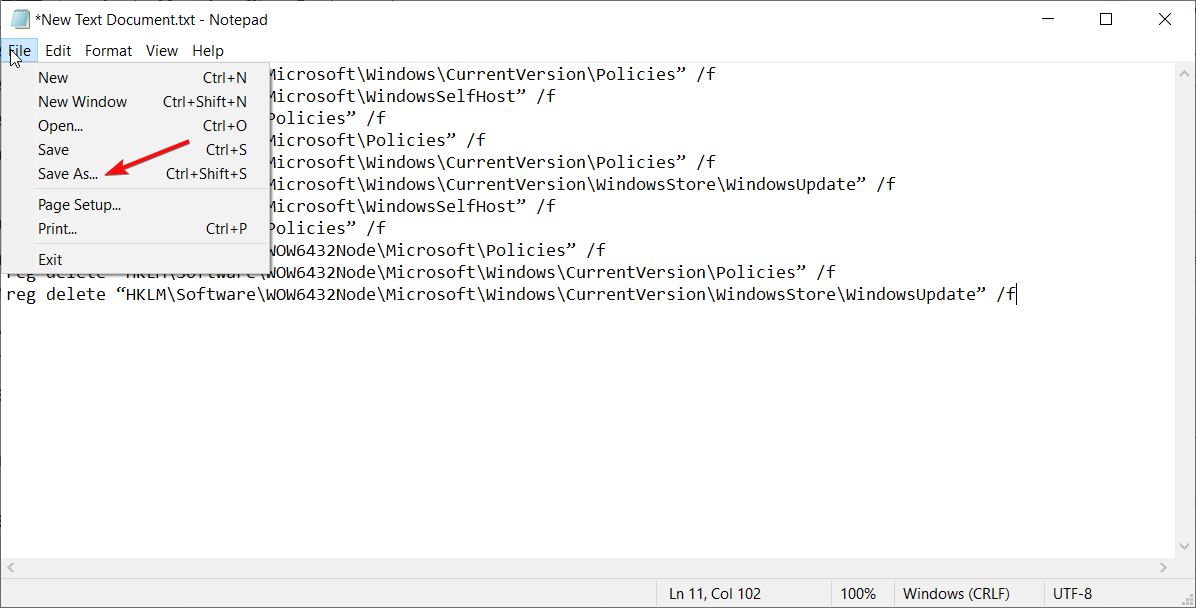
- Paste the following commands into the Notepad window:

reg delete “HKCU\Software\Microsoft\Windows\CurrentVersion\Policies” /f
reg delete “HKCU\Software\Microsoft\WindowsSelfHost” /f reg delete “HKCU\Software\Policies” /f
reg delete “HKLM\Software\Microsoft\Policies” /f
reg delete “HKLM\Software\Microsoft\Windows\CurrentVersion\Policies” /f
reg delete “HKLM\Software\Microsoft\Windows\CurrentVersion\WindowsStore\WindowsUpdate” /f
reg delete “HKLM\Software\Microsoft\WindowsSelfHost” /f
reg delete “HKLM\Software\Policies” /f
reg delete “HKLM\Software\WOW6432Node\Microsoft\Policies” /f
reg delete “HKLM\Software\WOW6432Node\Microsoft\Windows\CurrentVersion\Policies” /f reg delete “HKLM\Software\WOW6432Node\Microsoft\Windows\CurrentVersion\WindowsStore\WindowsUpdate” /f - Click on File and select Save as.
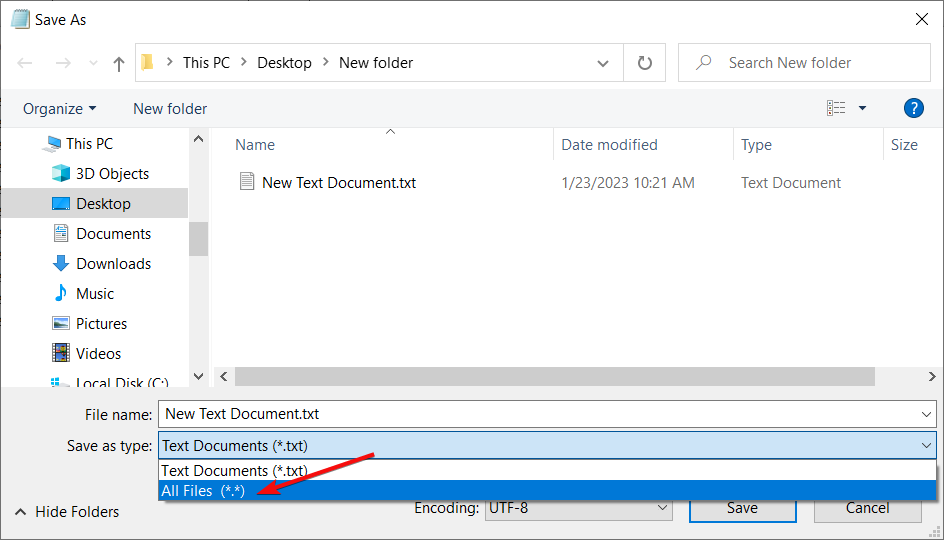
- Change the save option below Text Documents (*.txt) to All files.

- Name the file ResetPolicies.bat and click Save.
- Right-click on this file and choose the option Run as administrator.
- A Command Prompt will open and automatically change all lines in the register. Restart your PC to get all the changes to work.


8. Check the scheduled tasks
- Press Windows key + S and enter task scheduler. Select Task Scheduler from the list of results.

- When Task Scheduler starts, in the left pane, expand Safer-Networking directory and select Spybot Anti-Beacon. In the right panel, select the available task, right-click it, and choose Delete.

To fix the problem, you need to remove any scheduled tasks related to Spy bot Anti-beacon. To do that, follow the steps above.
 NOTE
NOTE
Lastly, you need to modify your host’s file. Keep in mind that the host’s file is locked for editing, and in order to edit it, we recommend checking our article on how to edit the host’s file.
After opening the hosts’ file, you need to delete all values between # Start of entries inserted by Spybot Anti-Beacon for Windows 10 and # End of entries inserted by Spybot Anti-Beacon for Windows 10.
As you can see, Some of these settings are managed by your organization message can be tedious, but you can quickly solve it by following the instructions above.
One of the similar errors caused by a corrupted security app or bad Windows Update is Your Virus and Threat Protection is Managed by Your Organization; read this to learn more about this problem.
This isn’t the only problem you can encounter, we wrote about Your organization manages updates on this PC message as well as Your organization requires you to change your PIN error.
For any other suggestions or questions, feel free to leave them in the comments section below, and we will get back to you as soon as possible.