0X8007013 Install Error: How to Quickly Fix it
Disabling incompatible drivers is the quickest way
Key notes
- Windows comes with critical and optional updates where users can ignore the latter for a given period of time.
- We found a few ways to navigate the install error 0x8007013, including hiding the updates.
- Stay tuned as we uncover how to troubleshoot this issue successfully.

0X8007013 is a common update error message that Windows users may encounter while trying to install or update their Windows operating system
Since the concerned updates are part of the optional updates, you can easily ignore them as long as your drivers are up-to-date.
Why am I getting the 0X8007013 install error on Windows 11?
- If a virus has infected one of the files that Windows needs to install new updates, you will get this error message.
- Some drivers may be incompatible with the new version of Windows, or there may be an issue with how they were installed on your computer during setup.
- The Windows Update service may have stopped unexpectedly without your knowledge.
- There may be incompatibility between hardware and software components on your system as a result of corrupted system files.
How do I fix the Install Error 0X8007013 on Windows 11?
Conduct the following preliminary steps before applying the solutions below:
- Try installing your Windows updates in Safe Mode.
- Switch to another account on your PC and try installing the updates.
- Reboot your computer and try again.
1. Hide the Windows update
- Download the Troubleshooting tool.
- Click on the download and let the tool scan for the available updates.

- If there are available updates, you can choose whether you want to hide them or not.
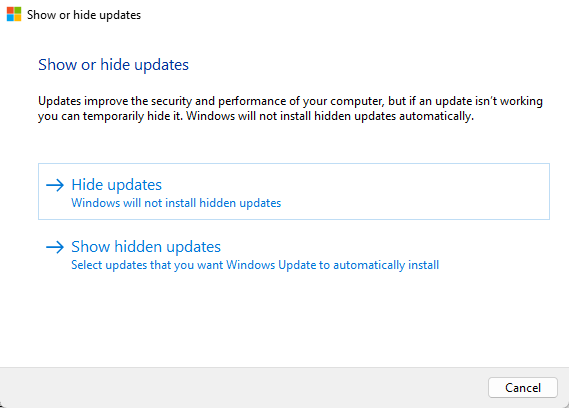
- Click on an update to hide.
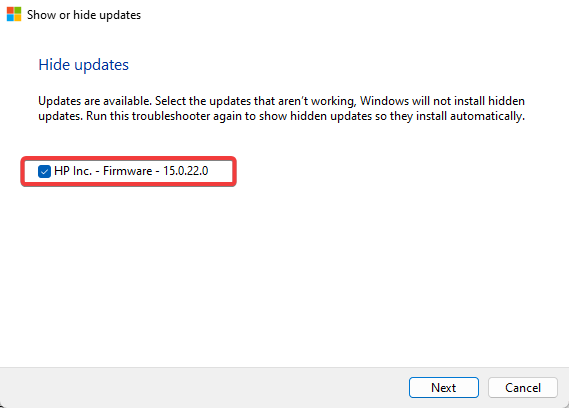
- When the next update occurs, selected updates will be skipped.
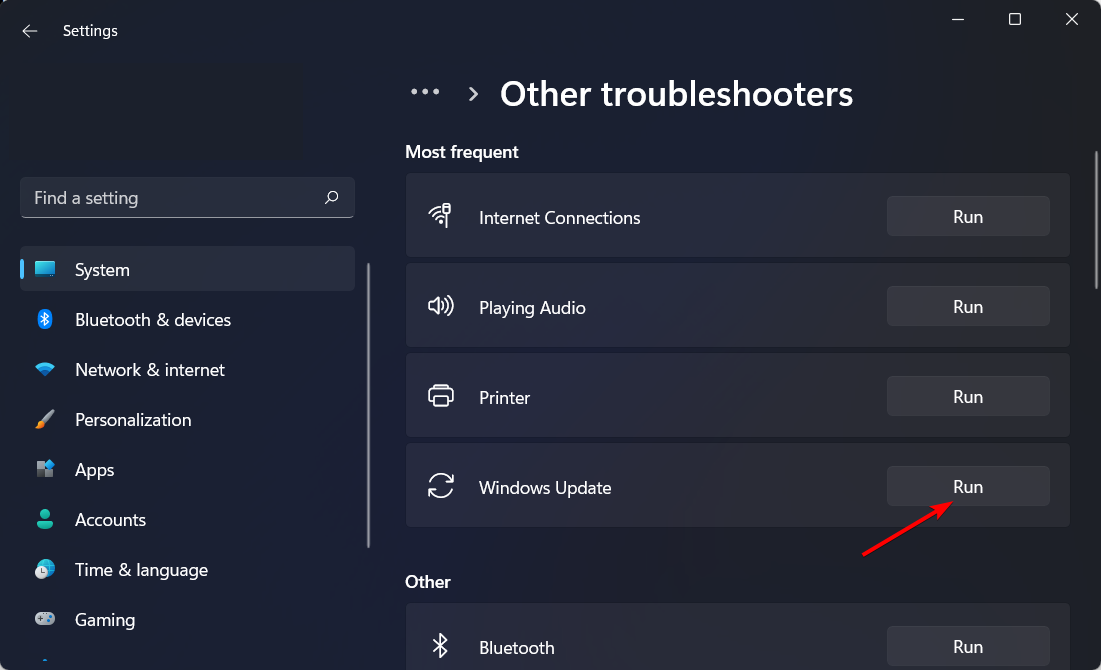
2. Run the Windows Update troubleshooter
- Hit the Windows key and click on Settings.

- Click on System and select Troubleshoot.
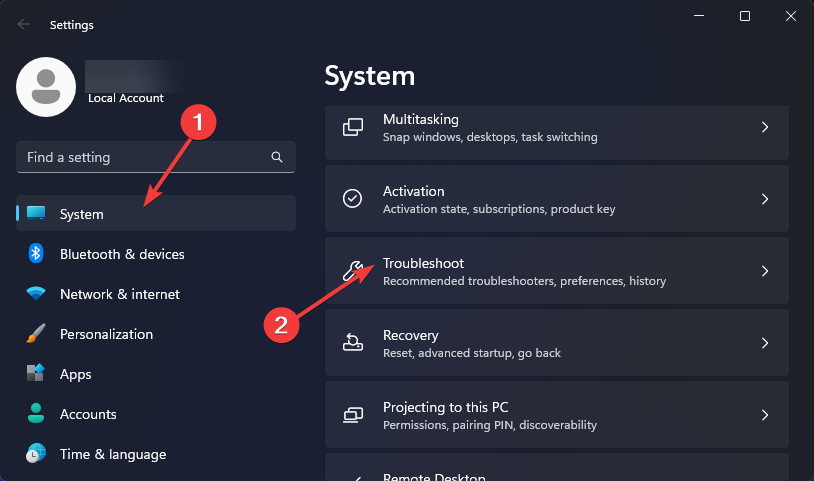
- Navigate to Other troubleshooters.
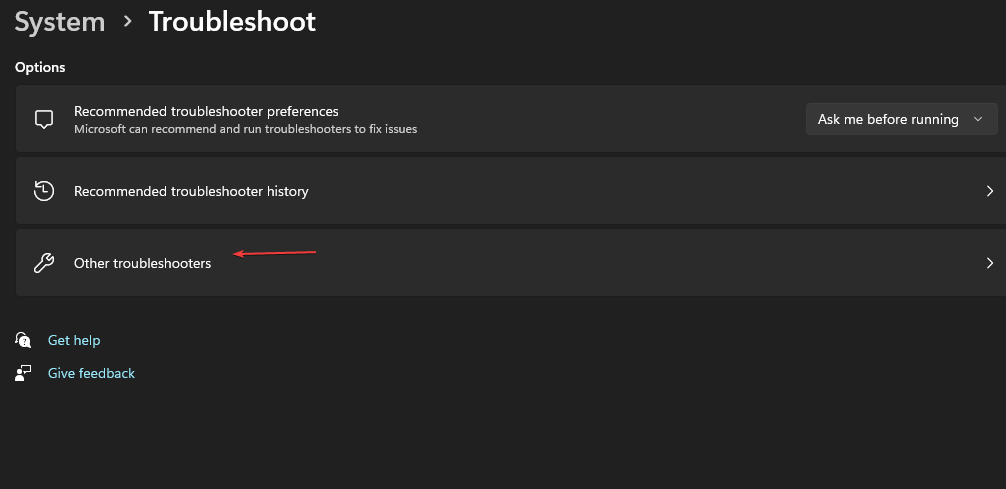
- Click the Run option for the Windows Update troubleshooter.
3. Restart the Windows Update service
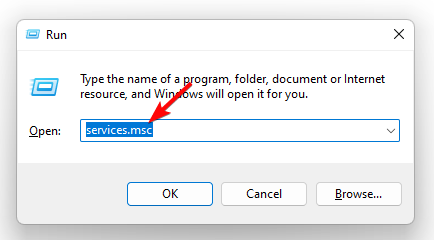
- Hit the Windows + R keys to open the Run command.
- Type services.msc and hit Enter.
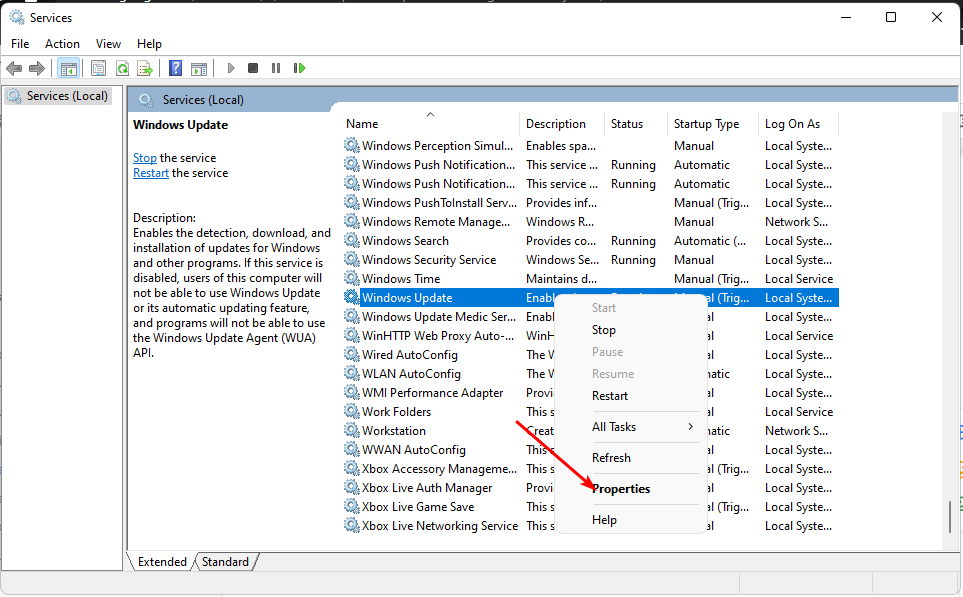
- Locate Windows Update service, double click on it and select Properties.
- Navigate to the General tab, under Startup type, select Automatic from the drop-down options, and click on the Start button.
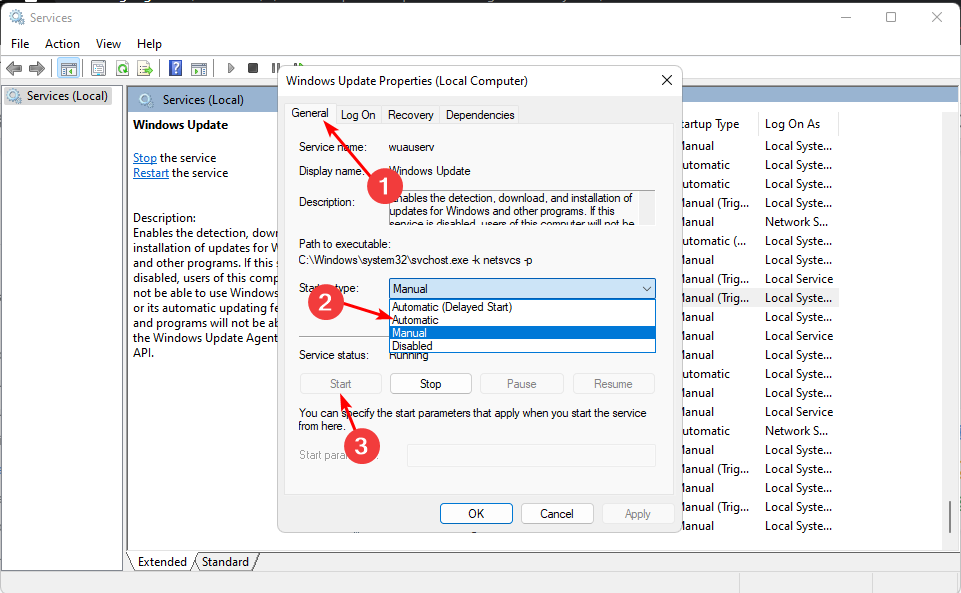
- Next, click Apply and then OK.
4. Run DISM and SFC scans
- Hit the Start Menu icon, type cmd in the search bar, and click Run as administrator to open an elevated Command Prompt.

- Type the following commands and press Enter after each one:
DISM.exe /Online /Cleanup-Image /Restorehealthsfc /scannow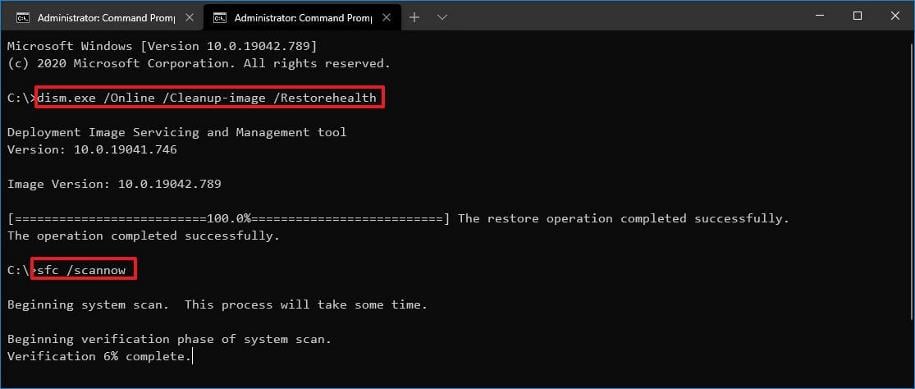
5. Update your Realtek driver
- Click on the Windows button, type Device Manager in the search bar, and click Open.
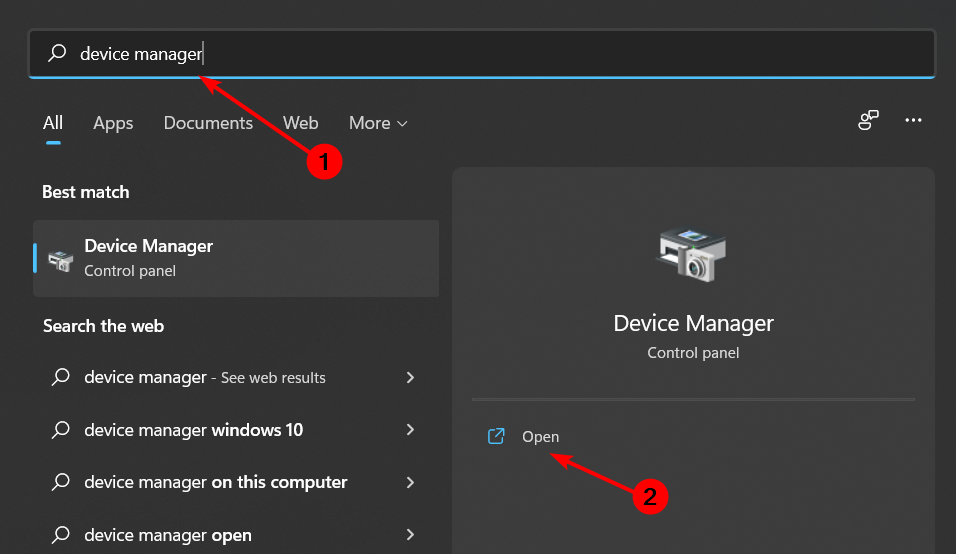
- Navigate to Sound, video, and game controllers to expand, right-click Realtek High Definition Audio and select Update driver.

- Select Search automatically for drivers.

Alternatively, you can get the same directly from the Realtek website, but this too, is not a guarantee that you’ll end up with the right driver, given the vast number of drivers available for different versions of Windows.
In such a situation, we recommend using an automatic third-party program. Outbyte Driver Updater is a free driver updater software that automatically scans your system for corrupt, missing, damaged, or outdated drivers and replaces them with the correct ones.
6. Disable your Realtek driver
- Click on the Windows button, type Device Manager in the search bar, and click Open.
- Navigate to Sound, video, and game controllers to expand, right-click Realtek High Definition Audio, and select Disable device.
For most install errors like 0x80242fff, you can check the corresponding app or driver causing the problem then disable or uninstall it.
7. Scan for viruses
- Press the Windows key, search Windows Security, and click Open.

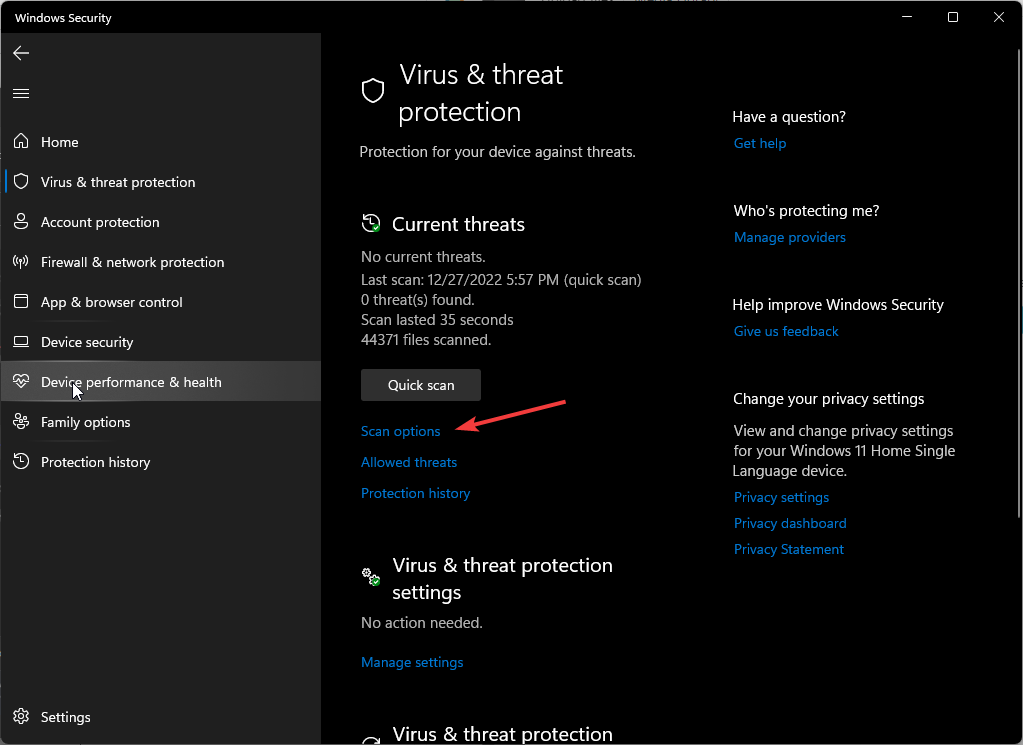
- Select Virus & threat protection.
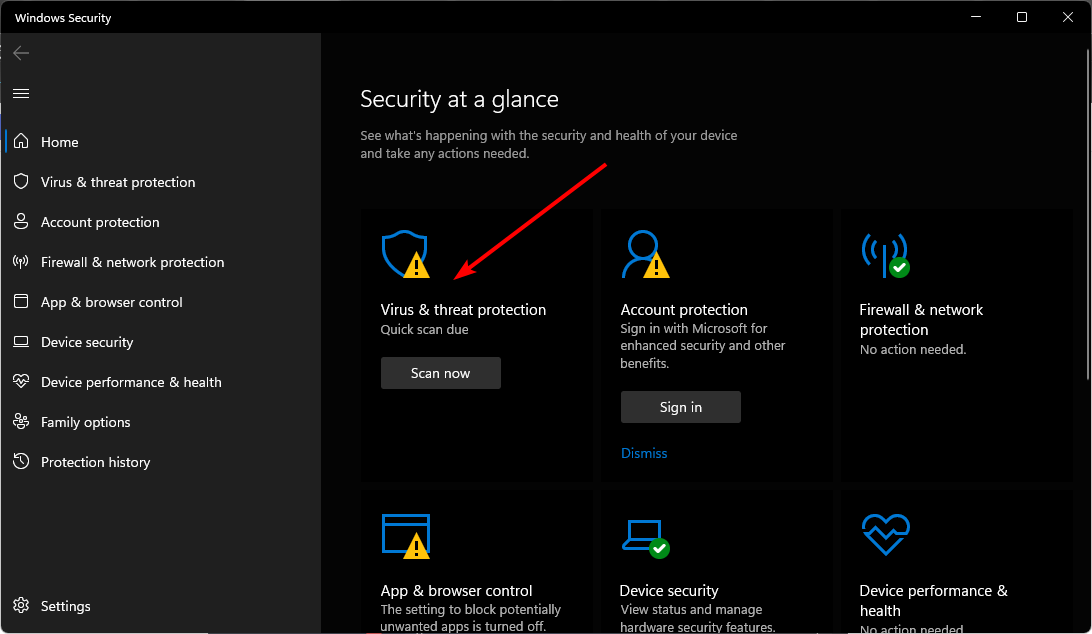
- Next, press Quick scan under Current threats.
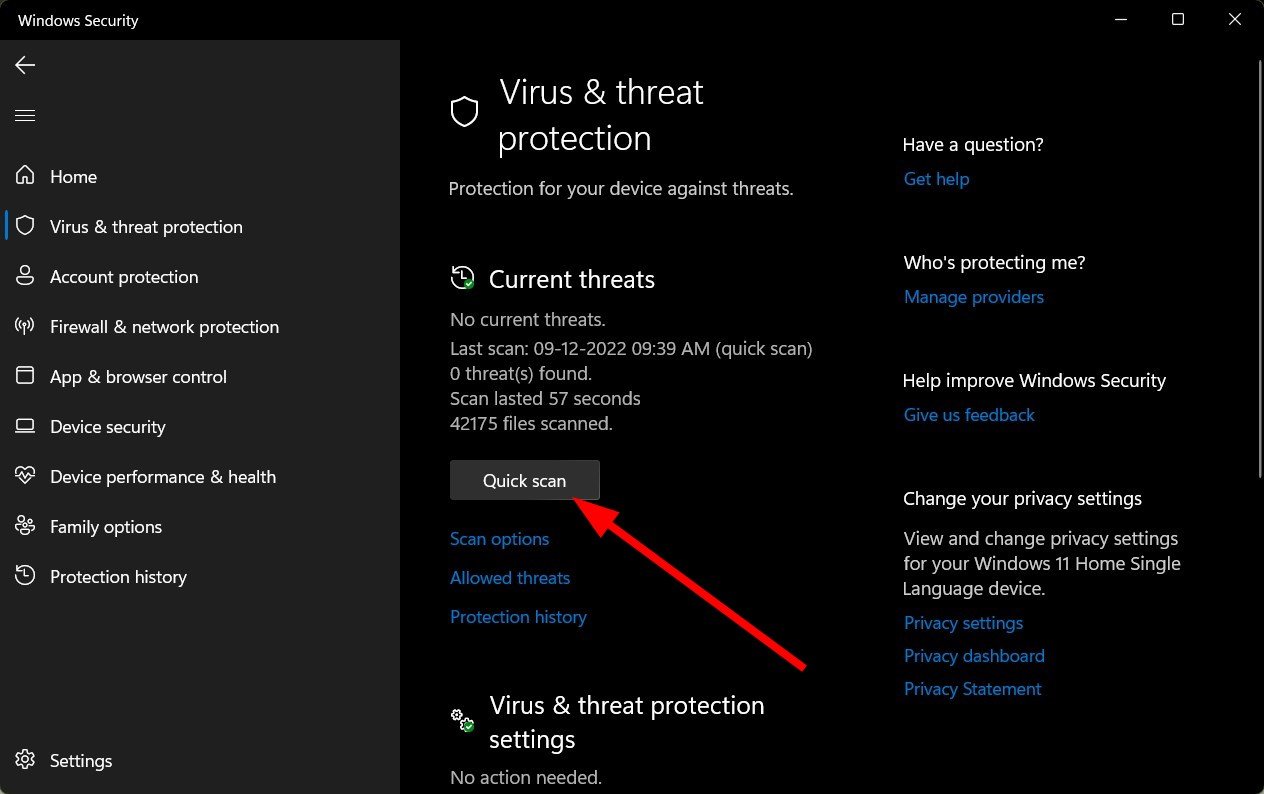
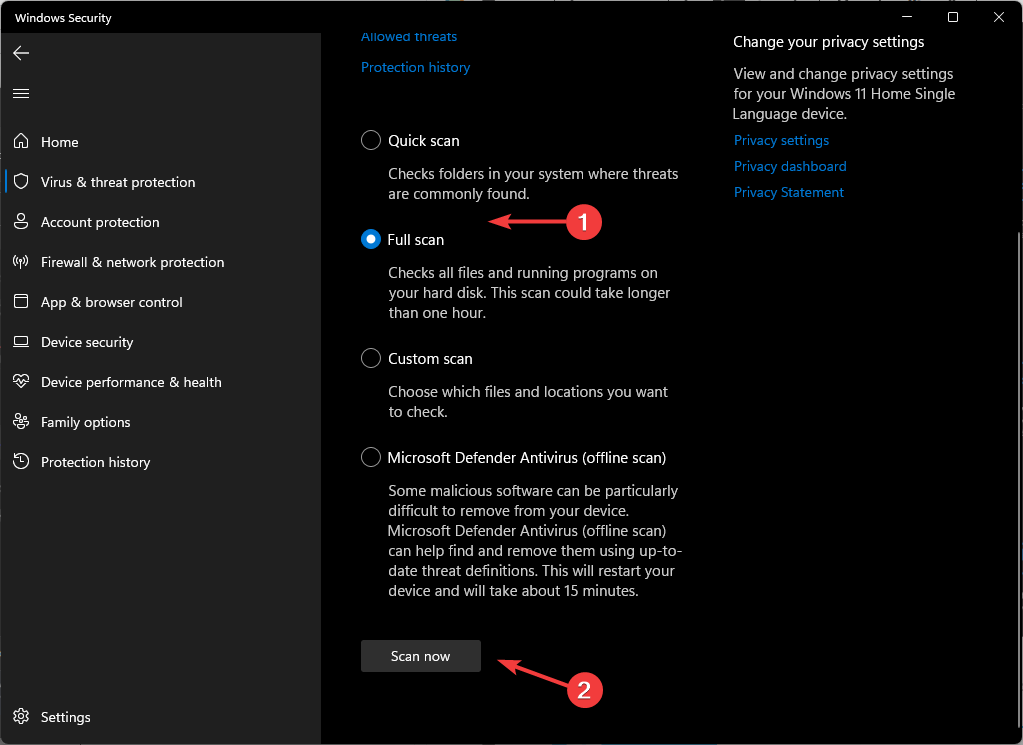
- If you don’t find any threats, proceed to perform a full scan by clicking on Scan options just below Quick scan.
- Click on Full scan, then Scan now to perform a deep scan of your PC.
- Wait for the process to finish and restart your system.
8. Perform a System Restore
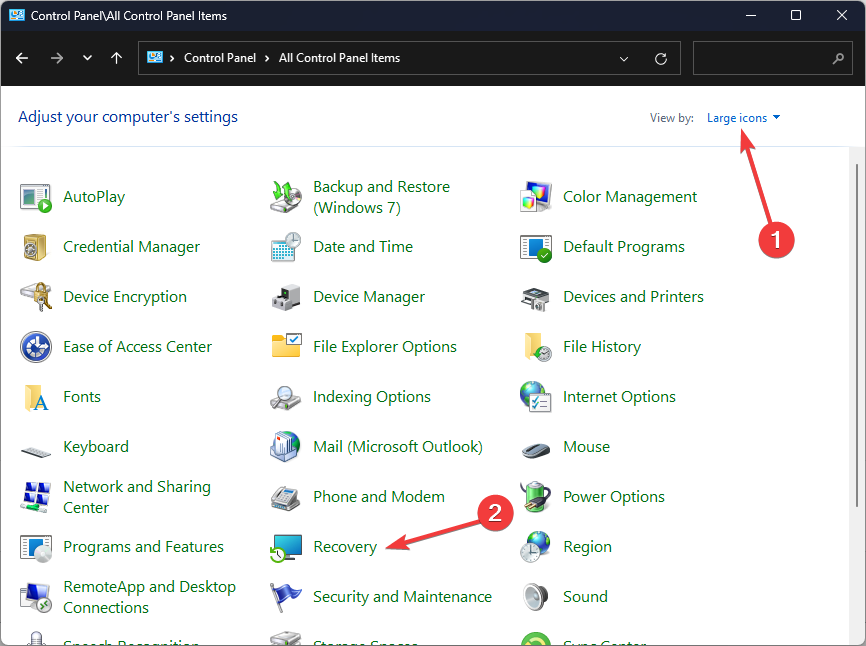
- Press the Windows key, type Control Panel, and click Open.

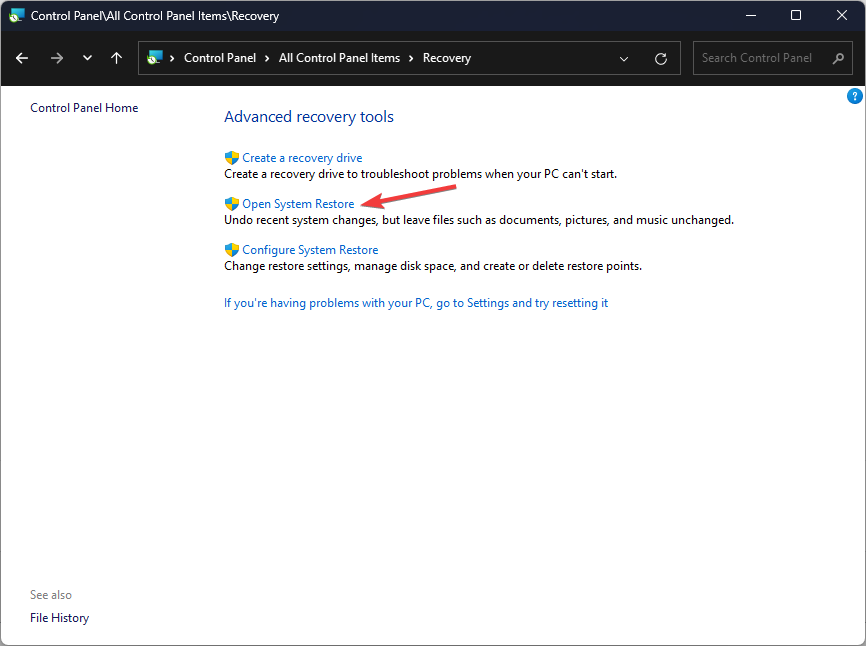
- Select Large icons as View by and click Recovery.
- Click Open System Restore.
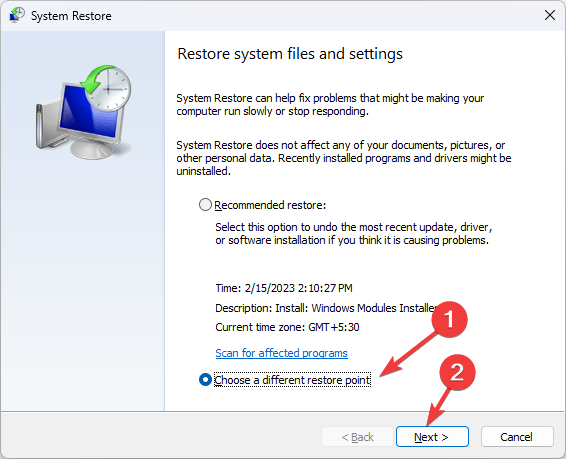
- Select Choose a different restore point and click Next.
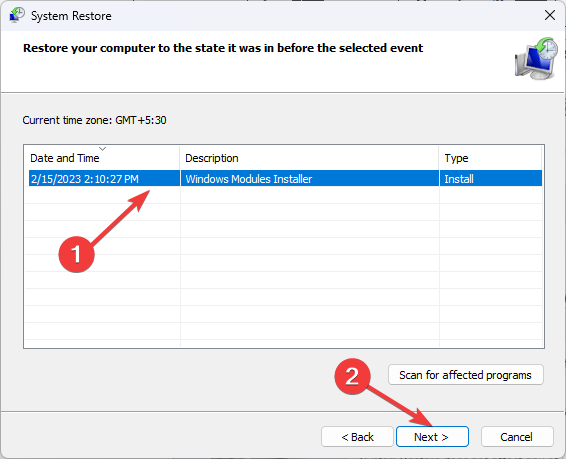
- Now select the restore point and click Next.
- Click Finish to restore the previous settings, and Windows will restart.
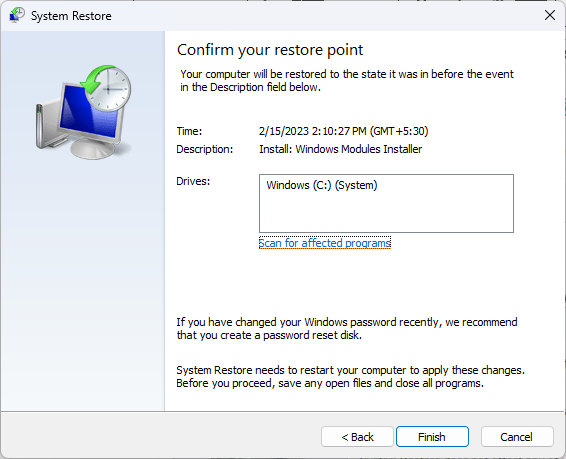
The System Restore option should be temporary as you wait for a new Windows Update or a newer driver version that could fix the bug.
Hopefully, this article has been able to provide some perspective on the 0x8007103 error and how you can make things work. There are a lot of issues that will eventually need to be fixed by Microsoft, but for now, these solutions will get you up and running in no time.
Still, on the issue of install errors, be sure to check out our detailed articles on errors 0x800f081f and 0x800f0988 for quick fixes.
We appreciate your feedback, so feel free to let us know what solution worked out for you in the comment section below.
Read our disclosure page to find out how can you help Windows Report sustain the editorial team. Read more


Improve this guide


User forum
0 messages