What is 0x8004011c in Outlook & How to Fix it
Run the compatibility troubleshooter to check for any errors
Key notes
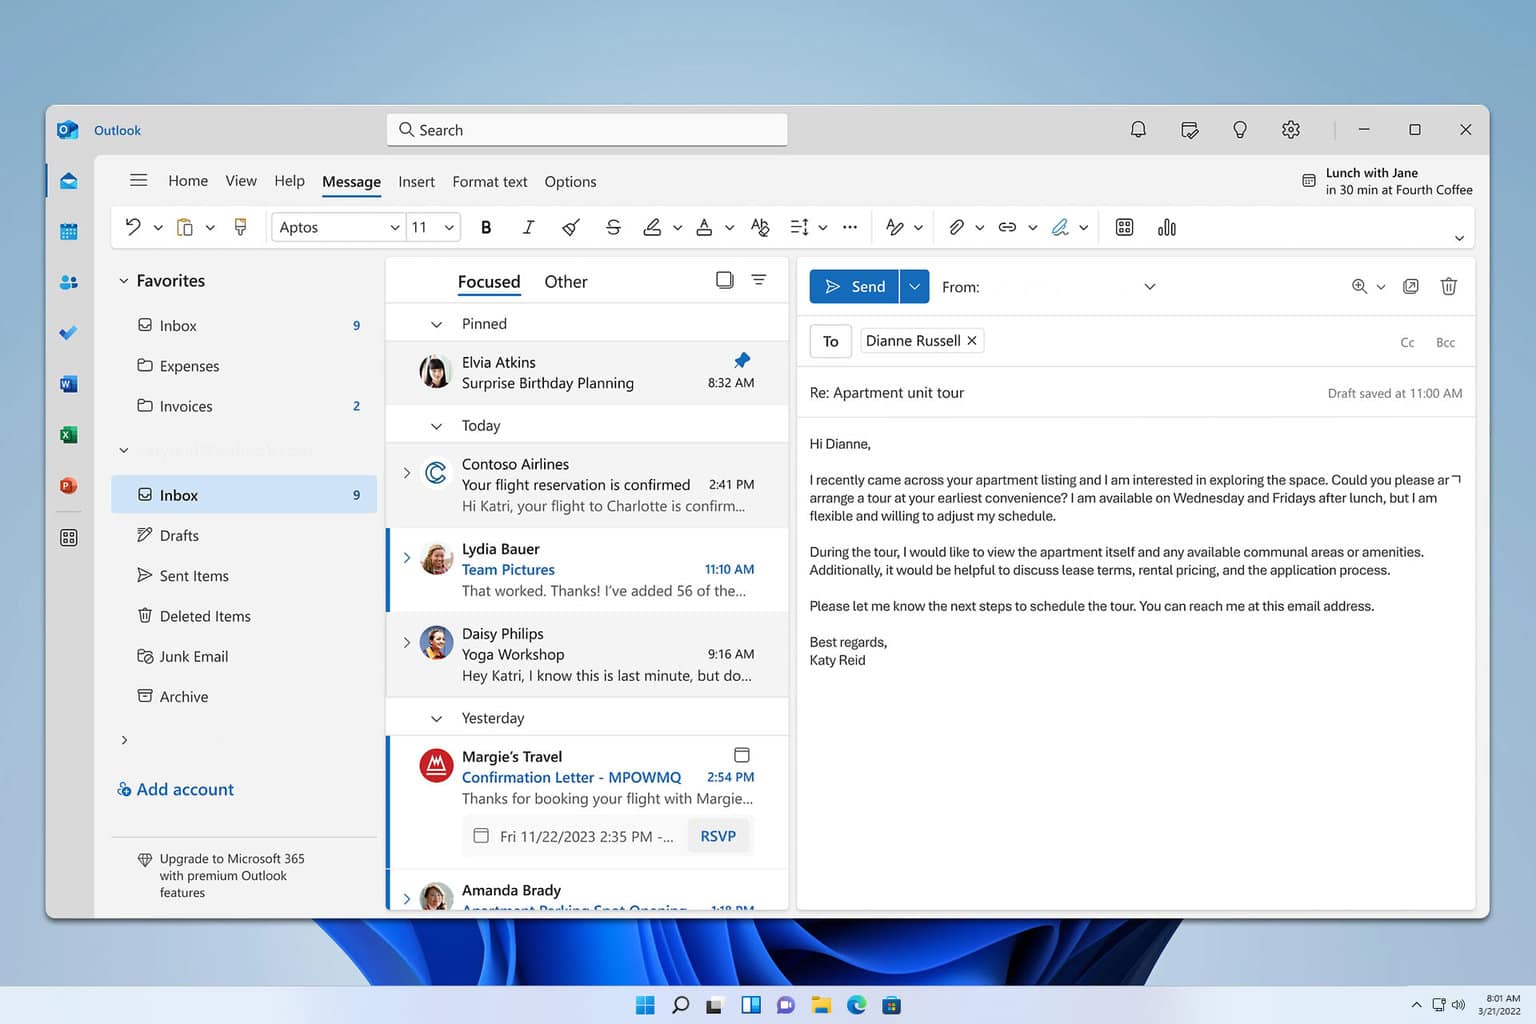
- Outlook allows you to have more than one email so that you can easily switch between them, especially if you have a personal and work account.
- However, some users have problems creating a new email, particularly those from a domain.
- If this sounds like you, we will walk you through how to get that email account accepted in Outlook.
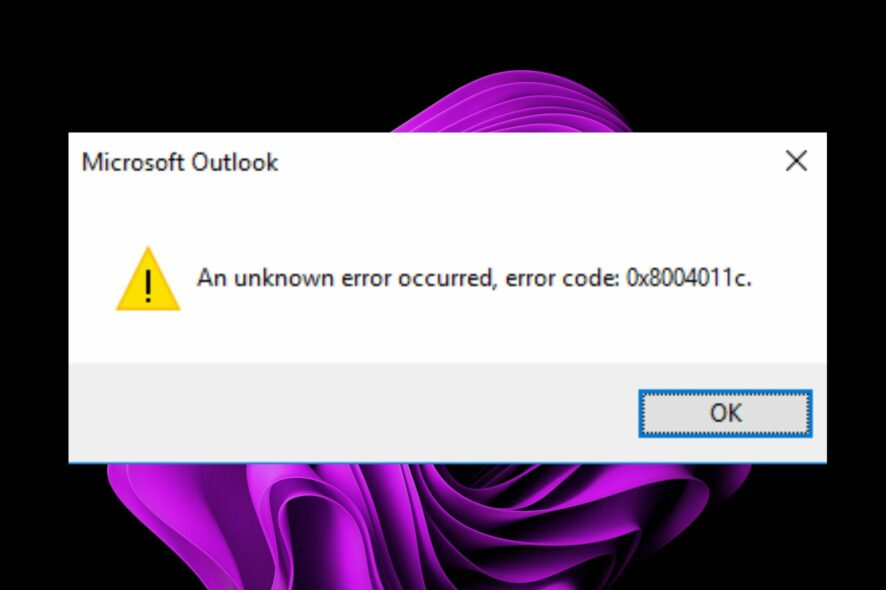
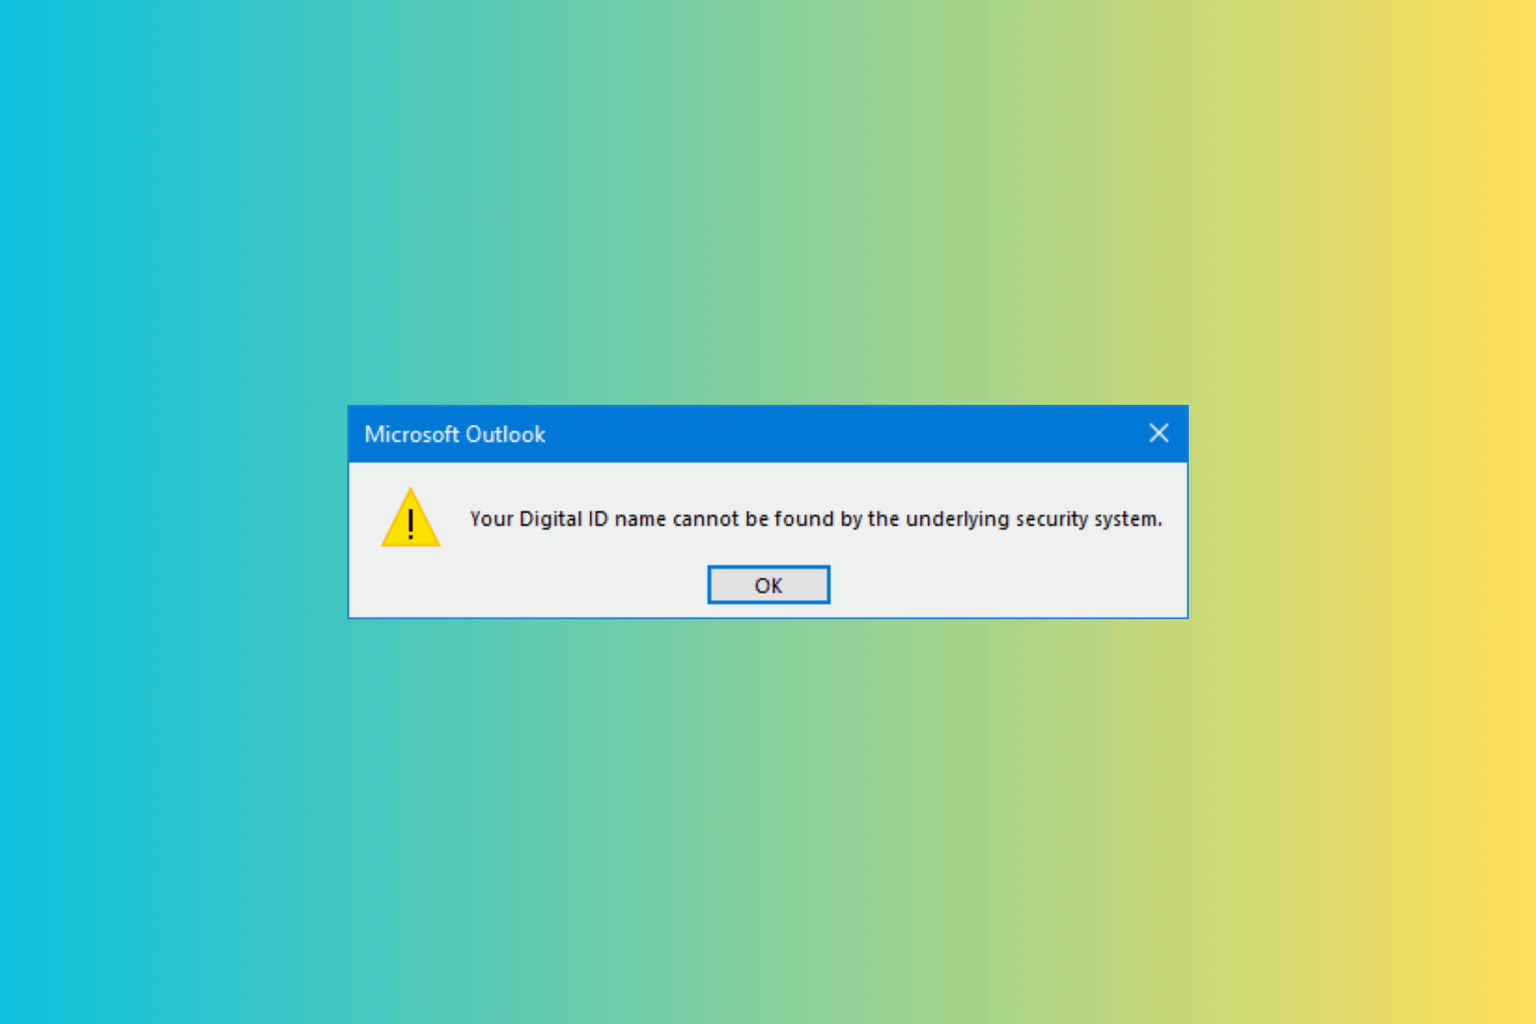
0x8004011c is a common error for Microsoft Outlook users. This error message usually appears when you try to set up a new email account from a domain. Unfortunately, outlook errors are common; sometimes, the app won’t even open in your Windows 11.
Users are stalled at creating a new email account for this particular error despite numerous attempts. Therefore, we take a closer look at what causes this issue and how to resolve it.
What is 0x8004011c in Outlook?
0x8004011c is a common error code you can get while using Microsoft Outlook. It is associated with connecting to an Exchange Server, which means there is a problem with the server.
This issue prevents you from connecting your email account, you can’t send or receive emails from your Outlook account. From a majority of the reports, this issue happened to users using a domain account.
Some of the leading causes behind this error include the following:
- Connection issues – Your internet connection may be too slow and can’t facilitate the creation of a new account.
- Server issues – Microsoft servers may be busy or overloaded when you are trying to create an account.
How do I fix error 0x8004011c in Outlook?
A few basic workarounds that may save the day without the need for technical solutions include:
- Check your Internet connection. Ensure you are connected to the Internet and operating at optimum speeds.
- Ensure that no firewall is blocking access to the email server.
- Make sure that you’re using the latest version of Outlook.
- Check the server status for Microsoft and ensure Outlook is not listed.
1. Uninstall recent Windows updates
- Hit the Windows key and select Settings.

- Click on Windows Update and select Update history on the right pane.
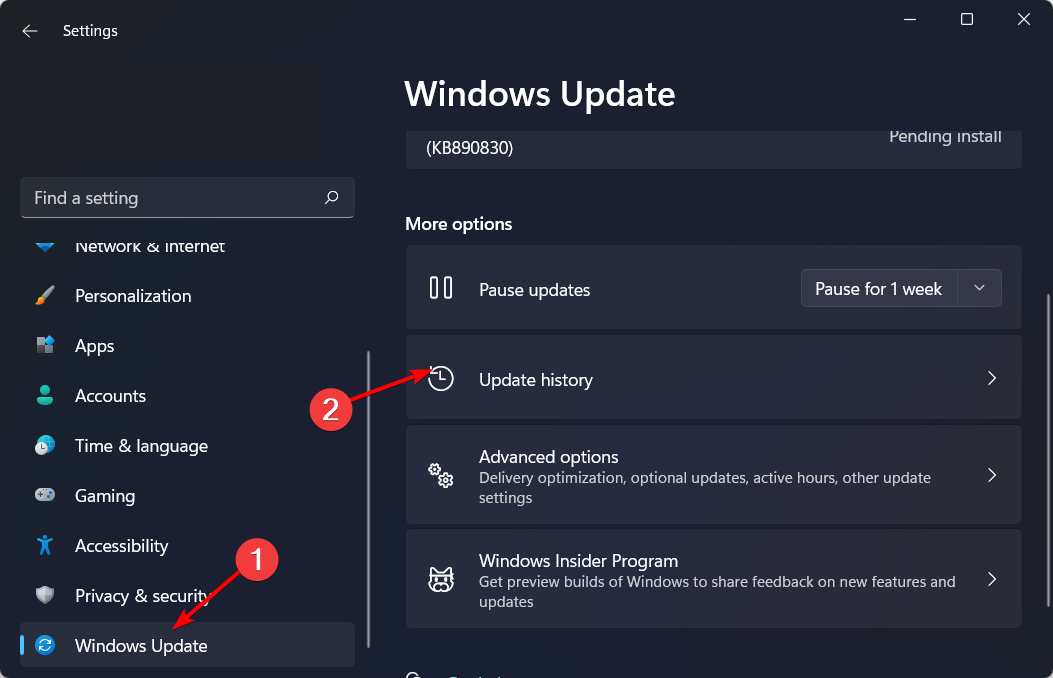
- Scroll down, and under Related settings, click on Uninstall updates.
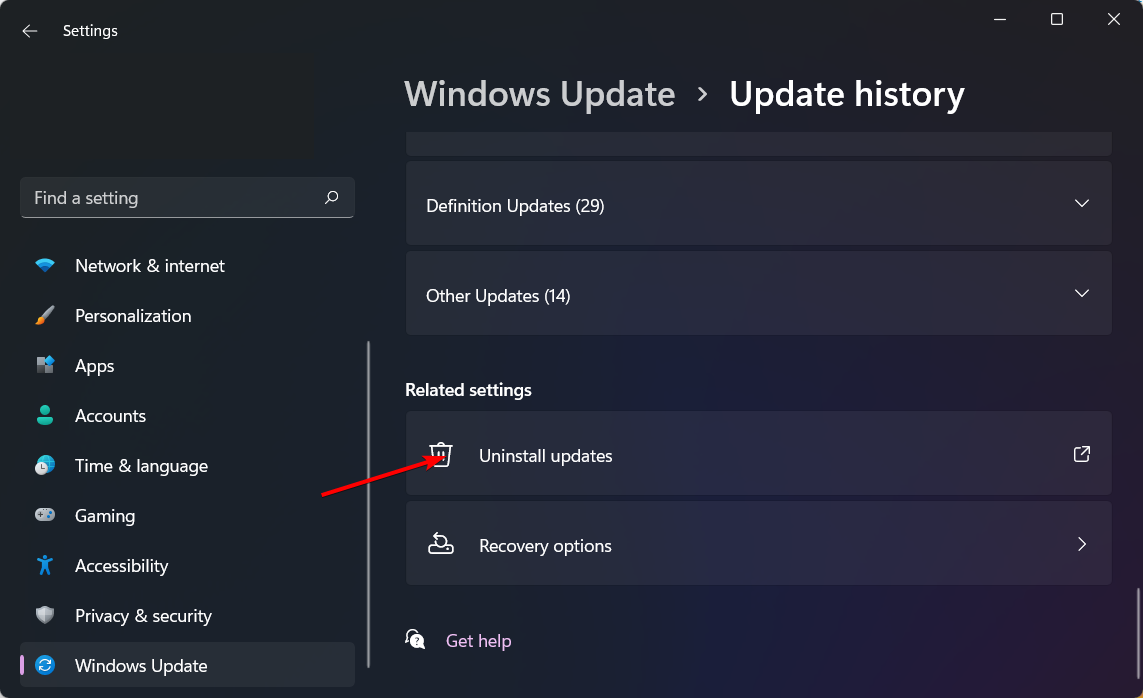
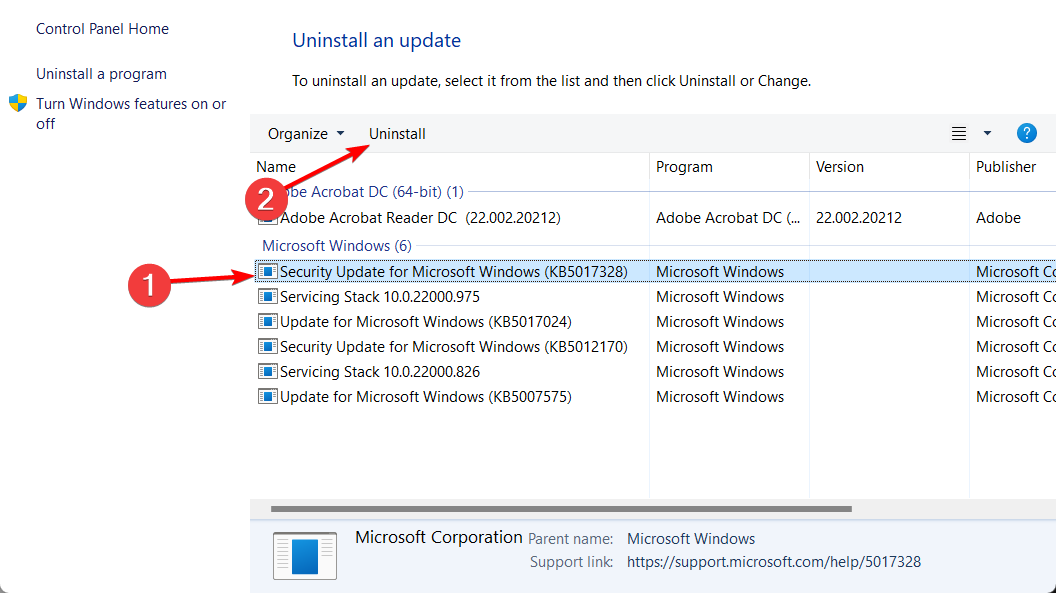
- This will take you to the most recent installed updates.
- Select the topmost update and click on Uninstall.
- Restart your PC and check if the problem persists.
2. Run the program compatibility troubleshooter
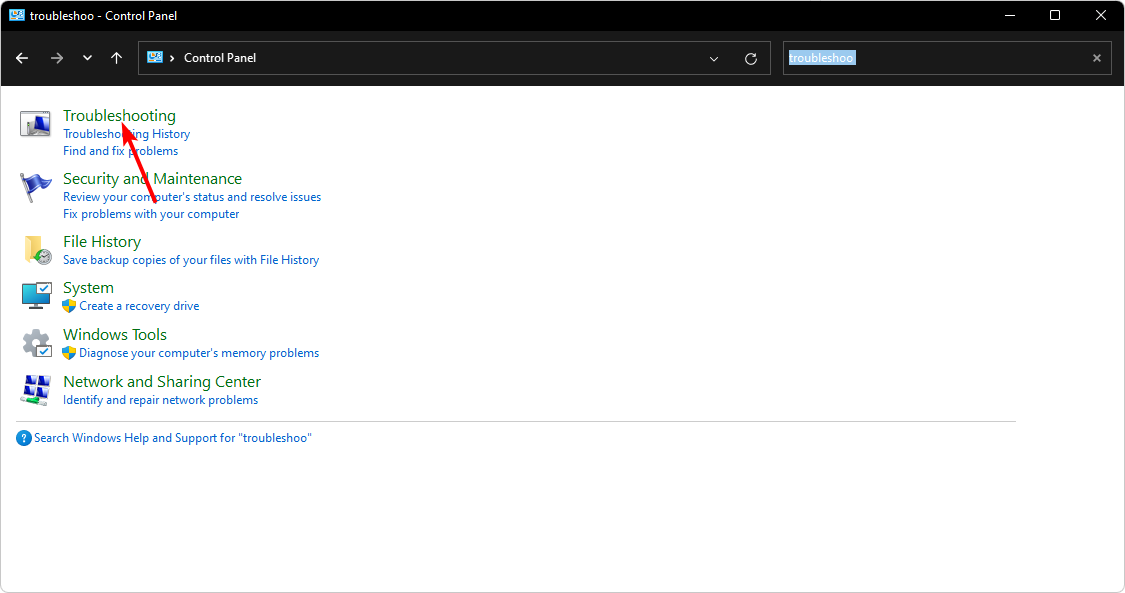
- Hit the Windows key, type Control Panel in the search bar, and click Open.

- Click on Troubleshooting.
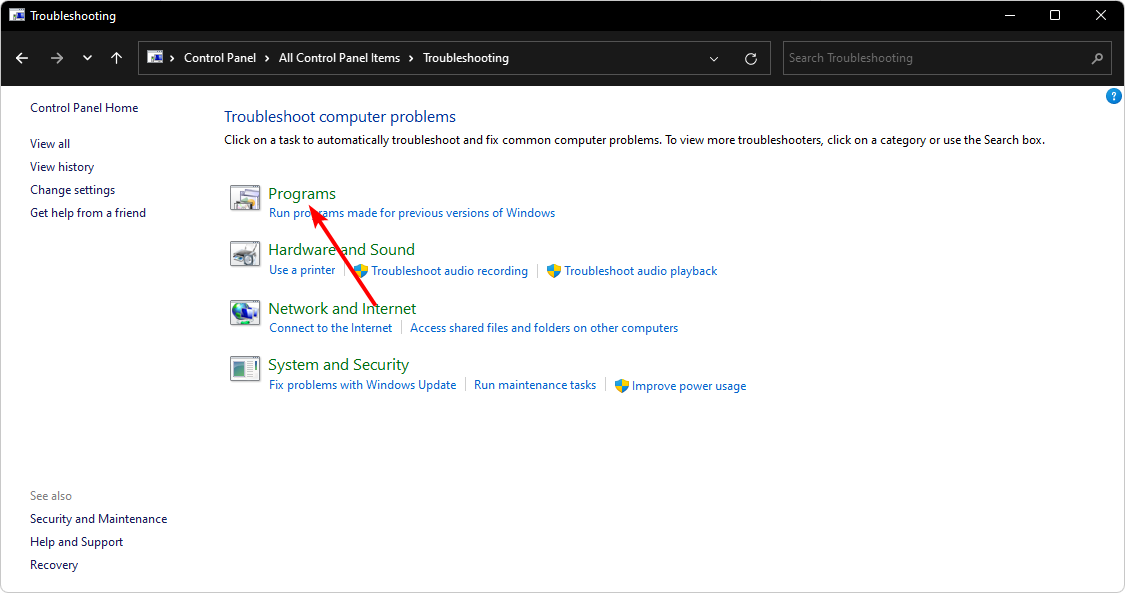
- Select Programs.
- Click on Program Compatibility Troubleshooter, then hit Next.
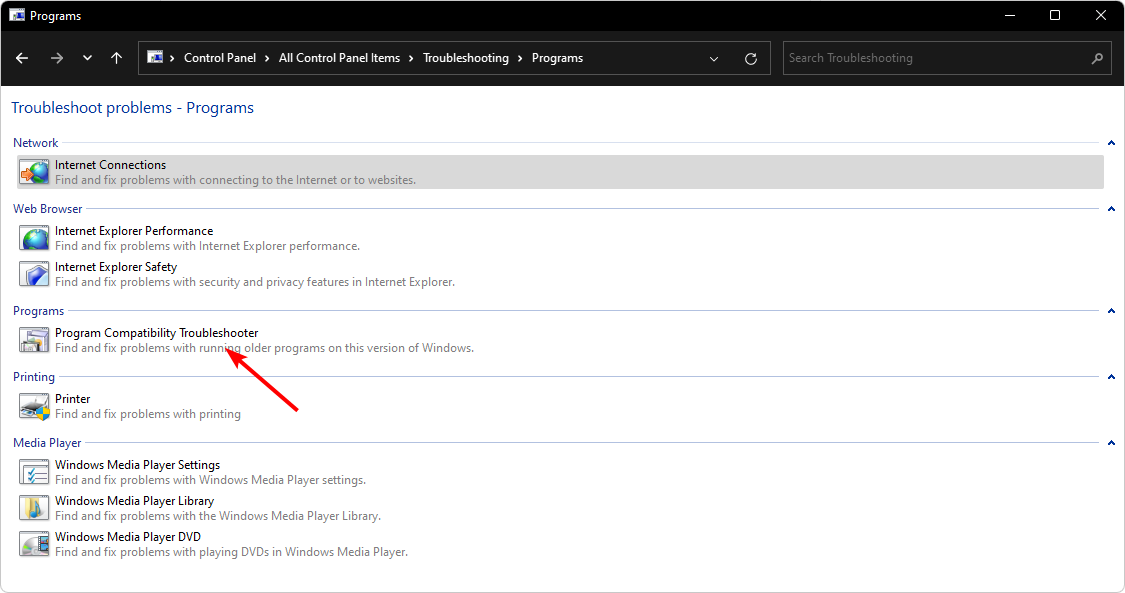
- Follow the on-screen instructions and choose the appropriate response when prompted to complete the process.
The program compatibility troubleshooter helps you to diagnose and fix issues when a program fails to run correctly. It will check for problems caused by compatibility issues between your program and Windows and fixes them automatically.
3. Remove compatibility restrictions
- Hit the Windows + E keys to open File Explorer.
- Navigate to the following location. Please note that this is the default folder location for most apps, so if you moved it, it might not be here:
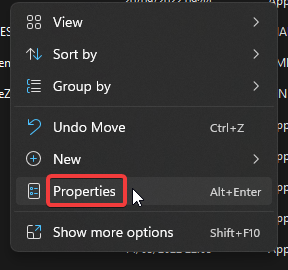
C:\Program Files (x86)orC:\Program Files\Microsoft Office - Locate the Outlook.exe file, right-click on it, and select Properties.
- Navigate to the Compatibility tab and uncheck the Run this program in compatibility mode for option.
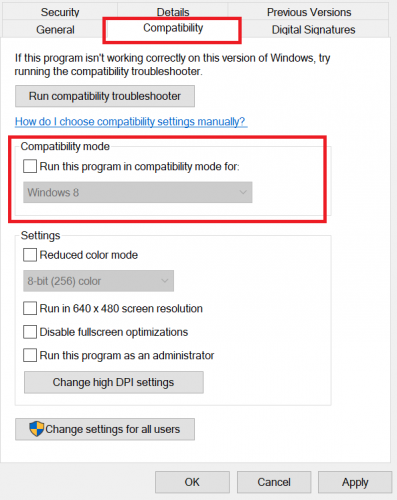
- Click on Apply, then OK to save the changes.
4. Edit the Registry
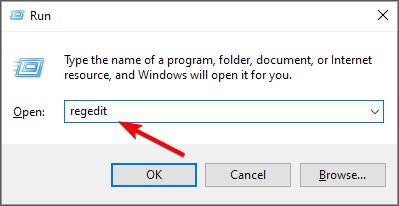
- Hit the Windows + R keys to open the Run command.
- Type regedit in the dialog box and hit Enter to open the Registry Editor.
- Navigate to the following location:
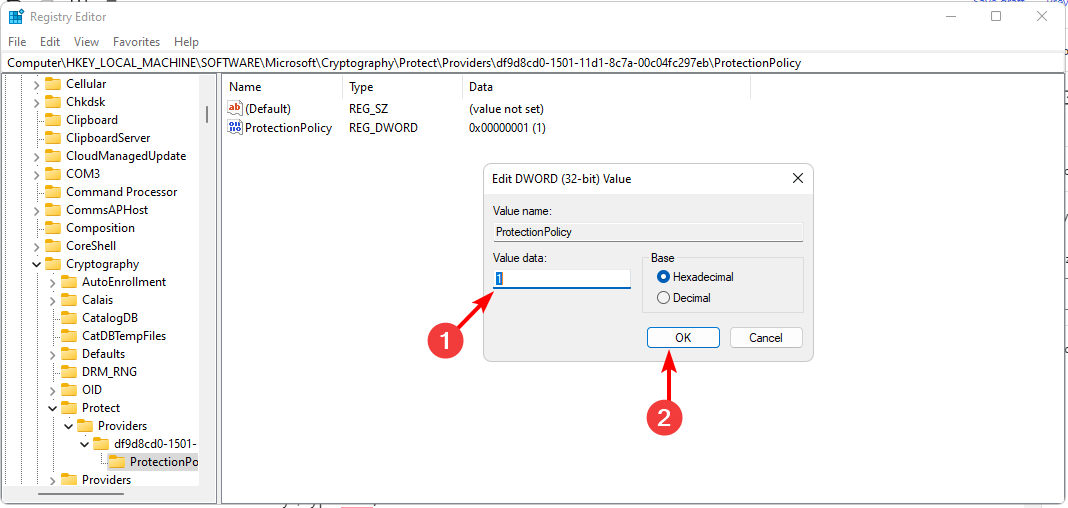
HKEY_LOCAL_MACHINE\SOFTWARE\Microsoft\Cryptography\Protect\Providers\df9d8cd0-1501-11d1-8c7a-00c04fc297eb - Right-click on an empty space on the right side, select New DWORD (32bit) and rename it as ProtectionPolicy.
- Double-click on it to modify then; in the Value data entry, enter 1, then hit OK.
- Close the Registry Editor and try creating the email account again.
At this point, we have to mention that the Registry Editor is a very critical component of Windows, and any edits made can have a ripple effect on the performance and stability of your OS. If anything goes wrong, you risk causing your PC irreversible damage.
To cushion yourself from crippling effects, we recommend that you create a restore point so that you can have a point of return. You can also seek assistance from a tech expert if you’re not conversant with how things work.
5. Perform a System Restore
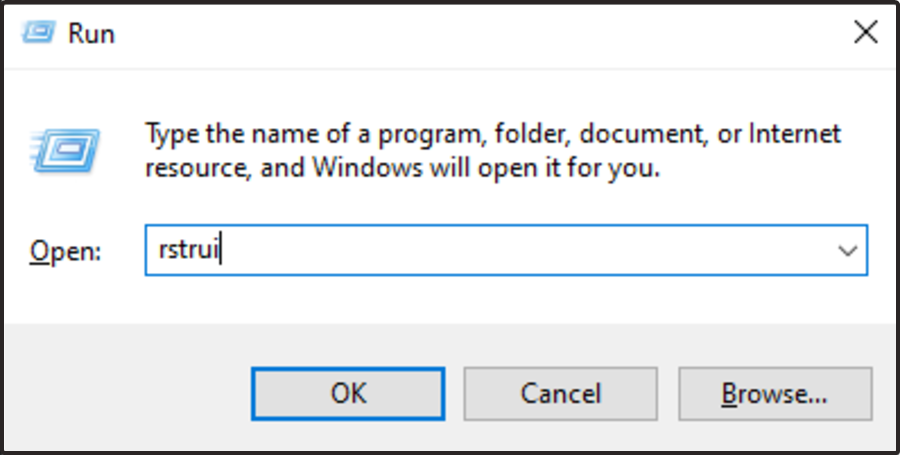
- Press the Windows + R keys, type rstui, and hit Enter.
- Select the restore point you wish to revert to and click on Next.
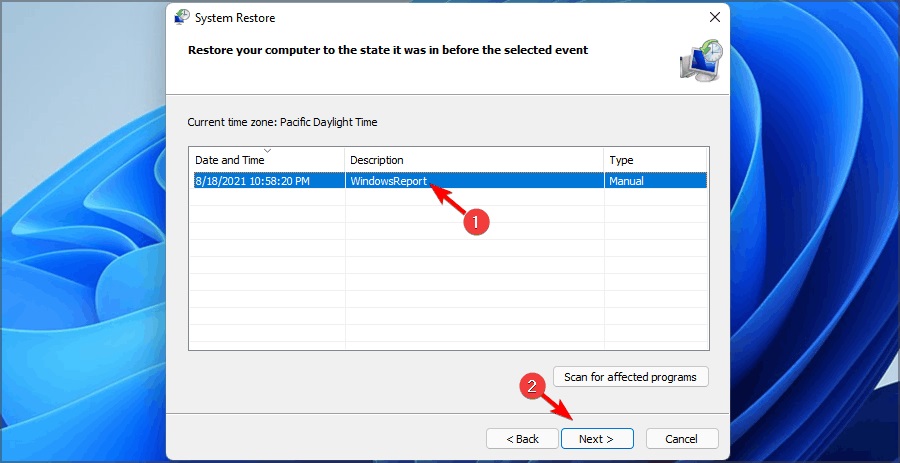
- Now click on Finish.
Remember, you must have created a restore point before this step; otherwise, this won’t work.
That’s all we had for this article, and hopefully, at this point, there will be no more issues when you try to create an email account. If so, we recommend that you contact Microsoft support for further assistance.
If you want to change or remove your primary account from Outlook, we share a step-by-step process on how to go about it.
For any comments, queries, or suggestions, leave a comment below.
Read our disclosure page to find out how can you help Windows Report sustain the editorial team. Read more


Improve this guide

User forum
0 messages