0x80073701 on Windows 11: How to Fix this Install/Update Error
You may manually install the update as a last resort
Key notes
- The 0x80073701 error code in Windows 11 is encountered when you try to install an update.
- It could be due to corrupt system files, issues with the Windows Update Components, or critical services that are not running.
- To fix the error, run the built-in troubleshooter or perform a DISM and SFC scan, amongst the other methods here.

Windows updates are critical, and with the latest iteration still in the early days, it’s recommended that you always have the latest version installed.
But, several users have been receiving the 0x80073701 Windows 11 error when trying to install updates.
With each update, Microsoft releases many new features, some of which are meant to boost the system’s performance. But, various errors prevent you from installing updates.
What does the install error 0x80073701 on Windows 11 mean?
Regarding the update errors, there are a few common underlying causes. Most often than not, it’s a minor glitch that prevents you from installing updates. Here are the major triggers:
- Corrupted or faulty Windows Update component – These WU components are an integral reason behind the success of an OS update. Once corrupted, you may expect glitches.
- Bad or corrupted system files – Curropted system files will mean that common PC processes will be broken or unresponsive.
- Windows Update glitch – The WU component’s ongoing bug is the most frequent cause of this specific problem. This may be a result of a broken update troubleshooter.
- Stopped update services – There’s also the possibility that critical services responsible for identifying, downloading, and installing updates may not be running.
Now that you have a basic understanding of the underlying causes let’s walk you through the most effective fixes for the 0x80073701 error in Windows 11.
If you encounter the Windows Update error 0x80073701 in Windows 10, check out our dedicated guide for it.
How do I fix the 0x80073701 Windows 11 error?
1. Use a dedicated third-party tool
The easiest way to fix the Windows 11 0x80073701 Windows Update error 0x80073701 is to use a reliable and dedicated third-party tool. Some of these are available, but not all are as effective as this one.
Windows Update is meant to improve the overall performance of your operating system, integrate new features, and even upgrade the existing ones. However, there are times when certain errors may occur out of the blue.
Thankfully, if you happen to run into such issues, there are specialized Windows repair tools that can help you solve them in no time.
After the process is completed your computer should work perfectly fine and you will no longer have to worry about Windows Update errors of any kind.
2. Run the Windows Update troubleshooter
- Press Windows + I to launch the Settings app, and click on Troubleshoot on the right in the System.

2. Click on Other troubleshooters.

3. Locate the Windows Update troubleshooter, and click on the Run button next to it.

4. Follow the on-screen instructions and choose the necessary response when prompted to fix the error.
Running necessary tools like the Windows Update Troubleshooter helps to identify the main causes that generate this error on Windows 11 OS.
3. Run the DISM tool and SFC scan
If it was the corrupt system files that caused the error code 0x80073701 in Windows 11, running the DISM (Deployment Image Servicing and Management) tool and SFC scan should fix it.
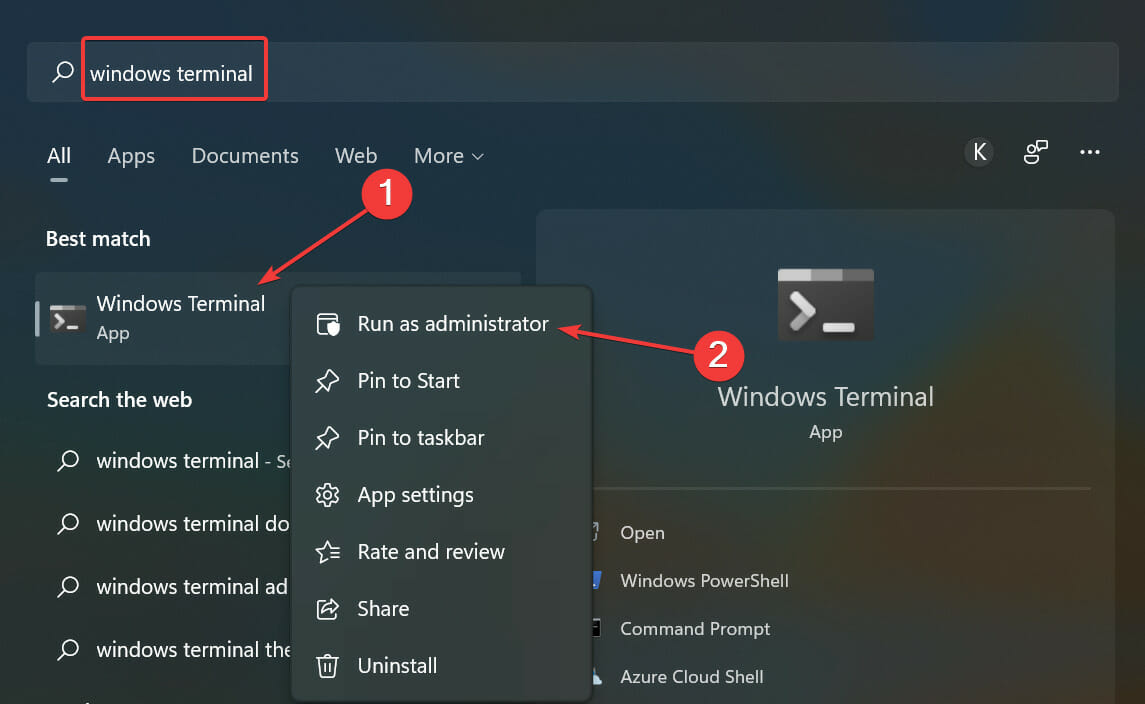
- Press Windows + S to launch the Search menu, enter Windows Terminal in the text field at the top, right-click on the relevant search result, and select Run as administrator from the context menu.

- Click Yes in the UAC (User Account Control) prompt that pops up.

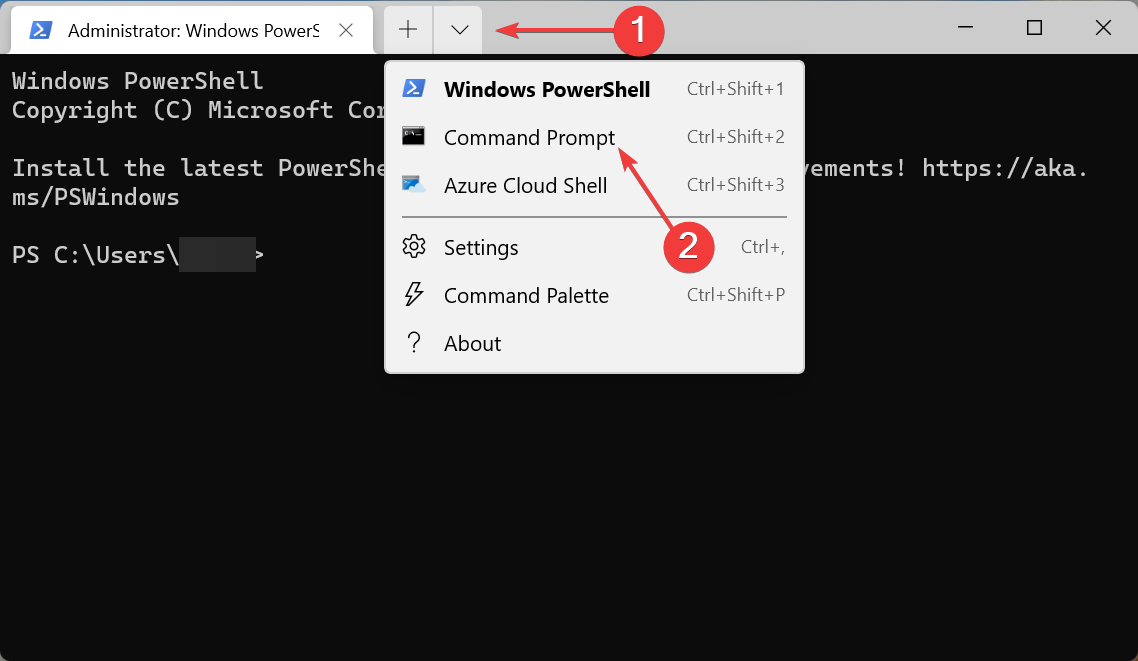
- Now, click on the downward-facing arrow and select Command Prompt from the list of options. Alternatively, you can hit Ctrl + Shift + 2 to launch Command Prompt in a new tab.

- Paste the following three commands one at a time, and hit Enter after each to run the DISM tool.
DISM.exe /online /cleanup-image /scanhealthDISM.exe /online /cleanup-image /restorehealth - Once done, execute the following command to run the SFC scan.
sfc /scannow
4. Run the Windows Update service
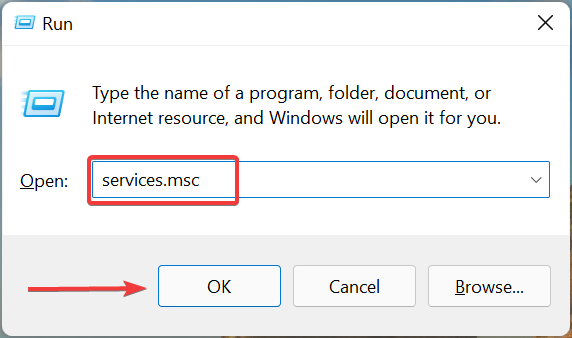
- Press Windows + R to launch the Run command, enter services.msc in the text field, and either click on OK or hit Enter to launch the Services app.

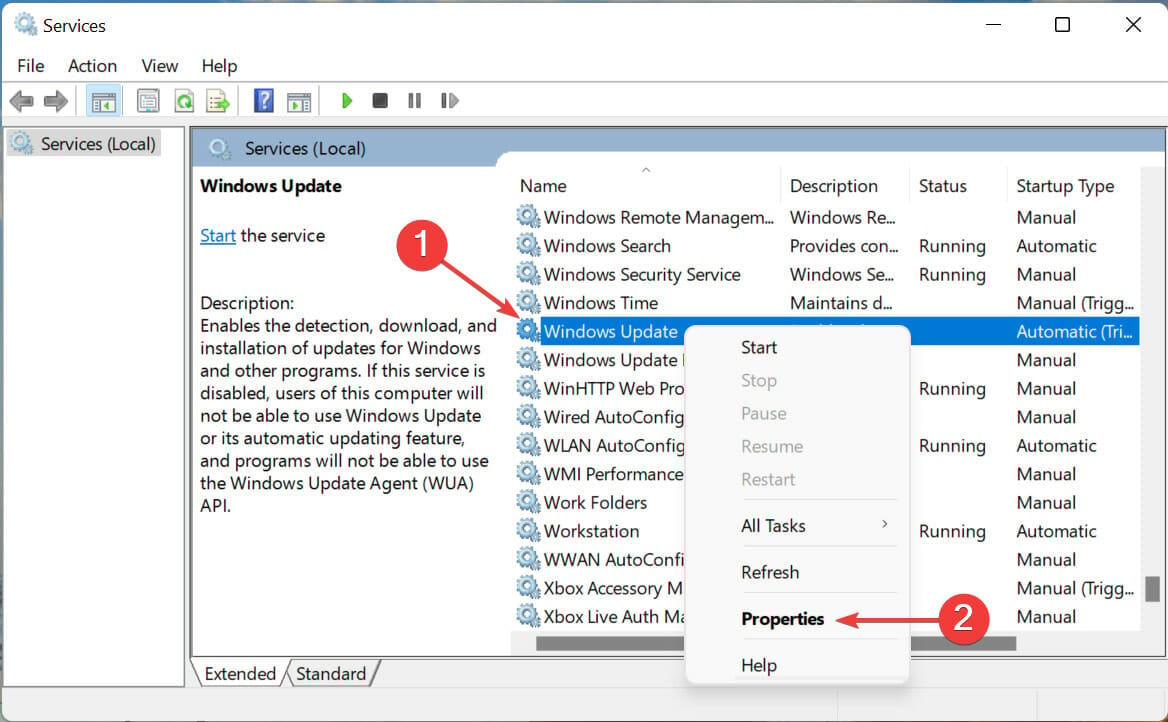
- Locate the Windows Update service, right-click on it, and select Properties from the context menu.

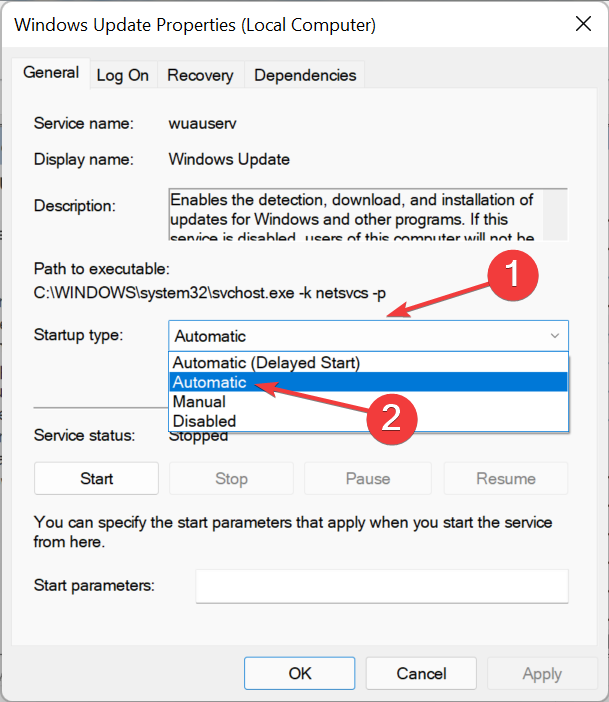
- Click on the Startup type dropdown menu, and select Automatic from the list of options.

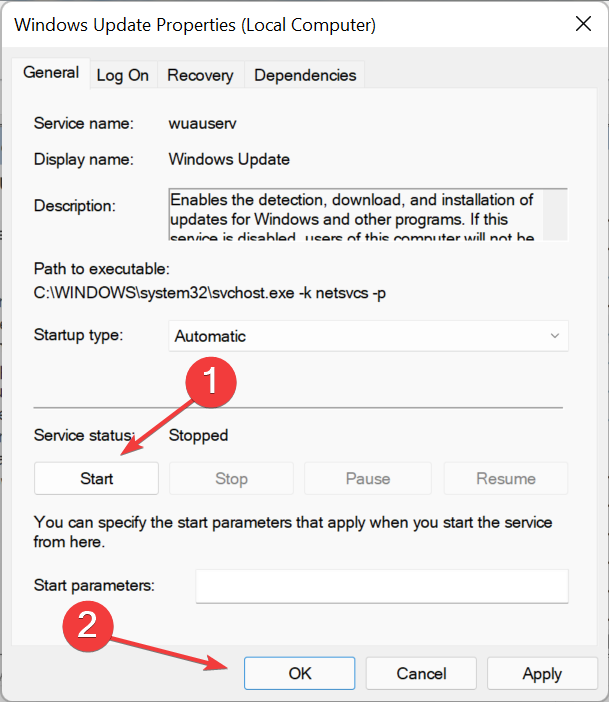
- Now, if the service is not running, click on the Start button, and then on OK at the bottom to save the changes.

5. Delete contents of the Software Distribution folder
- Press Windows +S to launch the Search menu, enter Windows Terminal in the text field, right-click on the relevant search result, and select Run as administrator from the context menu.
- Click Yes in the UAC prompt that pops up.

- Click on the downward-facing arrow at the top and select Command Prompt.

- Now, type/paste the following commands and hit Enter after each to stop a bunch of Windows Update related services.
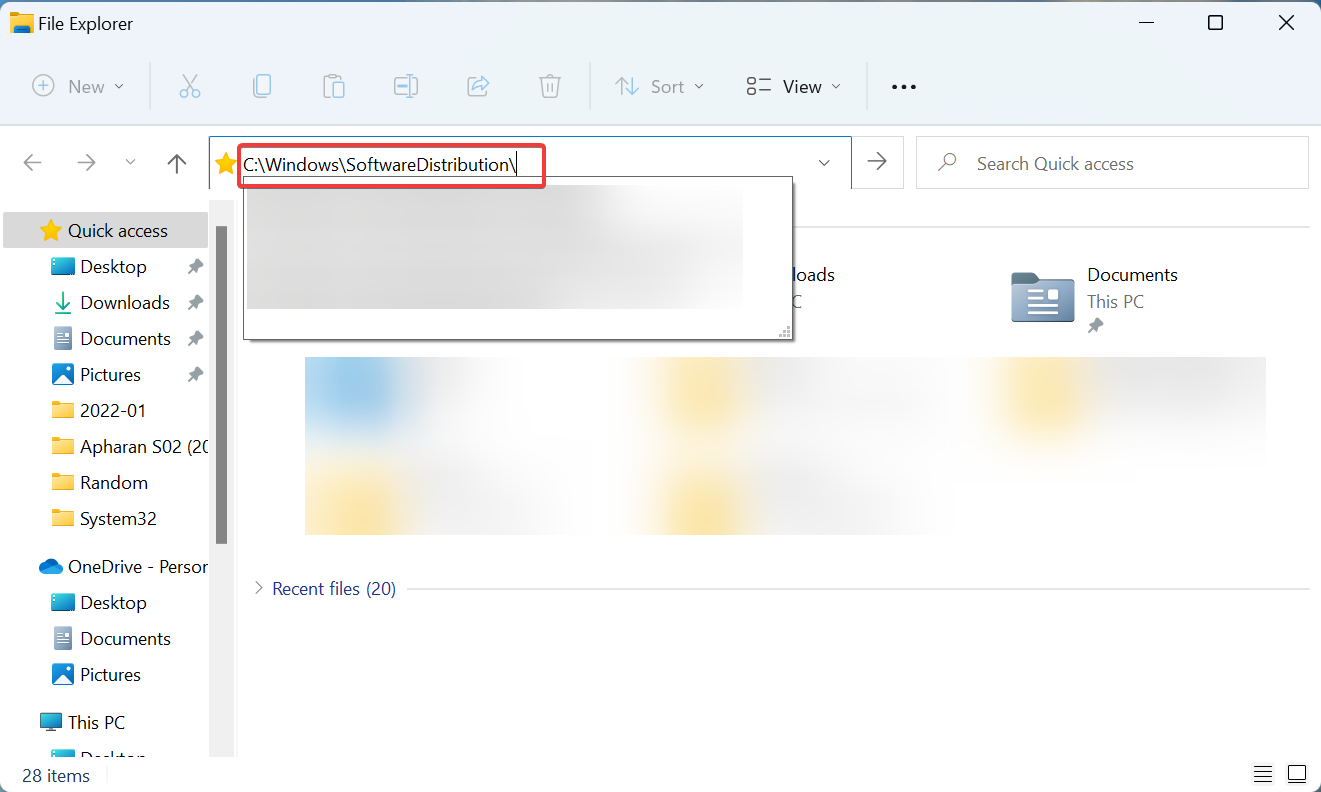
net stop wuauservnet stop cryptsvcnet stop bitsnet stop msiserver - Once done, press Windows + E to launch the File Explorer, paste the following path in the address bar and hit Enter.
C:\Windows\SoftwareDistribution\
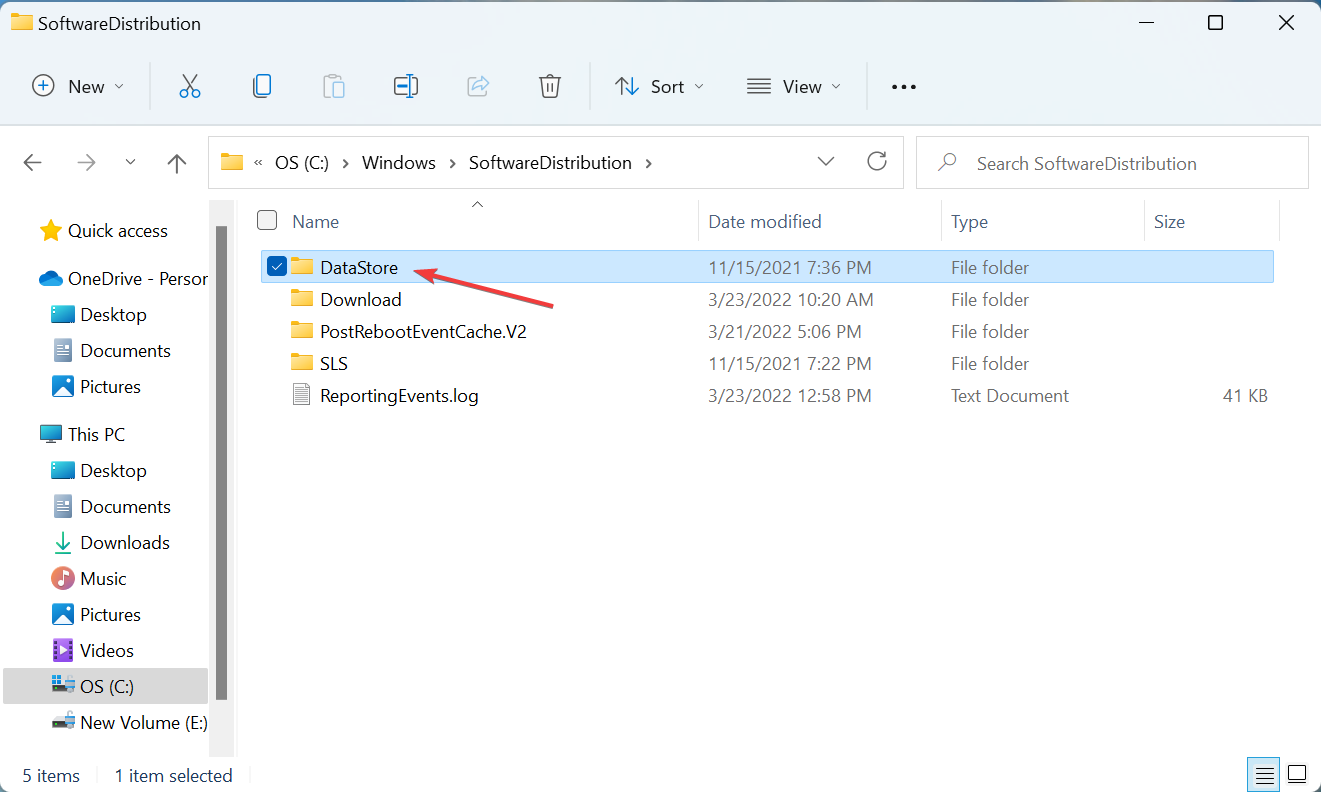
- Double-click on the DataStore folder here to view its contents.

- Next, press Ctrl + A to select all the files here, and hit the Del key to delete them.

- Choose the appropriate response, in case a confirmation prompt pops up.
- Now, go back to the Command Prompt tab in Windows Terminal, and execute the following commands to run the services that you stopped earlier.
net start wuauservnet start cryptsvcnet start bitsnet start msiserver


After you are done with the process, again check for updates, and verify if you are able to install them. In case you still encounter the error code 0x80073701 in Windows 11, head to the next method.
6. Reset Windows Update components
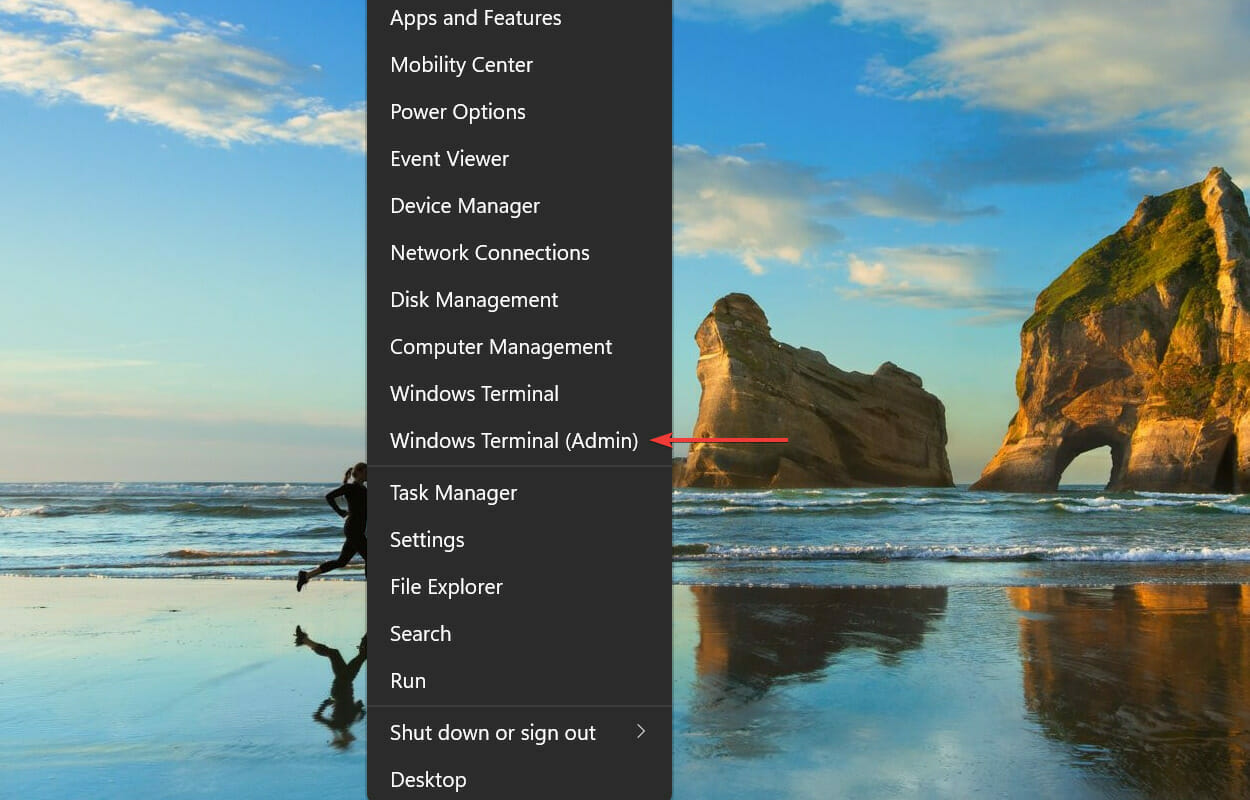
- Press Windows + X or right-click on the Start icon to launch the Power User menu, and select Windows Terminal (Admin) from the list of options.

- Click Yes in the UAC (User Account Control) prompt that appears.
- Next, click on the downward-facing arrow near the top and select Command Prompt.
- First, execute the following two commands to stop the Windows Update service and BITS.
net stop wuauservnet stop bits - Next, paste the following command and hit Enter to delete the qmgr*.dat files.
Del “%ALLUSERSPROFILE%Application DataMicrosoftNetworkDownloaderqmgr*.dat” - Now execute the following three commands to rename a few critical folders. However, you can skip this step if this is the first time you are resetting the Windows Update components. If it doesn’t work first, execute these on the next attempt.
Ren %Systemroot%\SoftwareDistribution\DataStore DataStore.bakRen %Systemroot%\SoftwareDistribution\Download Download.bakRen %Systemroot%\System32\catroot2 catroot2.bak - Execute these commands individually to reset the BITS and Windows Update service.
sc.exe sdset bits D:(A;;CCLCSWRPWPDTLOCRRC;;;SY)(A;;CCDCLCSWRPWPDTLOCRSDRCWDWO;;;BA)(A;;CCLCSWLOCRRC;;;AU)(A;;CCLCSWRPWPDTLOCRRC;;;PU)sc.exe sdset wuauserv D:(A;;CCLCSWRPWPDTLOCRRC;;;SY)(A;;CCDCLCSWRPWPDTLOCRSDRCWDWO;;;BA)(A;;CCLCSWLOCRRC;;;AU)(A;;CCLCSWRPWPDTLOCRRC;;;PU) - Next, paste the following command and hit Enter.
cd /d %windir%\system32 - The next step is to paste each of these commands individually and then hit Enter after each to reregister some critical files.
regsvr32.exe atl.dll
regsvr32.exe urlmon.dll
regsvr32.exe mshtml.dll
regsvr32.exe shdocvw.dll
regsvr32.exe browseui.dll
regsvr32.exe jscript.dll
regsvr32.exe vbscript.dll
regsvr32.exe scrrun.dll
regsvr32.exe msxml.dll
regsvr32.exe msxml3.dll
regsvr32.exe msxml6.dll
regsvr32.exe actxprxy.dll
regsvr32.exe softpub.dll
regsvr32.exe wintrust.dll
regsvr32.exe dssenh.dll
regsvr32.exe rsaenh.dll
regsvr32.exe gpkcsp.dll
regsvr32.exe sccbase.dll
regsvr32.exe slbcsp.dll
regsvr32.exe cryptdlg.dll
regsvr32.exe oleaut32.dll
regsvr32.exe ole32.dll
regsvr32.exe shell32.dll
regsvr32.exe initpki.dll
regsvr32.exe wuapi.dll
regsvr32.exe wuaueng.dll
regsvr32.exe wuaueng1.dll
regsvr32.exe wucltui.dll
regsvr32.exe wups.dll
regsvr32.exe wups2.dll
regsvr32.exe wuweb.dll
regsvr32.exe qmgr.dll
regsvr32.exe qmgrprxy.dll
regsvr32.exe wucltux.dll
regsvr32.exe muweb.dll
regsvr32.exe wuwebv.dll
10. Now, execute this command to reset Winsock.netsh winsock reset
11. The last step is to restart the BITS and Windows Update service, execute these two commands to do that.net start bits net start wuauserv
The Windows Update Components play a critical role in installing updates, and if these are corrupt due to any reason, you are likely to encounter the error code 0x80073701 in Windows 11. Resetting the components has been found to fix the issue for many users.
7. Manually install the update
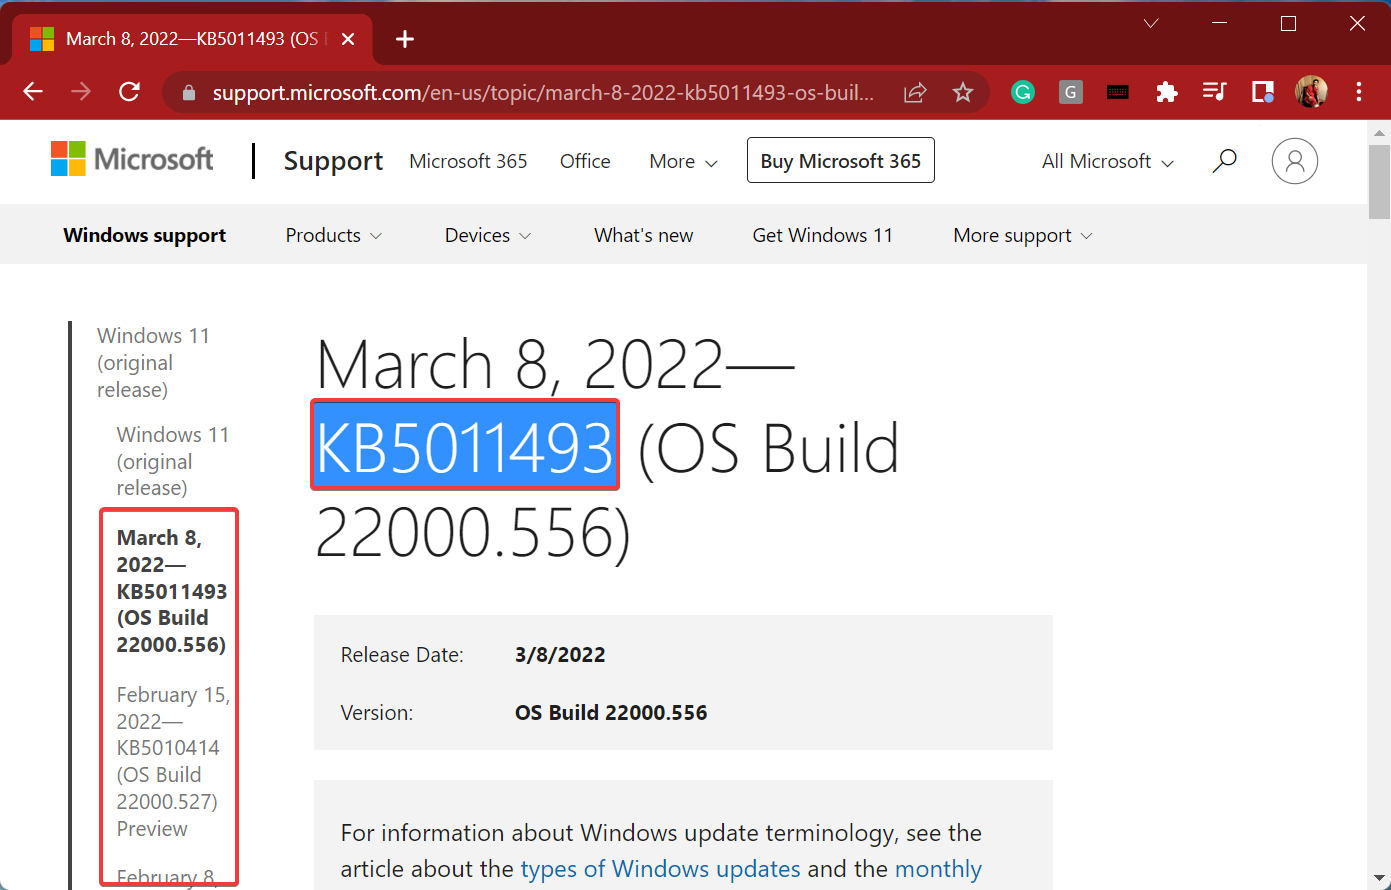
- Go to Windows 11 Update History, locate the update you were having trouble installing, and copy the KB (Knowledge Base) number for it.

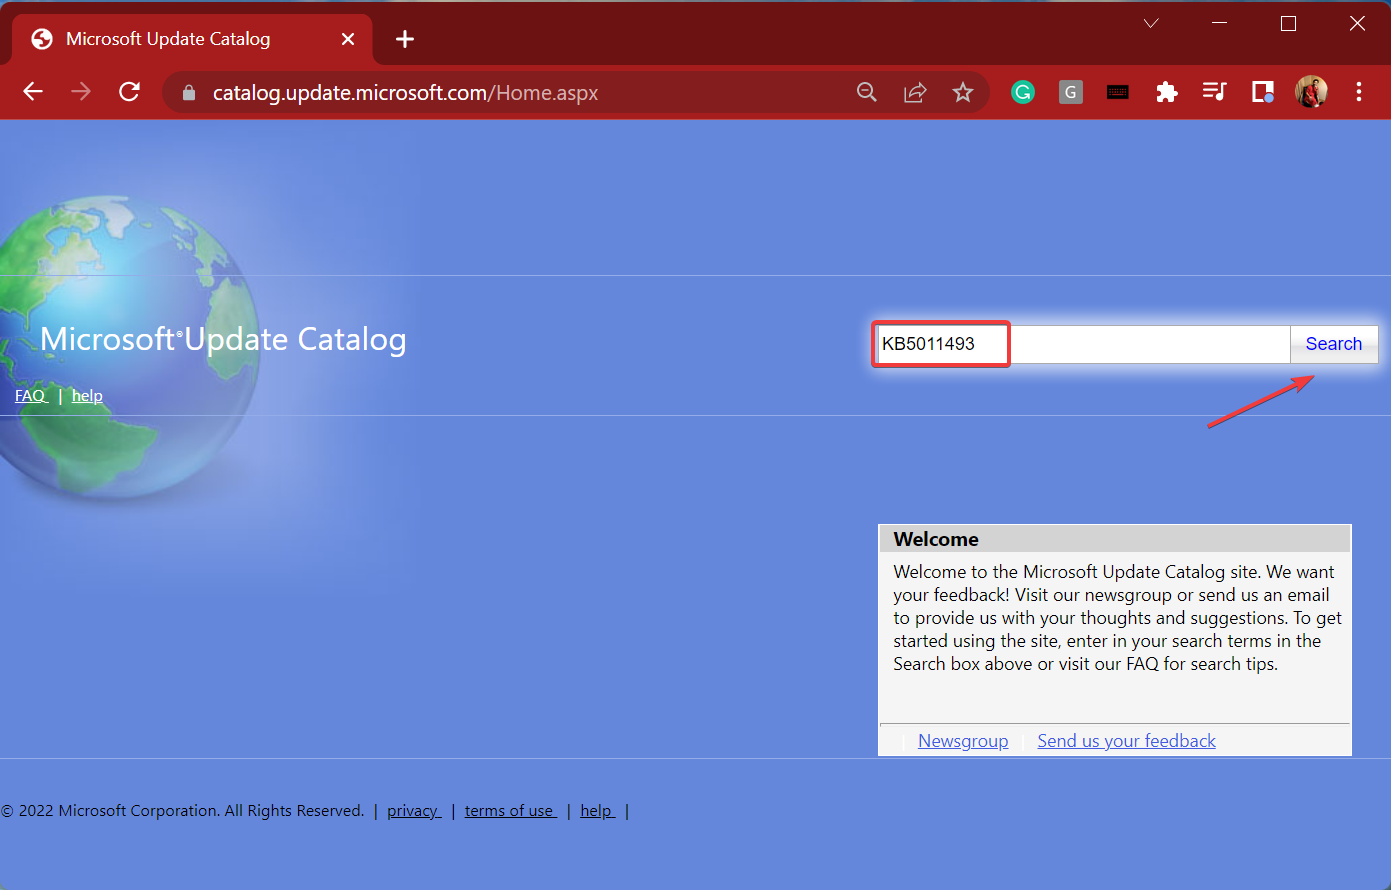
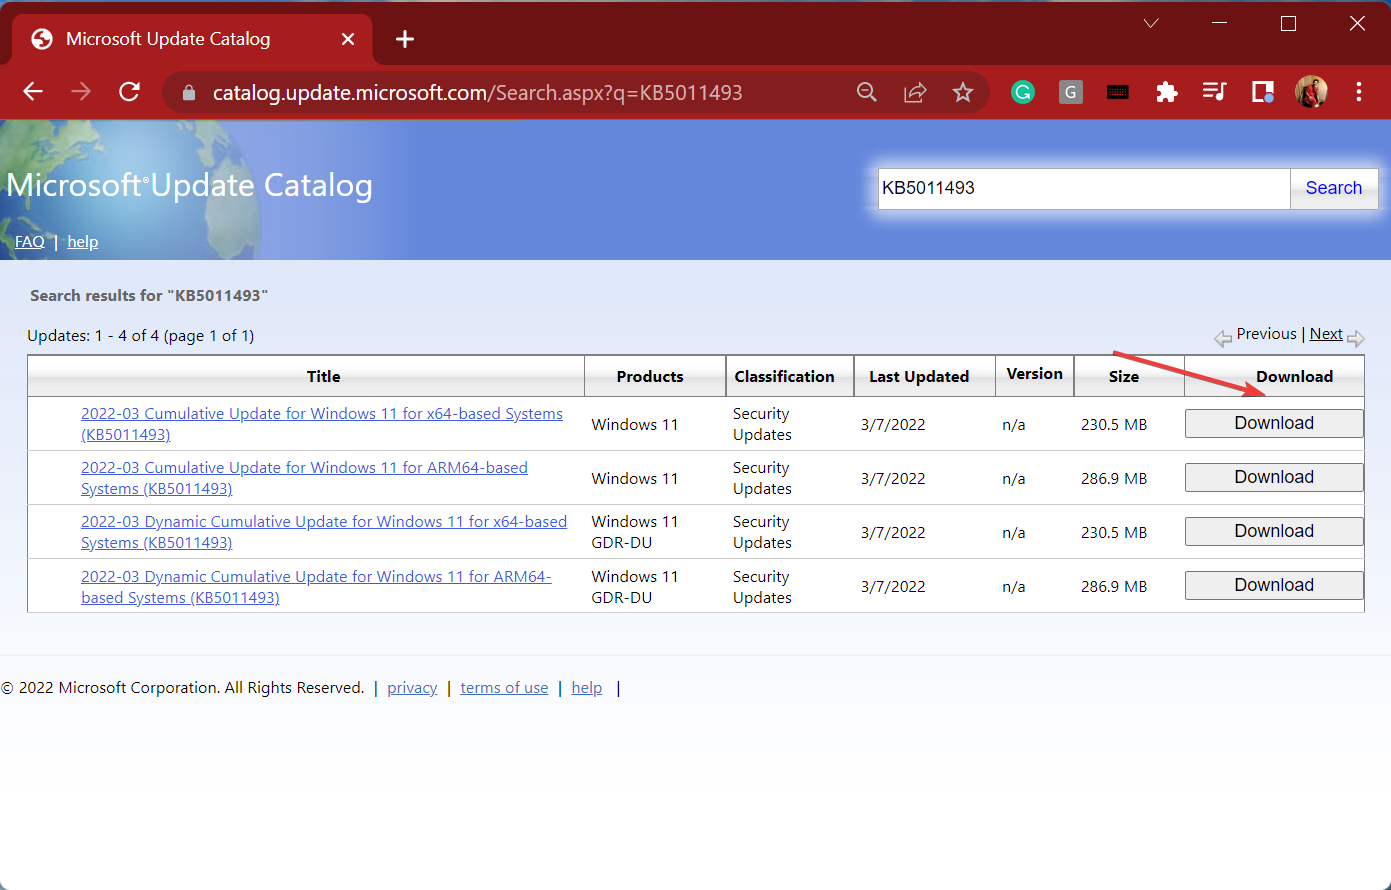
- Netx, go to Microsoft Update Catalog where all the versions are available for download, paste the KB number in the text field near the top-right corner and click on Search.

- Click on the Download button to the relevant option in your case.

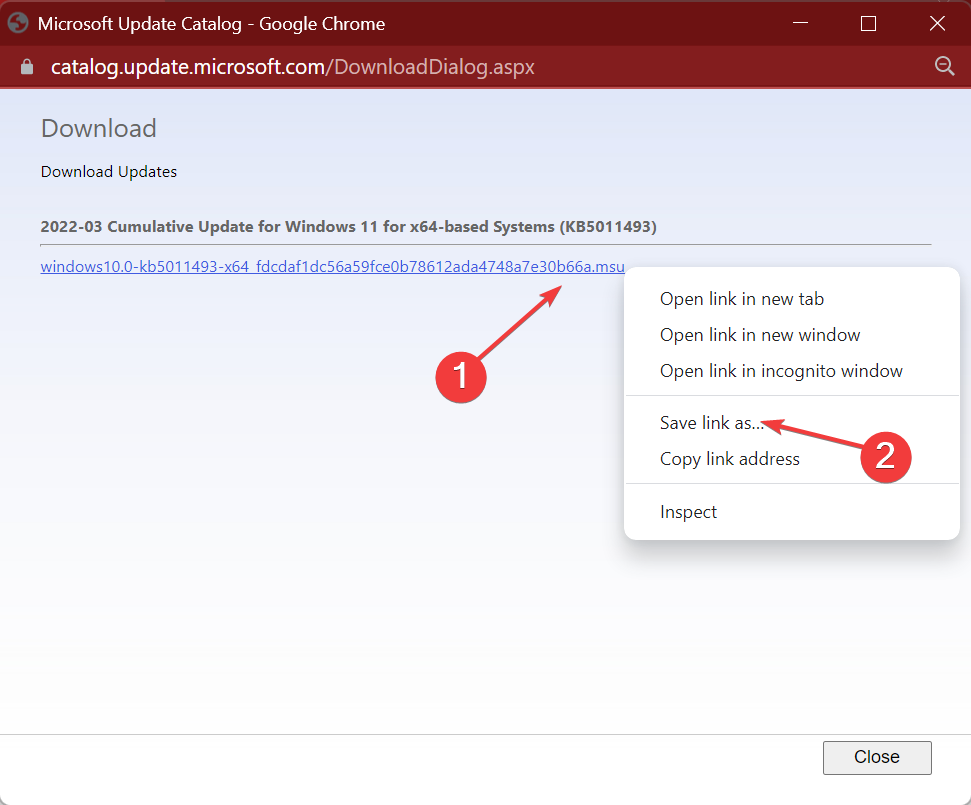
- Now, right-click on the link that appears here, and select Save link as from the context menu.

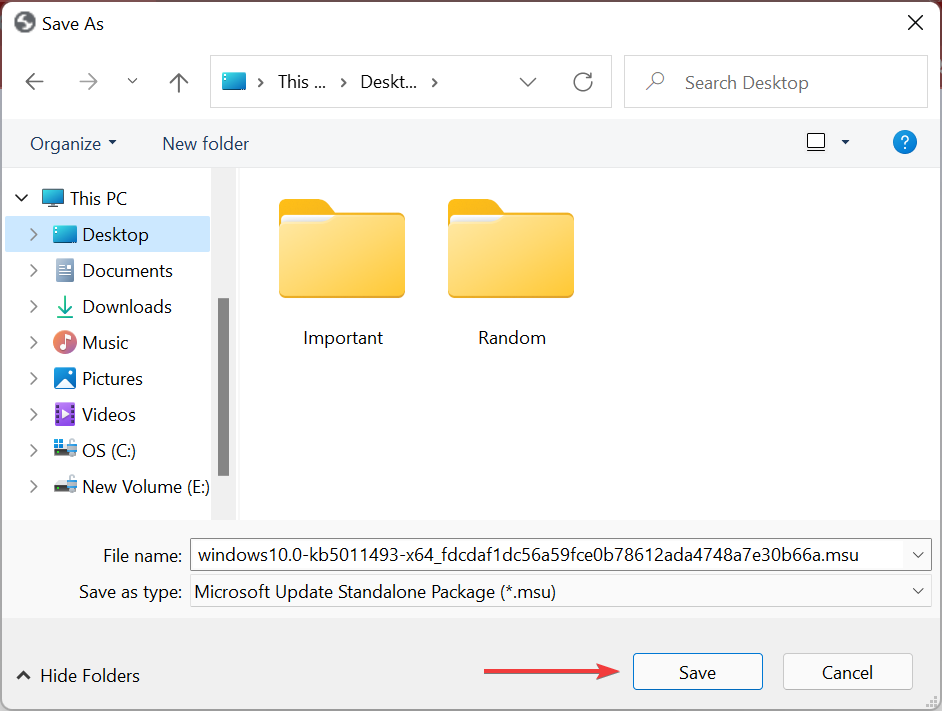
- Choose the desired location to download the file, and click on Save.

- After the file is downloaded, double-click on it to launch the setup, and follow the on-screen instructions to complete the process.

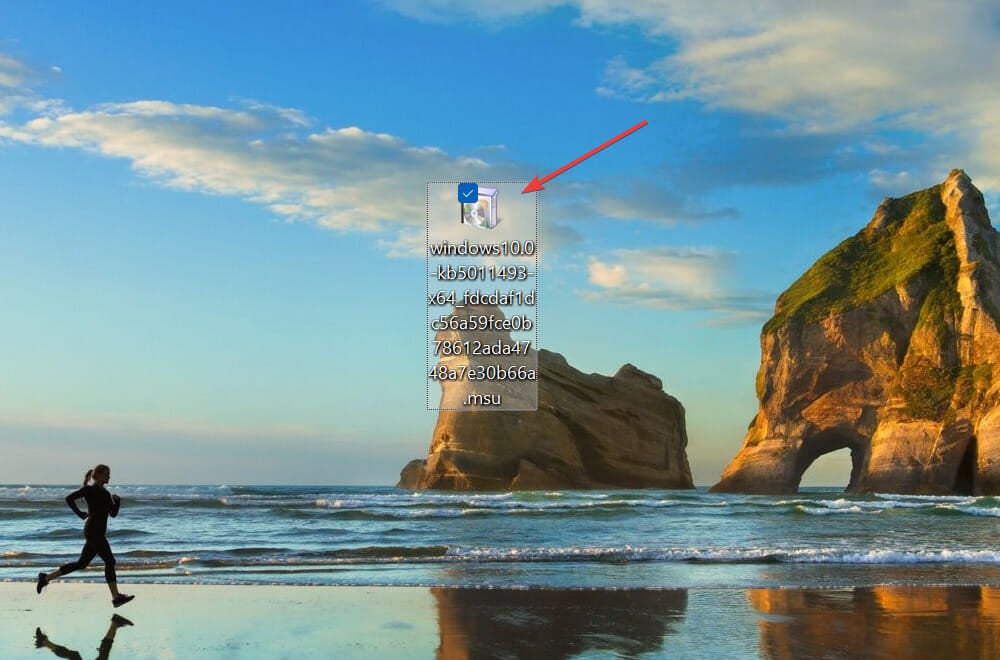
Once done, restart the computer and you will now have the Windows 11 version installed that you were earlier facing the error code 0x80073701 with.
If it’s a problem with the update itself, manually downloading it could work and you shouldn’t face the error for the subsequent updates. If you still do, resetting Windows 11 to its factory settings could help.
Also, the built-in troubleshooters are more than capable of dealing with such issues but several users have reported that the Windows Update troubleshooter is not working, so it’s imperative that you resolve the issue and be up-to-date with the latest Windows version.
Tell us which fix worked to fix the install error 0x80073701 on Windows 11 and your experience of the OS thus far, in the comments section below.
Read our disclosure page to find out how can you help Windows Report sustain the editorial team. Read more


Improve this guide


User forum
0 messages