Minecraft Install Error 0x80131509: 3 Simple Fixes
Explore these easy fixes to get rid of the issue
Key notes
- Often, when you install Minecraft (JAVA edition) using the latest official installer, the error comes up.
- This usually happens due to a faulty or prolonged internet connection
- This guide will discuss all the possible fixes and causes of the issue.
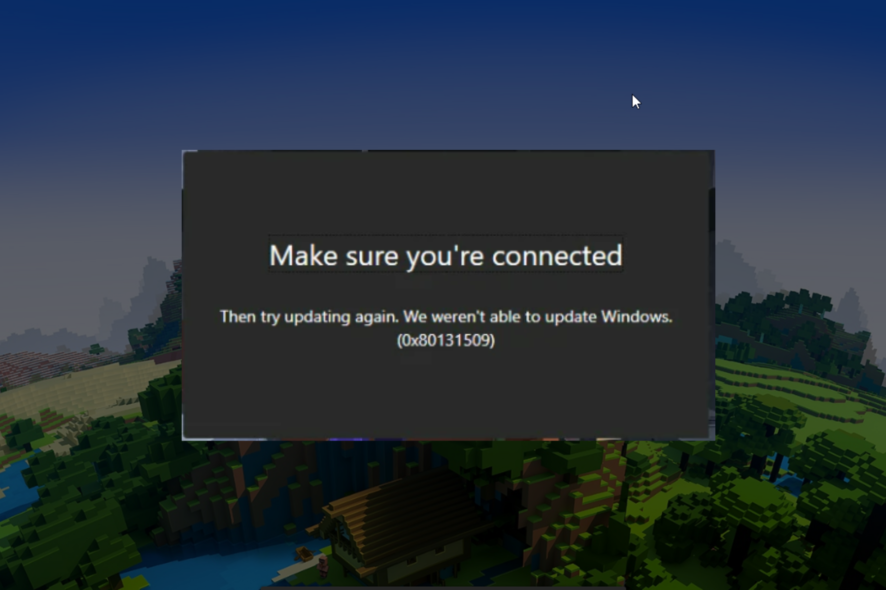
Getting error 0x80131509 while installing Minecraft (JAVA edition) is more common than you think. As a result, a lot of users have complained about the issue. But don’t worry, we can fix this in no time.
In this guide, we will discuss all the fixes when Minecraft is not installed right after discussing the potential causes of the issue.
What causes Minecraft install error 0x80131509?
There are a handful of reasons why you got a Minecraft to install error, and we have mentioned some of the most popular ones:
- Windows Updates – The error message could appear if the Windows update is pending. Download and install Windows updates and try to install Minecraft again.
- Slow internet connection – If you are facing internet issues or your internet is faulty, then it could cause the installation to fail, and the error code might appear.
- No Xbox Account – If you don’t have an account on Xbox or have tried to use incorrect credentials for your Xbox account, it could trigger the issue.
- Old Minecraft launcher – If you have an old launcher along with the new launcher for Minecraft, it could conflict, hence the problem.
What can I do to fix Minecraft install error 0x80131509?
Before diving into detailed troubleshooting, let us try these quick fixes to resolve the problem:
- Restart your computer
- Make sure there is no pending Windows update.
- Check if any of the Microsoft apps need updates.
- Use the same account on Microsoft Store and Xbox app.
1. Uninstall Minecraft Launcher
- Press Windows + I to get Settings.
- Go to Apps from the left pane and click Installed Apps.
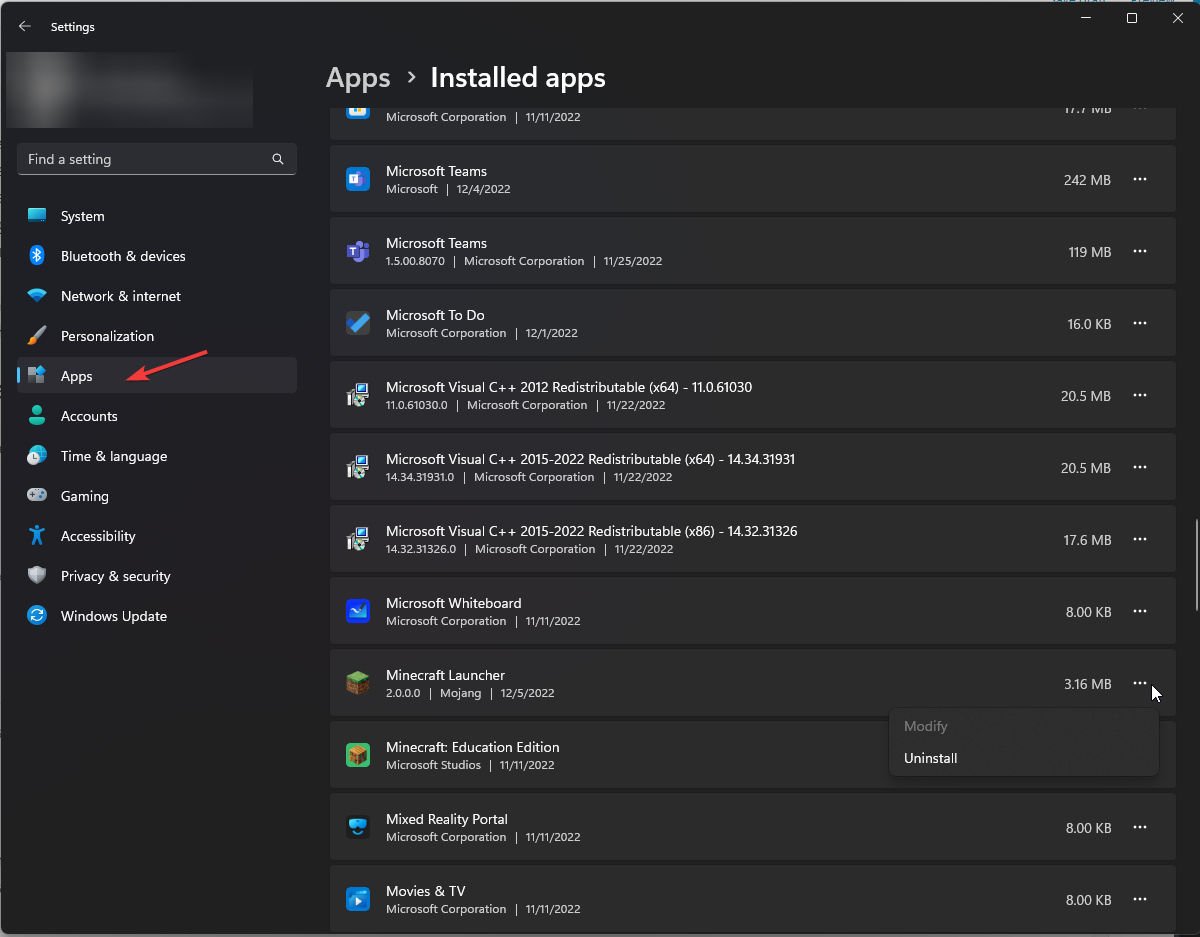
- Locate the Minecraft launcher, click on three dots, and click Uninstall.
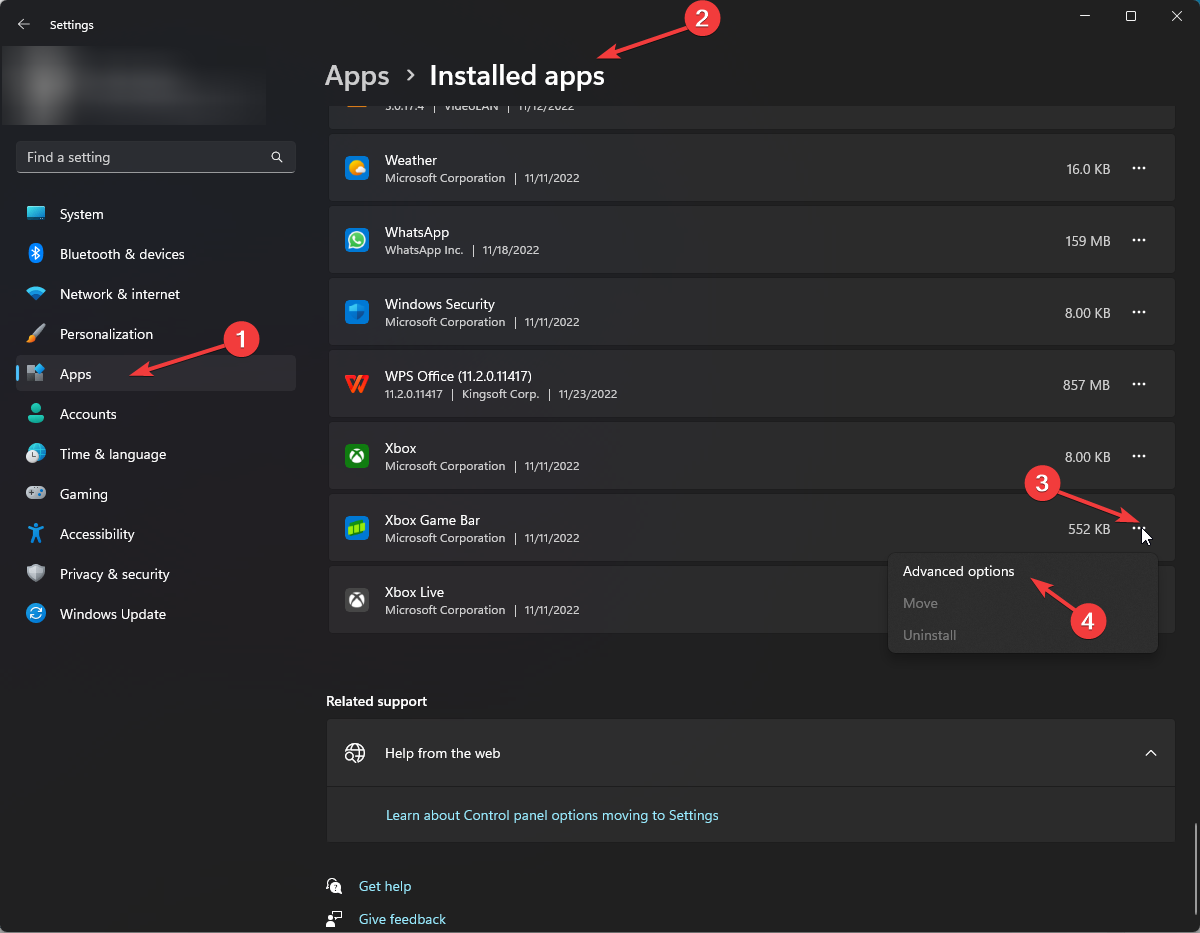
2. Repair Game servicing app & Xbox app
- Press Windows + I to open Settings.
- Locate and click on Apps from the left-side pane, and click Installed Apps.
- Locate the Xbox app, click on three dots, and click Advanced options.
- On the next window, locate and click Repair.
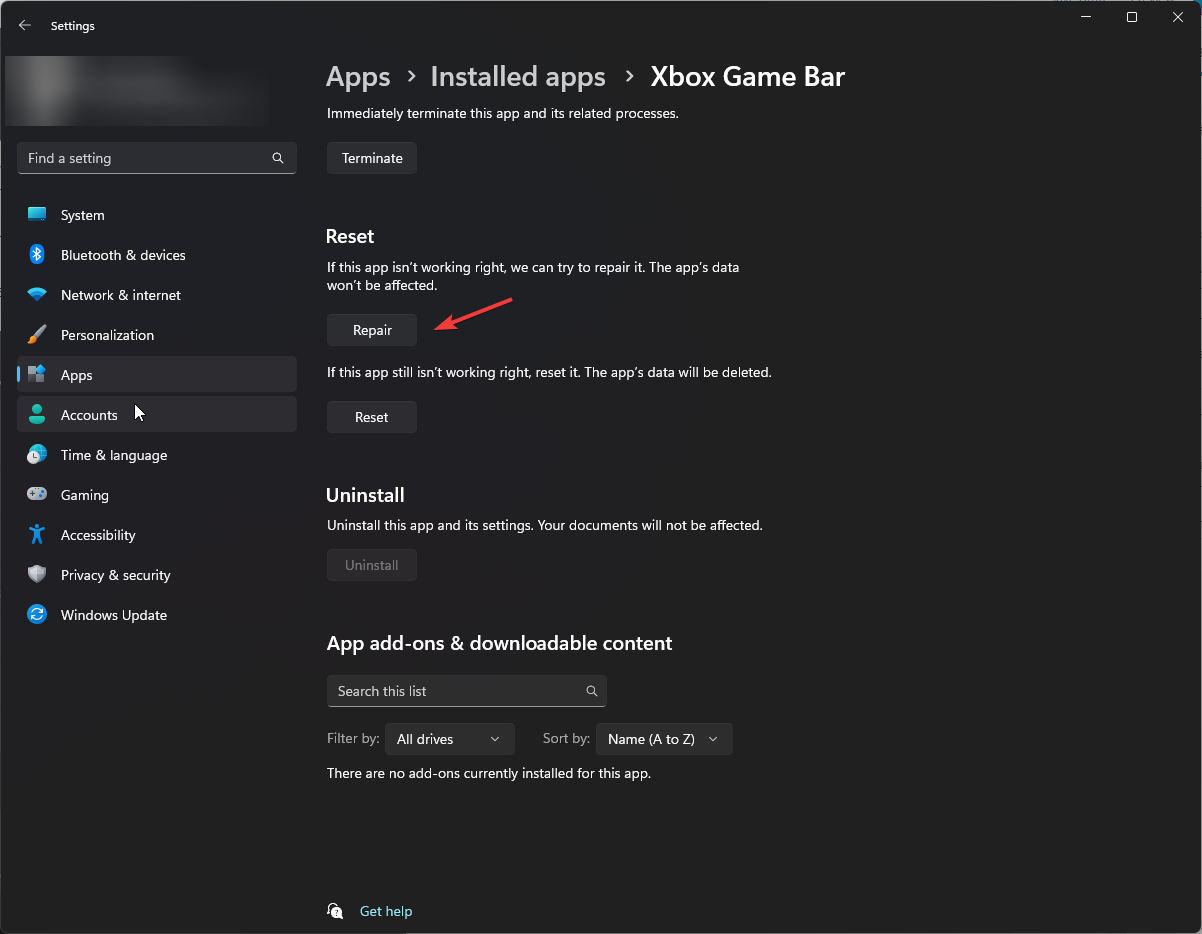
- Follow the same steps for the game servicing app to repair it.
3. Uninstall & Reinstall Game services
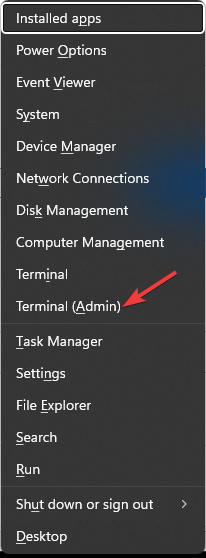
- Press Windows + X and click Terminal (Admin) to open PowerShell.
- Now type the following command and press Enter to uninstall Game services:
get-appxpackage Microsoft.GamingServices | remove-Appxpackage –allusers - Restart your computer.
- Open the Xbox Game Pass app, which will prompt you to install the gaming services again.
- Once done, try to rerun the Minecraft installer.
4. Run Minecraft in Compatibility Mode
- On Windows 11/10 computer, download the launcher compatible with Window7/8.
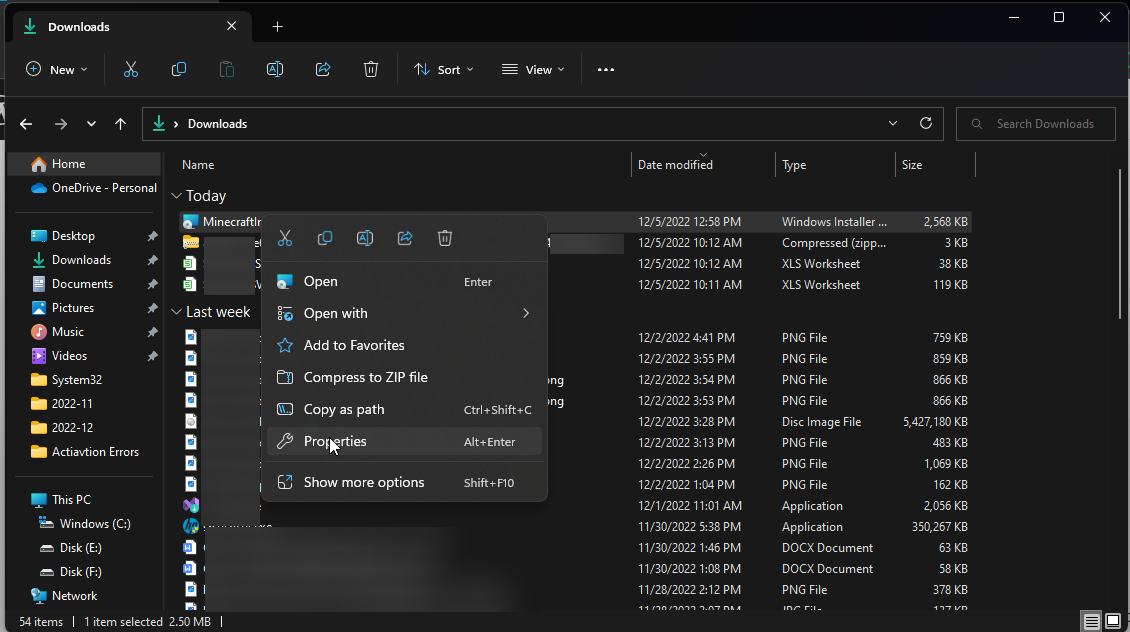
- Right-click on the launcher file and select Properties.
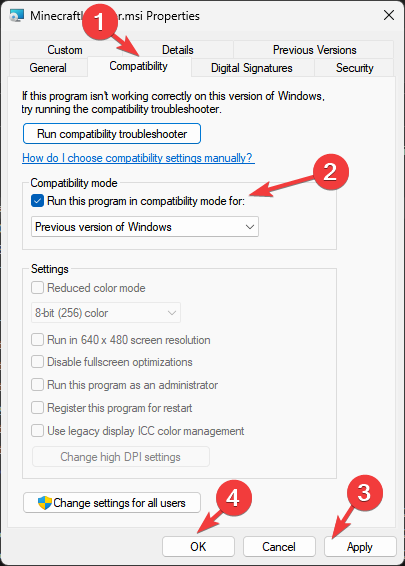
- Go to the Compatibility tab, and put a checkmark beside Run this program in compatibility mode. Now. Set the compatibility to Windows 8. Click Apply and OK.
5. Restore your OS using ISO
 Tip
Tip
- Go to Microsoft website for Windows 11.
- Under Download Windows 11 Disk Image (ISO), select Windows 11 (multi-edition ISO).
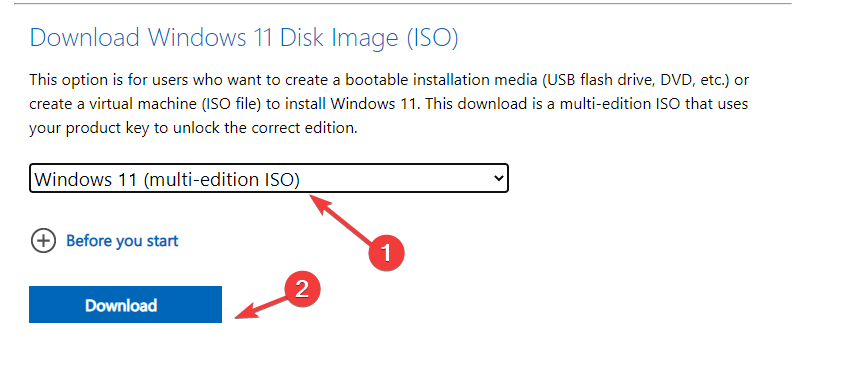
- Select the product language and click Confirm.
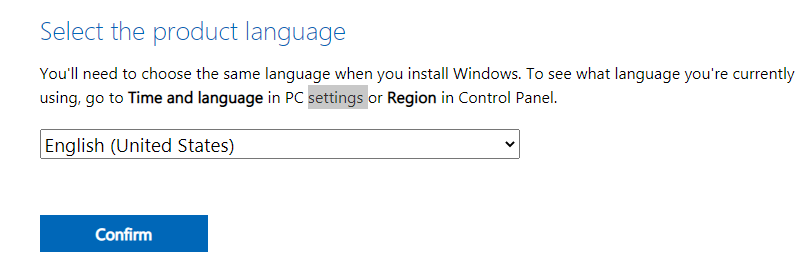
- Click Download and follow the on-screen prompts to complete.
What version of Java does Minecraft 1.19 use?
There are a few editions of Minecraft 1.19. While the earlier ones work fine with Java 17, the newer editions, i.e., Minecraft 1.19.2 and higher, require Java 19.
To get Java 19, head to the official website, download it, and run the setup to complete the installation process. For those having trouble, check our easy guide on installing Java in Windows.
So, these are methods you need to follow to fix Minecraft install error 0x80131509, along with all the other relevant information that might come in handy while troubleshooting.
Try them and let us know which worked for you in the comments below.
Read our disclosure page to find out how can you help Windows Report sustain the editorial team. Read more


Improve this guide


User forum
0 messages