Event ID 161 Volmgr: What is This Error & How to Fix It?
Outdated drivers could be the reason
4 min. read
Updated on
Read our disclosure page to find out how can you help Windows Report sustain the editorial team. Read more
Key notes
- Volmgr, also known as Volume Manager Driver file, is a type of Win64 EXE file which manages drive data storage.
- This guide will help you fix the errors related to Volmgr with easy methods.
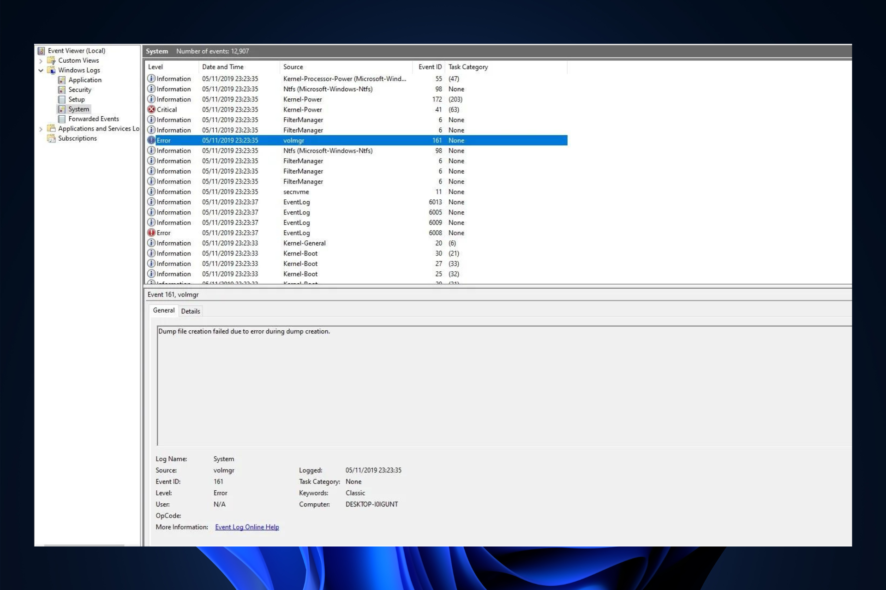
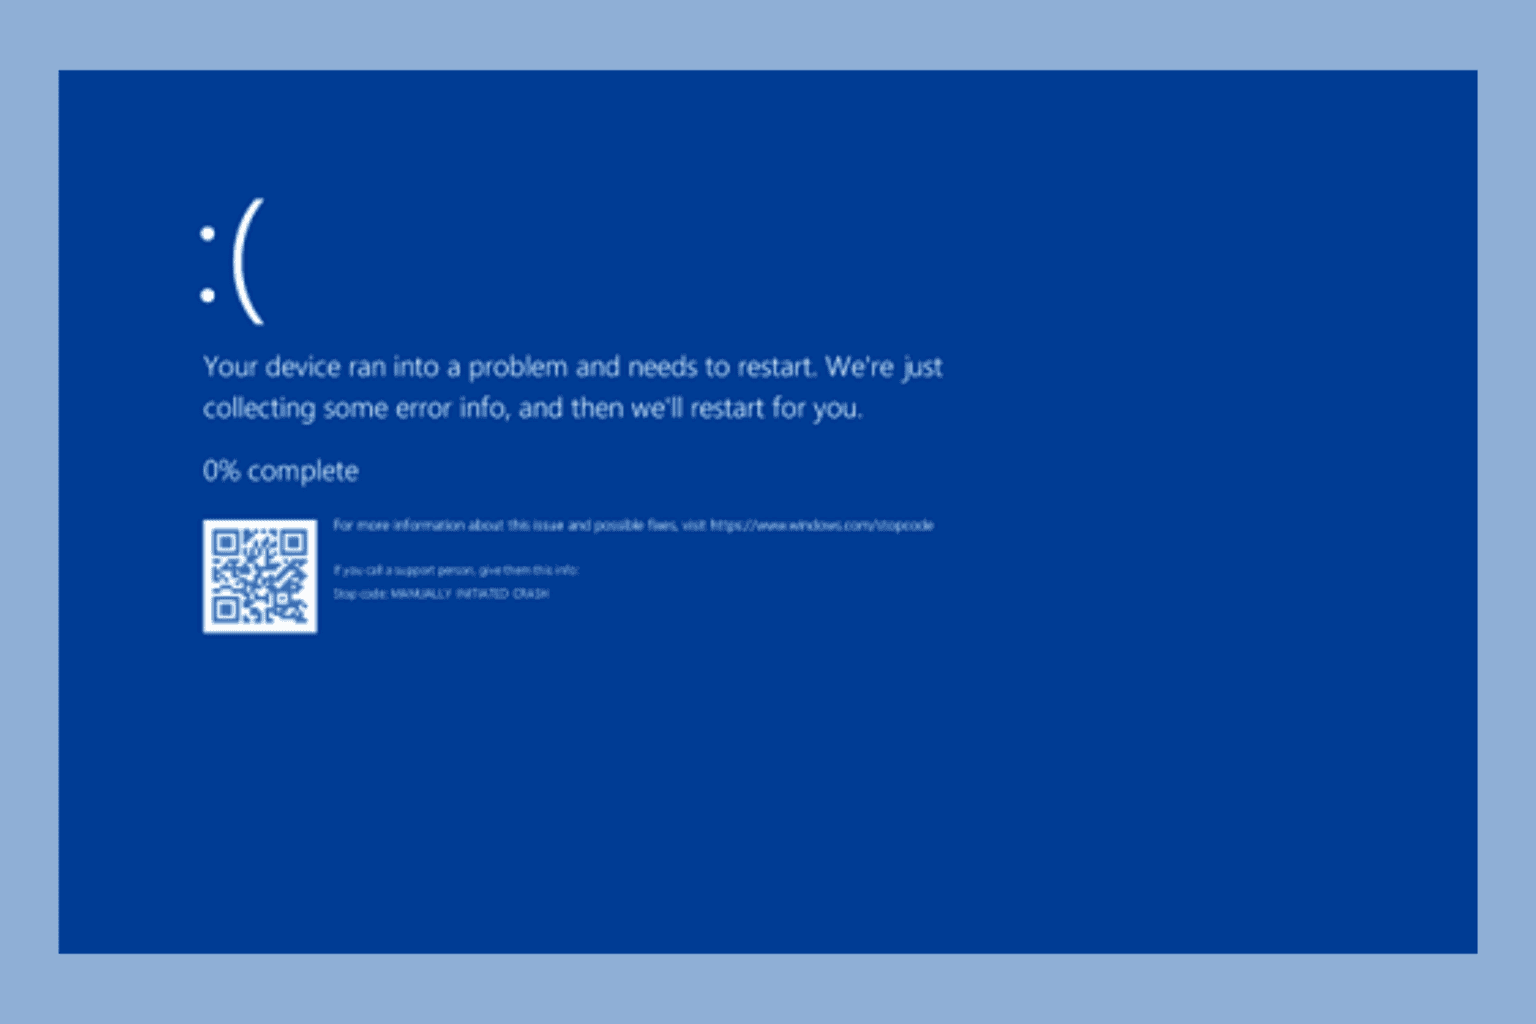
If your computer suddenly crashes and you see event ID 161 Volmgr on Windows 11, you are not alone. Unfortunately, it is quite a common occurrence.
In this guide, we will explain what event ID 161 means, how to fix the related error and the causes of the error. Let’s start!
What does Event ID 161 Volmgr mean on Windows 11?
The Event ID 161 Volmgr is an error related to the Volume Manager Driver file. It is logged when Volmgr encounters an error with the disk or the disk volume.
The description of the error says Dump file creation failed due to an error during dump creation, indicating that Windows could not create a dump file.
What causes Event ID 161 Volmgr on Windows 11?
There could be several reasons for the event to appear; some of the common ones are mentioned here:
- Wrong write debugging information – If the write debugging information setting is incorrect, you might see the event ID.
- Disk or RAM issues – If the disk is corrupt or your RAM is not configured correctly, your computer might not be able to create dump files, hence the error.
- Damaged system files – If Windows system files are corrupted, dump files will not be created properly. That’s when this Event ID is logged in Event viewer.
- Third-party optimizing apps – The third-party cleaning apps optimize your computer by cleaning temp files and other data. These apps could also delete your dump file storage, hence the error.
- Outdated BIOS – If the BIOS on your computer is outdated, then you may encounter this issue. You need to update the firmware to the latest version.
What can I do to fix Event ID 161 Volmgr on Windows 11?
Before engaging in advanced troubleshooting steps, you should consider performing the following checks:
- If you have a third-party cleaning app installed, uninstall it.
- Remove all the unwanted external peripherals.
- Clean the dirt and debris of the RAM slot.
- Update BIOS firmware.
- Change the Power Supply Unit.
1. Disable automatic restart
- Press Windows + R to open the Run window.
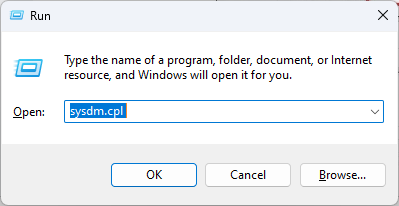
- Type sysdm.cpl and press Enter to open System Properties.
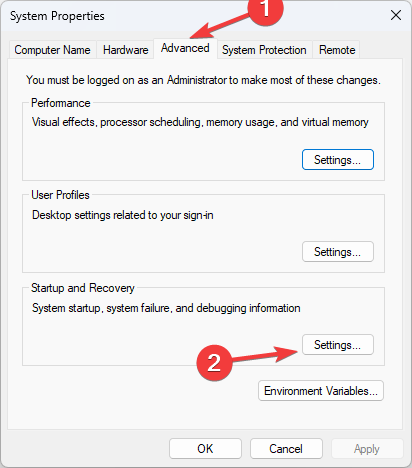
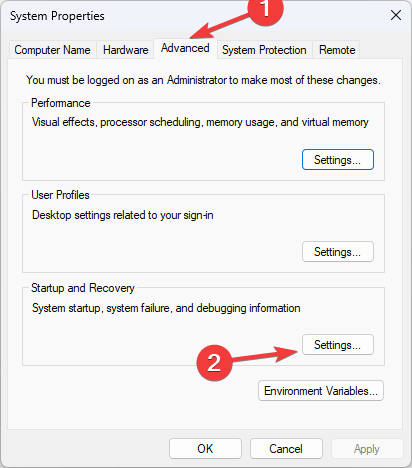
- Go to the Advanced tab, under Startup and Recovery, and click Settings.
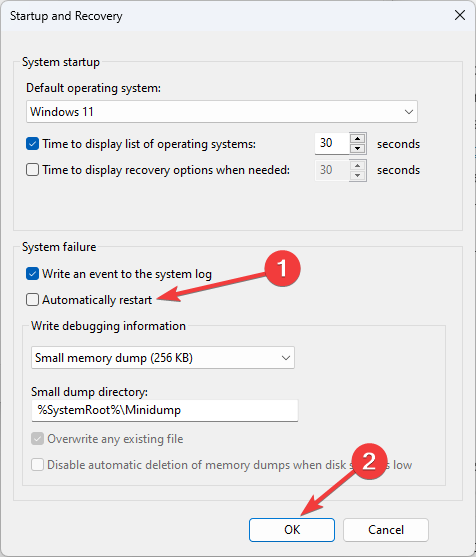
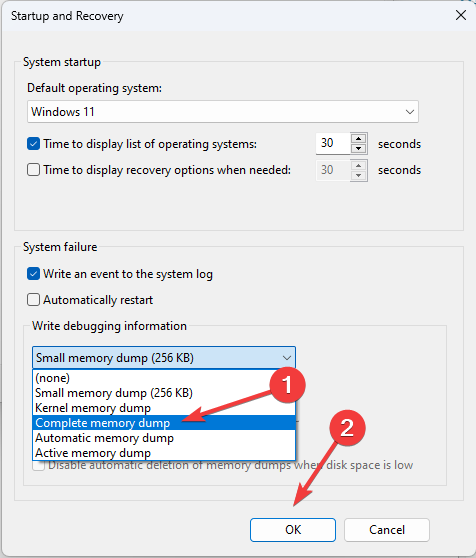
- Under System failure, remove the checkmark next to the Automatically restart option and click OK to confirm.
2. Use the Registry Editor
- Press Windows + R to open the Run console.
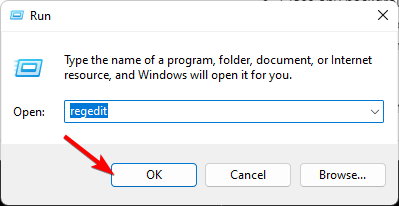
- Type regedit and hit enter to open Registry Editor.
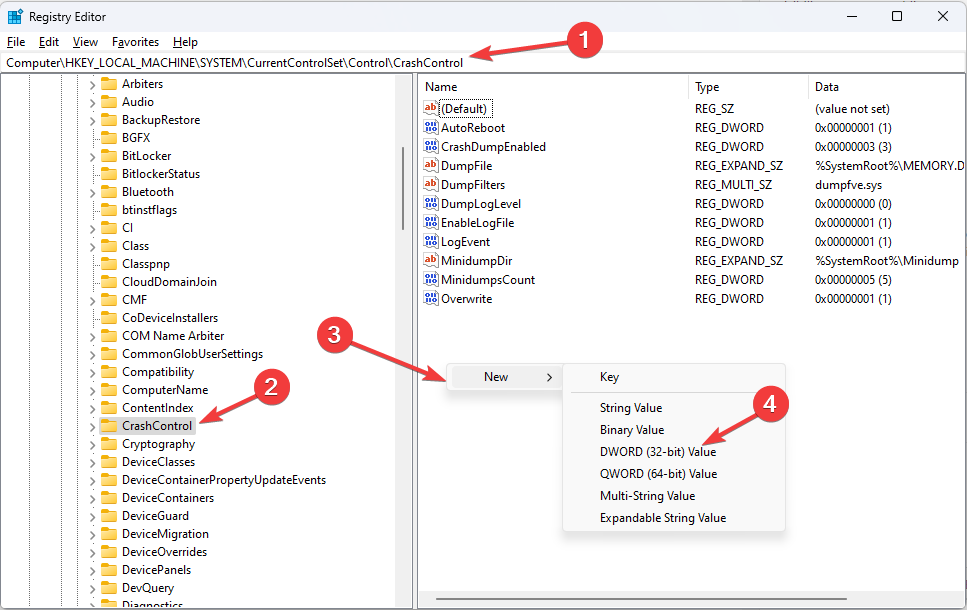
- Navigate to this path:
Computer\HKEY_LOCAL_MACHINE\System\CurrentControlSet\Control\CrashControl - Right-click on the empty space on the right pane, select New, then click DWORD (32-bit) Value.
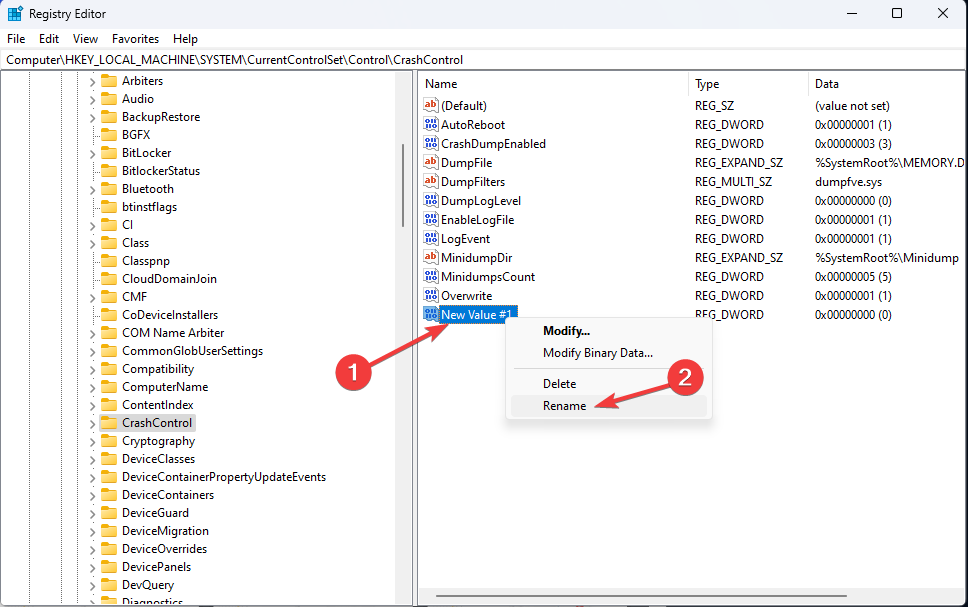
- Right-click on the newly created value, click Rename and name it DisplayParameters.
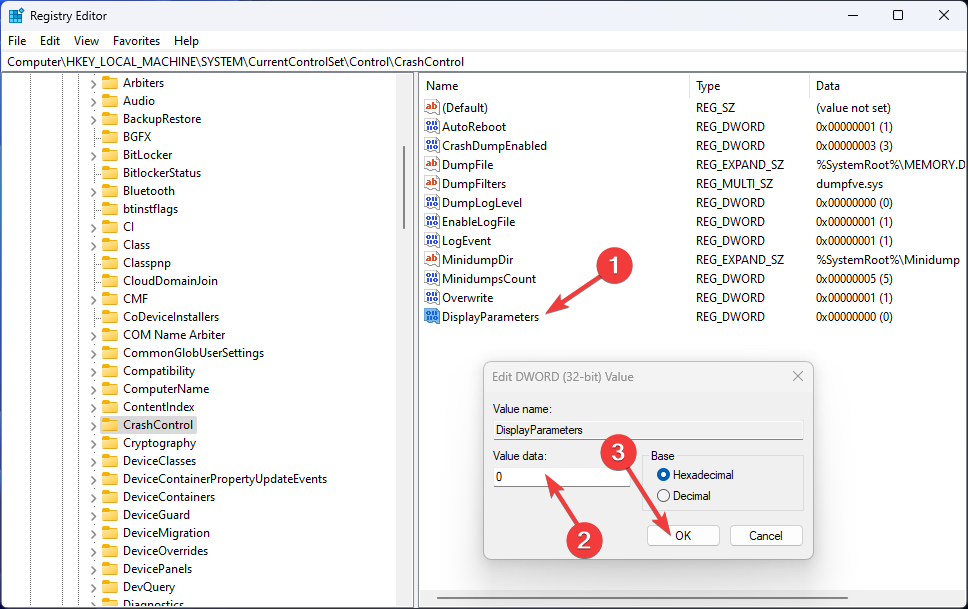
- Double-click it and change the Value data to 0 and click OK.
- Restart your PC to let the changes take effect.
3. Use the Command Prompt
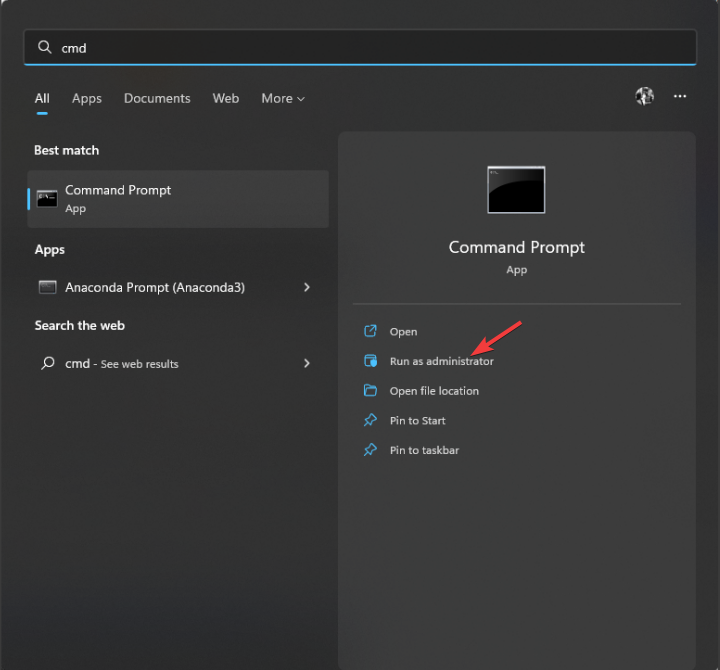
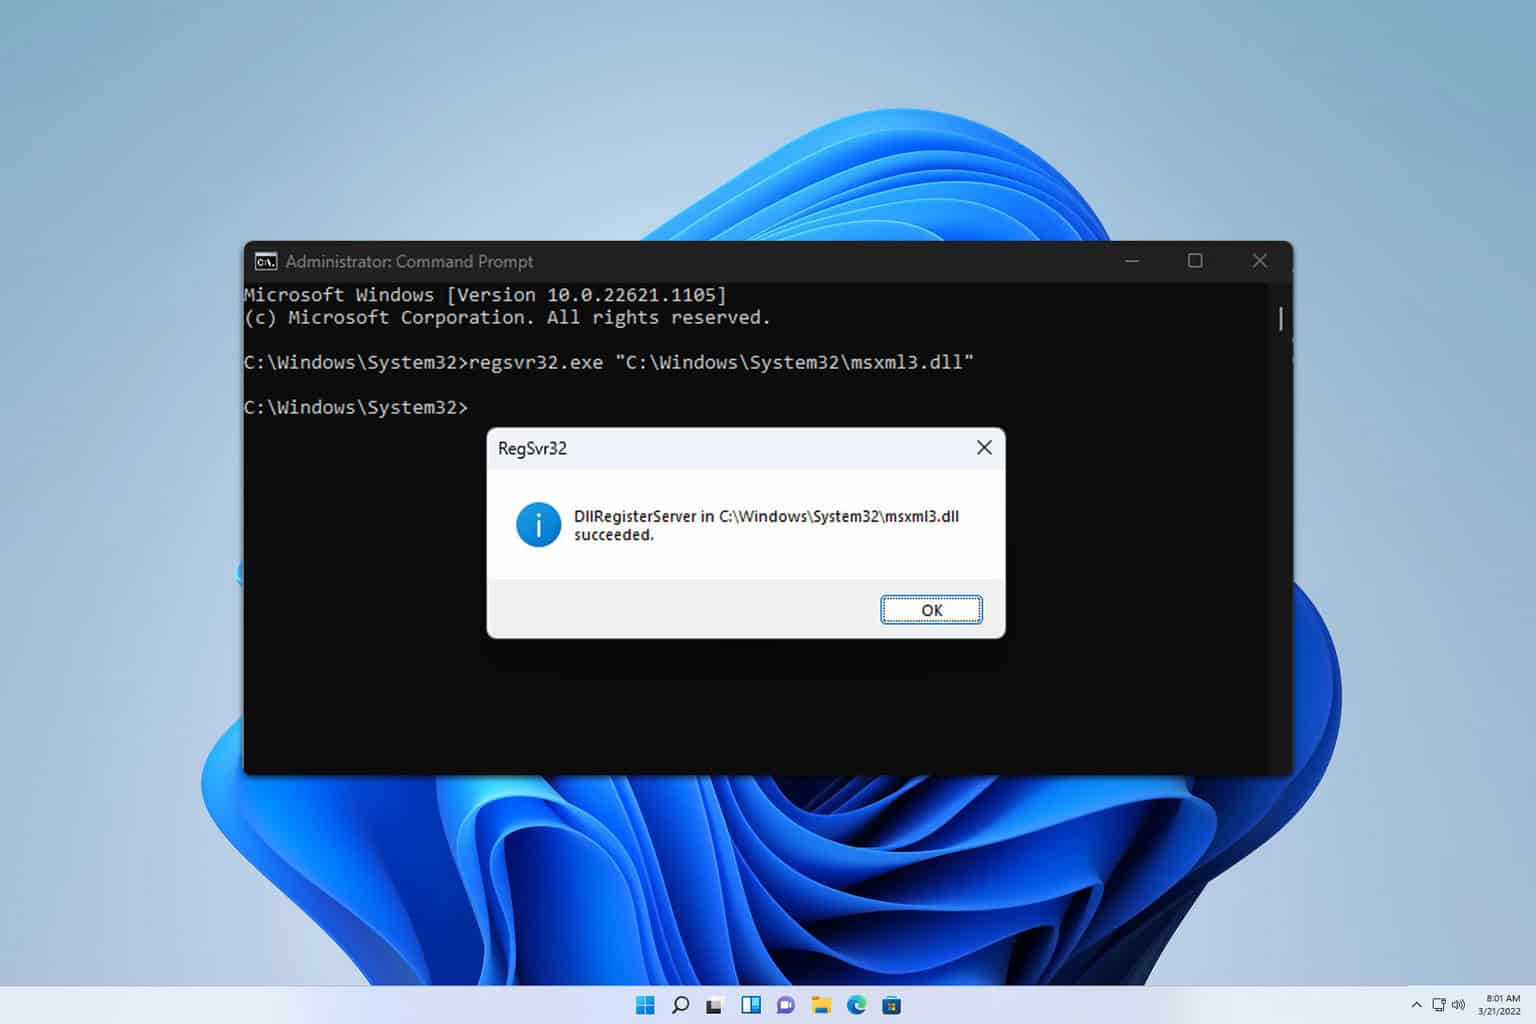
- Press the Windows key, type CMD, and click Run as administrator.
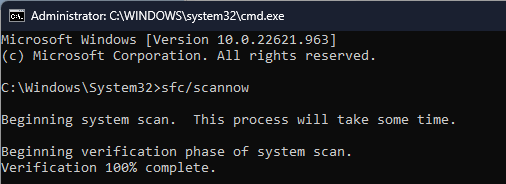
- Type the following command to repair Windows system files and press Enter:
sfc/scannow - Once the scan is complete, copy and paste the following command to restore the Windows image and press Enter:
DISM /Online /Cleanup-Image /RestoreHealth
4. Check the Debug settings
- Open the Run console and type sysdm.cpl to open System Properties.
- Go to the Advanced tab, under Startup and Recovery, and click Settings.
- Under Write debugging information, select Complete memory dump.
- Click OK to confirm your choice and restart your computer.
5. Update the device driver
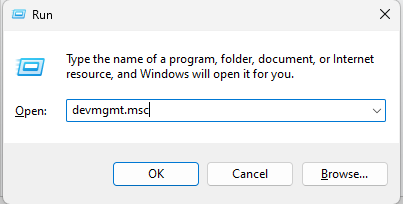
- Press Windows + R to open the Run window.
- Type devmgmt.msc and hit Enter to open Device Manager.
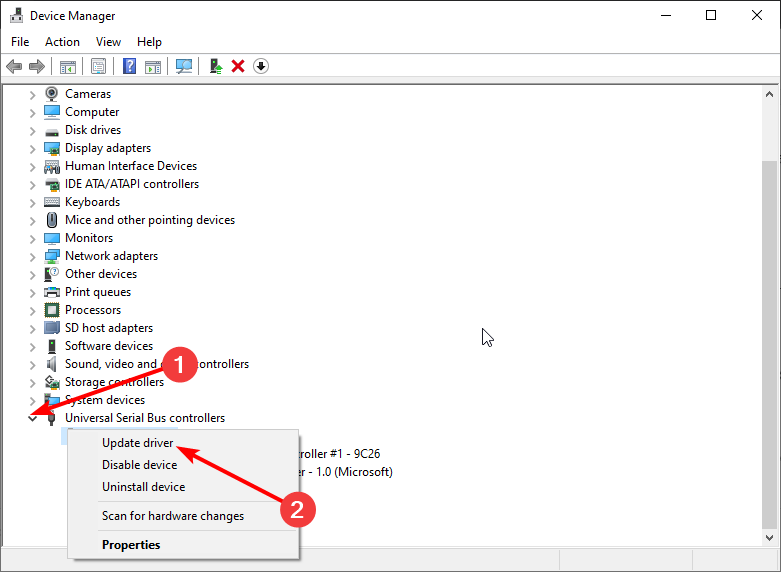
- Look for any driver with a yellow driver on the icon, right-click it, and select Update driver.
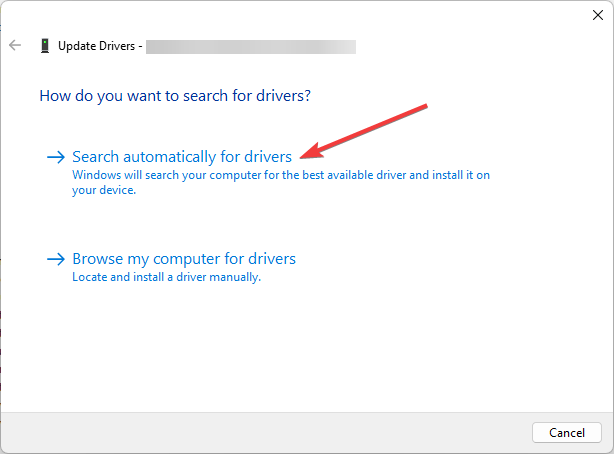
- On the next window, click Search automatically for drivers.
- Follow the on-screen instructions to complete the installation.
6. Scan for viruses or malware
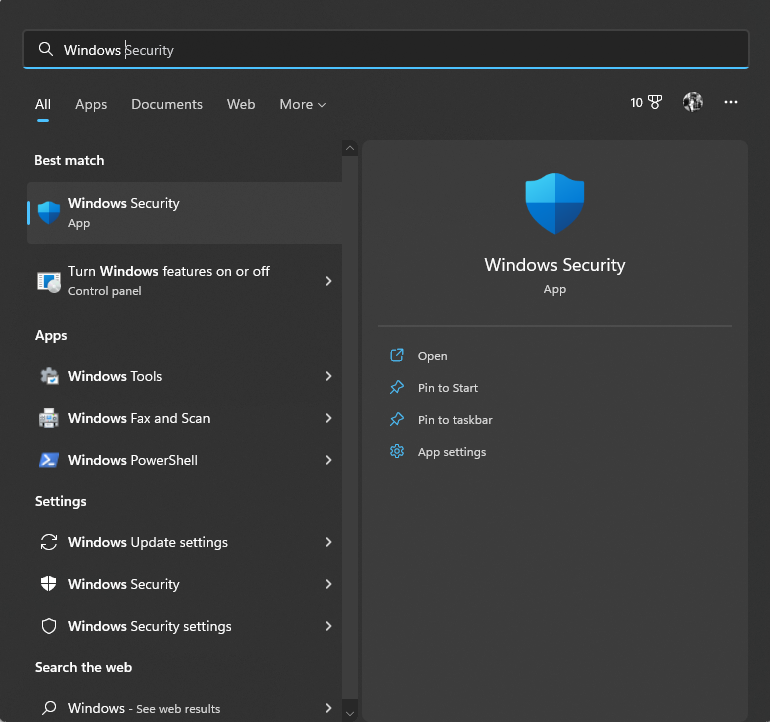
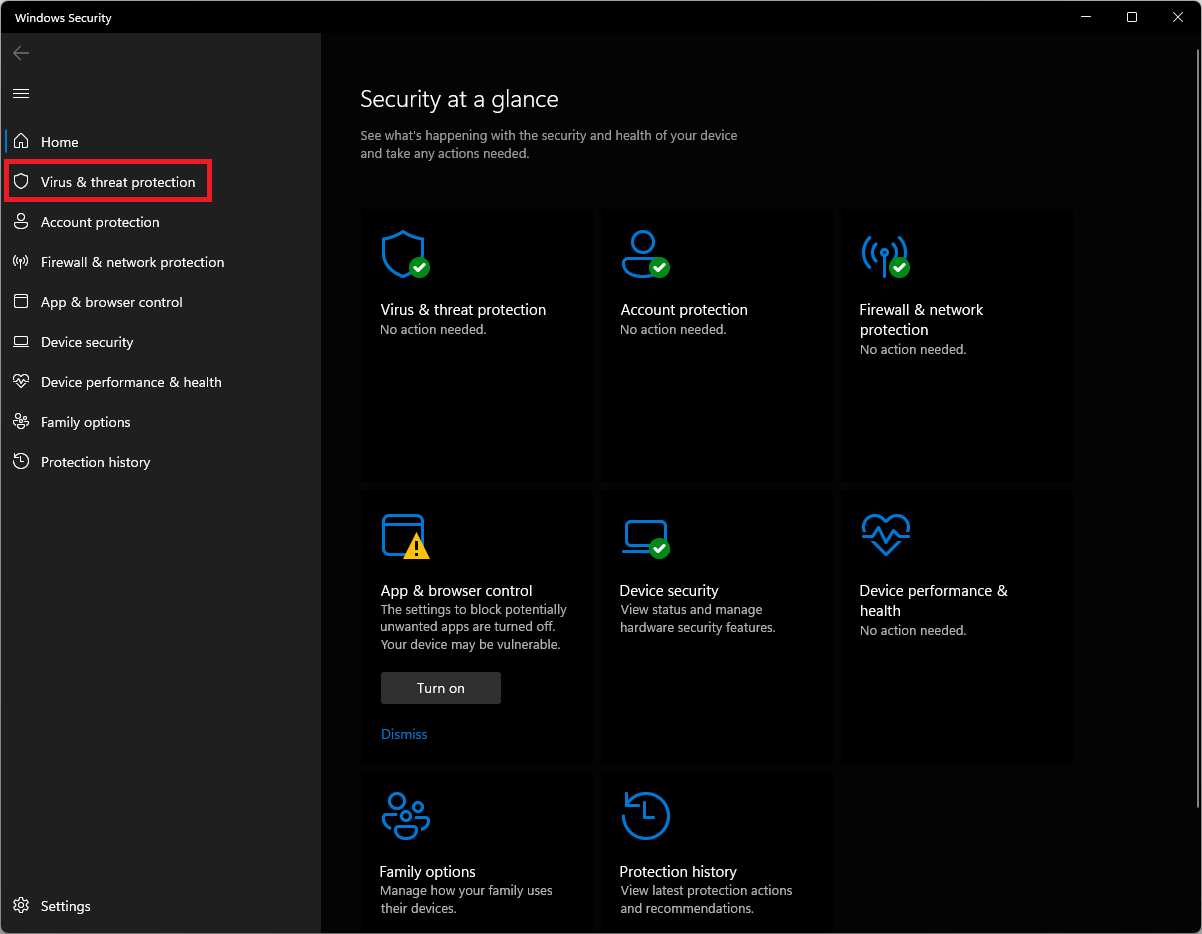
- Press the Windows key, type Windows Security, and click Open.
- Go to Virus & threat protection and click Scan options.
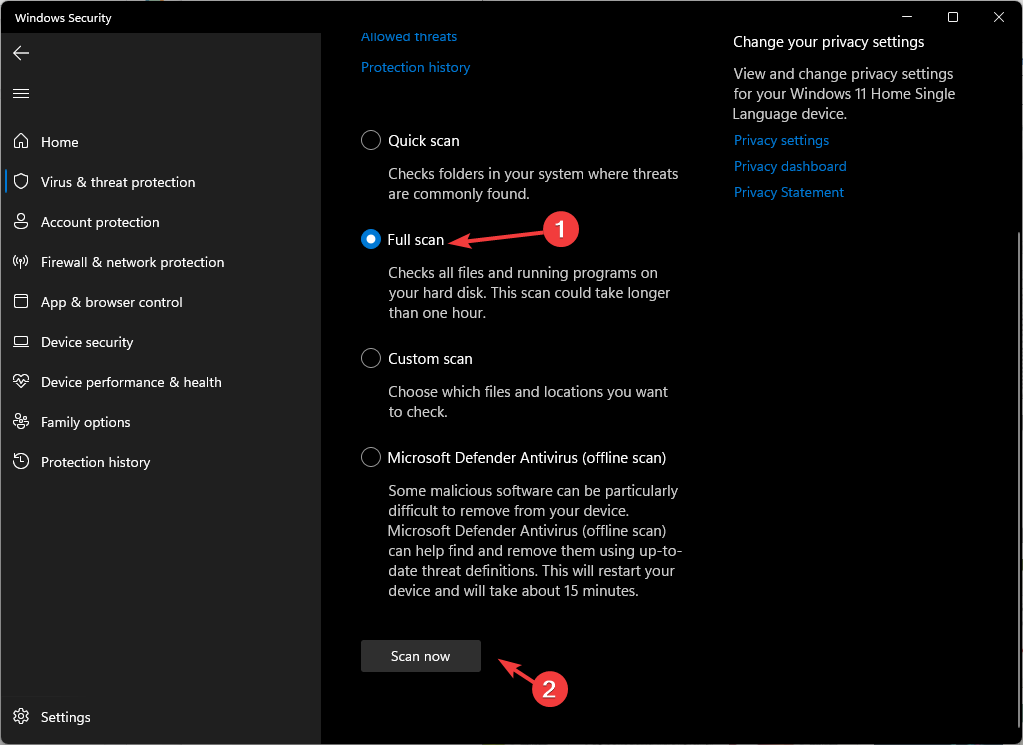
- Choose Full Scan and click Scan now. The scan will take some time, depending on the space occupied on your computer.
So, you can follow these methods to fix Event ID 161, volmgr on Windows 11 computer. If nothing has worked for you so far, it is advised to reset or reinstall Windows to fix it.
If you have any questions or concerns about the event ID, feel free to mention them in the comments below.

User forum
0 messages