Quick Ways to Turn On or Off Sleep Mode in Windows 11
Check out the different ways to keep your PC awake
![]() 5 min. read
5 min. read
![]() Updated on
Updated on
Share this article
Improve this guide
Read our disclosure page to find out how can you help Windows Report sustain the editorial team. Read more
Key notes
- Sleep mode is good for saving battery and extending its battery life when your PC is not in use.
- However, it can be annoying when your PC goes to sleep when something important is happening in the background.
- You can use the Control Panel or the Registry Editor to turn off the sleep mode on your Windows 11 PC.
Your PC going to sleep when you are not using it is a nice way to save the battery. However, if you are doing something like installation or updating your PC, then if your PC goes to sleep, that could be annoying. Thankfully, you can control this behavior.
In this guide, we will show you all the different ways to turn off sleep mode in Windows 11. This will help you continue with your work, when you are doing something important and prevent your PC from going to sleep. Let us get right into it.
What is sleep mode and how does it work?
Well, the sleep mode, as the name suggests, automatically sends your device into sleep mode after some time of inactivity. This helps in preserving the battery and also extends the battery life of your laptop.
Usually, when you use a fresh Windows 11 laptop, you will find the sleep mode option enabled. This, of course, is done to meet the aims mentioned above.
However, if you wish to keep the screen on and prevent your PC from going to sleep, then you should know how you can turn off sleep mode in Windows 11.
The Windows settings not only let you disable the sleep mode on your PC, but it also lets you change the time for the screen and sleep. You will learn the different ways to turn off sleep mode in Windows 11 below.
How can I turn off sleep mode in Windows 11?
1. Use Windows Settings
- Press the Win + I keys to open the Settings menu.
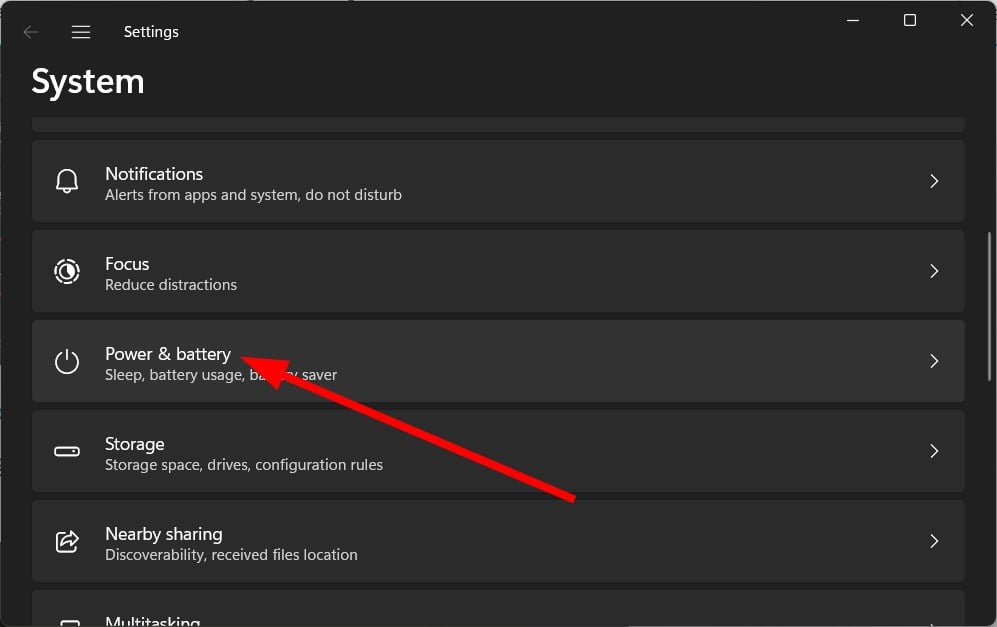
- Click on Power & battery.

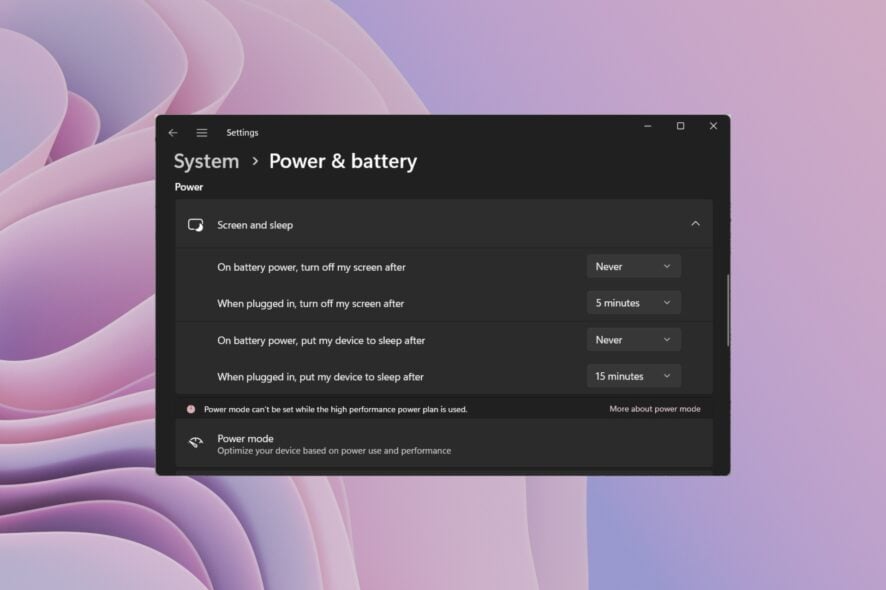
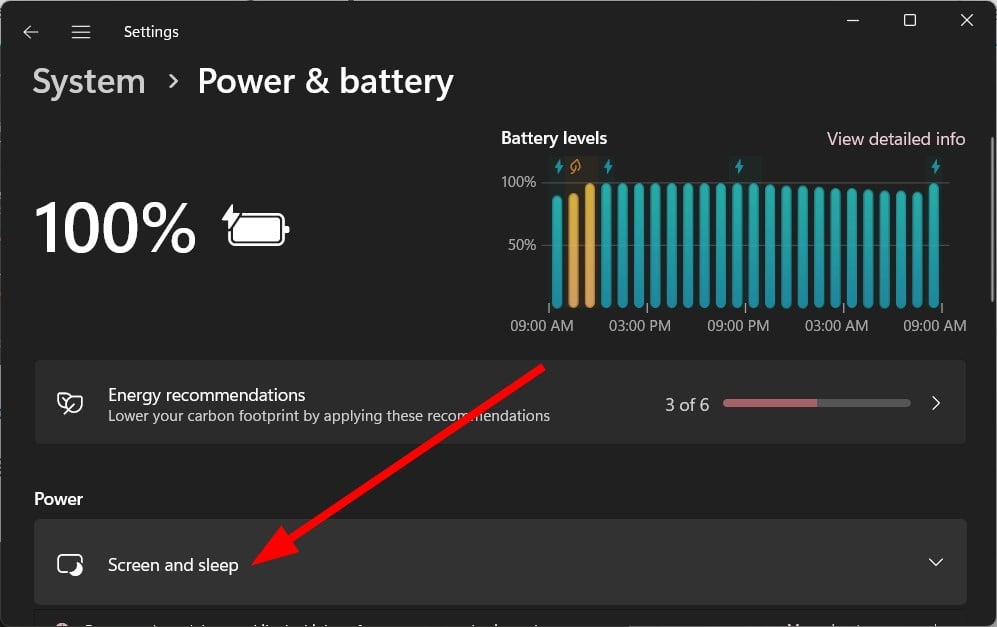
- Select the Screen and sleep option.
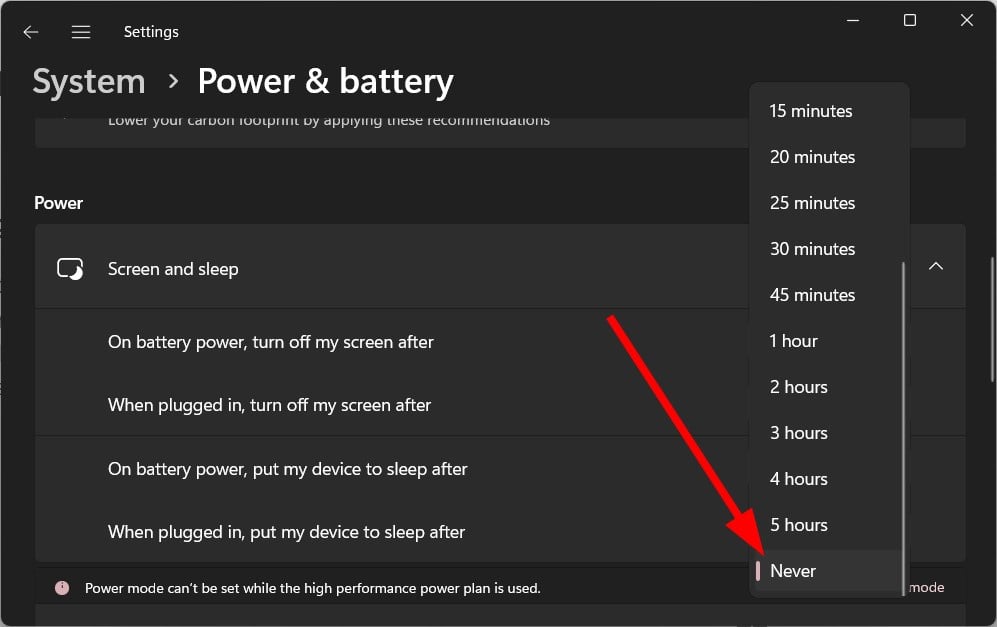
- For the below options, select Never from their respective drop-down.
- On battery power, turn off my screen after
- When plugged in, turn off my screen after
- On battery power, put my device to sleep after
- When plugged in, put my device to sleep after
The above is a pretty easy and the most common way to turn off the sleep mode in Windows 11.
2. Use the Control Panel
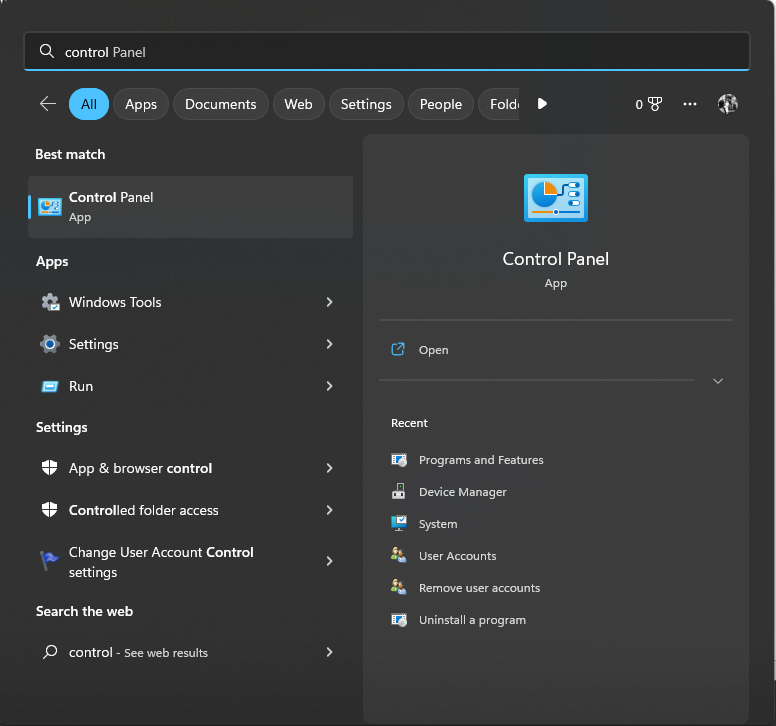
- Press the Win key to open the Start menu.
- Open Control Panel.

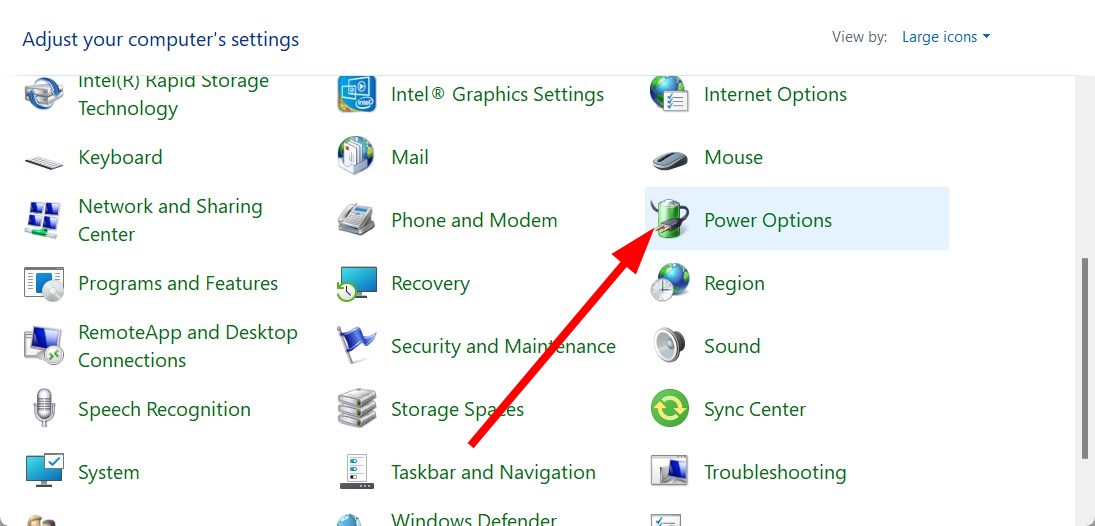
- Select Power options.

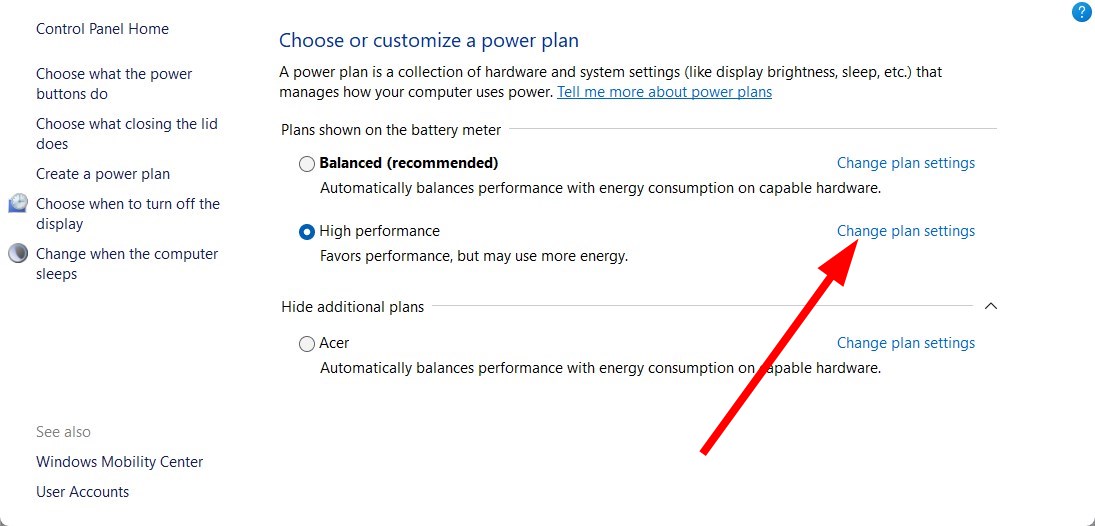
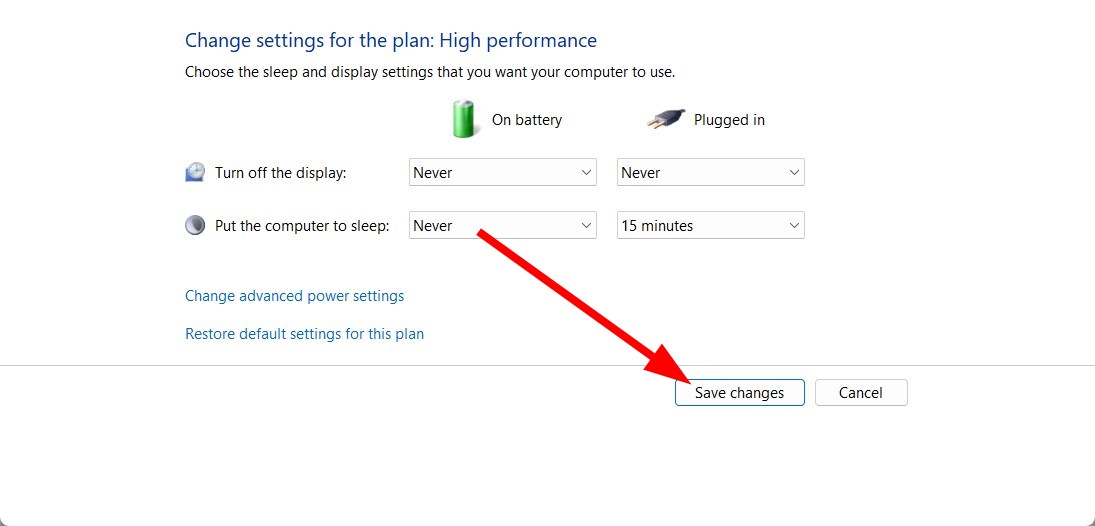
- From the selected battery plan, click on Change plan settings.
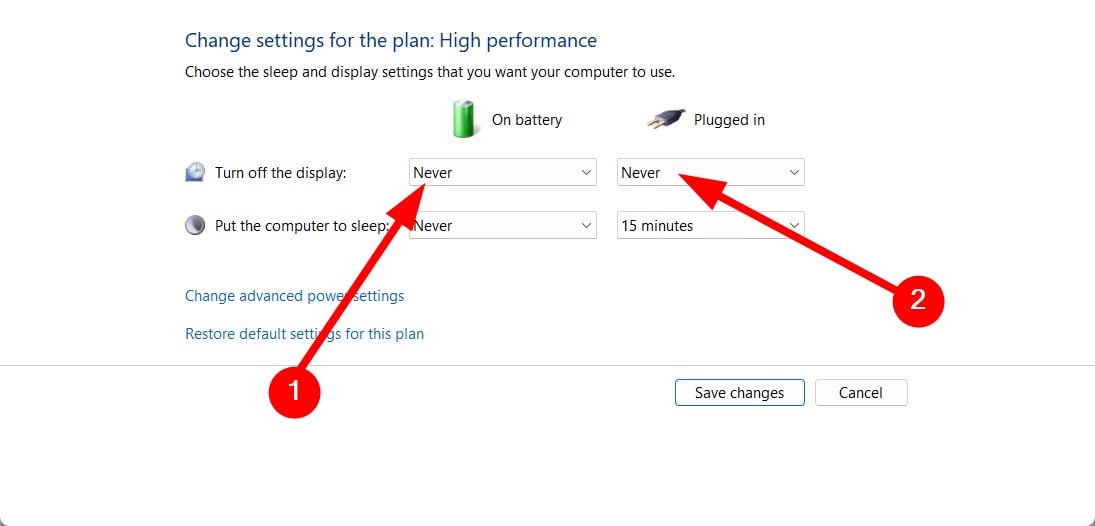
- Select Never for Turn off the display and Put the computer to sleep options for both On battery and Plugged in.
- Click on the Save changes option.
3. Use Advanced Power Options
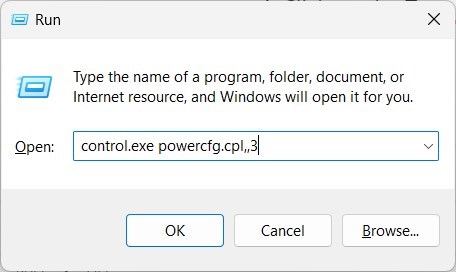
- Press the Win + R keys to open the Run dialogue.
- Type control.exe powercfg.cpl,,3 and press Enter.

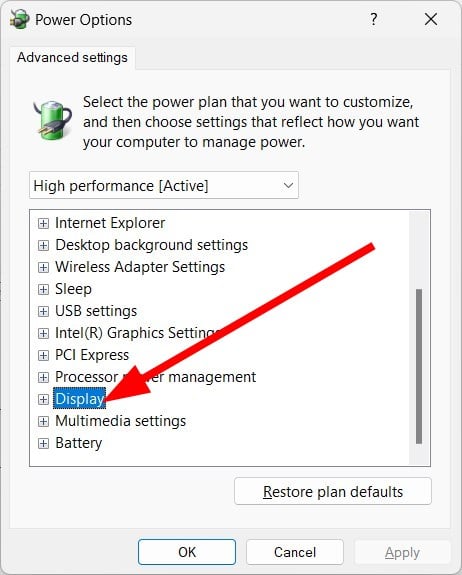
- Expand the Display category.

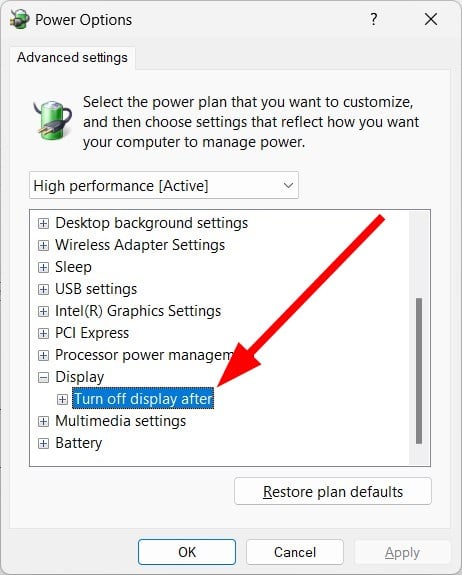
- Click on the Turn off display after option.
- Select Never for On battery option.
- Type 0 for Plugged in (Minutes) option.
- Click Apply and OK.
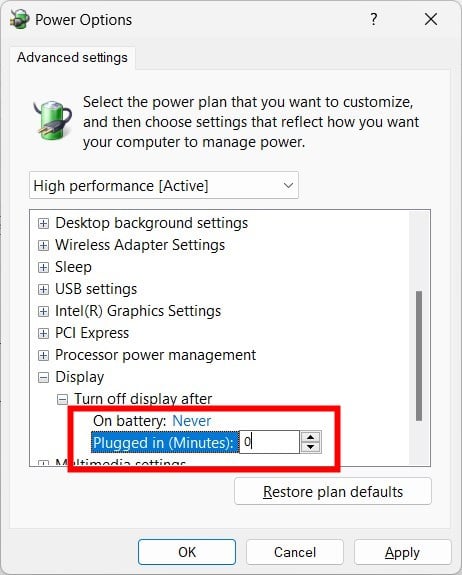
You can also use the Advanced power options menu to turn off sleep mode in Windows 11. This will help you prevent your PC from sleeping when you are doing something important or otherwise.
4. Use Command Prompt
- Open the Start menu by pressing the Win key.
- Open the command prompt as an admin.

- Type the below command and press Enter.
powercfg -h off - Restart your PC.
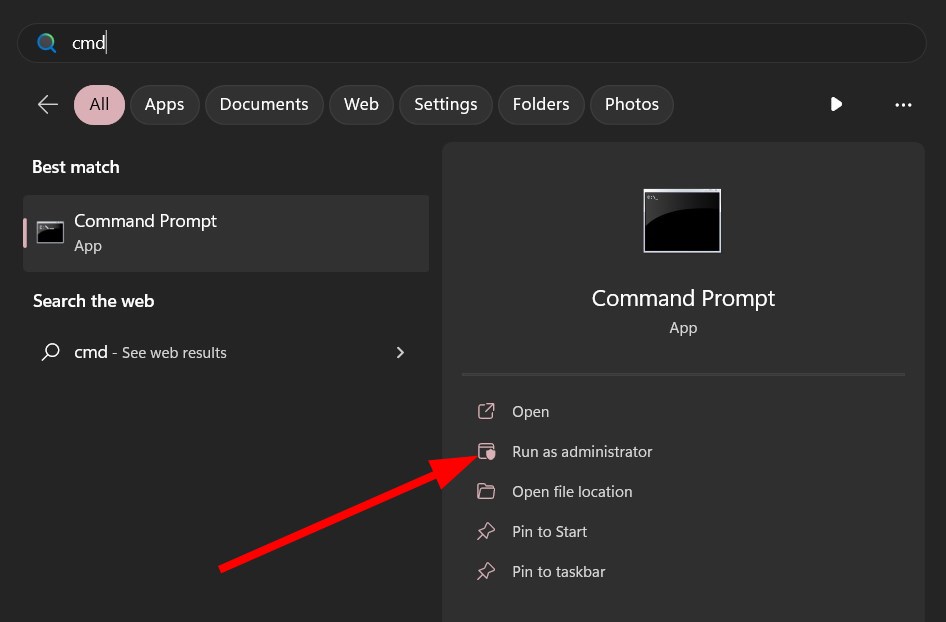
You can also use the simple command on an elevated command prompt to turn off the sleep mode in Windows 11.
5. Using Registry Editor
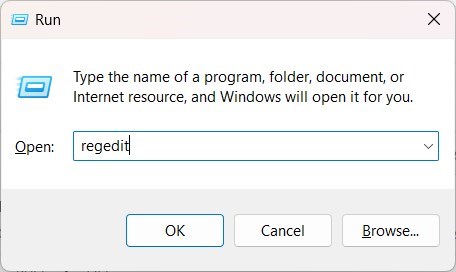
- Press the Win + R keys to open the Run dialogue.
- Type regedit and press Enter.
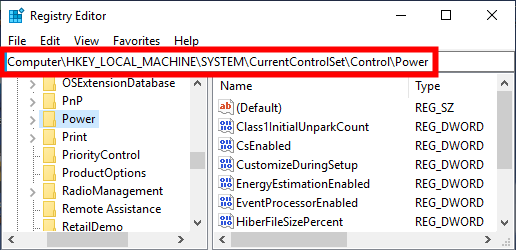
- Navigate to the below path in the Registry Editor.
Computer\HKEY_LOCAL_MACHINE\SYSTEM\CurrentControlSet\Control\Power
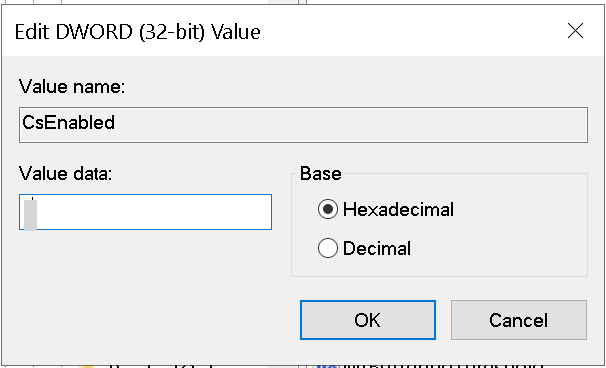
- Double-click on the CsEnabled entry on the right.
- Change the Value data to 0 from 1.

- Click OK to apply the changes.
- Restart your PC for the changes to take effect.
Using the Registry Editor will help you turn off the sleep mode in Windows 11. However, you should not tweak any registry settings if you aren’t aware of what you are doing.
In fact, it is advisable that you create a registry backup before you do anything with any registry entry. For worse scenarios, we have a guide that explains how you can restore the registry in case you haven’t created a backup.
6. Using group policy editor
- Press the Win + R keys to open the Run dialogue.
- Type gpedit.msc and press OK.
- Navigate to the below path.
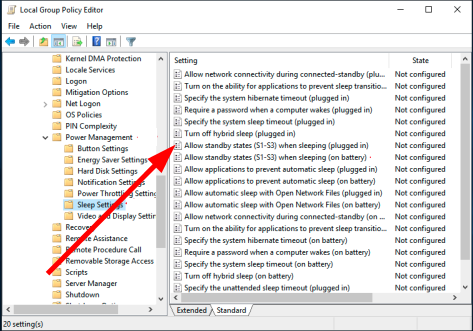
Computer Configuration \Administrative Templates\System\Power Management\Sleep Settings
- Double-click on Allow Standby States (S1-S3) When Sleeping (Plugged In).
- Select Enabled.
- Set the time to Never.
- Click on Apply and OK.

That is it from us in this guide. We have a guide that explains how you can turn off sleep mode in Windows 10.
If the sleep mode on your Windows 11 PC closes all programs then this could be problematic. The good thing is that we have a guide that gives you a bunch of solutions to resolve the problem at hand.
There are some users that have reported that for them the Windows 11 randomly shuts down after some time.
You can also check out our guide that explains how you can enable or disable the password after sleep in Windows 11.
Let us know in the comments below, which one of the above solutions helped you turn off sleep mode in Windows 11.


User forum
0 messages