0x0000007e BSoD Error: How to Fix it
Update the BIOS to the latest version and fix the issue
![]() 4 min. read
4 min. read
![]() Updated on
Updated on
Share this article

Improve this guide
Read our disclosure page to find out how can you help Windows Report sustain the editorial team Read more
Key notes
- The BSoD error 0x0000007e is an issue that is faced by Windows 11 users.
- It can be fixed by updating the drivers on your PC to their latest version.
- Also, you can tweak the registry as suggested in this guide and hopefully resolve the problem.
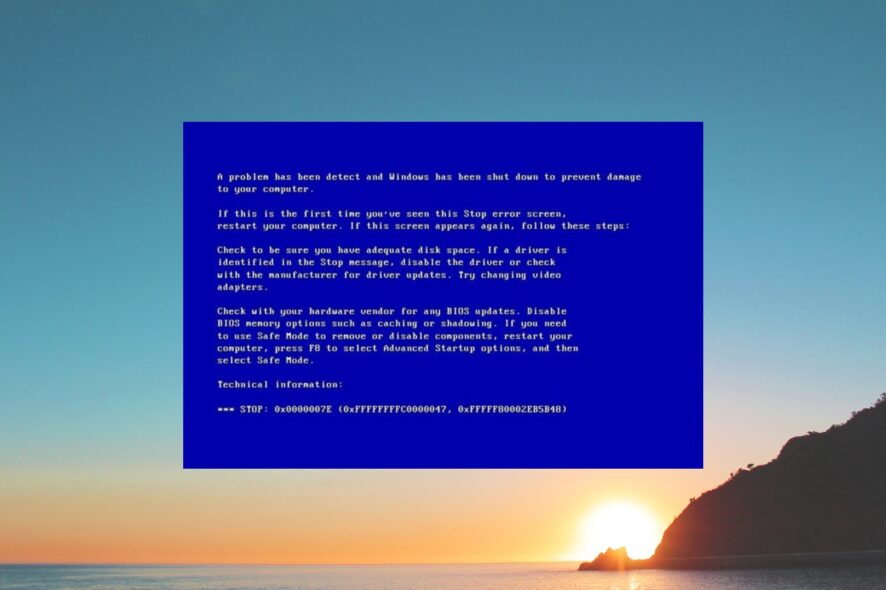
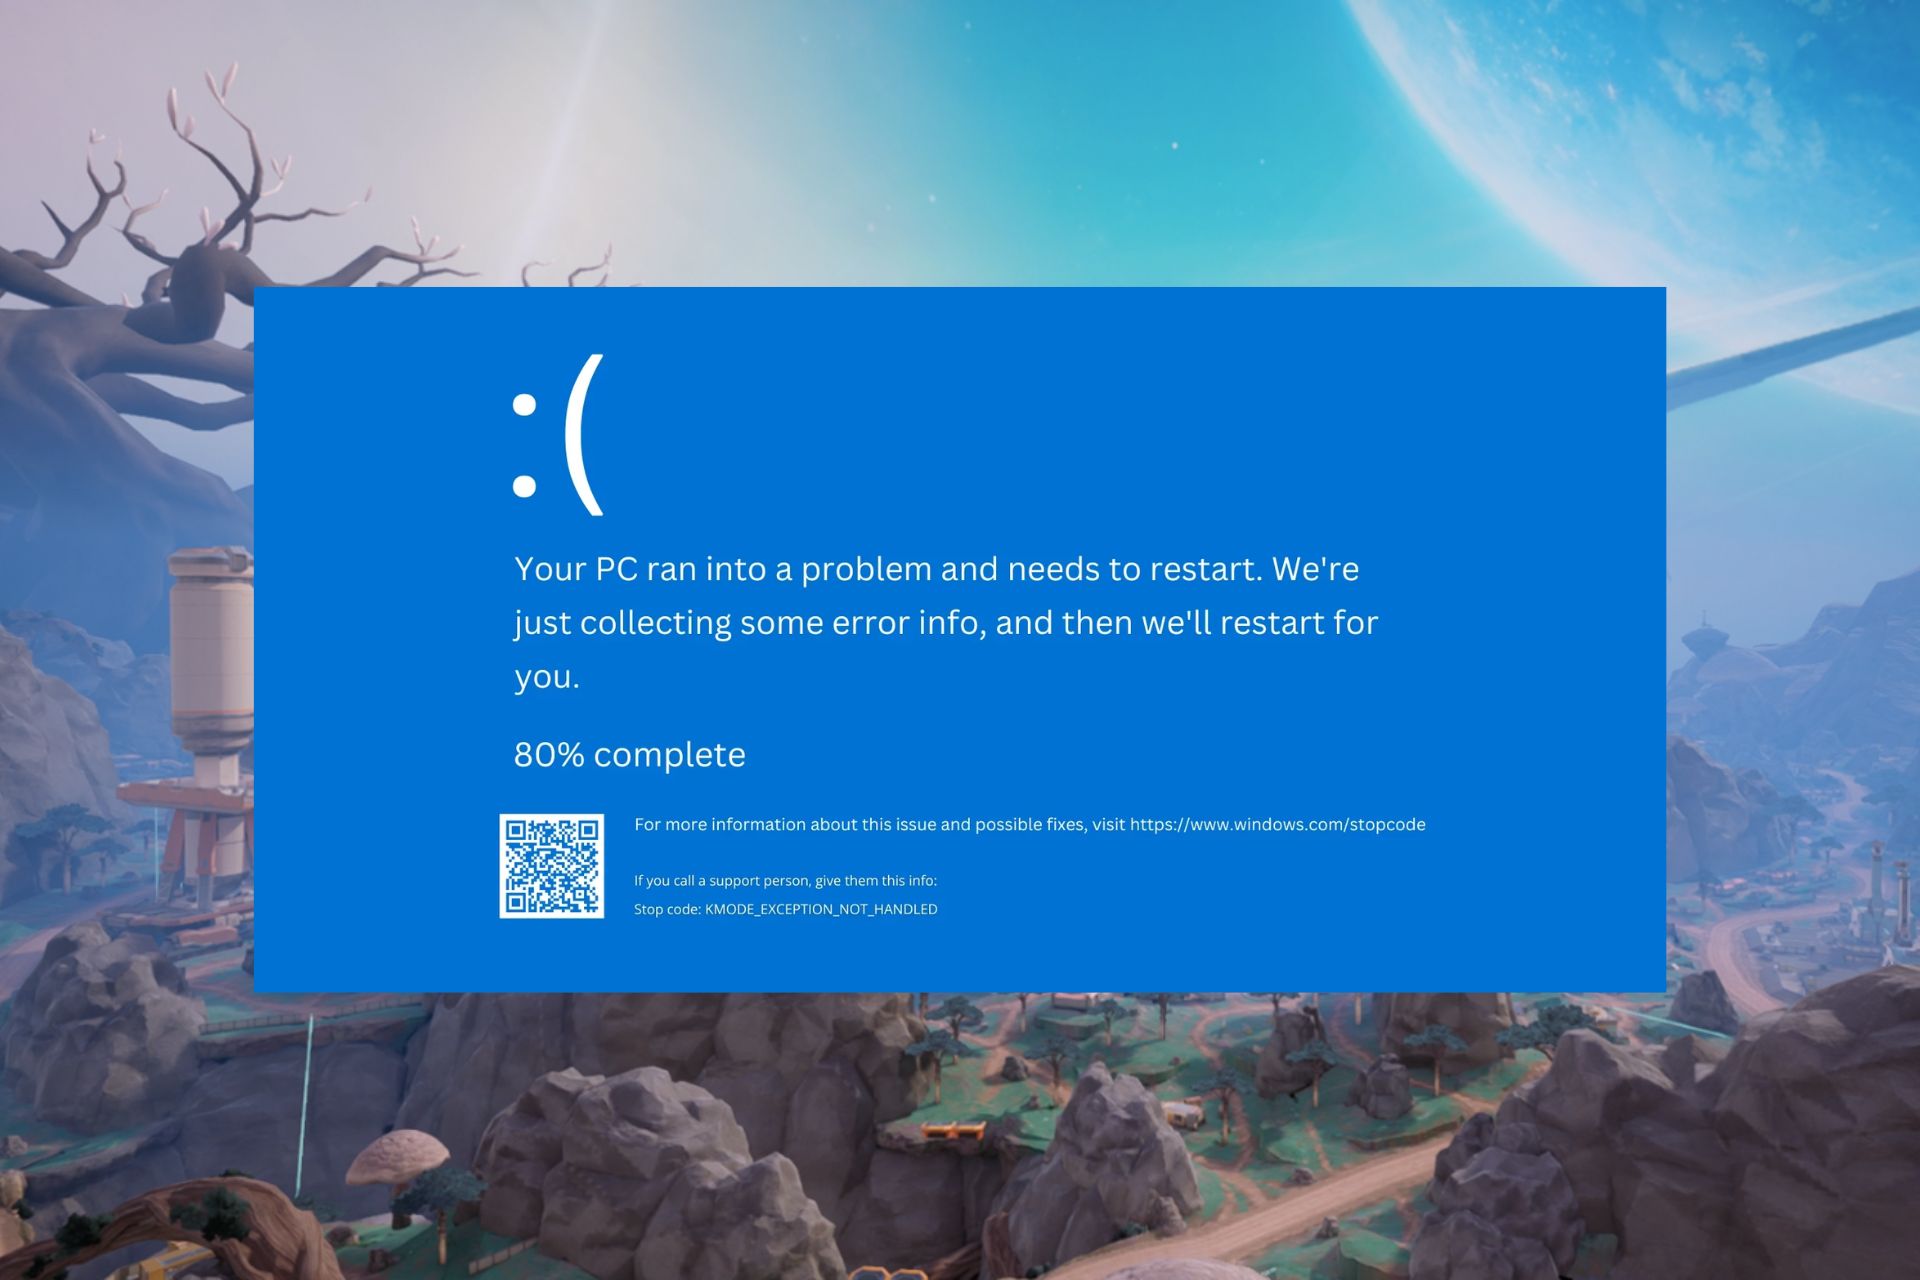
Blue Screen of Death or BSoD errors are pretty troublesome as they randomly crash your PC. Several users have reported coming across the 0x0000007e BSoD error on their Windows 11 PCs. In this guide, we have compiled the solutions that will help you fix the 0x0000007e error. Let us jump right into it.
What causes 0x0000007e BSoD error?
You will come across the 0x0000007e error during startup when your system fails to access the system files. There are a few common reasons that could result in the 0x0000007e error:
- Virus or malware infection: A virus or malware infection could result in multiple issues on your PC and can also prevent your system to access important files.
- The drivers are outdated: For the smooth performance of your PC, all drivers must be updated with their latest version.
- The BIOS is outdated: Outdated BIOS can result in various system-level issues such as the 0x0000007e Windows 11 BSoD error.
- Hard disk is damaged: Chances are the hard disk of your PC is at fault and causing multiple issues within the system.
- Sudden removal of a USB device: Any USB device connected to your PC should not be removed abruptly causing the system to misbehave.
Now that we know the causes for this BSoD, let’s go to the actual solutions to fix it.
How do I fix the blue screen 0x0000007e error?
1. Update BIOS
- Visit your motherboard manufacturer’s website.
- Download the latest BIOS version and copy it onto a USB drive.
- Turn off your PC 2-3 times to enter the Advanced Startup Environment.
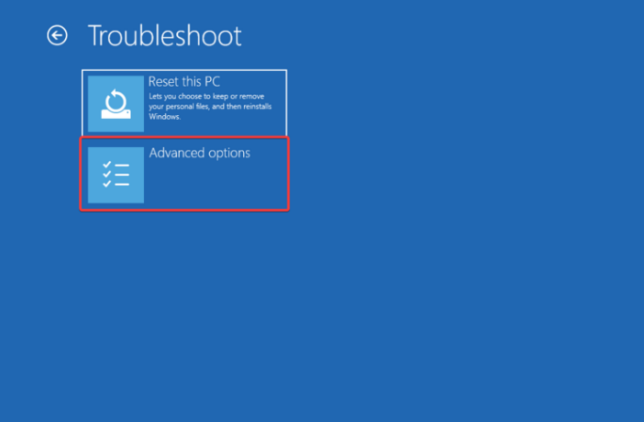
- Select Troubleshoot.

- Click on Advanced Options.

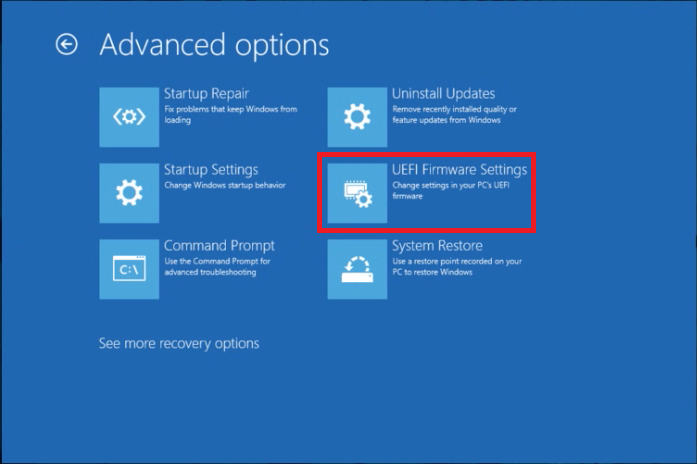
- Select UEFI Firmware Settings.

- Click Restart.
- In the BIOS menu, look for the BIOS update option.
- Insert the USB drive containing the latest BIOS update file and wait for the BIOS to get updated.
- Restart your PC.

We have a dedicated guide that explains how you can update BIOS on your Windows PC. It also explains how you can check the current BIOS version and all other details you should know before updating BIOS.
2. Disable the antivirus or Firewall
- Press the Win key to open the Start menu.
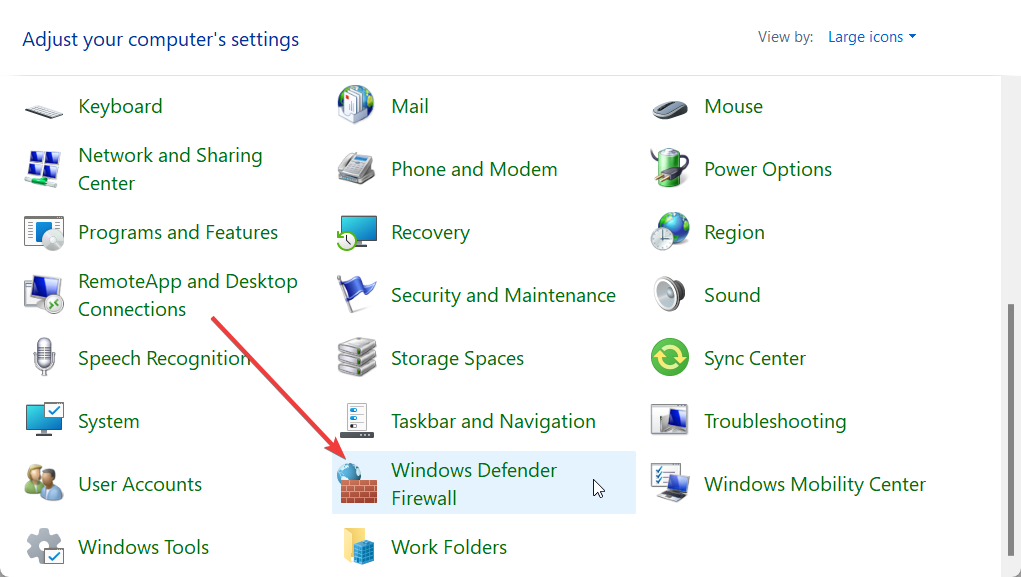
- Open Control Panel.

- Click on Windows Defender Firewall.

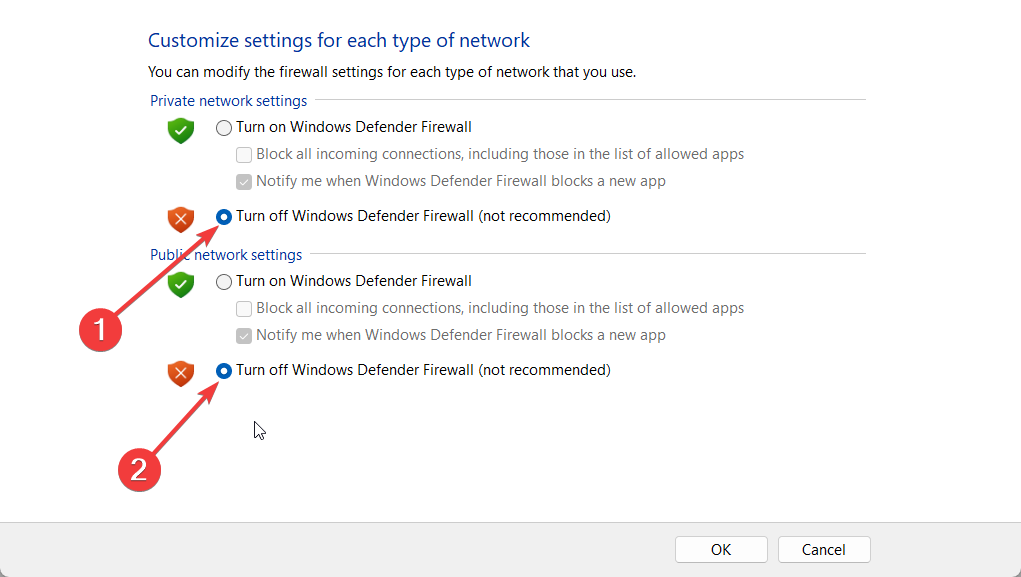
- Select Turn Windows Defender Firewall on or off from the left pane.
- Check the radio button for Turn off Windows Defender Firewall (not recommended) for both Public and Private networks.
- Click OK.
- Restart your PC.


Your Firewall might be interfering with the system’s access to the system files. In such a case, disabling the Firewall can help resolve the blue screen 0x0000007e error on Windows.
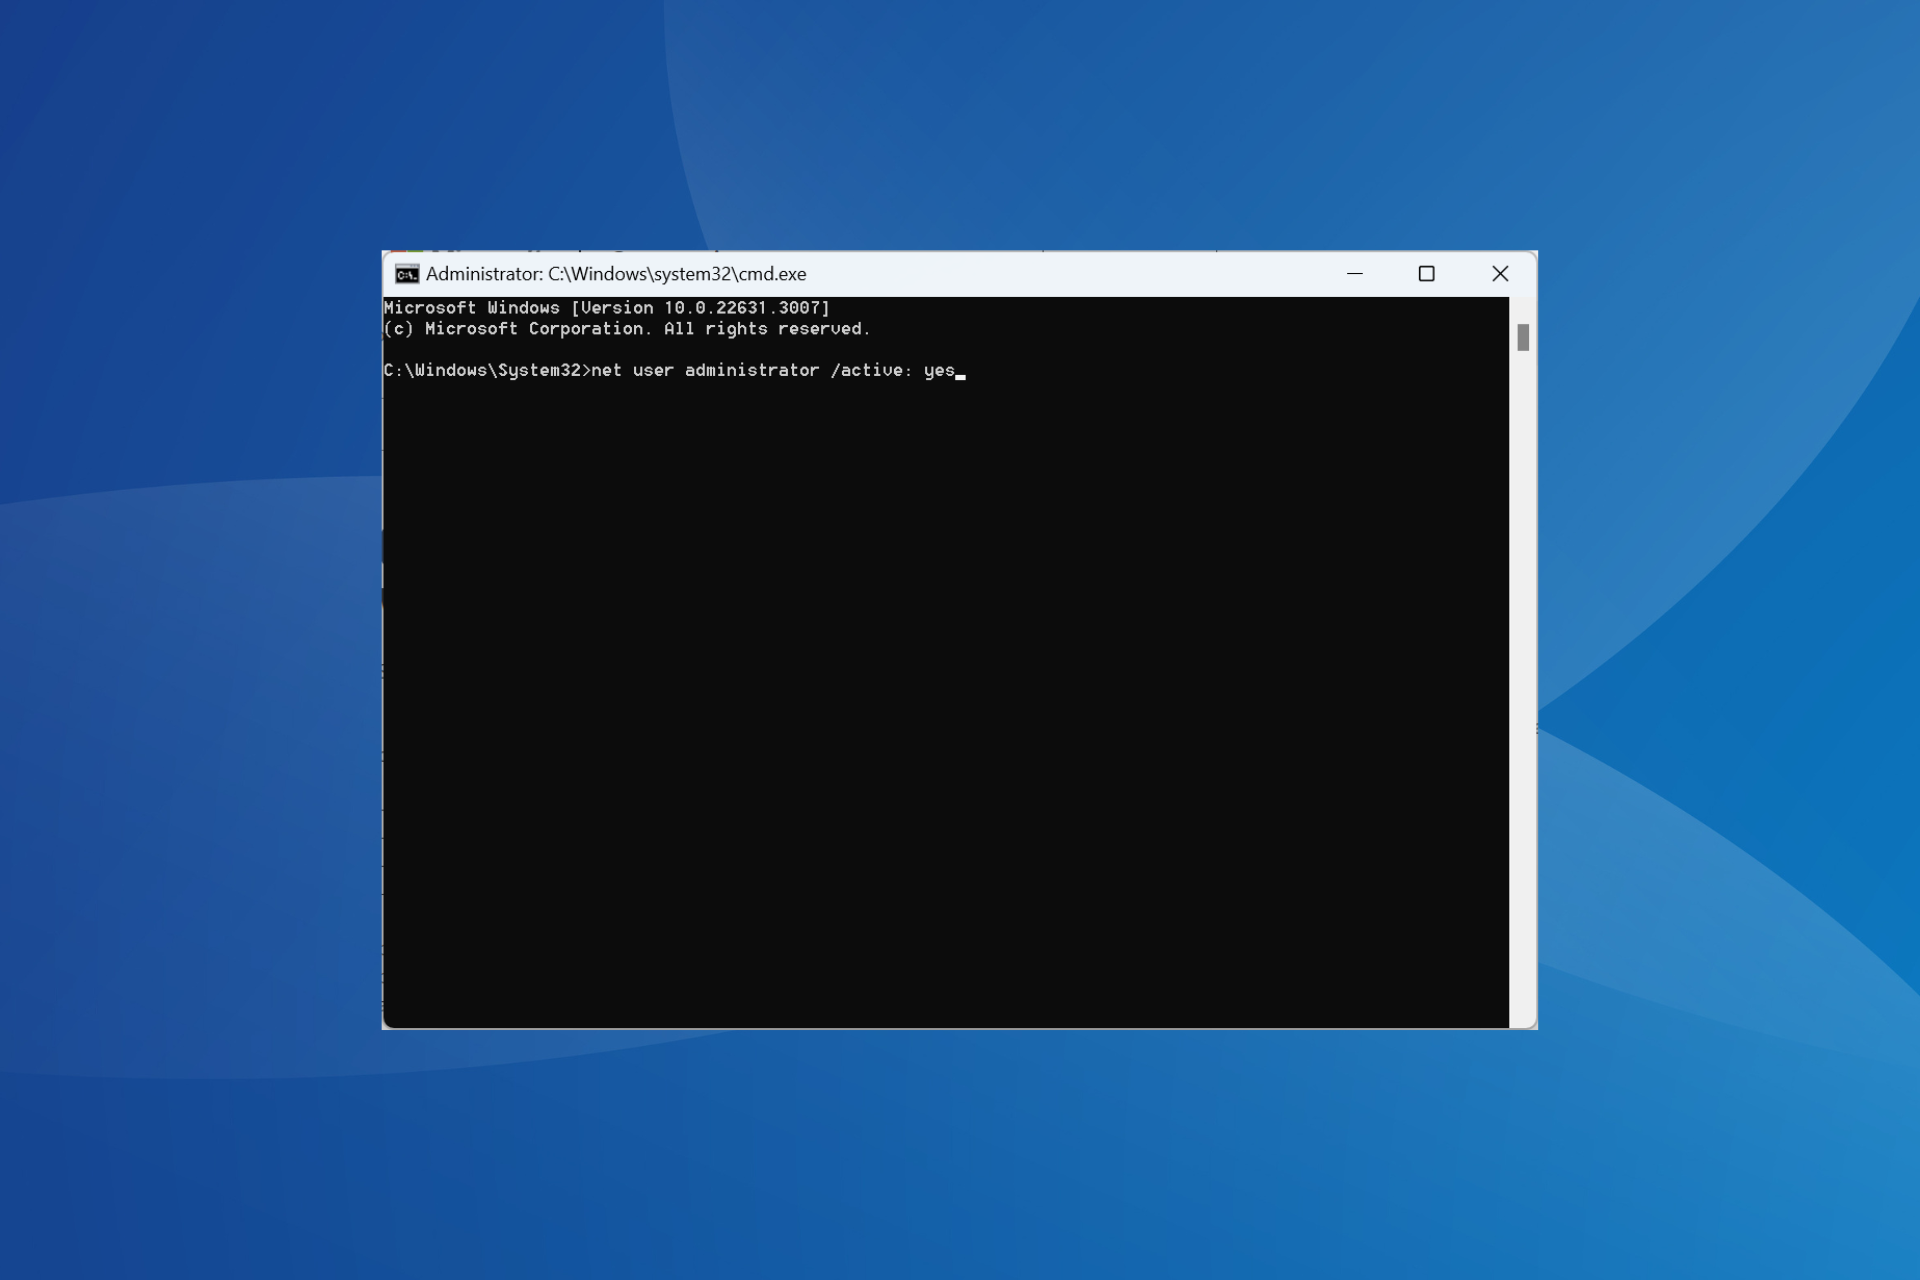
3. Run the CHKDSK command
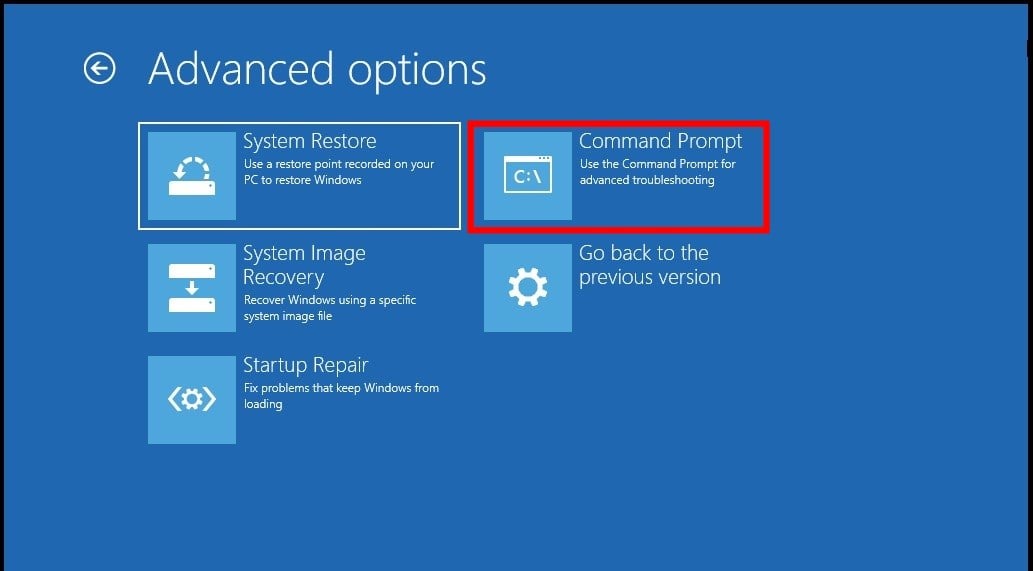
- Turn off your PC 2-3 times to boot into the Advanced Startup Environment.
- Select Troubleshoot.
- Click on Advanced Options.
- Select Command Prompt.

- Type the below command and press Enter. chkdsk x: /f
(Replace x with the drive you wish to check) - Wait for the command to fix the hard disk errors.
- Restart your PC.
4. Change the Intelppm Registry value
 NOTE
NOTE
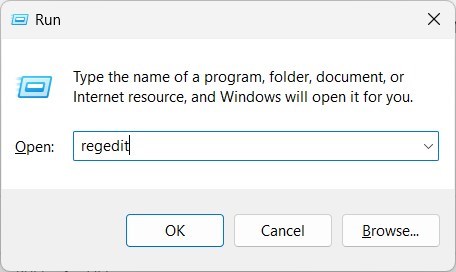
- Press the Win + R keys to open the Run dialogue.
- Type regedit and press Enter.

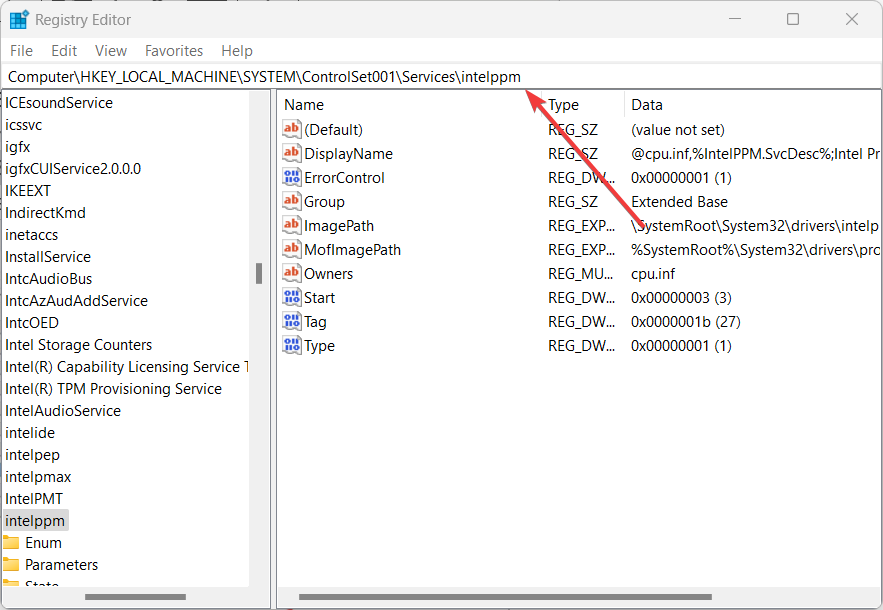
- Navigate to the below-mentioned path.
HKEY_LOCAL_MACHINE\SYSTEM\ControlSet001\Services\Intelppm
- On the right-side double-click on the Start key.
- Change the Value to 4.
- Click OK, then restart your PC and check if the error persists.

Several users have managed to resolve the 0x0000007e Windows 10 blue screen error by tweaking the registry as mentioned above. You can follow the same steps to resolve the 0x0000007e Windows 7 and 0x0000007e Windows 11 BSoD errors as well.
But if you haven’t created a backup, then do not worry. As we have a guide that explains how you can restore the registry without backup.
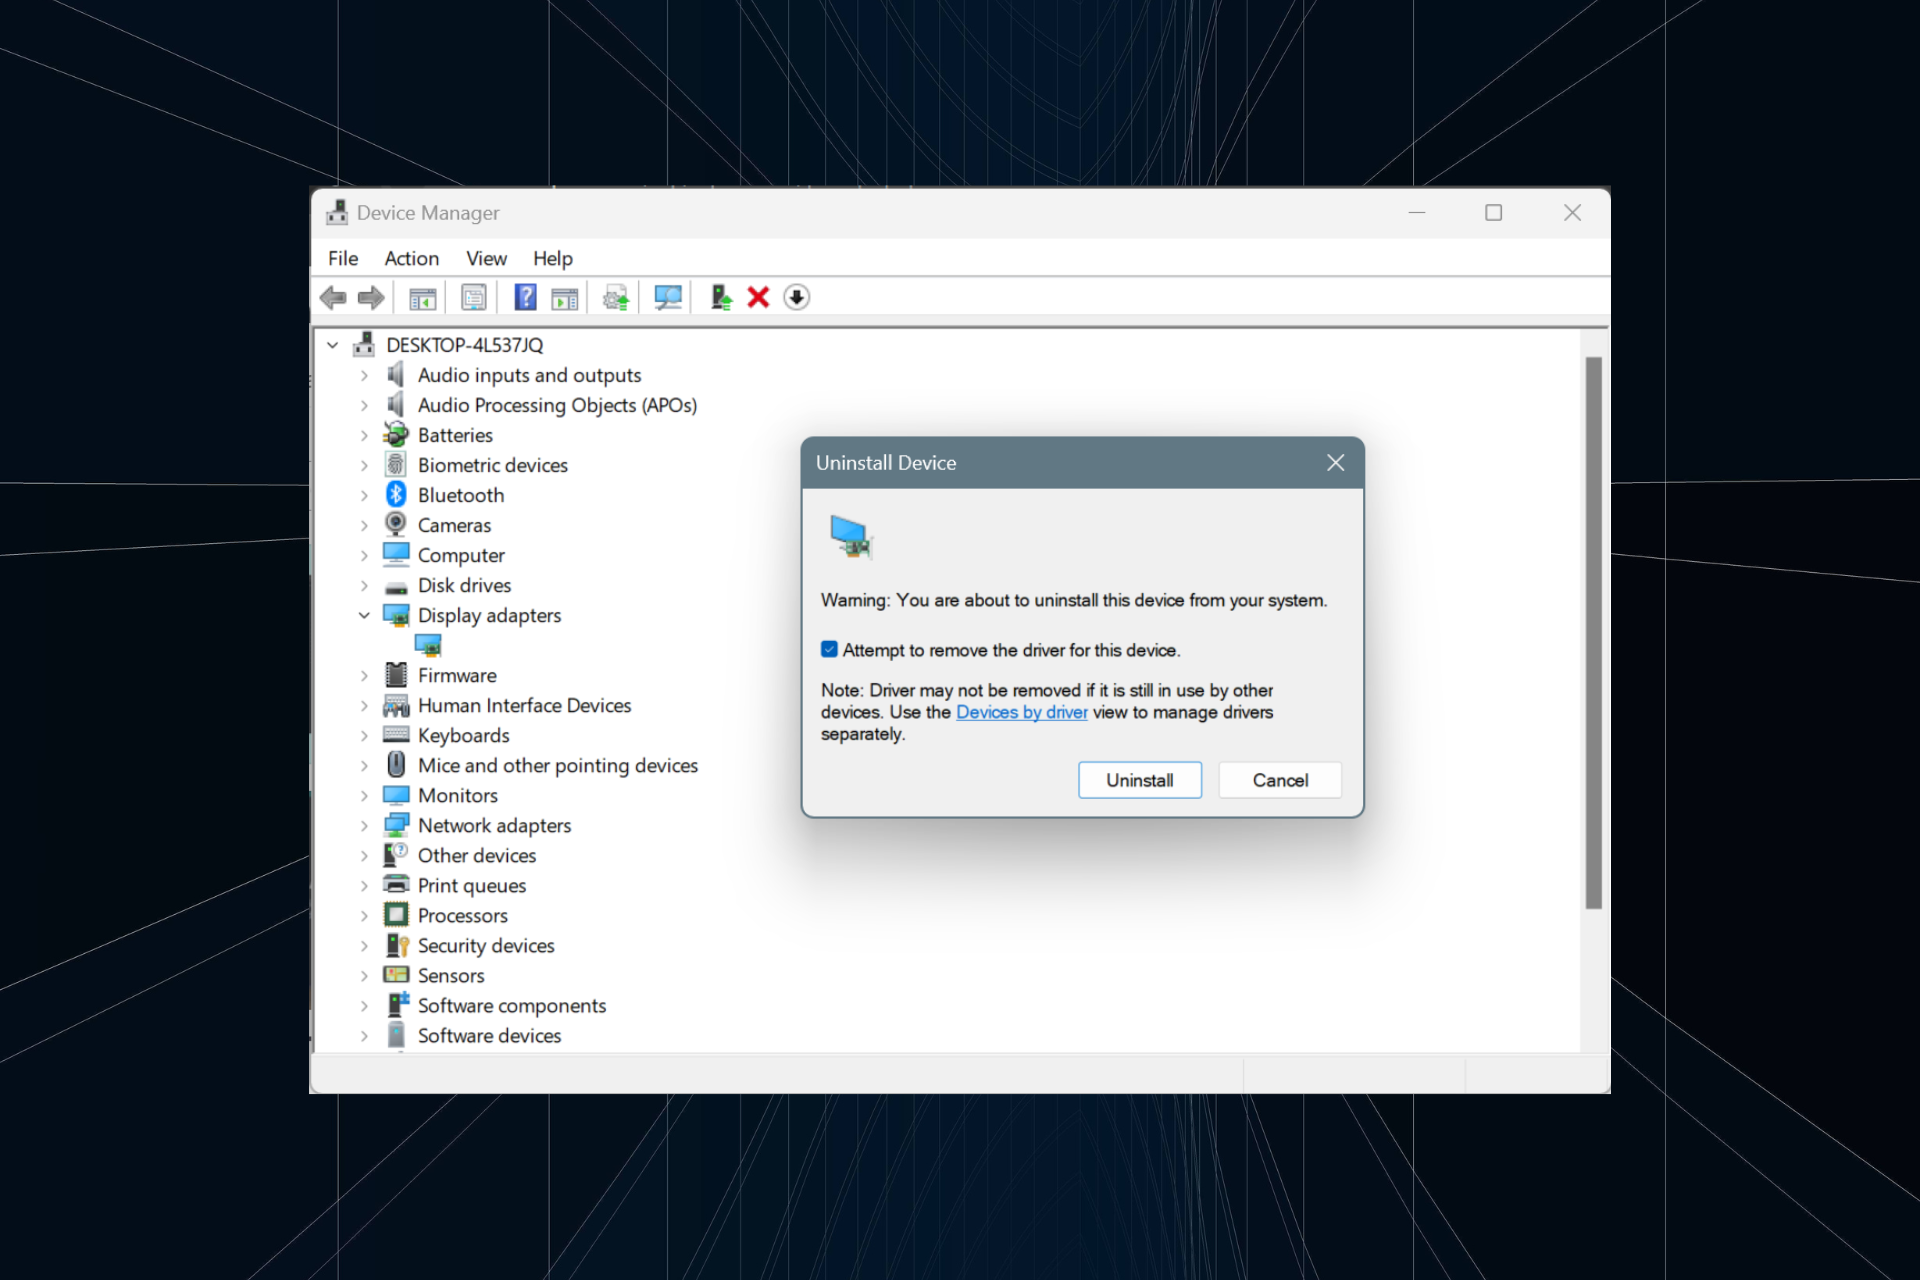
5. Update the drivers on your system
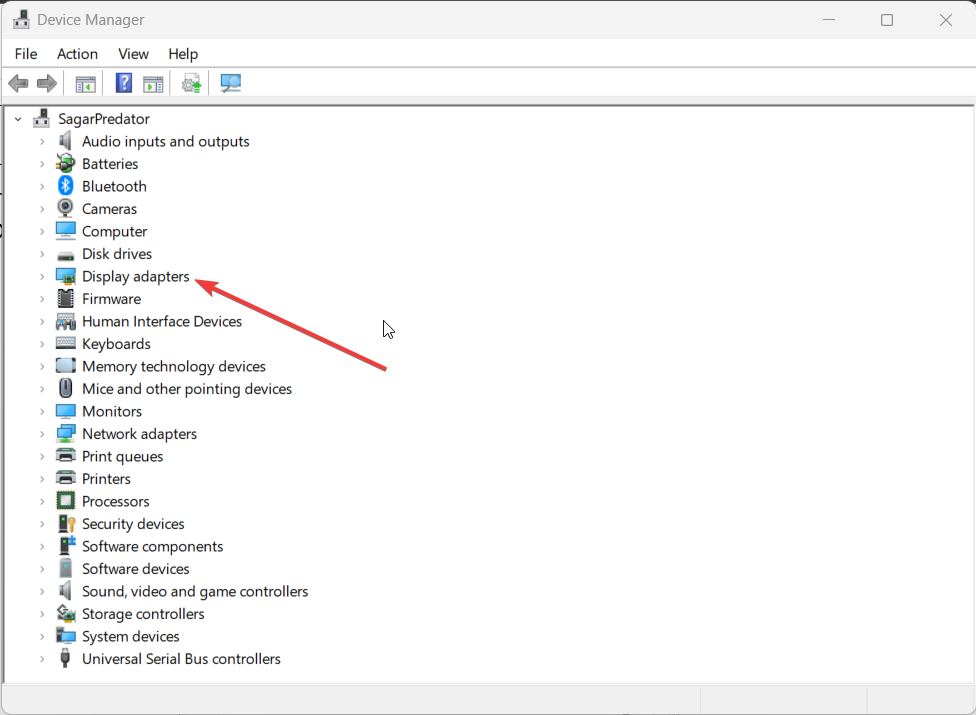
- Press the Win key to open the Start menu.
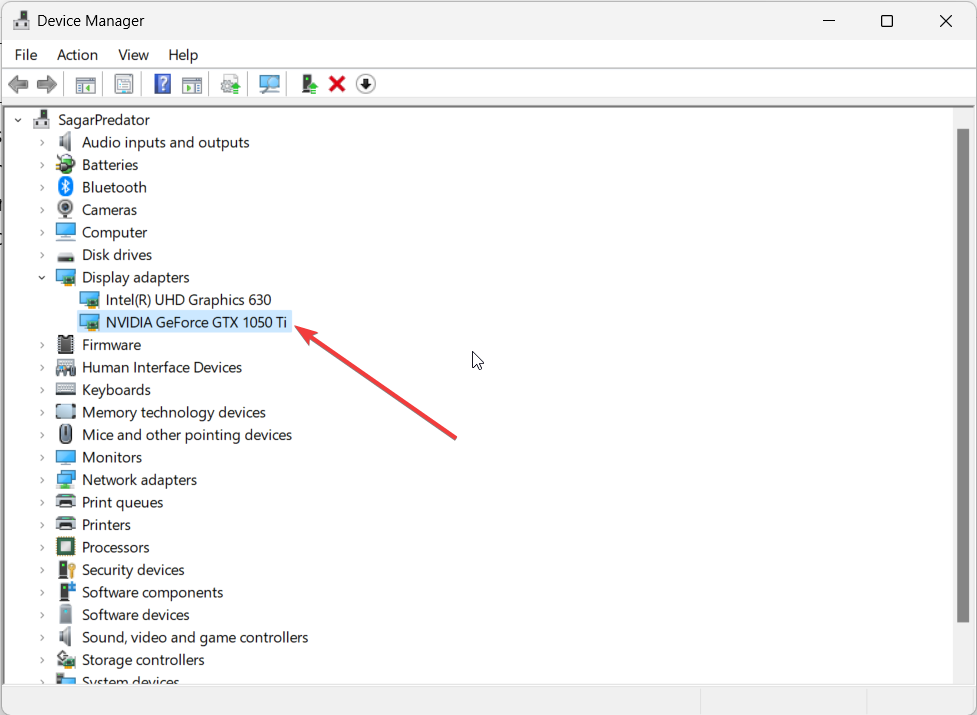
- Open Device Manager.
- Expand the Display adapters section.

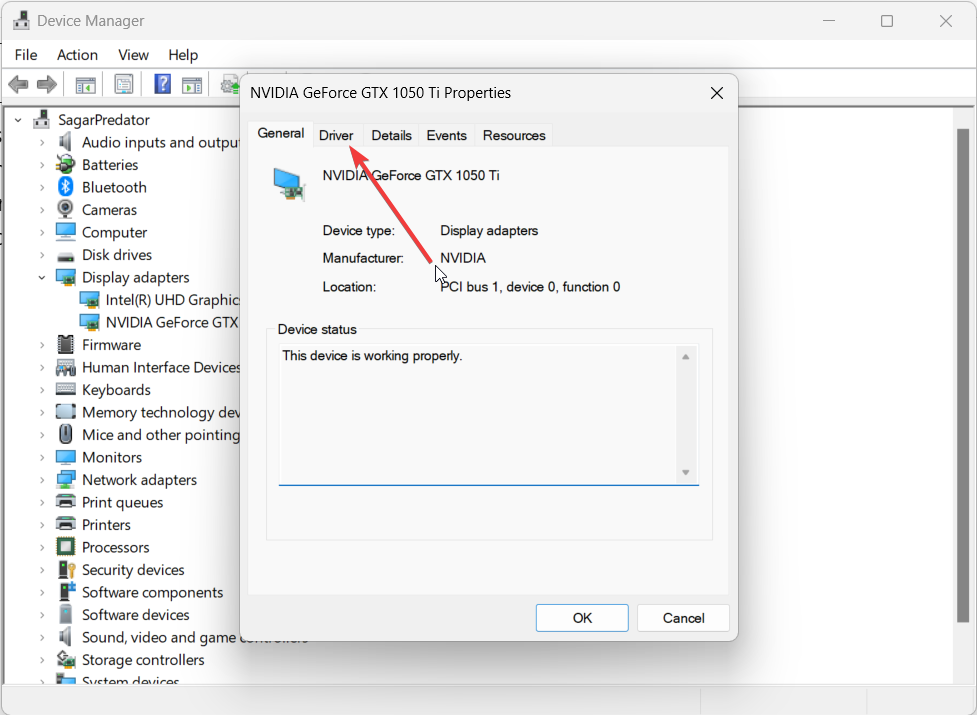
- Double-click on your GPU.
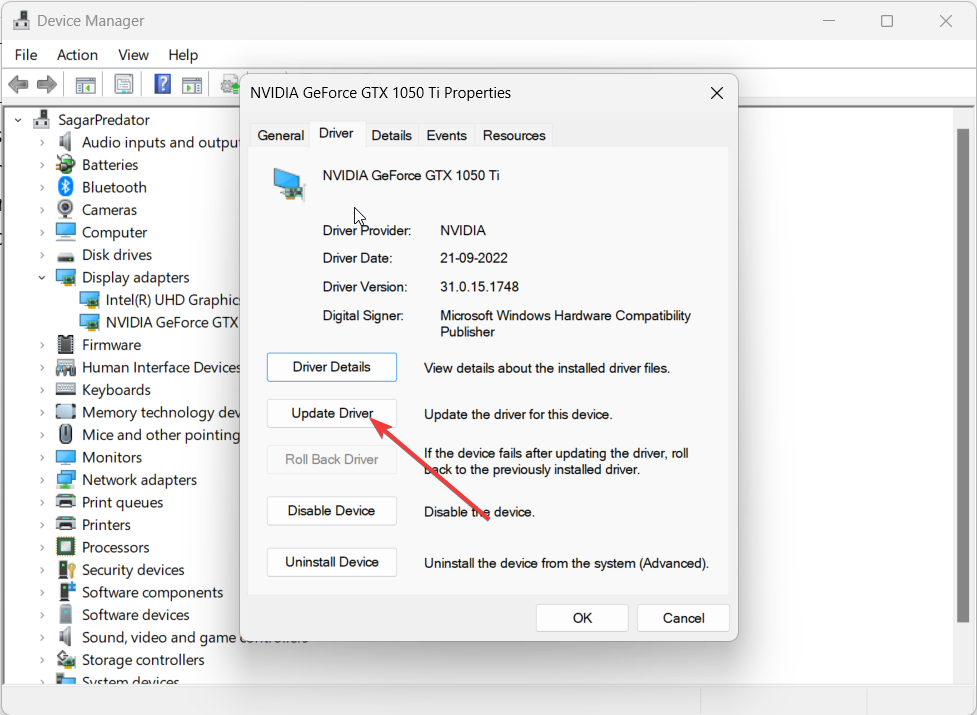
- Switch to the Drivers tab.

- Select the Update driver option.
- Choose Search automatically for drivers option.
- Install the update.
- Follow the same steps for other drivers.
- Restart your PC.
Several Windows users have reported that updating the display driver on their PCs has fixed the 0x0000007e Windows 11 BSoD error. We would suggest you update all the drivers and make sure nothing like this happens again because of driver issues.
That is it from us in this guide. For an effortless fix for blue screen errors, we would recommend you to check out our guide which lists down some of the best BSoD fixers that will help you fix these issues in no time.
Let us know in the comments below, which one of the above solutions fixed the 0x0000007e BSoD error for you.