Wscsvc.dll is Missing or Not Found: How to Download the DLL
It's a critical DLL related to the Windows Security Center Service
![]() 4 min. read
4 min. read
![]() Updated on
Updated on
Share this article
Improve this guide
Read our disclosure page to find out how can you help Windows Report sustain the editorial team. Read more
The wscsvc.dll (short for Windows Security Center Service.dll) aids the Windows Security Center Service in running Windows Security, the built-in antivirus solution, and protecting the PC. If the wscsvc.dll file is missing, you will get an error that reads, The Windows Security Center service can’t be started!
The DLL file is crucial to the overall security of the PC, and if you are seeing any wscsvc.dll errors, fix the problems right away, which, in most cases, involves getting a new copy of the wscsvc DLL.
How can I download the wscsvc.dll file?
1. Use a DLL repair tool
The easiest way to fix all DLL-related issues, be it with built-in DLLs like wscsvc.dll or third-party ones, is to use a specialized DLL repair tool.
These tools automatically scan the PC for missing DLLs, and if any are not found, a fresh copy of the DLL is downloaded to the PC from the tool’s vast library.
2. Get a copy of wscsvc.dll from another PC
If you have another PC running the same Windows architecture, move a copy of the DLL from the device to a USB storage and then transfer it to the affected PC.
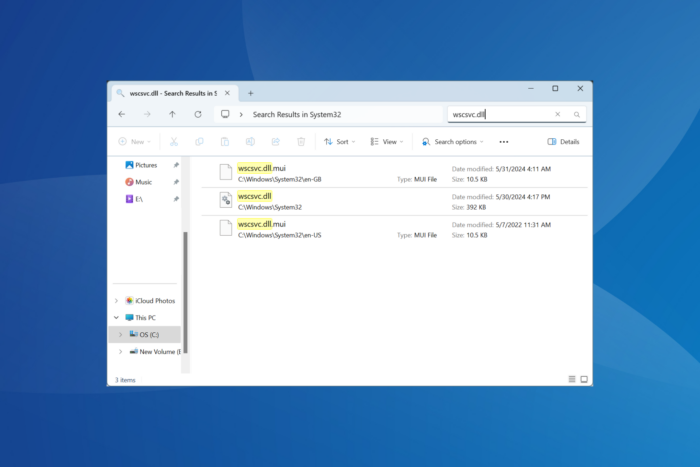
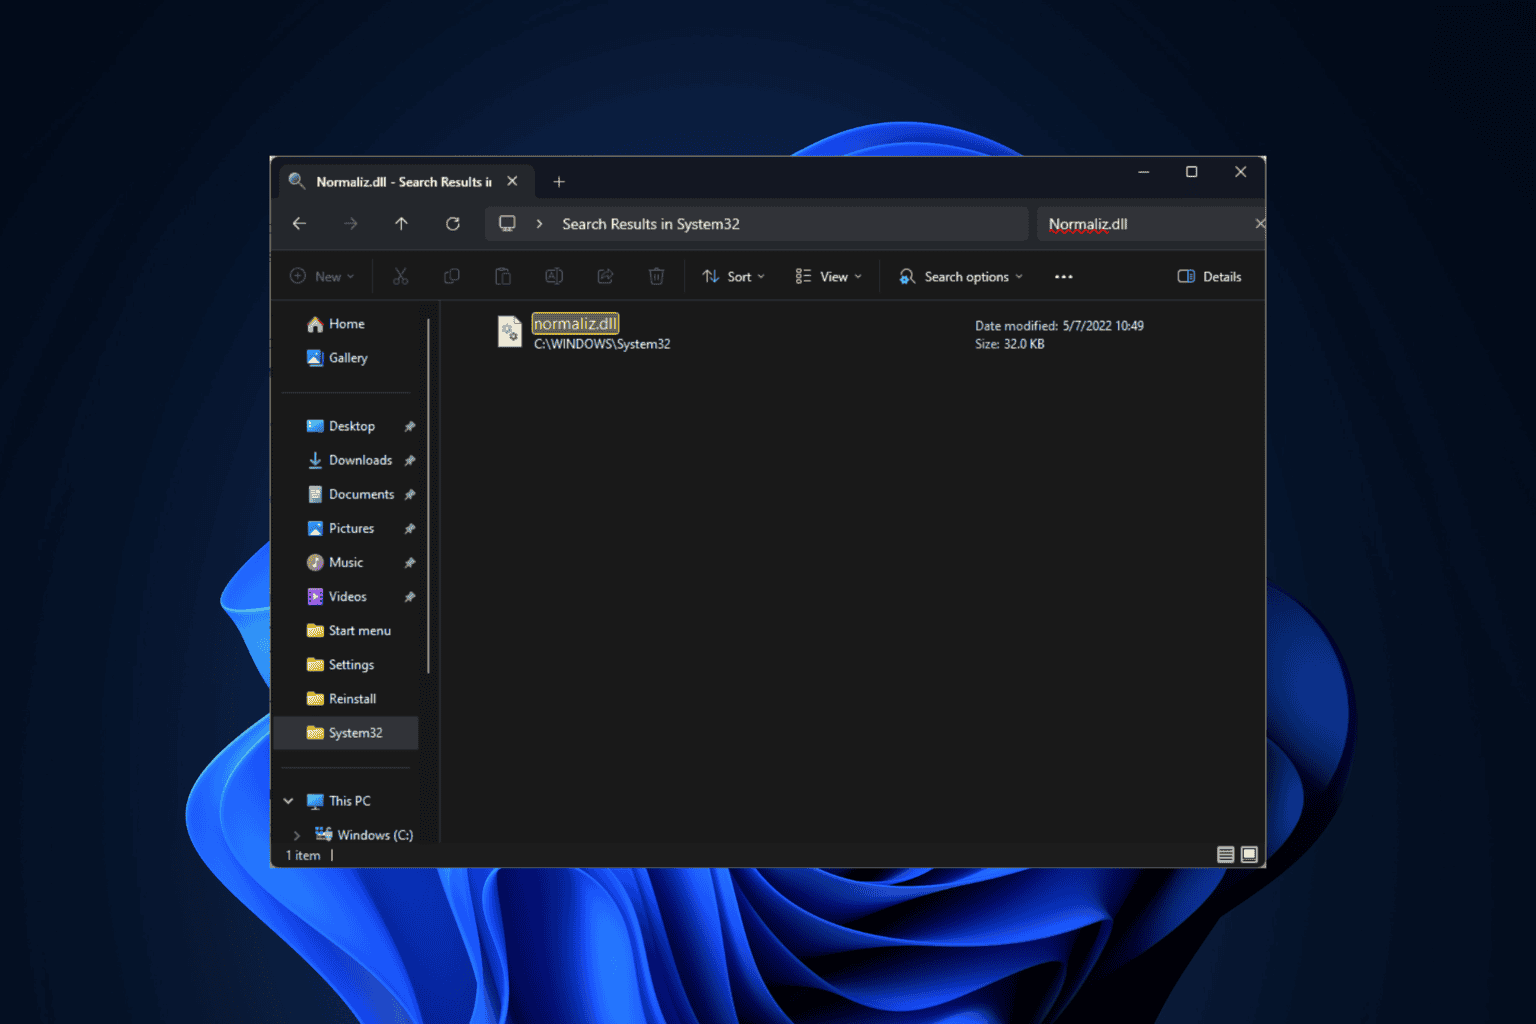
As for wscsvc.dll’s location, it’s stored in: C:\Windows\System32
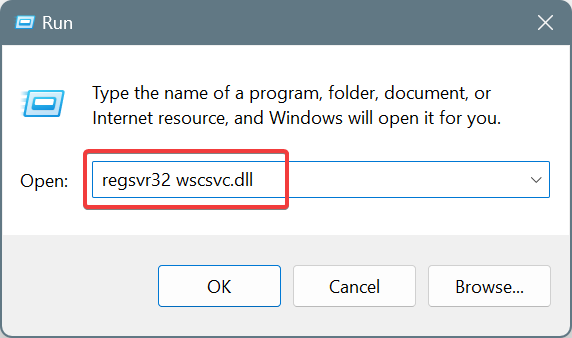
The System32 folder is the location you have to copy the DLL from on the other device device, and move it to on the affected device. Once done, press Windows + R > paste the following command and hit Enter: regsvr32 wscsvc.dll
When you reboot the PC the next time, the Windows Security Center Service should run fine!
3. Update Windows
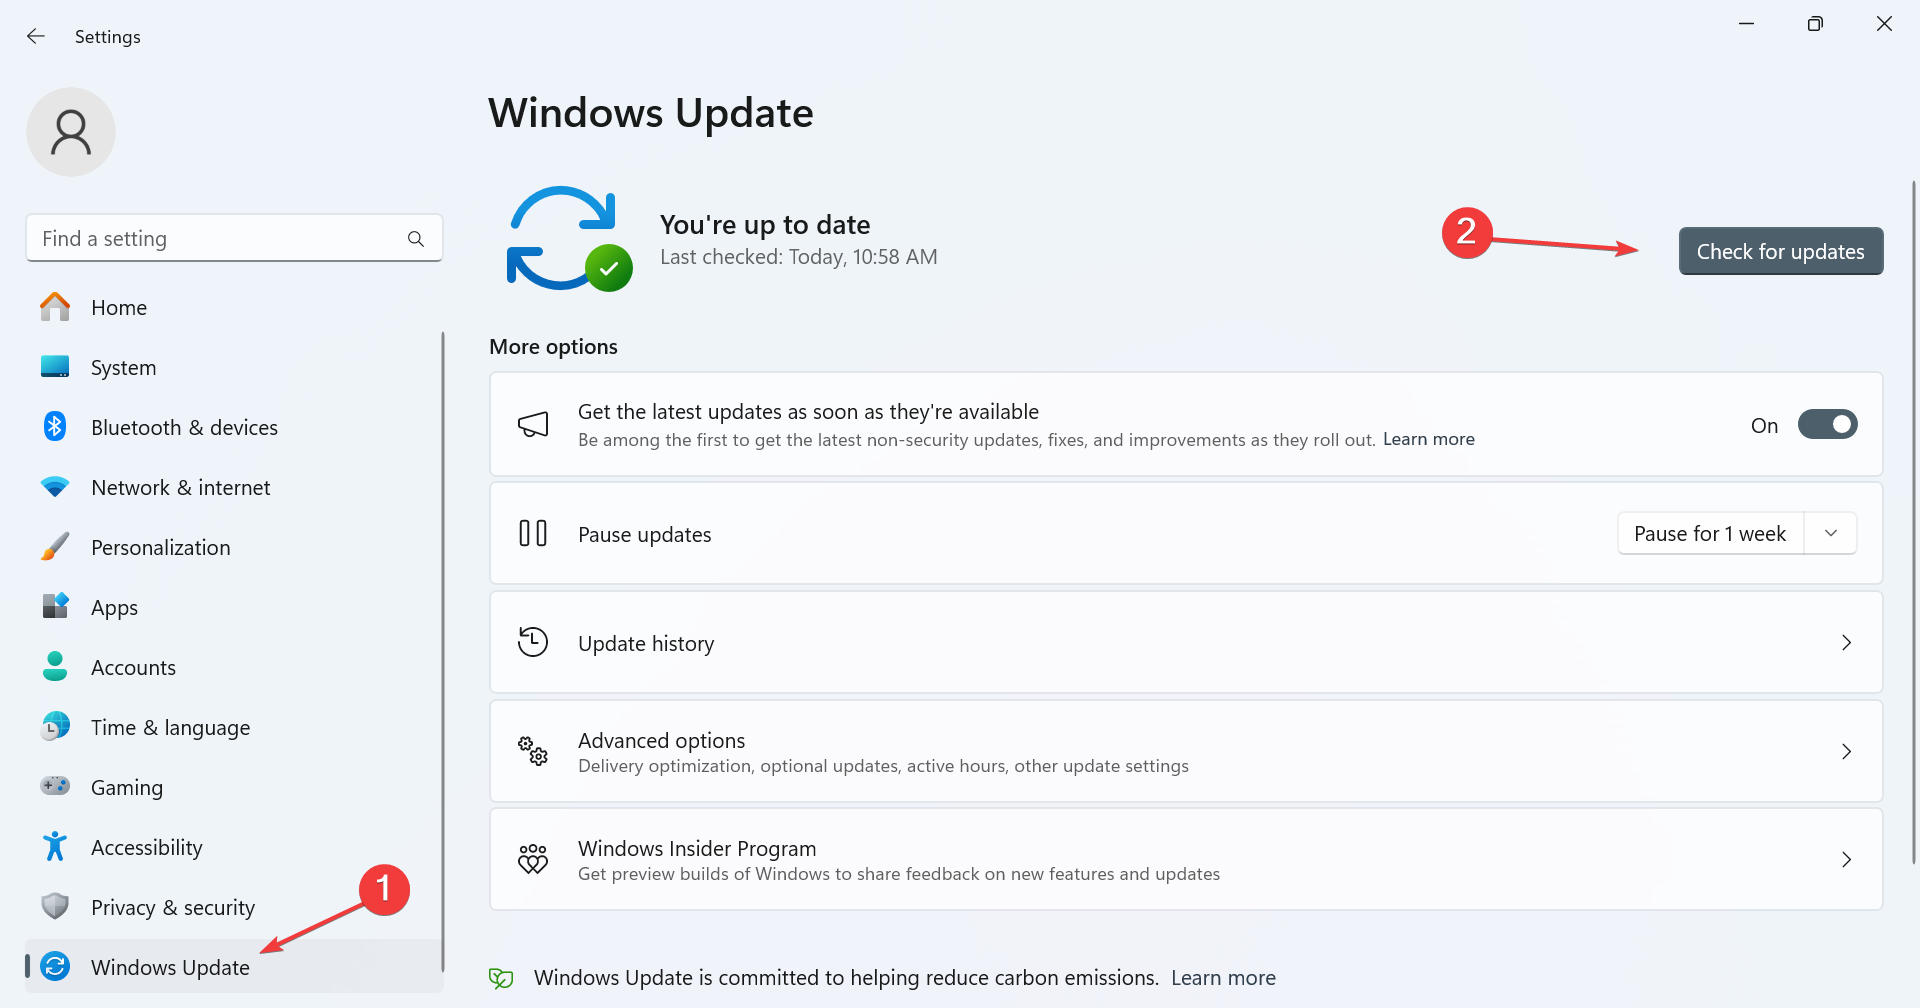
- Press Windows + I to open Settings, go to Windows Update from the left pane, and click on Check for updates.

- If a newer Windows version is listed, click on Download & install to get it.
- Reboot the PC and check whether the wscsvc.dll has been downloaded.
4. Run the SFC and DISM scan
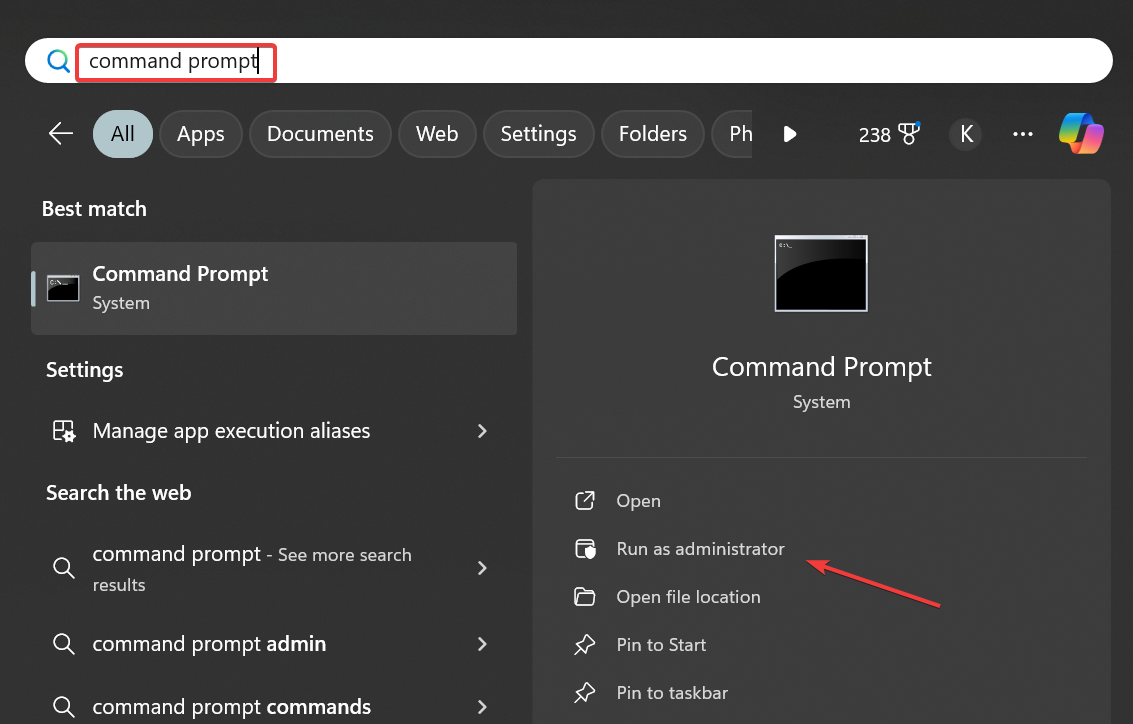
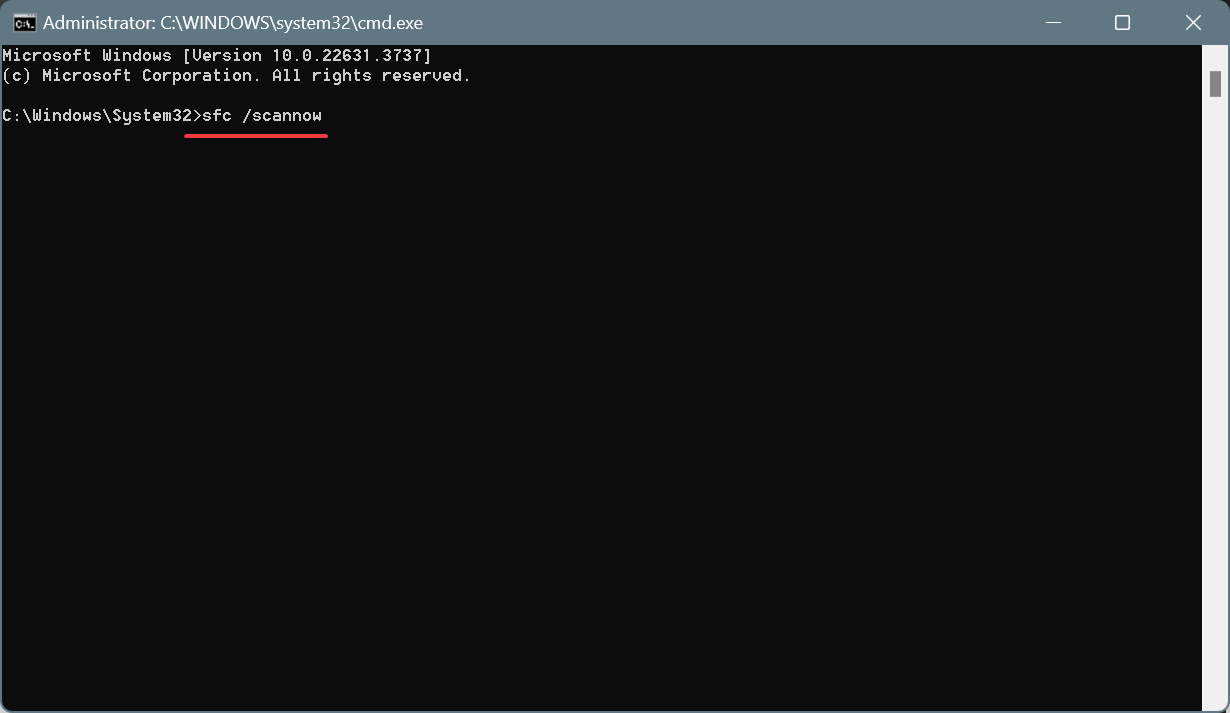
- Press Windows + S to open the Search menu, type Command Prompt in the text field, and click on Run as administrator.

- Click Yes in the UAC prompt.
- Paste the following DISM commands individually and hit Enter after each:
DISM /Online /Cleanup-Image /CheckHealthDISM /Online /Cleanup-Image /ScanHealthDISM /Online /Cleanup-Image /RestoreHealth - Now, execute this command to run the SFC scan:
sfc /scannow
- Once done, reboot the PC to apply the changes.
If it’s the corrupt system files to blame for the missing wscsvc.dll, running the DISM commands and SFC scan should re-download the DLL in the System32 folder.
5. Scan the PC for malware
A virus or malware can often delete system files or move them to another location and introduce instability on the PC. So, if wscsvc.dll keeps disappearing by itself after you download it, you know that the PC is infected with a virus or malware.
Since the built-in option, Windows Security, isn’t working in this case, I recommend you get another top-rated antivirus solution and scan the PC for malware or virus. For some of you, even a free antivirus will do the trick!
6. Perform an in-place upgrade
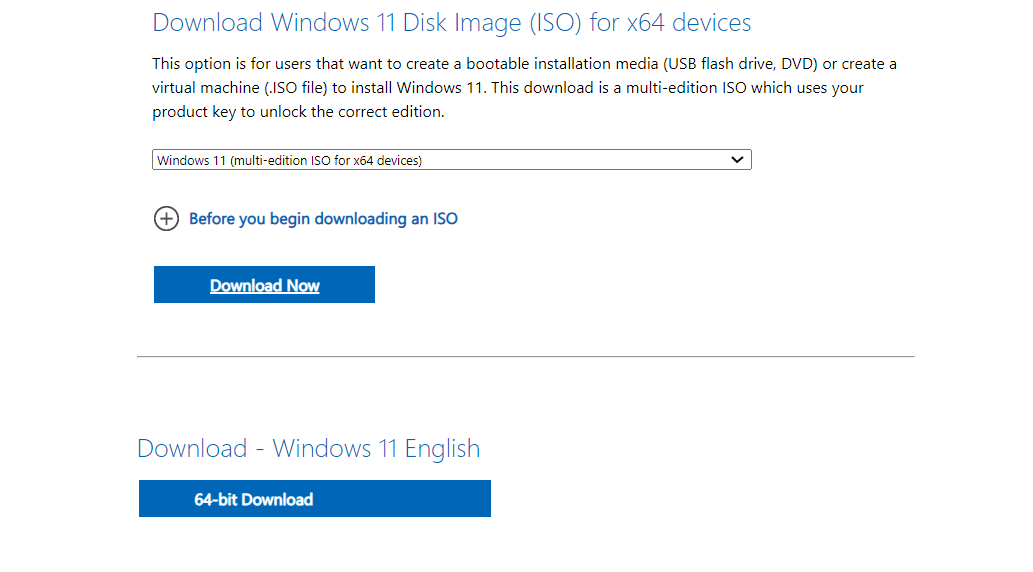
- Go to Microsoft’s official website, choose the OS edition and product language, and then download the Windows 11 ISO.

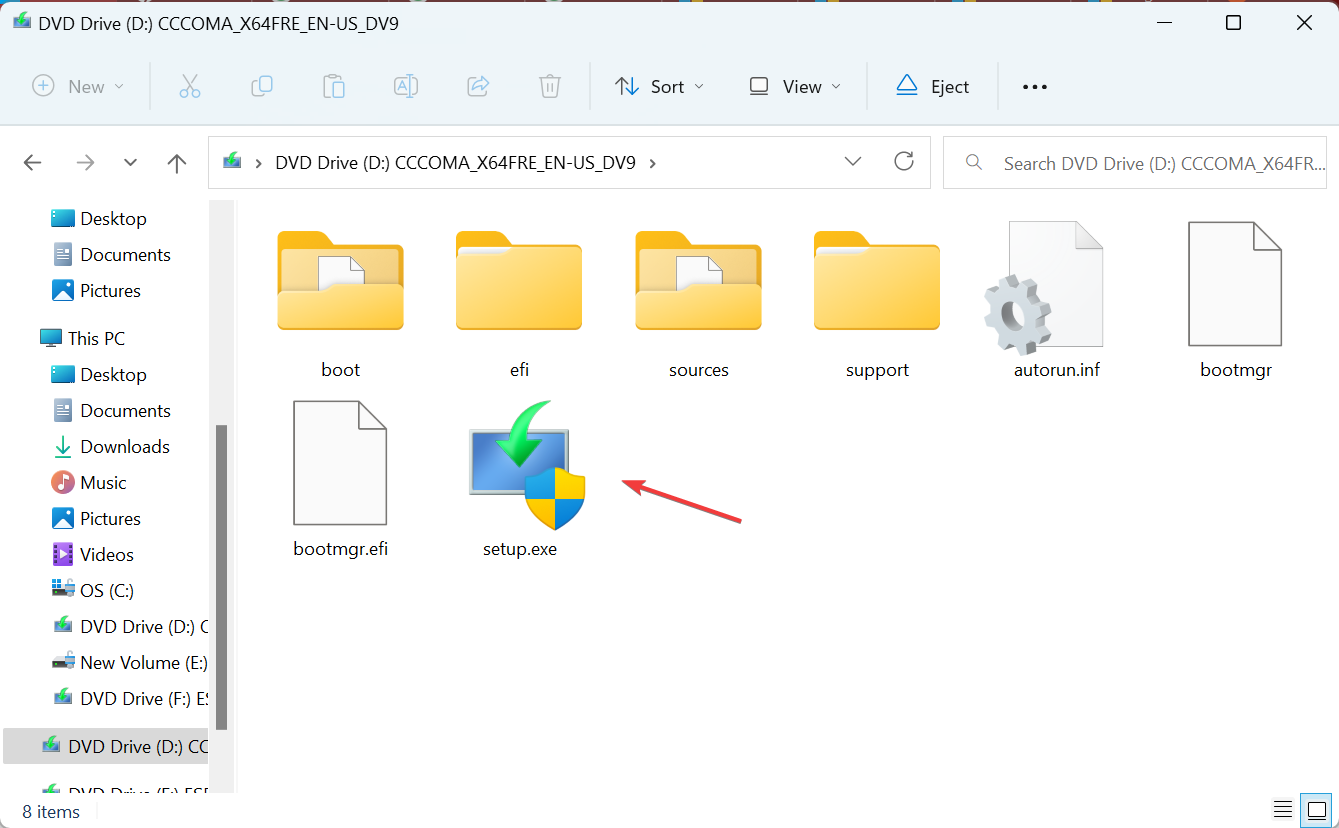
- Right-click on the downloaded ISO file, choose Mount, wait for a few seconds, and then click on Open in the confirmation box.
- Run the setup.exe file.

- Click Yes in the UAC prompt.
- Click on Next to proceed with the repair upgrade.
- Now, click Accept to agree to Microsoft’s license terms.
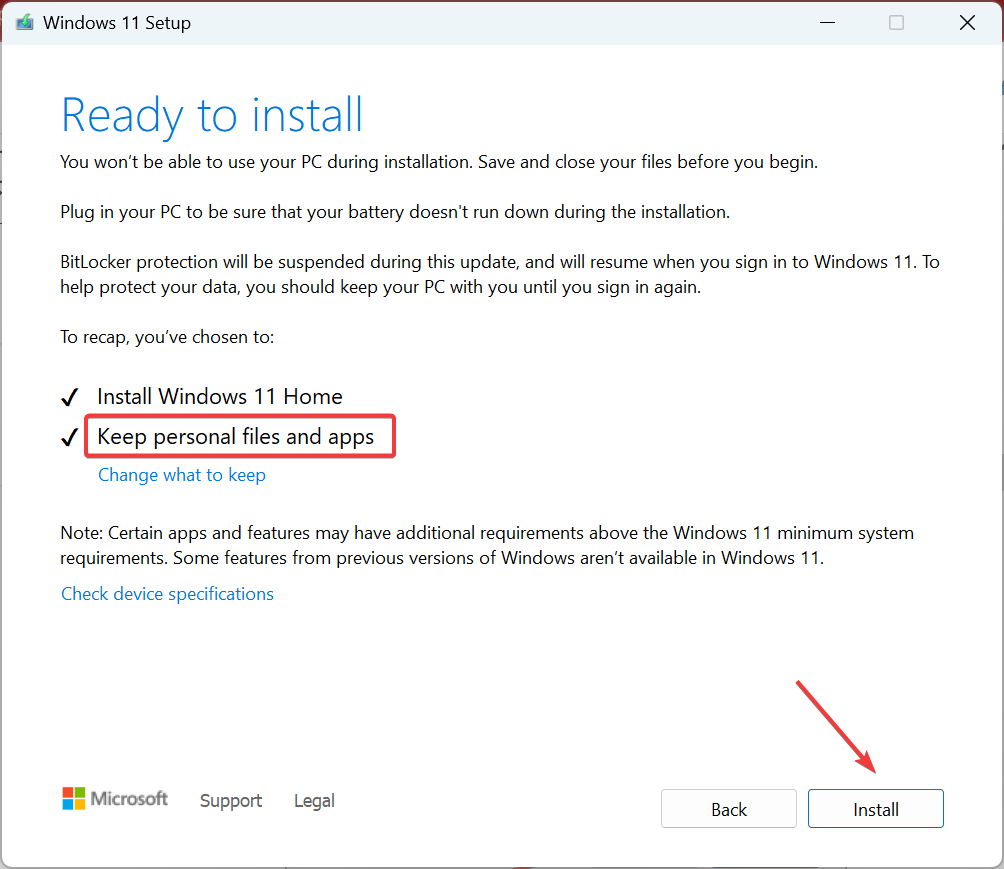
- Make sure the setup reads Keep personal files and apps and click on Install to perform an in-place upgrade.

- Wait for the process to complete. It may take 1-3 hours.
An in-place upgrade is very similar to reinstalling Windows, with the exception that all your files and apps remain safe. Remember, whenever a DLL that ships alongside Windows is corrupt or missing, an in-place upgrade will fix things!
One of these solutions should have helped download the missing wscsvc.dll on Windows. If the issue with the Windows Security Center Service persists, I would recommend you create a bootable Windows USB and reinstall Windows 11 from scratch.
Before leaving, don’t miss our latest guide on ygpsvc.dll since this is another important Windows file.
Which fix worked for you? Share with us in the comments section.


User forum
0 messages