Sandisk Cruzer Not Recognized in Windows [Solved]
Assigning a drive letter is the quickest fix
![]() 5 min. read
5 min. read
![]() Updated on
Updated on
Share this article
Improve this guide
Read our disclosure page to find out how can you help Windows Report sustain the editorial team. Read more
Often, your Sandisk Cruzer Blade or Glide USB is not recognized on a Windows PC. Sometimes, it works on other devices, like a MacBook, or the LED indicator keeps flashing. All of this points to a minor misconfiguration preventing your Sandisk Cruzer from working.
If you are wondering why the SanDisk drive is not detected, it usually has to do with malfunctioning or non-supported ports, a missing drive letter, a disabled Plug and Play service, outdated or corrupt drivers, conflicting third-party apps, or incorrect driver format.
Before you begin troubleshooting, connect the Sandisk Cruzer USB flash drive to another port without a USB hub or plug it into another system. If Sandisk Cruzer is still not showing up, try the fixes listed in the next section.
What can I do if Sandisk Cruzer is not recognized?
1. Assign a new drive letter
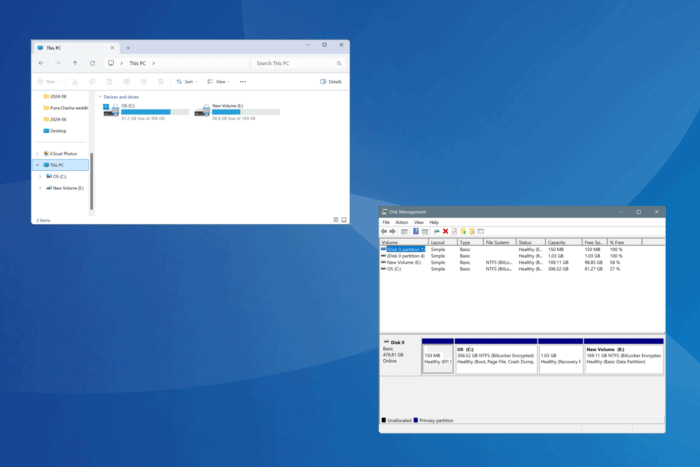
- Press Windows + S to open Search, type Create and format hard disk partitions, and click on the relevant result.
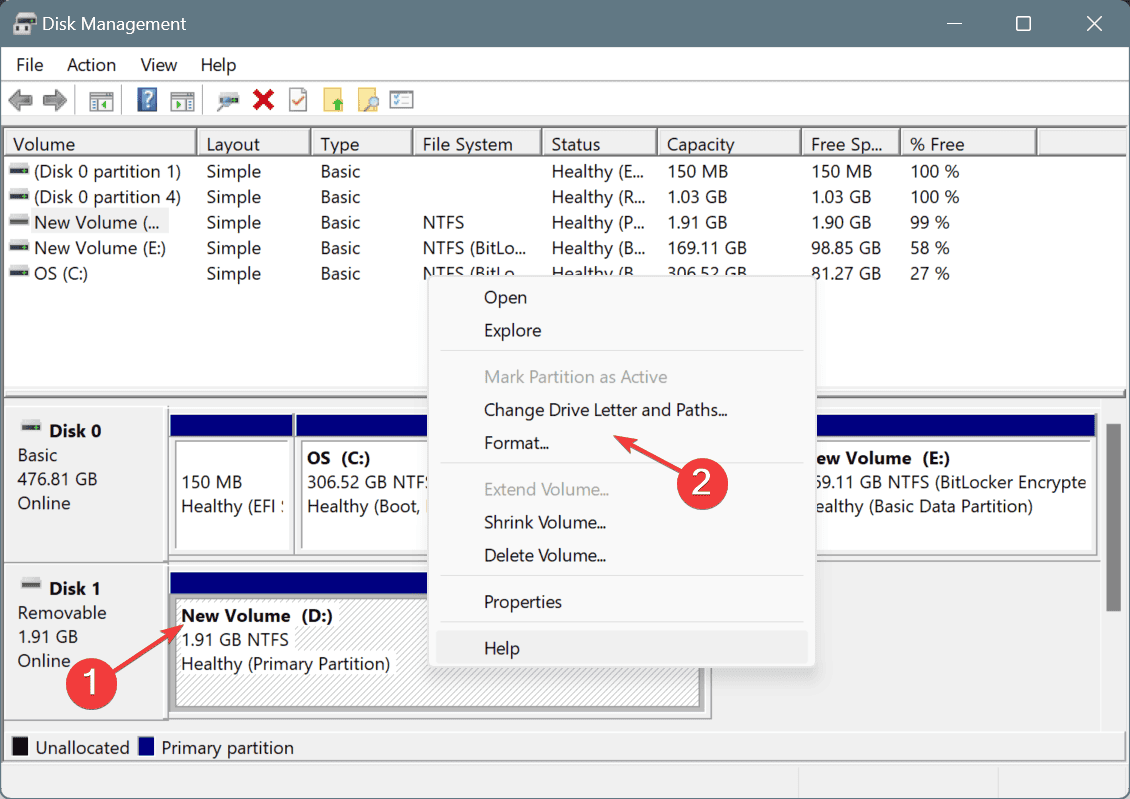
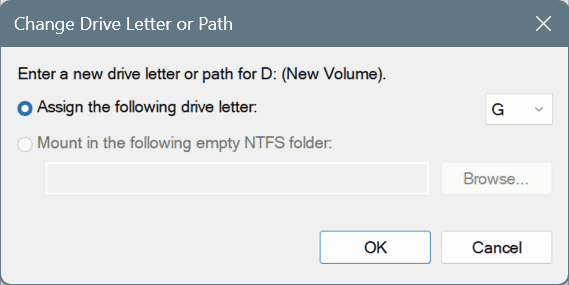
- In the Disk Management utility, right-click on the removable Sandisk Cruzer flash drive, and select Change Drive Letter and Paths.

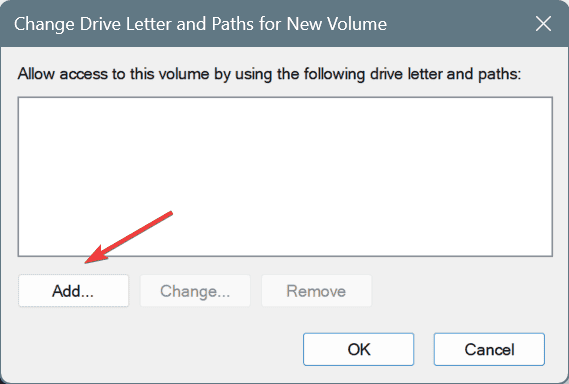
- If a drive letter is not assigned, click on Add.

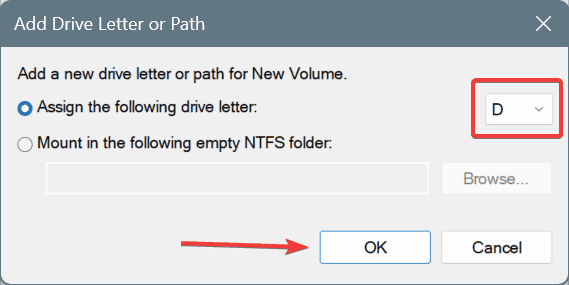
- Now, with the default settings in place and the automatically chosen drive letter, click on OK to save the changes.

- Press Windows + E to open File Explorer, and verify whether the Sandisk Cruzer is now recognized.
When a flash drive like Sandisk Cruzer is not recognized in the File Explorer but appears in Disk Management and Device Manager, it’s the missing drive letter to blame.
Also, if the drive already has a letter, change it because such issues also arise when two drives are auto-assigned with the same drive letter.
To do that, right-click on the flash drive > select Change Drive Letters and Paths > click on Change > pick another drive letter from the dropdown menu (one not assigned to another volume) > click OK.
2. Re-enable the Plug and Play service
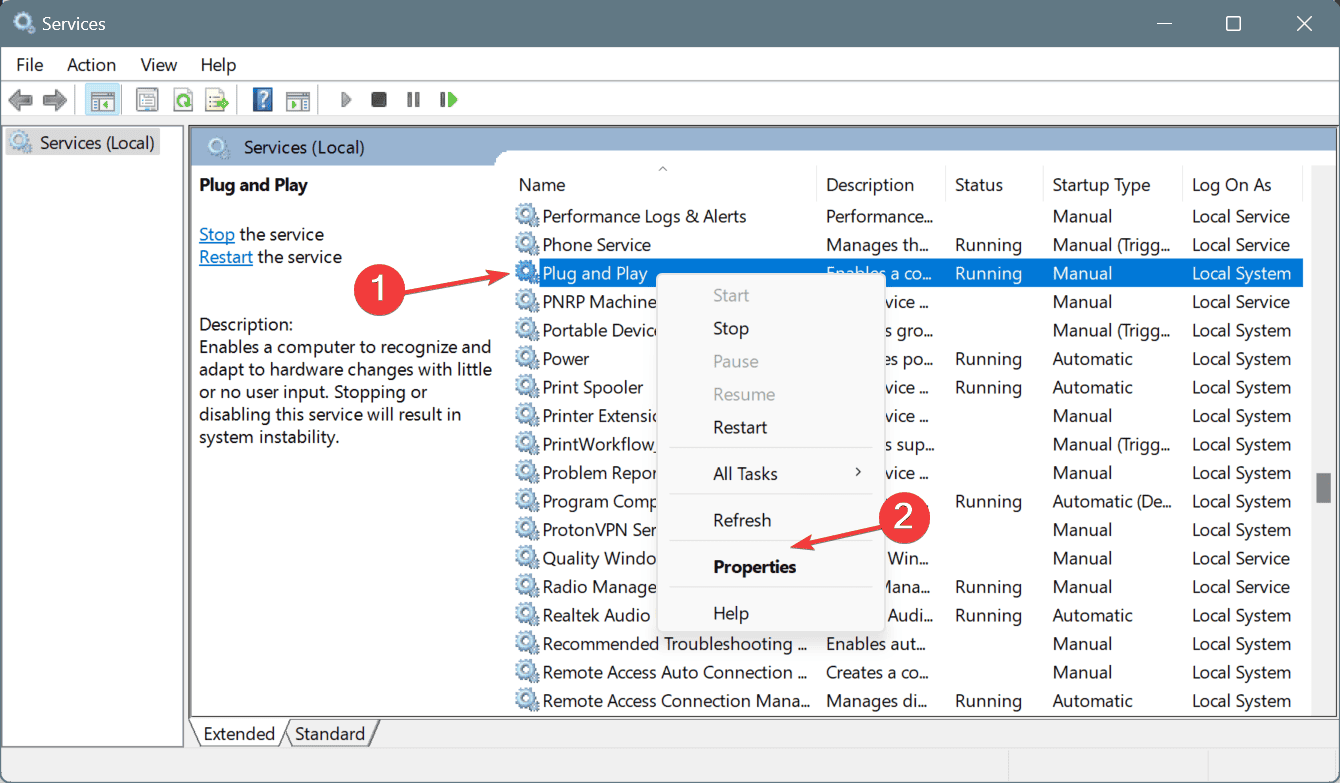
- Press Windows + R to open Run, type services.msc in the text field, and hit Enter.
- Scroll down, right-click on the Plug and Play service, and select Properties.

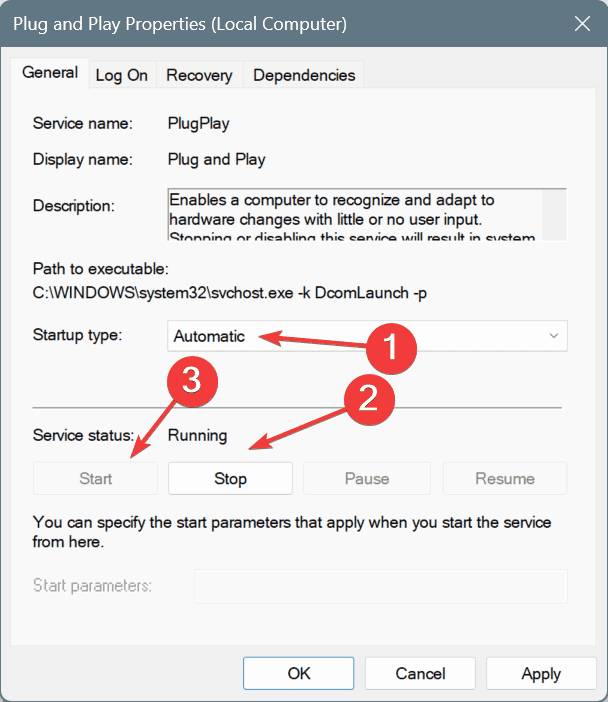
- Choose Automatic from the Startup type dropdown menu, click on the Stop button if the service is already running, wait for it to stop running, and then click on Start.

- After the Plug and Play service is re-enabled, click on Apply and OK to save the changes, and check for improvements.
3. Reinstall the Sandisk Cruzer’s driver
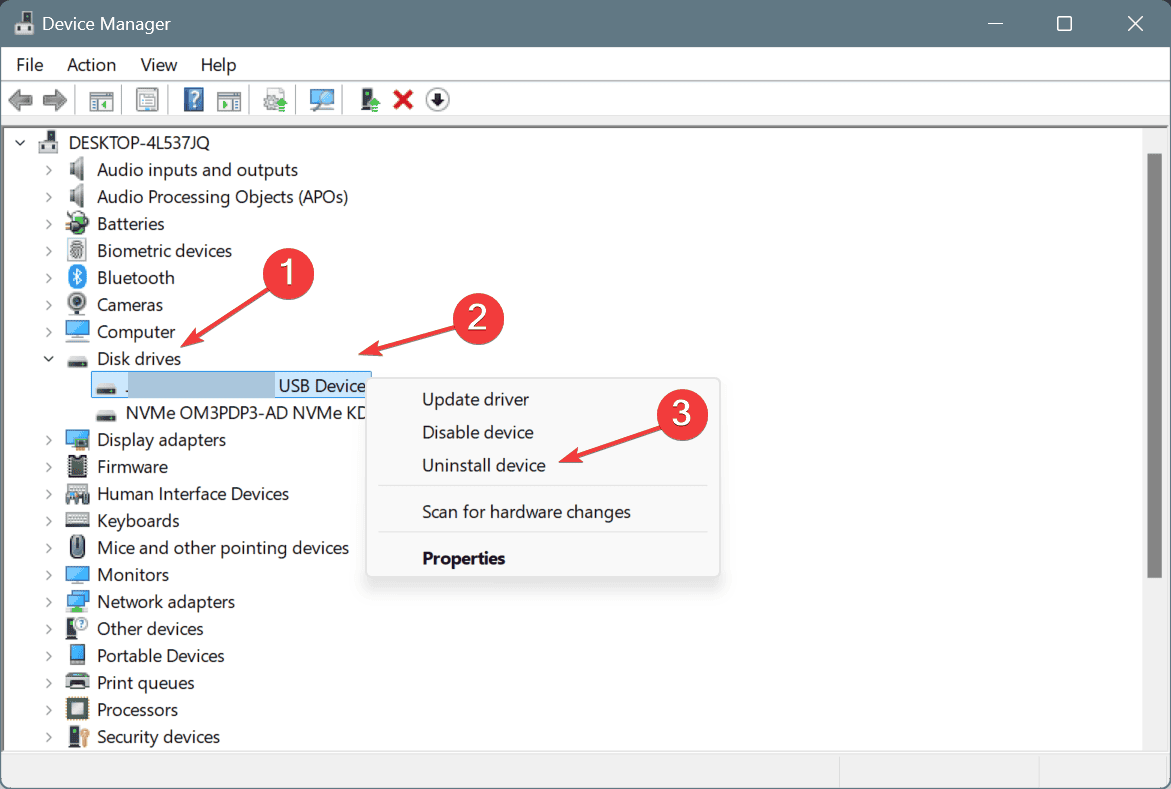
- Press Windows + X to open the Power User menu, and select Device Manager.
- Expand the Disk drives entry, right-click on the Sandisk Cruzer flash drive, and then select Uninstall device.

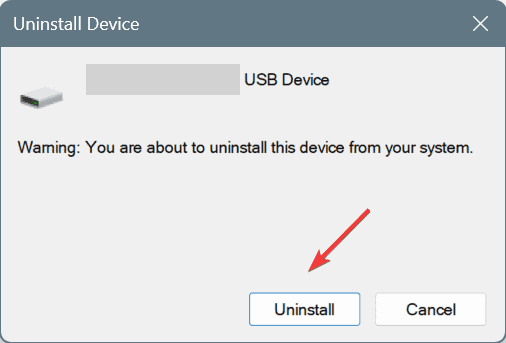
- Now, click Uninstall in the confirmation prompt.

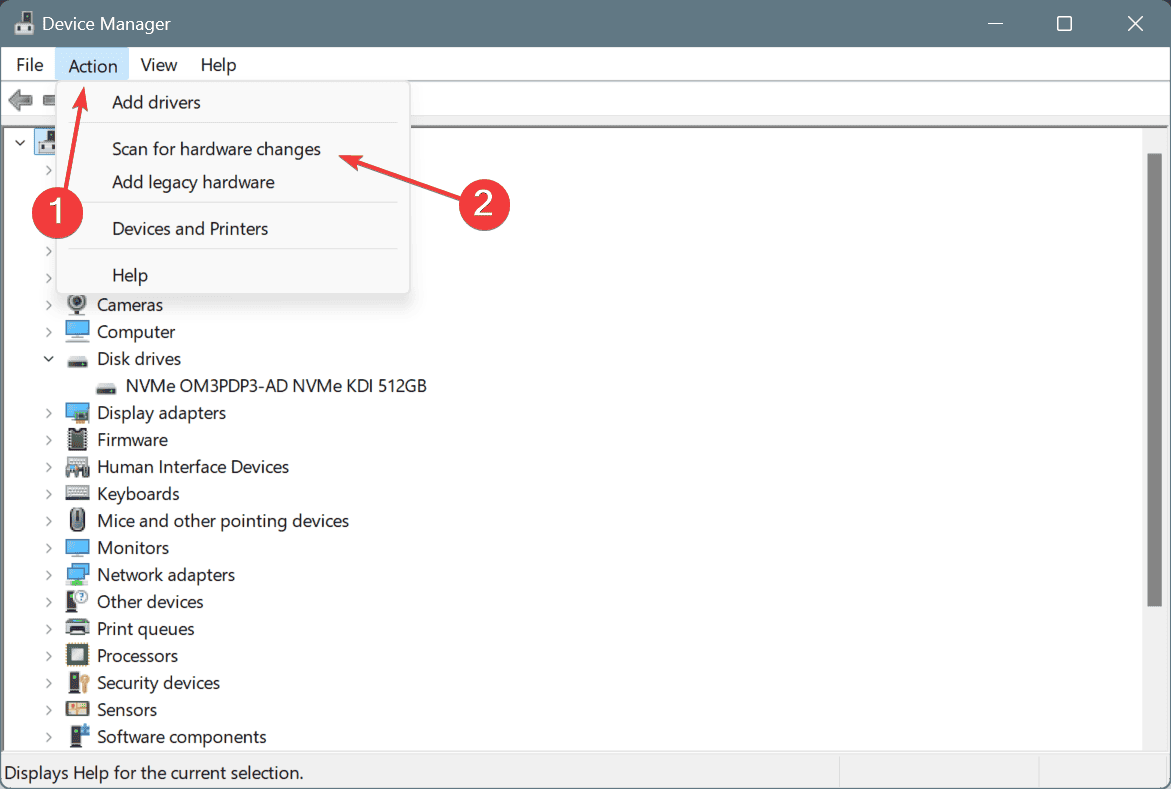
- Once done, expand the Action menu, and click on Scan for hardware changes to automatically reinstall a fresh copy of the driver.
- Verify whether the Sandisk Cruzer flash drive is still not recognized or if it now appears in the File Explorer.
4. Update Sandisk Cruzer’s driver
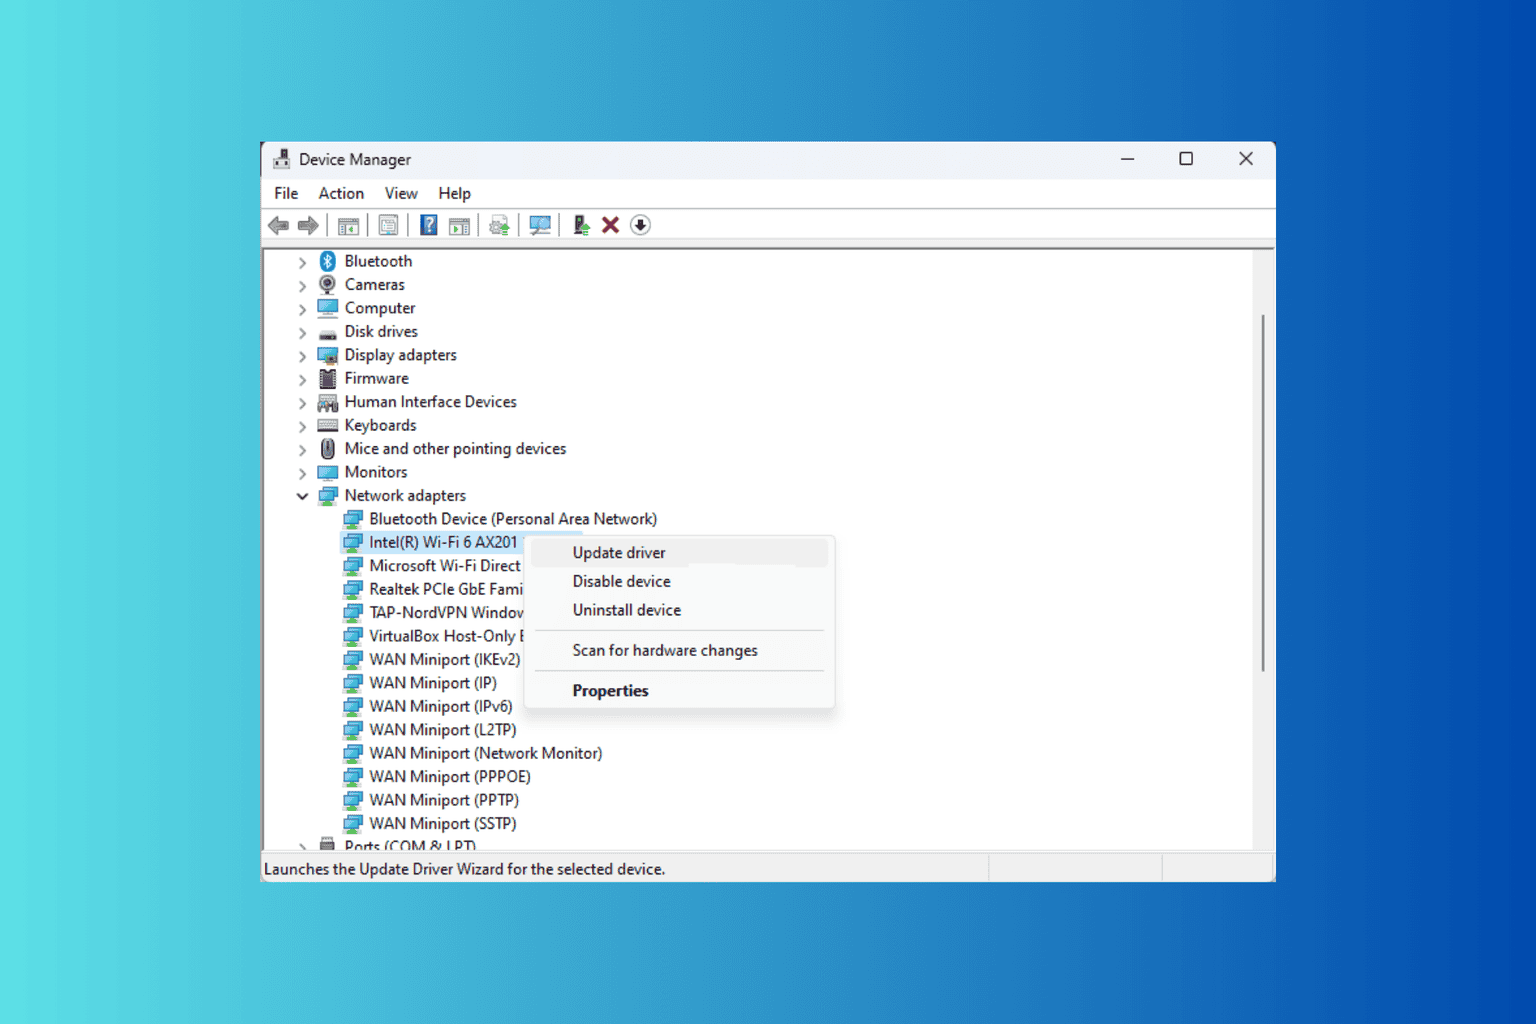
- Press Windows + R to open Run, type devmgmt.msc in the text field, and hit Enter.
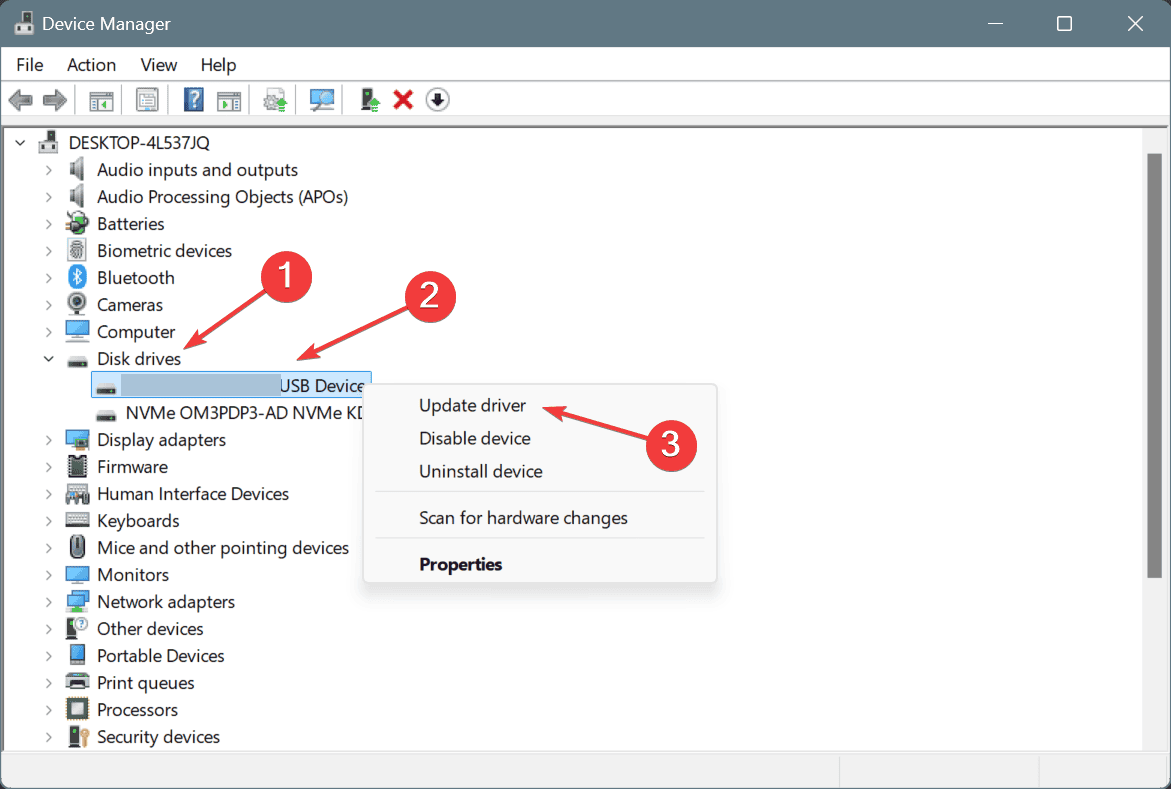
- Double-click on Disk drives, right-click on the Sandisk Cruzer device, and choose Update driver.
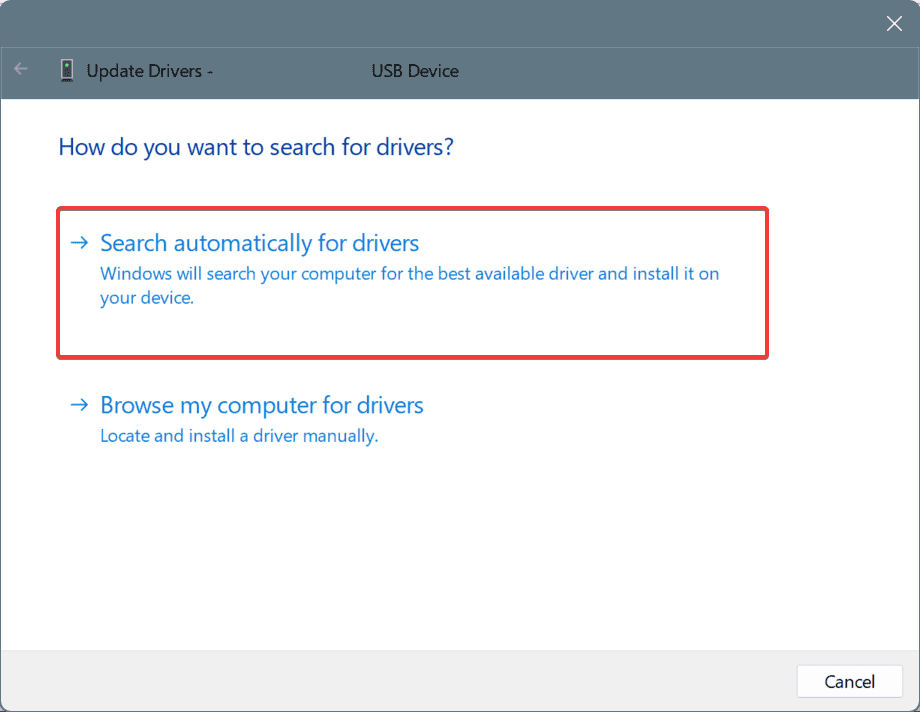
- Now, click on Search automatically for drivers and let Windows install the best locally available driver version.

When Sandisk Cruzer is not showing on your computer, updating the flash drive’s driver may do the trick. Outdated drivers often prevent devices from being recognized or working effectively.
Also, if Sandisk Cruzer is still not working, go to the manufacturer’s website, locate the newest releases, and manually install the latest driver version.
5. Disable startup apps
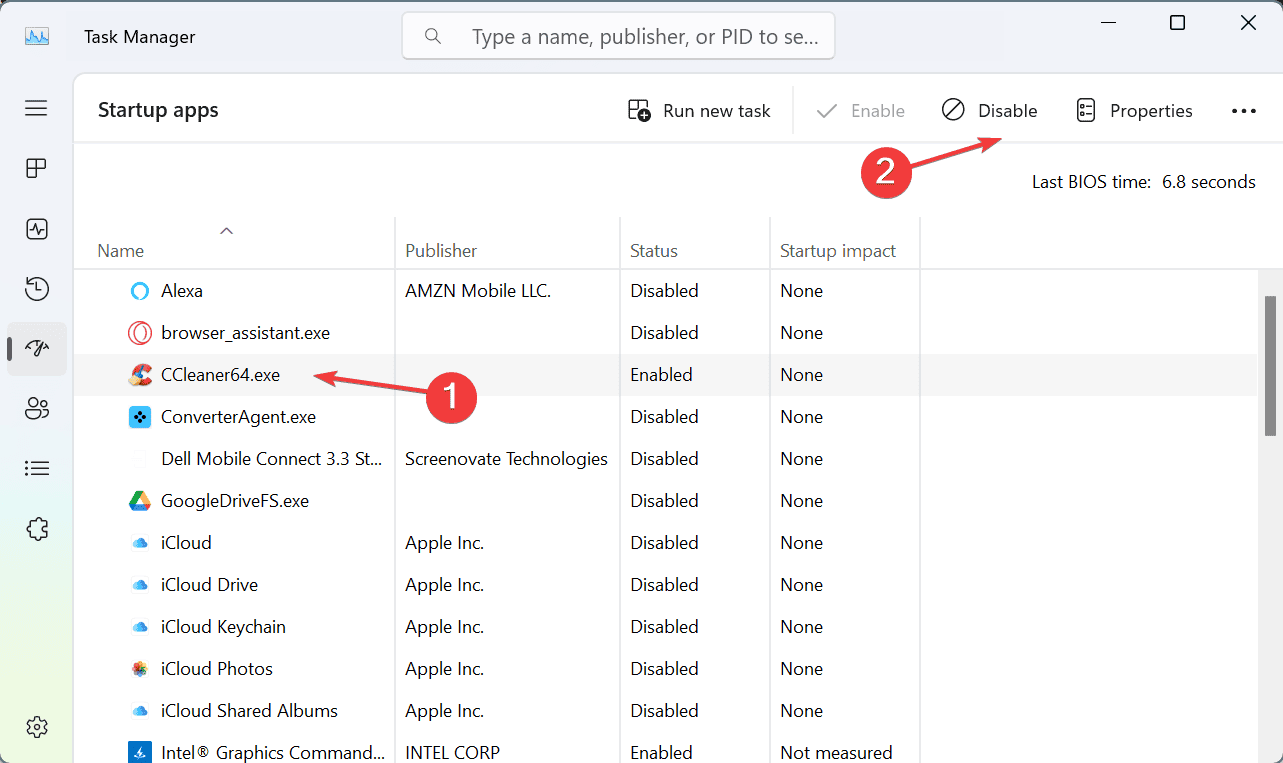
- Press Ctrl + Shift + Esc to open the Task Manager, and then go to the Startup apps tab.
- Select any non-critical app(s) from the list that read Enabled under the Status column, and click on Disable.

- After disabling them all, restart the computer and verify whether the Sandisk Cruzer Glide 16 GB is still not recognized or working in Windows 11.
6. Uninstall the driver for any unknown USB drives
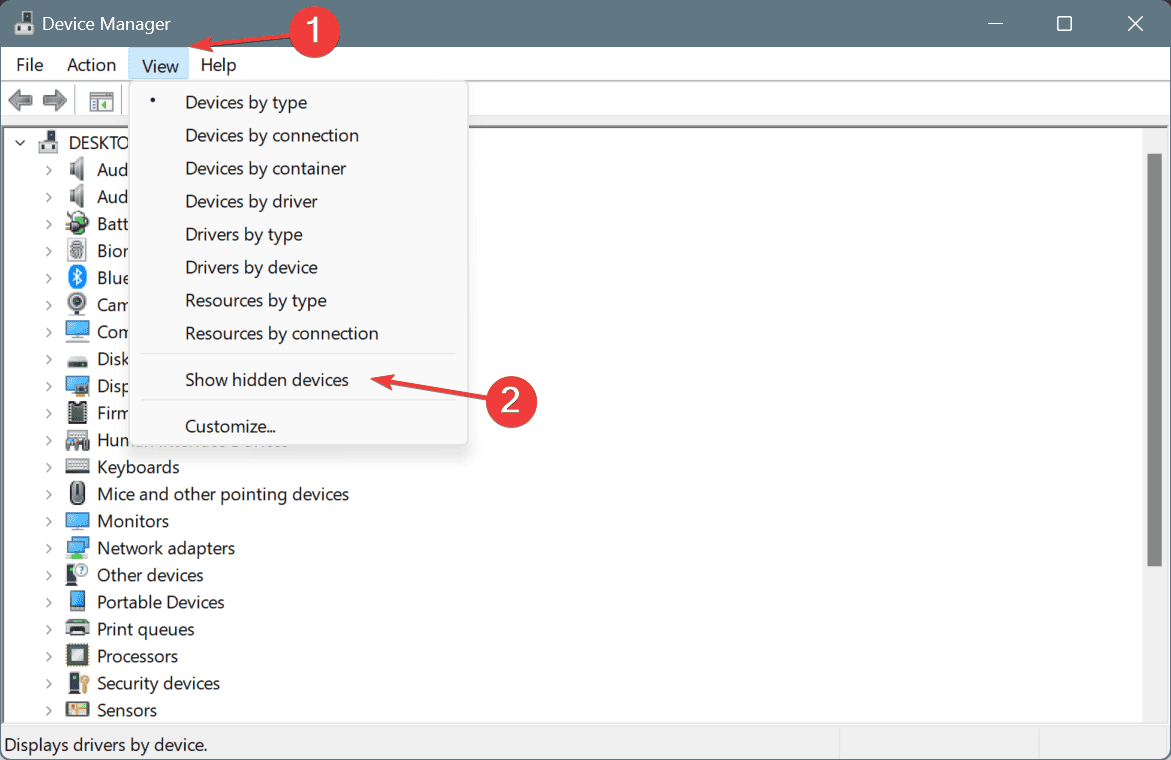
- Press Windows + S to open Search, type Device Manager in the text field, and click on the relevant result.
- Click on the View menu, and select the Show hidden devices option.

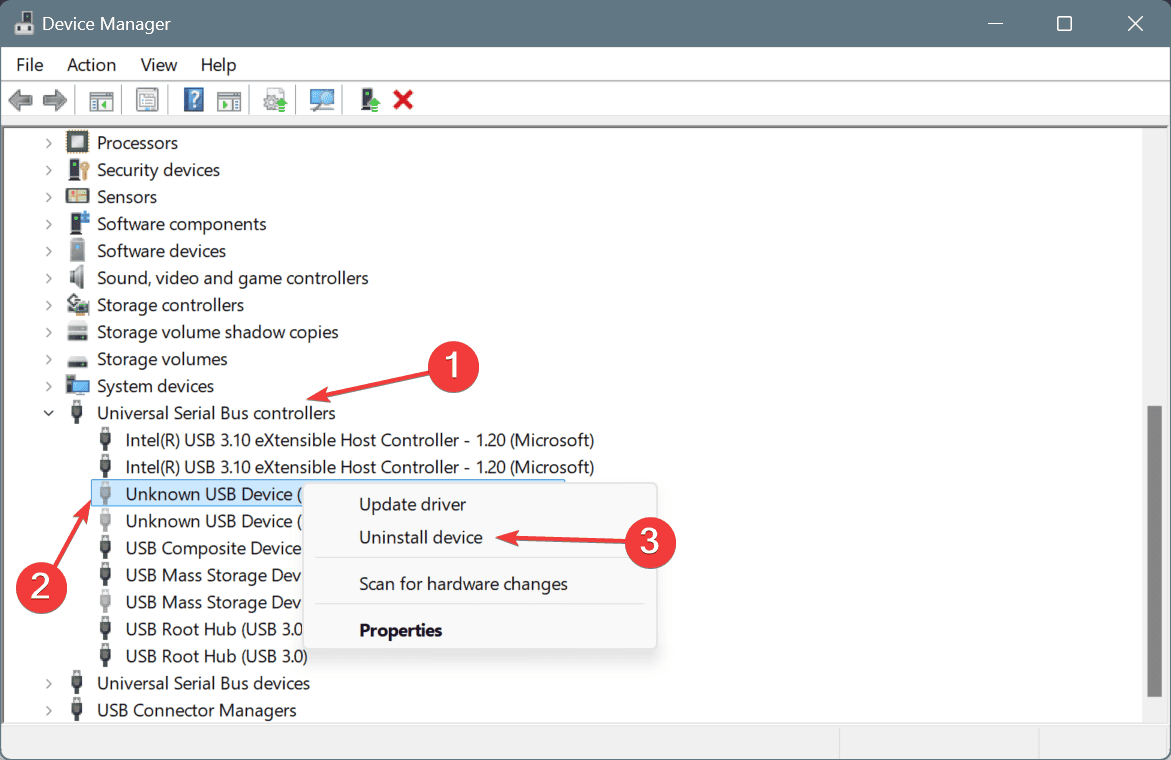
- Now, expand Universal Serial Bus controllers, right-click on any Unknown device entry, and then select Uninstall device.
- Again, click Uninstall in the confirmation prompt.
- Similarly, remove all other unknown devices under Universal Serial Bus controllers, reboot the PC, then connect the Sandisk Cruzer flash drive, and check for improvements.
7. Format the Sandisk Cruzer USB drive
- Open the Disk Management utility, right-click on the Sandisk Cruzer flash drive, and then select Format.
- Enter a name for the flash drive in the Volume label field, choose exFAT from the File system dropdown menu, leave the remaining settings as they are, and click OK.

- Again, click OK in the confirmation prompt.
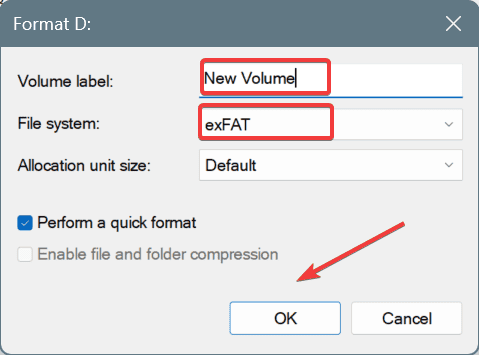
In a few cases, formatting the flash drive is the only option when your Sandisk Cruzer is not recognized or showing up in Windows. Although, it will delete all the data, you will at least have the Sandisk Cruzer working on both macOS and Windows, given the exFAT file system.
If the problem persists, discover our verified generic solutions for when a USB device is not recognized. Beyond this, it’s certainly a hardware failure to blame. At this point, you should prioritize retrieving files using a top-rated flash drive data recovery software!
For any queries or to share which fix worked for you, drop a comment below.
User forum
0 messages