CACHE_INITIALIZATION_FAILED Bug Check 0x66 [Solved]
Update all the installed drivers to quickly fix things
![]() 4 min. read
4 min. read
![]() Published on
Published on
Share this article
Improve this guide
Read our disclosure page to find out how can you help Windows Report sustain the editorial team. Read more
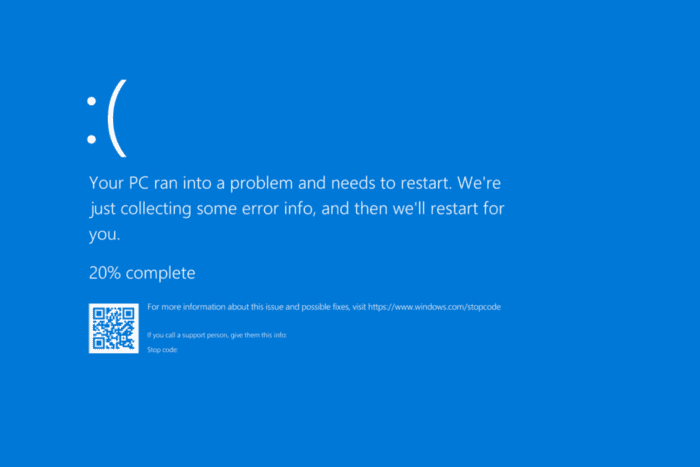
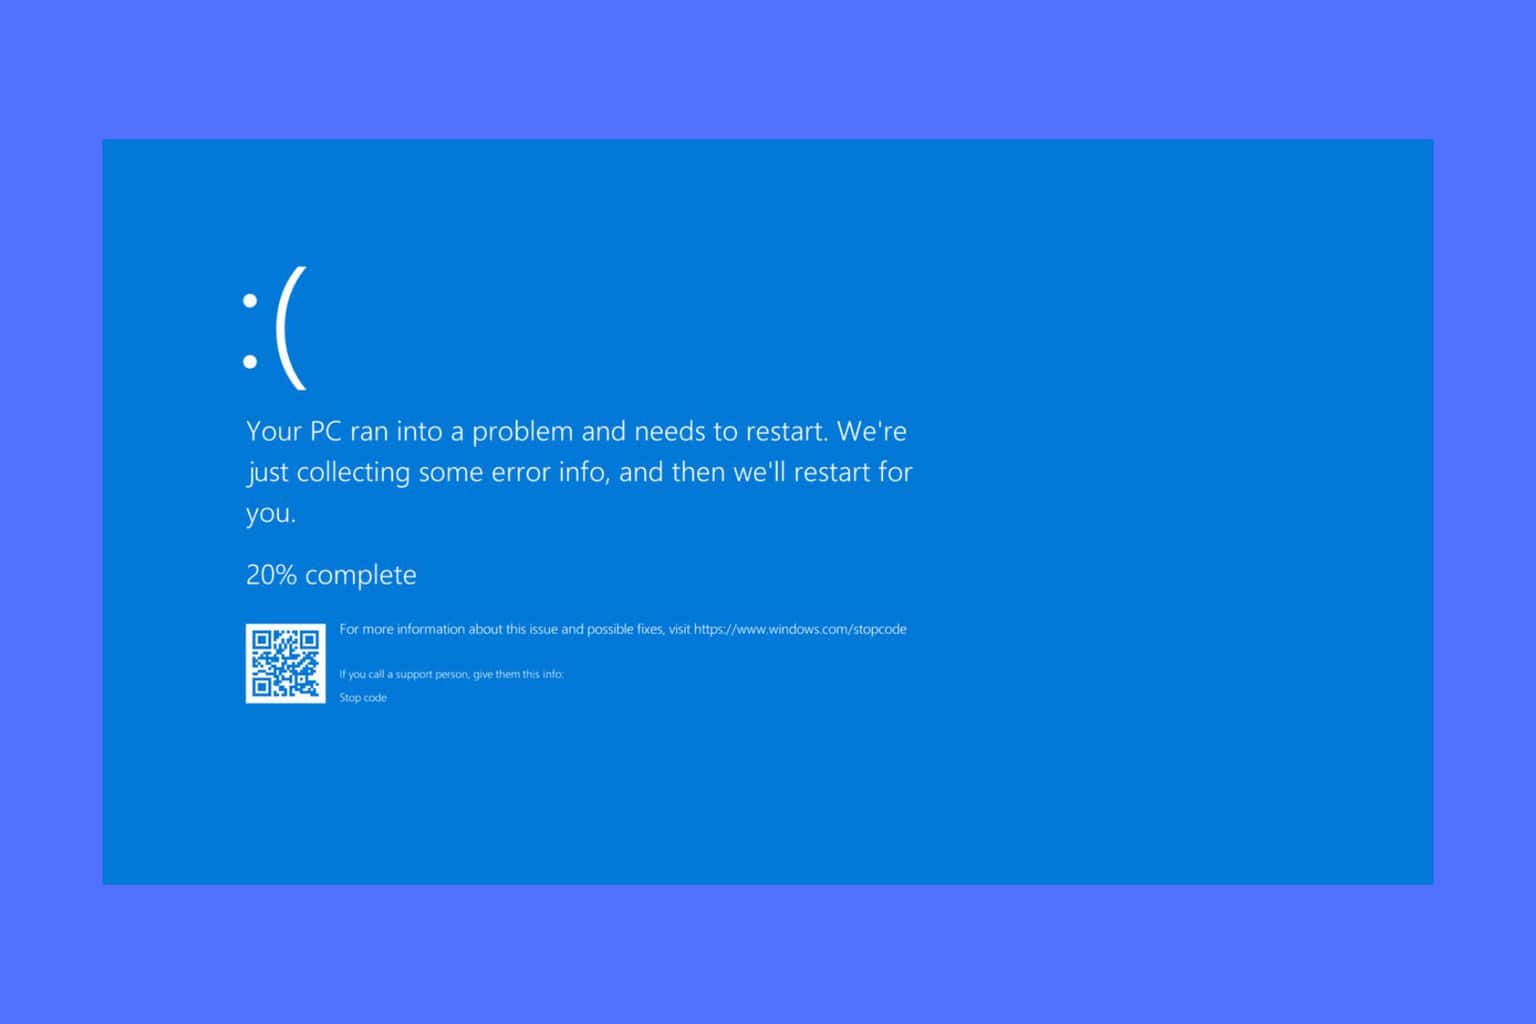
The CACHE_INITIALIZATION_FAILED BSOD, with an error code 0x00000066, causes the OS to crash during the boot stage due to issues with the cache memory initialization. And since the blue screen error is rarely encountered, you won’t find much about it!
Based on my research, the Cache Initialization Failed error 0x66 can be caused by corrupt system files, low available storage, outdated or buggy drivers, or misconfigured boot settings. Before you proceed to the troubleshooting, disconnect all non-critical peripherals and install any pending Windows updates.
How do I fix the CACHE_INITIALIZATION_FAILED BSOD?
1. Update all the drivers
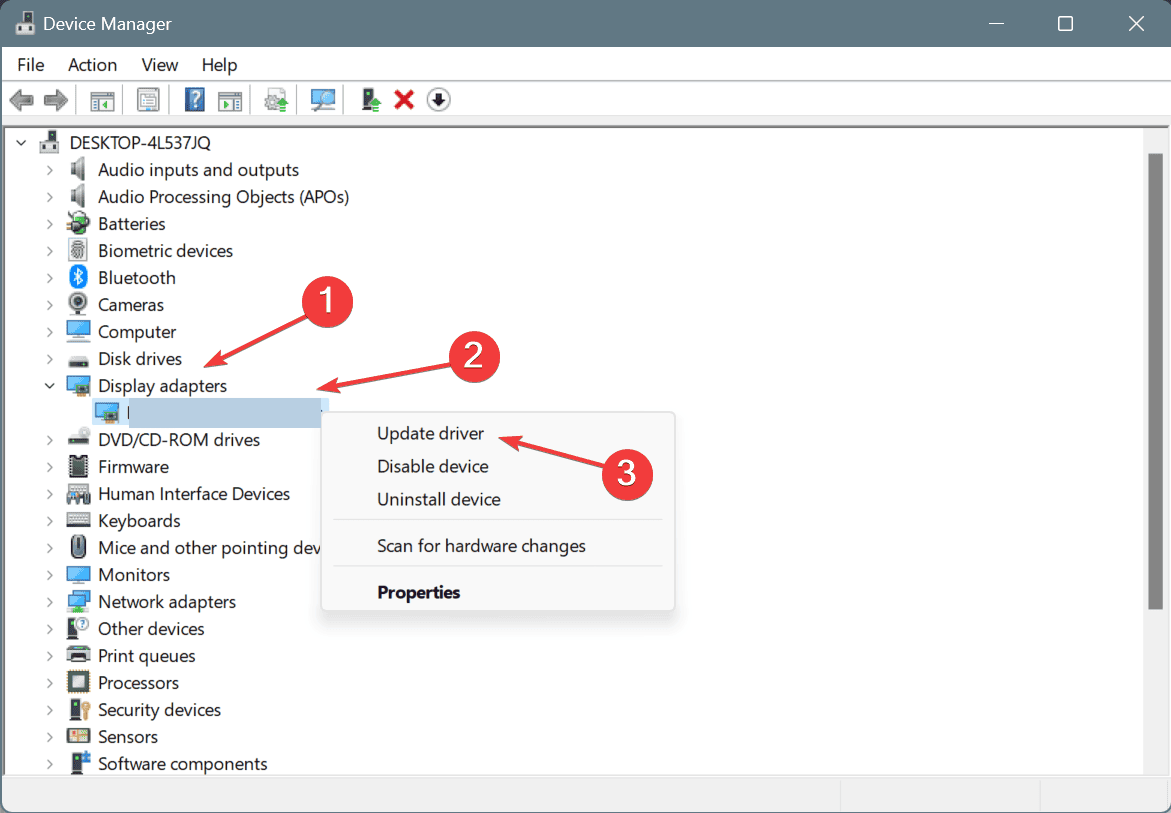
- Press Windows + X to open the Power User menu, and select Device Manager from the list.
- Expand the different entries here, right-click on the listed devices individually, and select Update driver. I started with the graphics driver.

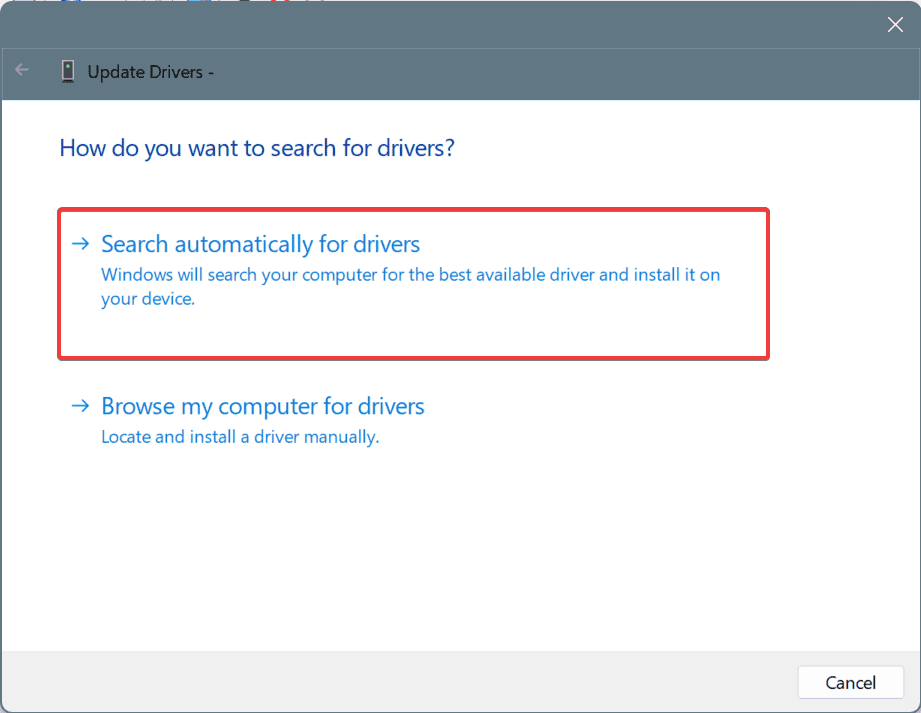
- Click on Search automatically for drivers and wait for Windows to install the best locally available driver version.

- Similarly, update all the drivers and then reboot the PC.
When faced with the CACHE_INITIALIZATION_FAILED blue screen error in Windows, your primary approach should be to update the drivers. If a better version is not found locally, head to the manufacturer’s website, locate the latest releases, and then manually install the latest driver.
2. Clear storage space in the system drive
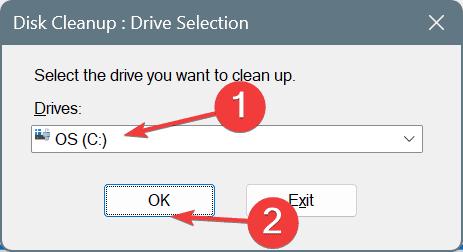
- Press Windows + S to open Search, type Disk Cleanup in the text field, and click on the relevant result.
- Select the system drive (drive where Windows is installed) from the list, and click OK. For most of you, it’s the C: drive.

- Now, select all the non-critical file categories from the list, including Recycle Bin, and again click OK.

- Finally, click Delete Files in the confirmation prompt.
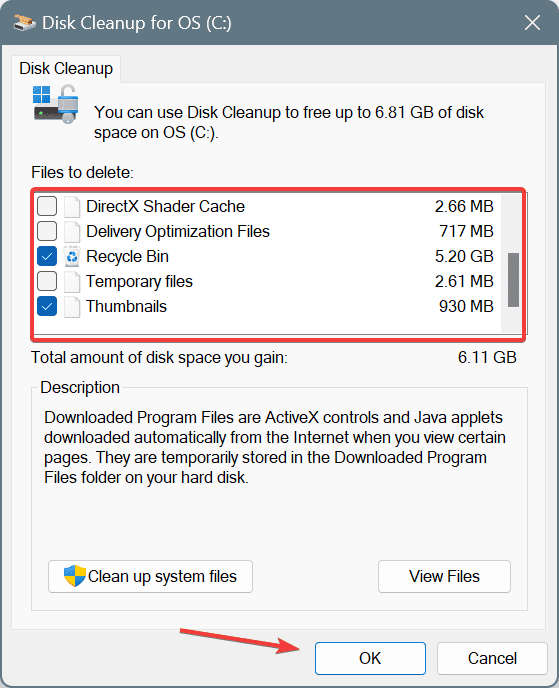
The built-in utility, Disk Cleanup, allows you to quickly delete non-critical files from the PC, clearing up significant storage. If this is a frequent problem for you, it’s best to set up Storage Sense to automatically delete such files on a periodic basis.
3. Repair the corrupt system files
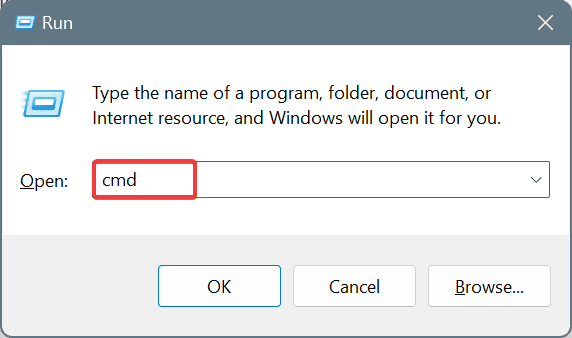
- Press Windows + R to open Run, type cmd, and hit Ctrl + Shift + Enter.

- Click Yes in the UAC prompt.
- Paste the following DISM commands individually and hit Enter after each:
DISM /Online /Cleanup-Image /CheckHealthDISM /Online /Cleanup-Image /ScanHealthDISM /Online /Cleanup-Image /RestoreHealth - Now, execute this command to run the SFC scan:
sfc /scannow
- Finally, restart the computer for the changes to fully come into effect.
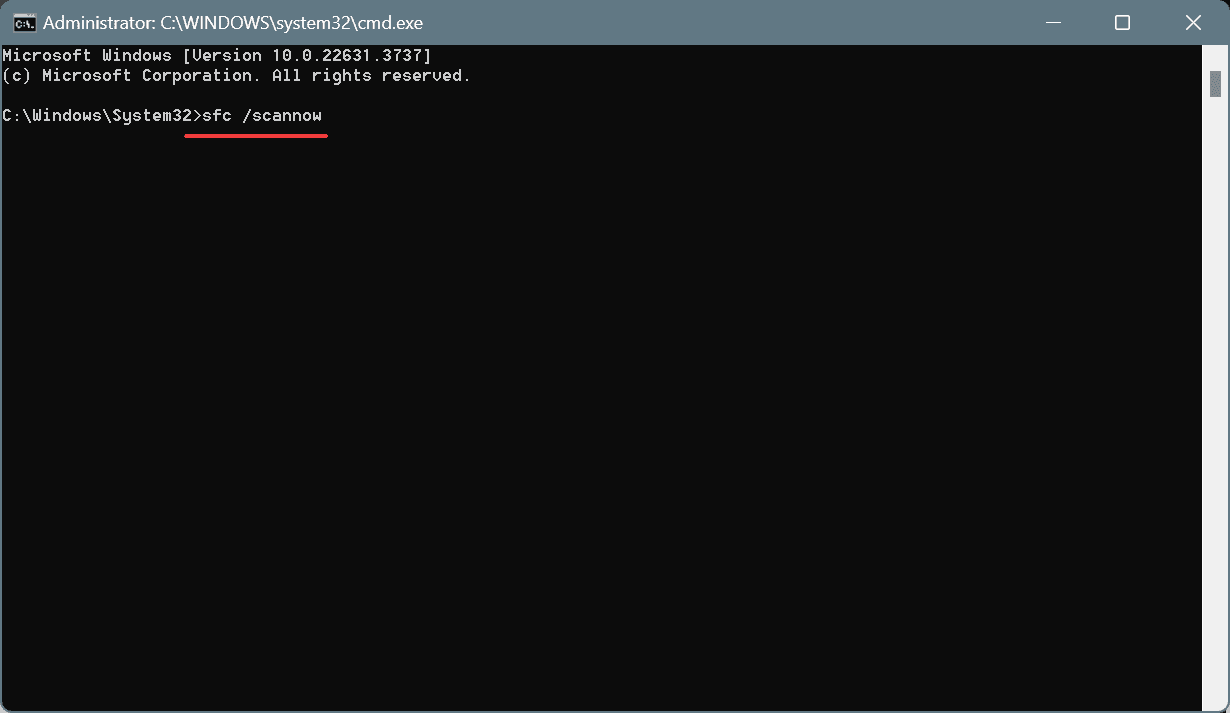
Since CACHE_INITIALIZATION_FAILED can also be caused by corrupt system files, repairing them using the DISM (Deployment Image Servicing and Management) and SFC (System File Checker) scans could get things up and running. These will replace all corrupt or broken protected system files with their cached copy stored on the PC!
4. Turn off fast startup
- Press Windows + S to open Search, type Control Panel, and click on the relevant result.
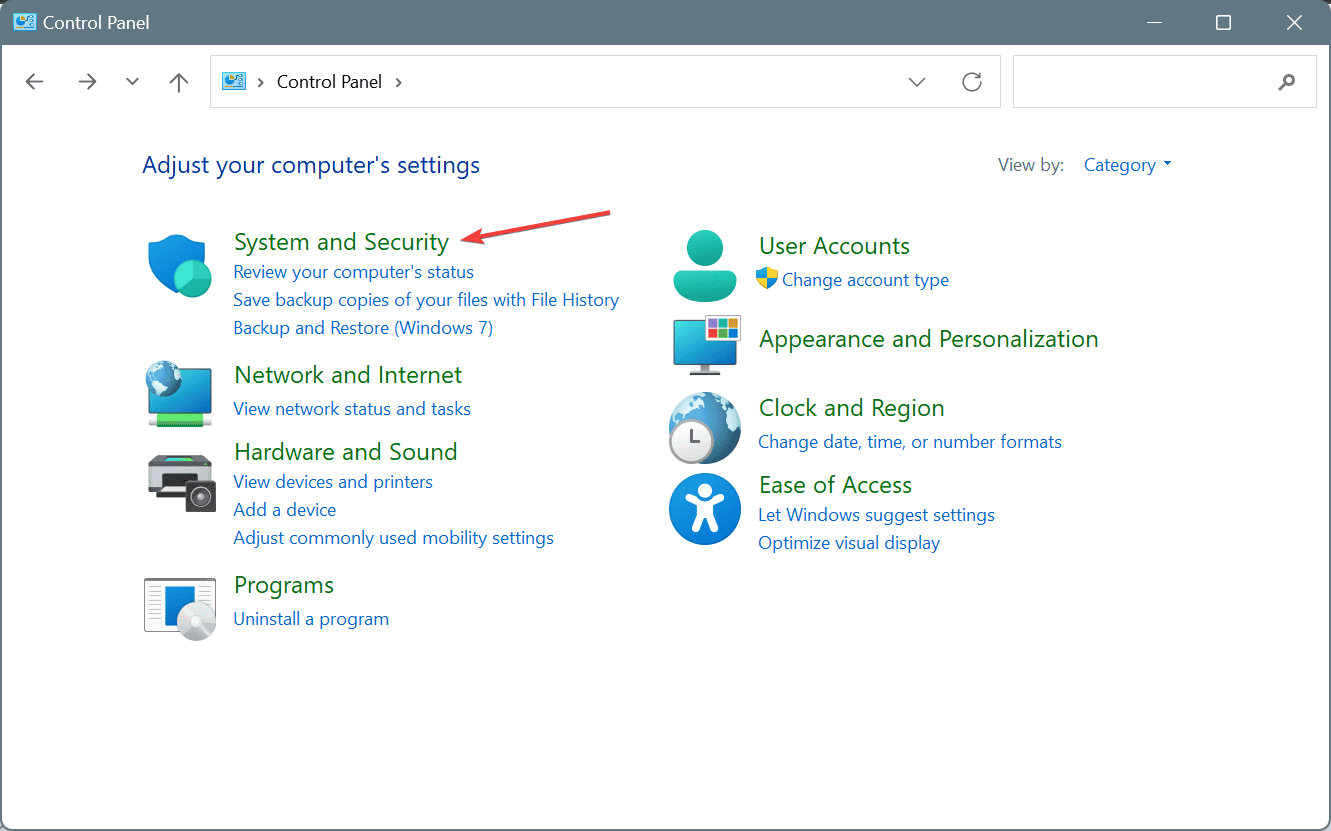
- Click on System and Security.

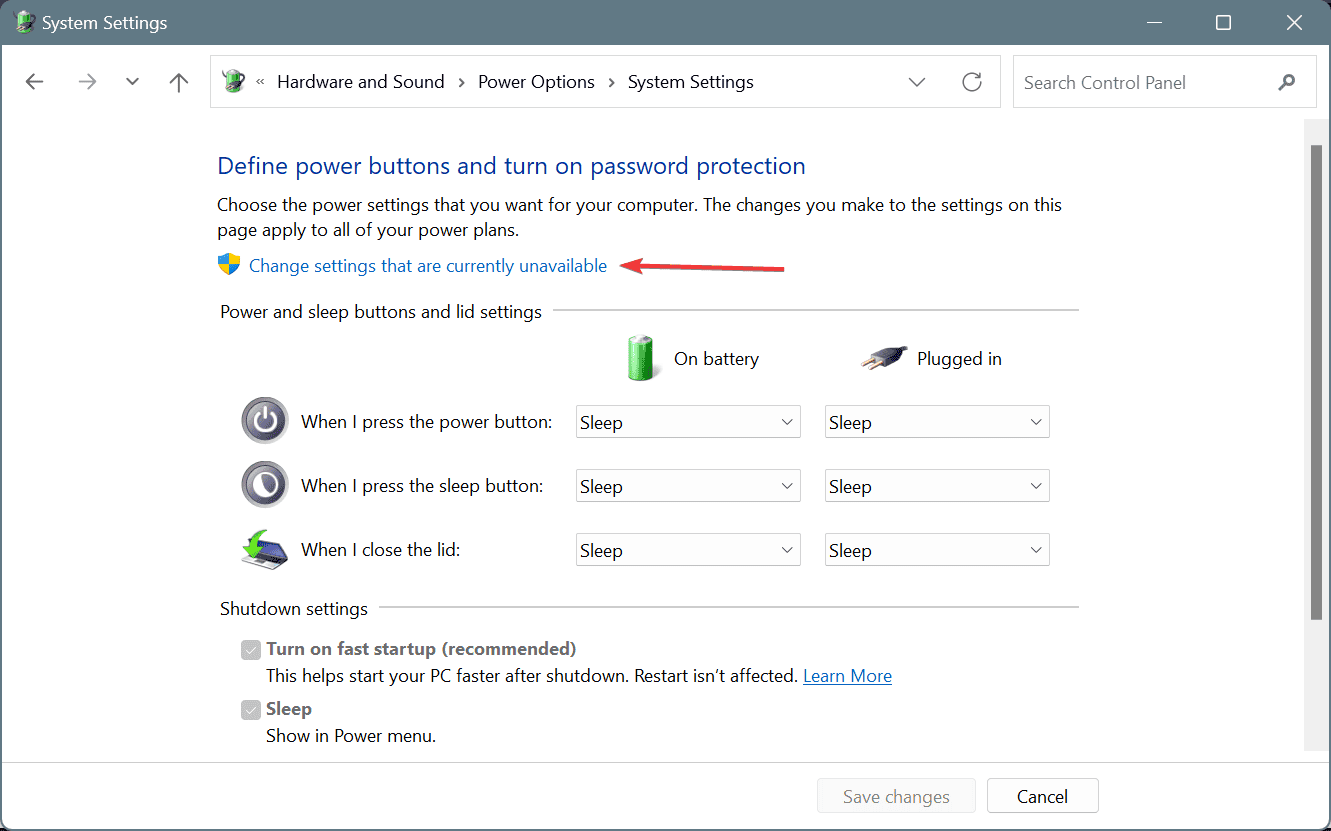
- Now, click on Change what the power buttons do under Power Options.
- Click on Change settings that are currently unavailable.
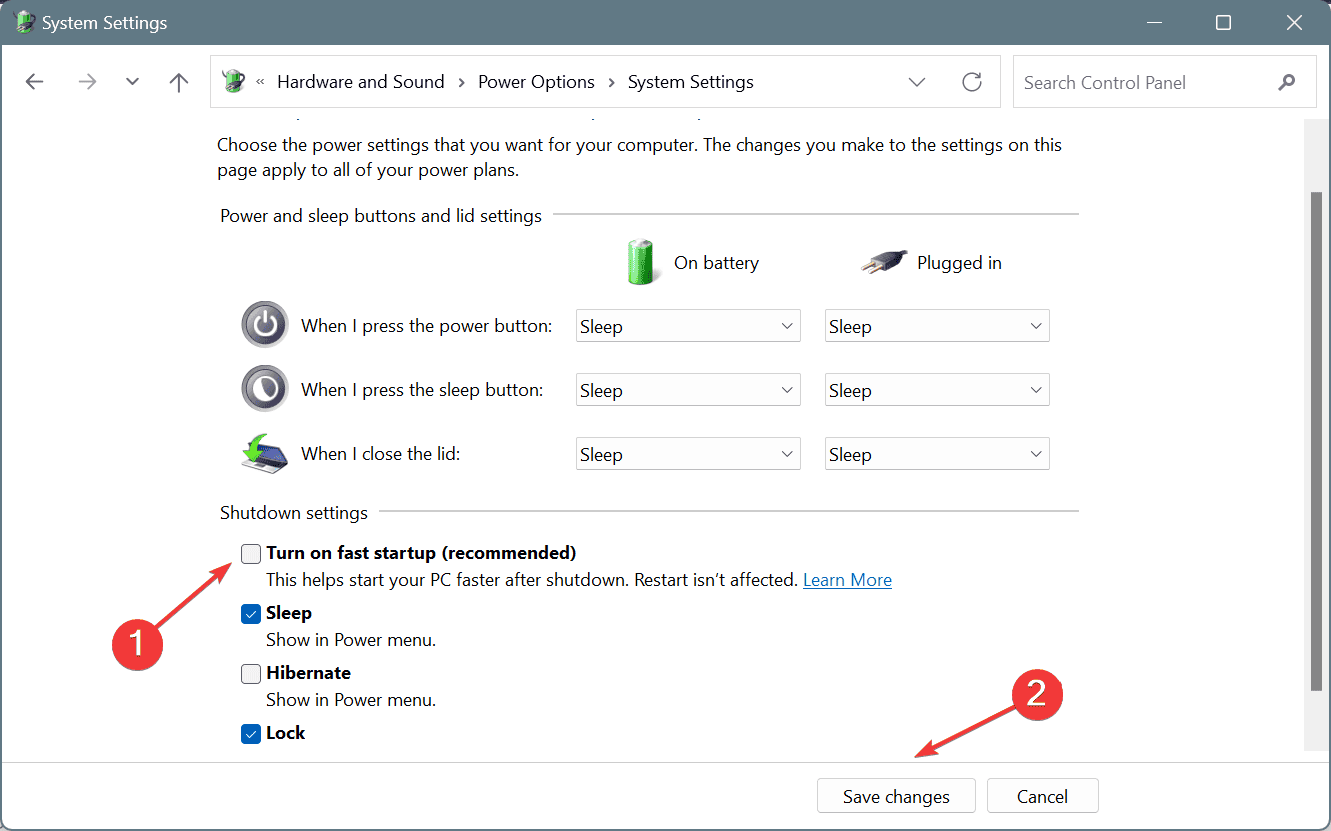
- Untick the checkbox for Turn on fast startup, and click on Save changes at the bottom.
- Reboot the PC and check for improvements.
5. Perform a system restore
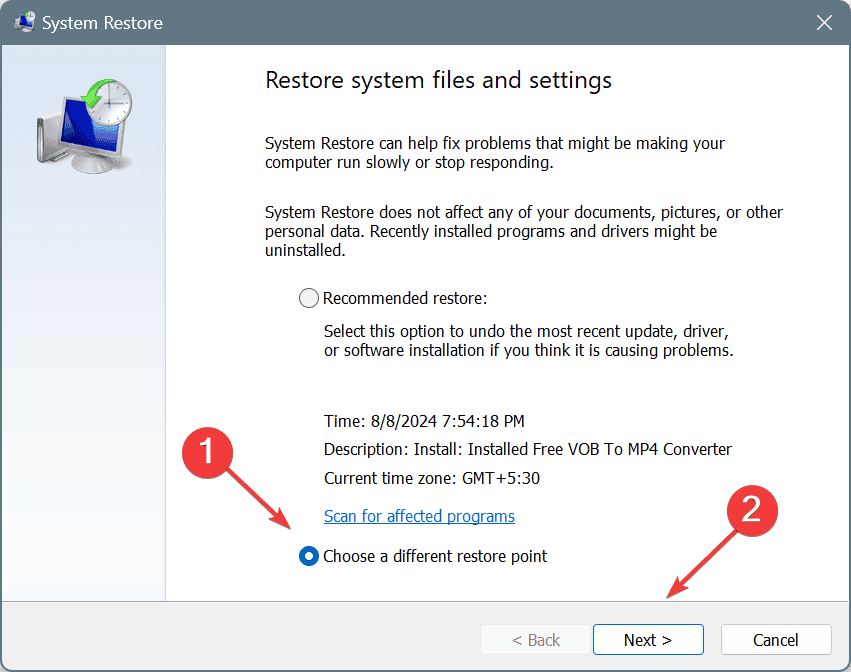
- Press Windows + R to open Run, type rstrui.exe in the text field, and hit Enter.
- Select the Choose a different restore point option and click Next.

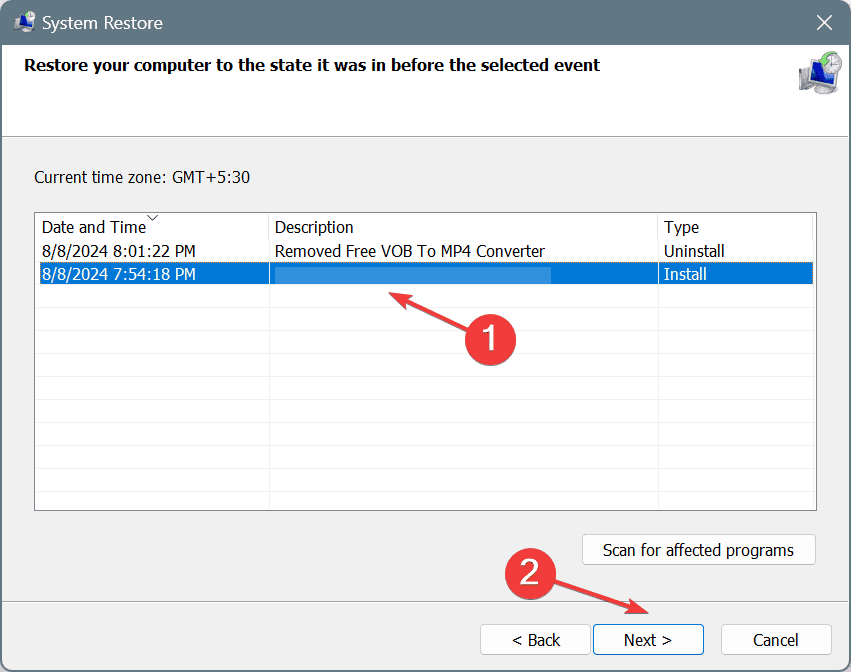
- Pick the oldest restore point from the list and click on Next.
- Verify the details, and click on Finish to start the restore. It will take between 15-45 minutes.
If it’s a recent software-based change triggering the CACHE_INITIALIZATION_FAILED BSOD, performing a system restore should get things up and running. And if no restore points are available, you can always reinstall Windows.
But before you do that, check the BSOD error logs, identify the problematic file, driver, or module, and take the necessary measures. For regular users, the process is bound to prove tricky, but it is always worth a shot!
In case the blue screen error reappears, it’s likely a hardware malfunction or connection issues to blame at this point. So, I recommend you visit a local repair shop and get the PC inspected for any hardware-related problems.
For any queries or to share which fix worked for you, drop a comment below.


User forum
0 messages