Fix: ERROR_NETWORK_BUSY 54 (0x36)
Reinstalling or updating the network driver works for most

The ERROR_NETWORK_BUSY system error, with code 54 (0x36), is encountered when performing network-intensive tasks, such as downloading an app from Microsoft Store. The error message reads, The network is busy.
Common causes for Error Network Busy 54 (0x36) include issues with the network adapter, a malfunctioning driver, corrupt system files, misconfigured network settings, and malware infection.
Before you move to troubleshooting, install all pending Windows updates, switch to another network (preferably a mobile hotspot), and reconnect the network adapter if using an external one!
How can I fix ERROR_NETWORK_BUSY (The network is busy)?
1. Re-enable the network adapter
- Press Windows + S to open Search, type Control Panel in the text field, and click on the relevant result.
- Click on Network and Internet.

- Click on Network and Sharing Center.
- Now, select Change adapter settings from the left pane.
- Right-click on the active network adapter, be it Wi-Fi or Ethernet, and select Disable.

- Again, right-click on the network adapter, and then select Enable.

- Verify whether the ERROR_NETWORK_BUSY message is fixed.
2. Reinstall the network adapter driver
- Press Windows + X to open the Power User menu, and select Device Manager.
- Expand the Network adapters entry, right-click on the active adapter, and select Uninstall device.

- Tick the checkbox for Attempt to remove the driver for this device, and click Uninstall.

- Finally, restart the PC, and Windows will automatically install a fresh copy of the driver.
3. Update the network adapter driver
- Press Windows + R to open Run, type devmgmt.msc in the text field, and hit Enter.
- Double-click on Network adapters, right-click on the active adapter, and select Update driver.

- Click on Search automatically for drivers and wait for Windows to install the best locally available version.

- Restart the computer for the changes to come into effect.
While updating the network adapter’s driver, if Windows tells you that the best drivers are already installed, head to the manufacturer’s website, locate the latest version, and then manually install the driver.
4. Repair the corrupt system files
- Press Windows + S to open Search, type Command Prompt, and click on Run as administrator.

- Click Yes in the UAC prompt.
- Paste the following DISM commands individually and hit Enter after each:
DISM /Online /Cleanup-Image /CheckHealthDISM /Online /Cleanup-Image /ScanHealthDISM /Online /Cleanup-Image /RestoreHealth - Now, run this command for the SFC scan:
sfc /scannow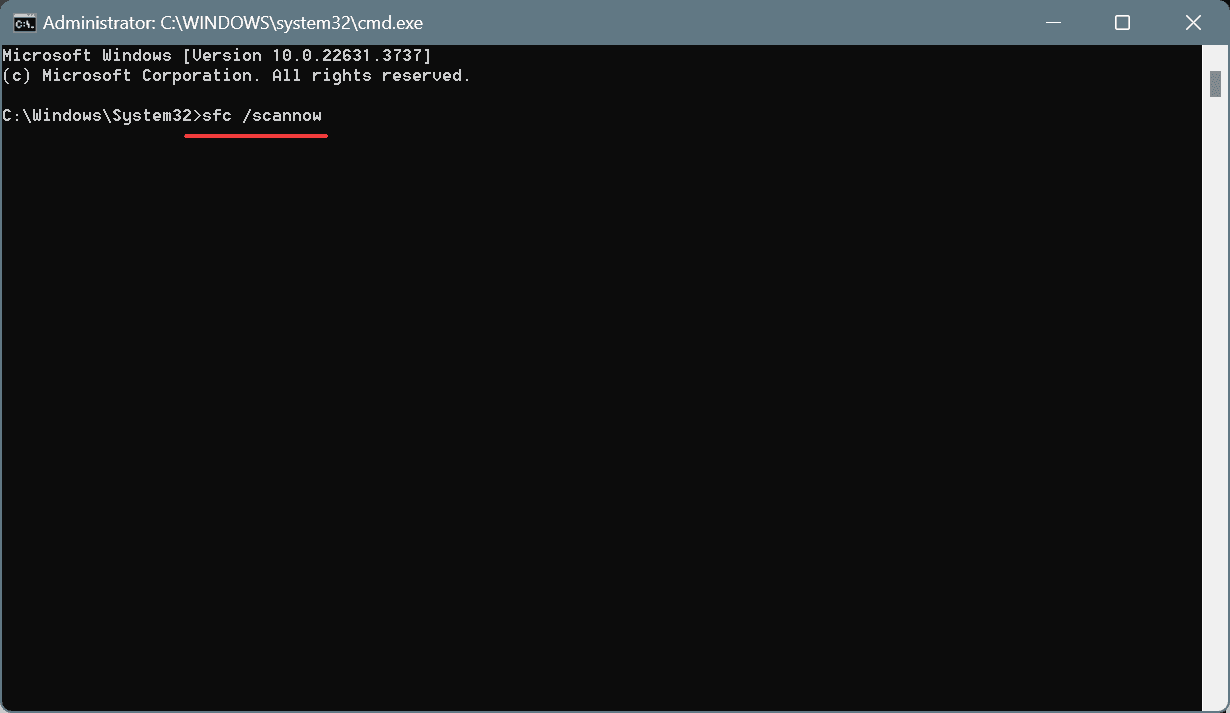
- Finally, restart the computer.
If you are also facing other problems with the PC, including slow performance, it could be the corrupted system files to blame. To fix this, simply run the SFC (System File Checker) and DISM (Deployment Image Servicing and Management) scans to replace all such files with their cached copies.
4. Reset the network settings
- Press Windows + R to open Run, type cmd, and hit Ctrl + Shift + Enter.

- Click Yes in the UAC prompt.
- Now, paste all these commands one at a time and hit Enter after each:
ipconfig /releaseipconfig /flushdnsipconfig /renewnetsh int ip resetnetsh winsock reset
- Restart the PC and verify whether the ERROR_NETWORK_BUSY system error is fixed.
6. Scan the PC for malware
- Press Windows + S to open Search, type Windows Security, and click on the relevant result.
- Click on Virus & threat protection.

- Click on Scan options.
- Select the Full scan entry and then click on Scan now.

- Wait for the scan to complete. It may take 15-45 minutes.
If Windows Security can’t detect any threats triggering ERROR_NETWORK_BUSY, I recommend using a top-rated antivirus solution to run deeper scans across all drives on the hard disk.
7. Reinstall Windows
When nothing else works, the last option is to reinstall Windows. Although, for most of you, it shouldn’t come down to that!

To reinstall Windows 11, connect a USB flash drive to another PC > go to Microsoft’s official website > download the Media Creation Tool > use it to create a bootable USB drive > plug the flash drive into the affected PC > change the boot order to the bootable Windows USB > follow the on-screen setup instructions to complete the installation.
Since ERROR_NETWORK_BUSY is a network-related issue, you know that the fault usually lies with the adapter or its driver. However, if there are multiple adapters, check the Windows errors log to identify the malfunctioning one, and then proceed with the troubleshooting!
We have covered a similar issue in our latest Error_Path_Busy 148 (0x94) article, so go ahead and check it out for more information. We also have an article dedicated to Error_Busy, so don’t miss it.
For any queries or to share which fix worked for you, drop a comment below.
Read our disclosure page to find out how can you help Windows Report sustain the editorial team. Read more


Improve this guide


User forum
0 messages