Fix DirectX Setup: An Internal System Error Occurred
Try our solutions to easily fix the system error
4 min. read
Updated on
Read our disclosure page to find out how can you help Windows Report sustain the editorial team. Read more
Key notes
- We made a list of solutions that comes in handy for this matter.
- You can try to temporarily disable third-party antivirus software for fixing this issue.
- You might need to install DirectX within an Admin account.

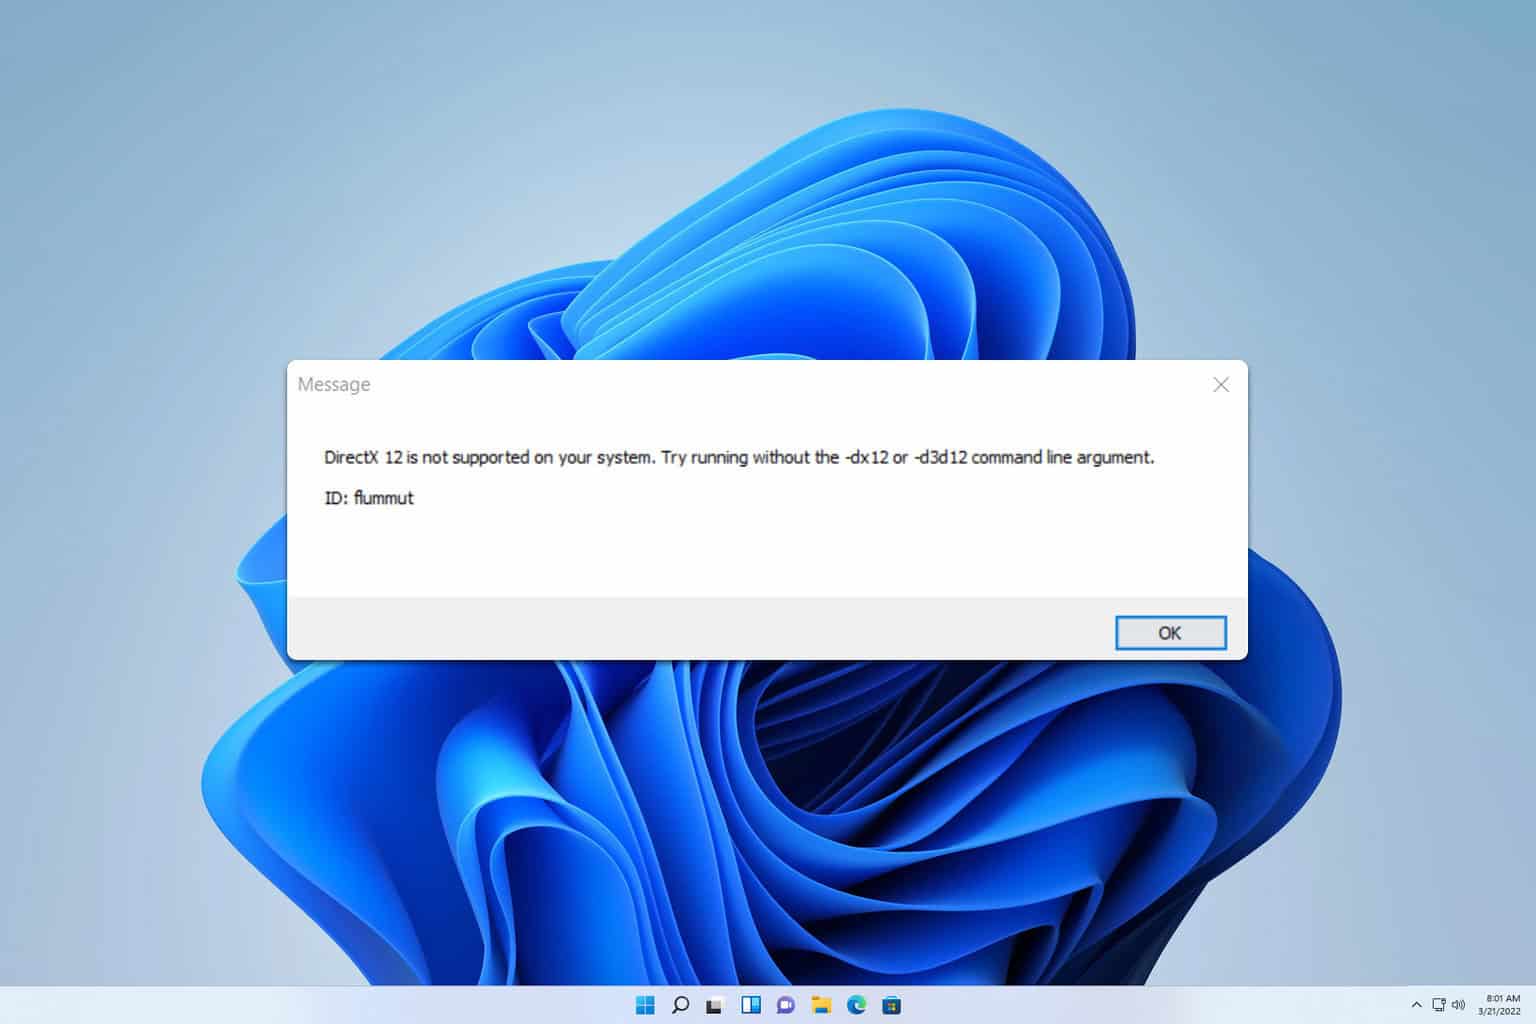
Gaming fanatics might occasionally need to install DirectX manually to ensure their laptops or desktops meet the games’ DirectX system requirements. However, some users have stated that a DirectX An internal system error occurred error message pops up when they try to install DirectX (version 9 or higher).
This guide will come in handy for fixing Directx setup errors on Origin. You’ll be able to get rid of them in no time.
If that error message pops up when you open the DirectX installer, this is how you can fix it.
How can I fix DirectX Setup: An internal system error occurred?
- Run the DirectX Installer as Admin
- Switch Off Third-Party Antivirus Software
- Install DirectX With DirectX End-User Runtimes
- Install DirectX Within an Admin Account
- Scan the Registry with third-party software
- Edit the Registry
1. Run the DirectX Installer as Admin
First, try running the DirectX installer as an admin. Opening an installer as an admin can often fix installation errors. To do that, you right-click the DirectX setup wizard and select Run as administrator.
2. Switch Off Third-Party Antivirus Software
Many users have fixed the “An internal system error occurred” error by disabling their third-party anti-virus software and then installing DirectX.
Most anti-virus utilities include a disable option on their system tray icon context menus that you can select to temporarily switch off the shields.
If you can’t find any such option on the context menu, open the anti-virus software’s window and browse through the configuration settings.
3. Install DirectX With DirectX End-User Runtimes
The “An internal system error occurred” system error more frequently occurs when installing DirectX with the runtime package’s web setup version (otherwise the web installer).
Thus, some users have found that DirectX installs ok with the alternative DirectX End-User Runtimes installer that you can download from this page.
Thereafter, run the installer, extract all files to a folder and then run the DXSETUP as an administrator from the folder that includes the extracted files.
4. Install DirectX Within an Admin Account
If you’re installing DirectX within a standard Windows user profile, you might need to install it within an admin account. You can set up a completely new admin profile.
Alternatively, you can switch your current standard profile to an admin one as follows:
- Press the Windows key + R keyboard shortcut to open Run.
- Input ‘netplwiz’ in the Open text box and click OK to open the window in the snapshot directly below.
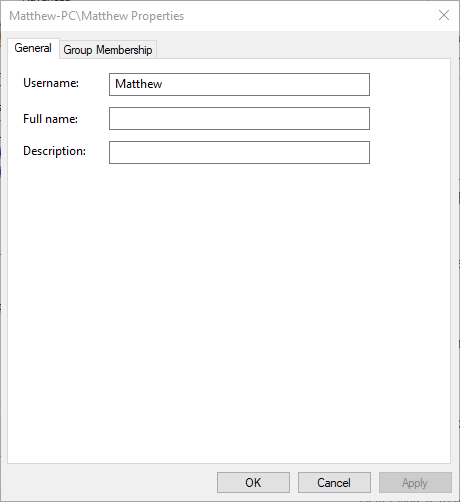
- Select your standard user profile and click Properties to open the window shown below.
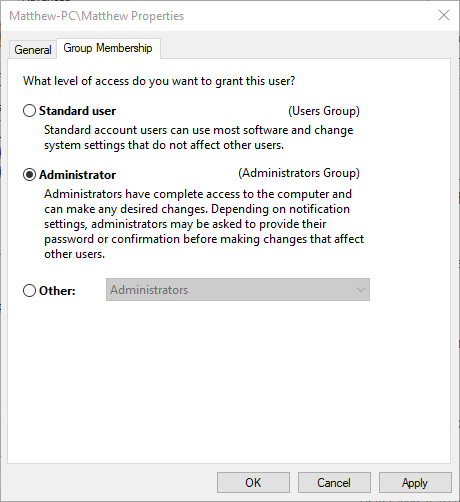
- Select the Group Membership tab, which includes the options in the shot directly below.
- Choose the Administrator option on the Group Membership tab.
- Press the Apply and OK buttons to confirm the newly selected setting.
5. Scan the Registry with third-party software
Since working with the registries is not always simple and can be quite risky to your system, it is always a good idea to employ the help of professional registry cleaning software.
These tools allow you to perform in-depth scans and replace any broken or corrupted system files they encounter with fresh genuine ones from their databases.
6. Edit the Registry
- Another fix for the “internal system error occurred” error that some users have confirmed to work is to edit the DirectX registry key. To do that, open the Registry Editor by entering ‘regedit’ in Run’s Open text box.
- Then browse to this registry key: HKEY_LOCAL_MACHINE\SOFTWARE\Microsoft\DirectX.
- Select the DirectX key shown in the snapshot directly below.
- Then double-click InstalledVersion on the right of the window to open the Edit Binary Value window.
- Erase the value data within the Edit Binary Value window and replace it with this value: 0808 00 00 00 09 00 00 00.
- Press the OK button to close the Edit Binary Value window.
- Double-click Version to open the Edit String window shown below.
- Delete the current value in the Value data text box.
- Enter ‘4.09.00.0904’ in the Value data text box, and click the OK button.
If you can’t edit your Windows 10’s registry, read this handy guide and find the quickest solutions to the issue.
So that’s how you can fix the “An internal system error occurred” error to install DirectX on Windows 10.
If you have any other questions or suggestions, feel free to leave them in the comments section below.






User forum
0 messages