Save as Dialog Box Not Showing? 4 Ways to Fix it
Discover solutions that actually do the trick!
3 min. read
Updated on
Read our disclosure page to find out how can you help Windows Report sustain the editorial team. Read more
Key notes
- When the Save as dialog box is not showing, it's usually the misconfigured settings to blame.
- This happens when you have inadvertently set the wrong preferences.
- To fix things, enable automatic prompting or perform a clean boot, amongst other solutions.
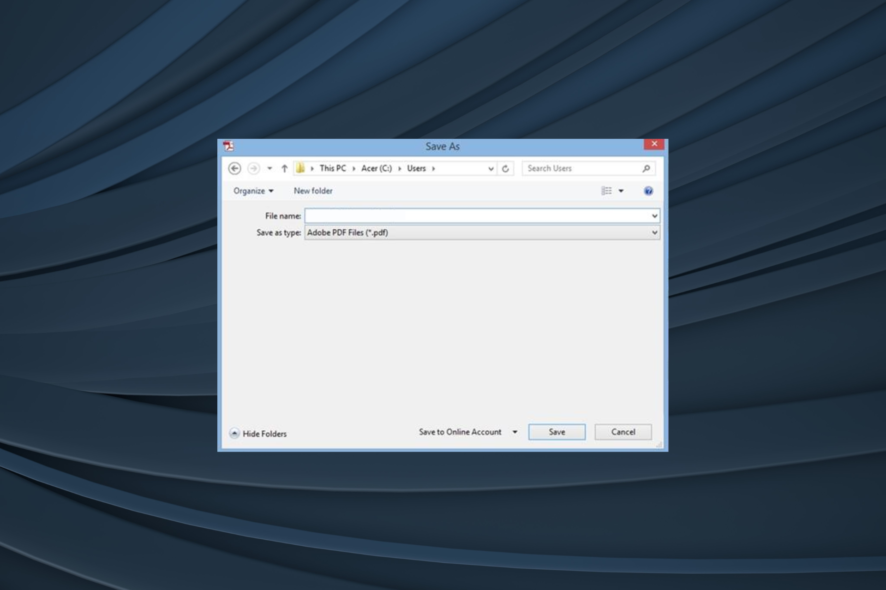
You struggled for a few minutes to make the Save as dialog box appear in Windows 10, but it’s still not showing. Chances are you’ve accidentally unchecked the Always ask before opening this type of file in the file download dialog box.
Well, when you first download a file, this file download prompt should open up. If you happen to clear the checkbox, your choice will be automatically made every time you download the same type of file, and the prompt will no longer be displayed.
Besides, this preference is saved in the user part of the registry. Also, the configuration is stored in a separate registry value for each file type. If the Save as dialog box is not showing in AutoCAD or Photoshop, keep reading to find out the solutions!
What can I do if the Save as dialog box is not showing?
1. Reset the dialog box to default
- Press Windows + R to open Run, type cmd, and hit Ctrl + Shift + Enter.
- Click Yes in the UAC prompt.
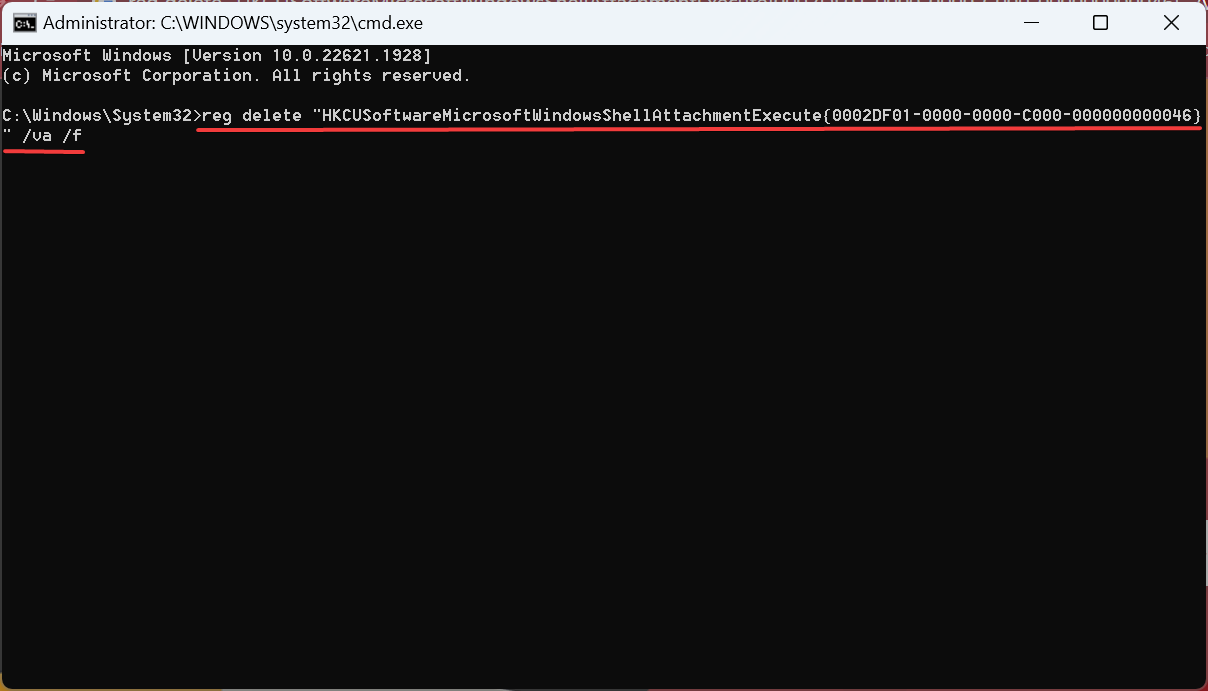
- Paste the following command and hit Enter:
reg delete "HKCUSoftwareMicrosoftWindowsShellAttachmentExecute{0002DF01-0000-0000-C000-000000000046}" /va /f
If you have disabled Always ask before opening this type of file during previous file downloads, then run this quick command to fix things if the Save as dialog box is not showing. You should then see the file download prompt each time you download that type of file.
2. Enable Automatic prompting for file downloads
- Launch Internet Explorer, and click the gear icon to open Tools.
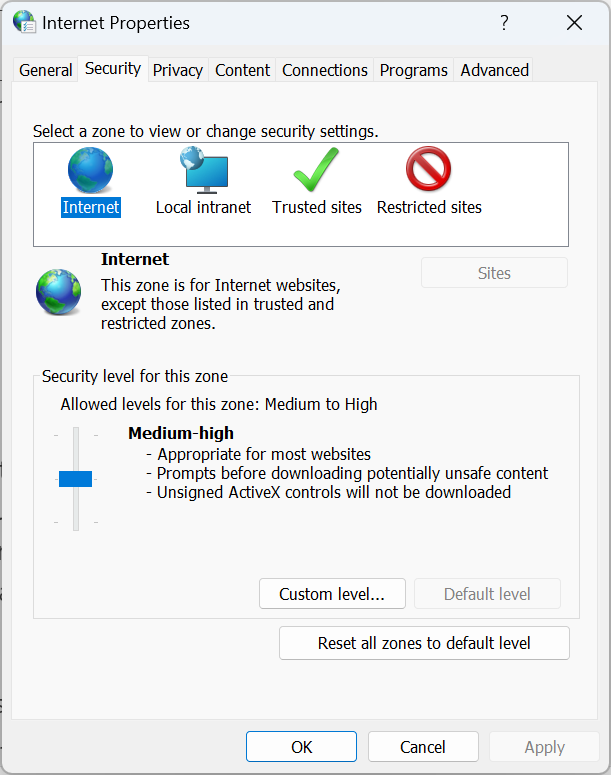
- Go to Internet Options, and navigate to the Security tab.
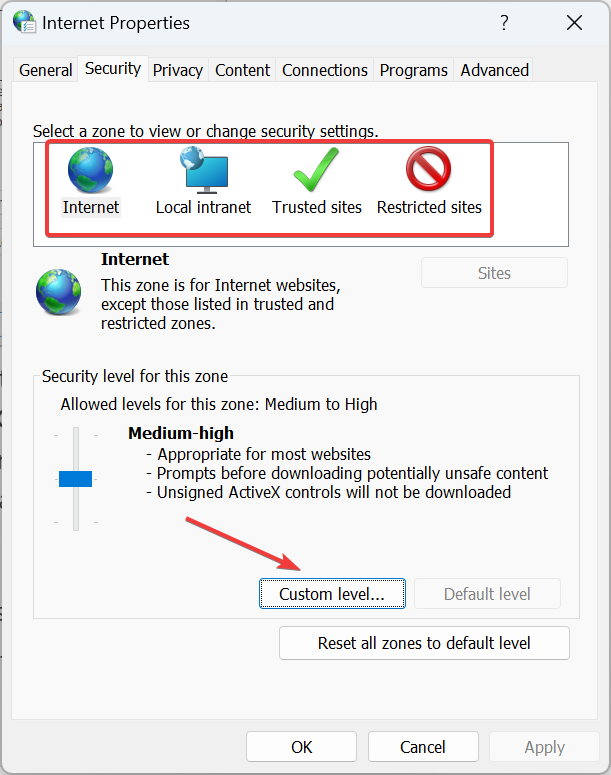
- Here you’ll find four security zones listed:
- Click the zone where you want to change the settings.
- Under Security level for this zone, click on Custom Level.
- Under Automatic prompting for file downloads, click Enable.
- Once done, save the changes.
3. Reset Internet Explorer
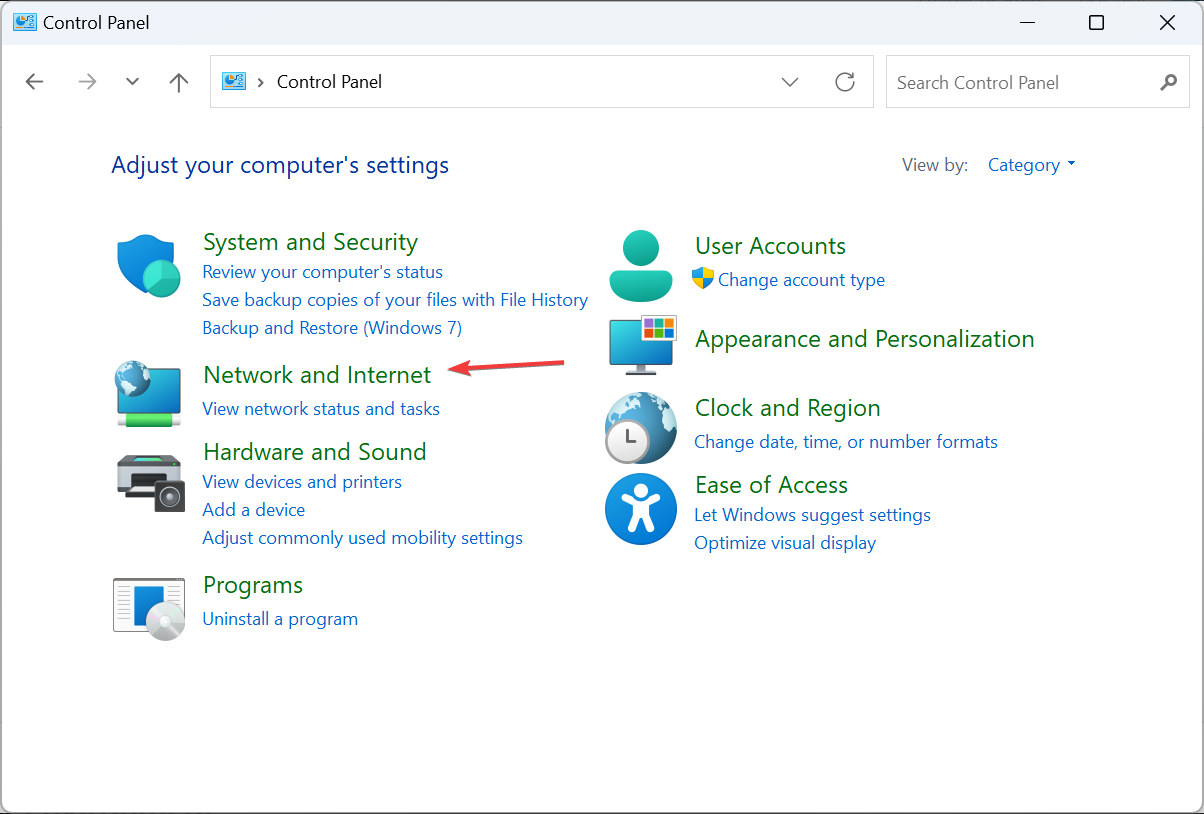
- Right-click on the Start button and select Control Panel.
- Then, tap on Network and Internet.
- In the Internet Options dialog box, select the Advanced tab next.
- Go to Reset.
- If your wish is to reset Internet Explorer without deleting personal information, simply tap Reset.
- You can also check the option to Delete Personal Information.
- Finally, click on Close in the confirmation dialogue box.
Once done, verify whether the Save as dialog box is still not showing in Windows. If that’s the case, head to the last solution.
4. Perform a clean boot environment
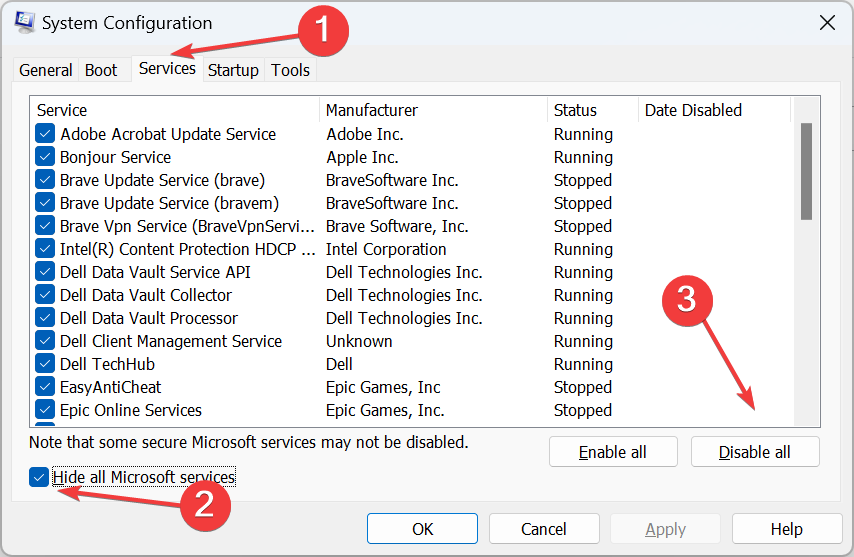
- Press Windows + R to open Run, type msconfig, and hit Enter.
- Navigate to the Services tab, tick the checkbox next to Hide all Microsoft services, and then click on Disable all.
- Go to the Startup tab, and click on Open Task Manager.
- For each startup item, select it and click Disable.
- Close Task Manager.
- Click OK in the System Configuration window.
- Finally, restart your computer.
If this fails to resolve the issue, you can also try performing a clean boot of Windows 10. You just need to be signed in as an administrator on your PC to access these settings.
Note that your computer may temporarily lose some functionality when performing a clean boot. However, when you start it normally, the functionality returns.
By now, you should have the Save as dialog box in Windows if it didn’t earlier.
Before you leave, find out how to increase the Internet speed and get quicker downloads.
Which of the above procedures works for you? Leave your answer and any other questions or suggestions in the comments below.


User forum
0 messages