How to Add Windows 11 to GRUB in Just a Few Quick Steps
Updating GRUB via the Terminal may be the fastest solution
3 min. read
Updated on
Read our disclosure page to find out how can you help Windows Report sustain the editorial team. Read more
Key notes
- GRUB allows users to choose between operating systems installed on their computers at startup.
- You may update GRUB to force it to notice newly added OS like Windows 11.
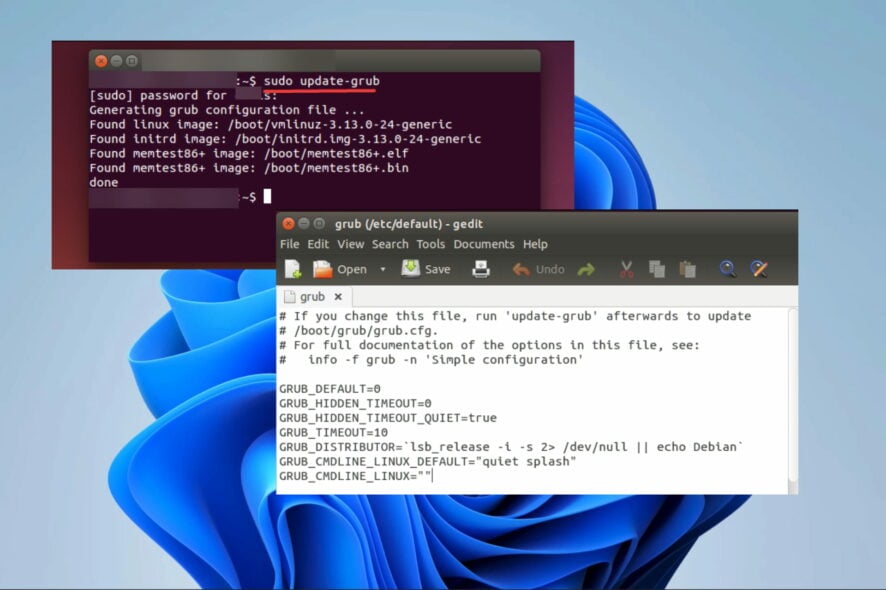
GRUB (GRand Unified Bootloader) is the bootloader that allows you to choose between different operating systems installed on your computer when you start it up. It provides a menu that lists all the available operating systems, and you can select the one you want to boot into.
However, when you install a new operating system, it may not appear in the GRUB menu. This can happen if the new operating system wasn’t set up to work with GRUB during installation or the bootloader was overwritten.
This article will explain why GRUB may not show Windows 11 and how you can add it to the GRUB menu in just a few steps.
Why is GRUB not showing Windows 11?
There are a few different reasons why Windows 11 may not be showing up in the GRUB menu.
- Incomplete installation – One possibility is that the installation or boot process did not correctly set up Windows 11 to work with GRUB. This can happen if the installer does not detect the other operating systems on the computer.
- Overwriting during installation – This can happen if the user chooses to install Windows 11 in the same partition as an existing operating system or if the user chooses to install Windows 11 to the same drive as the bootloader.
If Windows 11 is not showing up in the GRUB menu, you can add it by editing the GRUB configuration file and adding an entry for Windows 11. Below we outline the steps you must take.
How can I add Windows 11 to the GRUB menu?
1. Update GRUB
- Boot into an operating system that is already listed in the GRUB menu.
- Press Ctrl + Alt + T to launch the Terminal.
- Lastly, enter the script below:
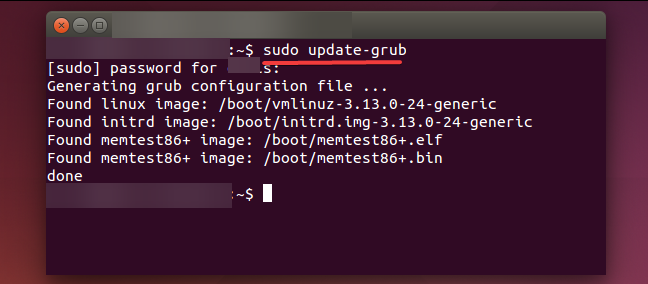
sudo update-grub
This will update the GRUB configuration file and scan all partitions on your hard drive to detect operating systems that aren’t listed in the GRUB menu.
2. Manually add a GRUB entry
- Press Ctrl + Alt + T to launch the Terminal.
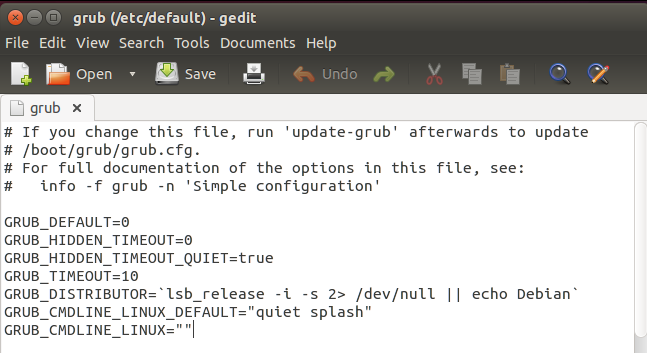
- Enter the script below to open the GRUB configuration file:
sudo nano /etc/grub.d/40_custom - Now, paste the below lines of code at the end of the file (ensure to replace hdx,y with the partition where Windows 11 is installed):
menuentry "Windows 11" {
set root=(hdx,y)
chainloader +1
ntldr /bootmgr
} - Press Ctrl + X, then Y to save the changes made.
- Again, the script below to apply your changes:
sudo update-grub - Finally, restart the computer.
It is important to note that some details may vary depending on your specific system configuration. However, back up your current GRUB configuration before making any changes. Also, select the proper partition and drive to avoid boot problems.
Note that there are different related issues users have faced, including GRUB rescue as well as deleted GRUB, but we covered them in other guides.
Let us know in the comments below what worked for you.



User forum
3 messages