Addinprocess.exe: What Is It & How to Remove It
Employ Microsoft Autoruns to remove .exe files

Nobody really thinks to check the GPU usage unless you want to monitor the consumption of resources of a specific program or your PC has become unresponsive. Users have since discovered a new Addinprocess.exe process that consumes 100% GPU.
It’s normal for some programs to consume high GPU or CPU, but when it’s an unknown process, this should be cause for alarm. Let’s now get into the nitty-gritty of this process and how to get rid of it.
What is Addinprocess exe?
Addinprocess.exe is part of the Microsoft .NET Framework. It is used to load programs and games that require the framework. You’ll most likely find the addinprocess.exe in the following location: C:\Windows\Microsoft.NET\Framework64\v4.0.30319
While the executable file seems important for the proper functioning of some of your programs, it is notorious for high GPU consumption. The reason it consumes a lot of resources stems from the origin of the downloaded programs.
Windows has very stringent security measures which prohibit the installation of unverified software. Still, some users have discovered loopholes in how to get programs they need using other methods such as torrents and other unreliable sites.
The problem with downloading such files, especially when you don’t have a comprehensive antivirus, is that your system is exposed to all kinds of vulnerabilities, from virus infections to malware and trojans.
Not to say that all sites are a no-go zone, but you should always do your due diligence when downloading non-verified applications.
What is the error in Addinprocess exe?
Now that we know what addinprocess.exe is, you may wonder whether to keep or remove it from your system. Well, it depends. If everything is running as it should on your PC, there’s no need to upset the status quo.
However, if you’re among the users complaining of high GPU, CPU, and system crashes, you can disable it. When downloading programs from unofficial sites, some often contain malware, which can be very dangerous.
Malware can hide itself in the system and run in the background, consuming resources such as CPU, RAM, and storage space.
This can lead to a memory leak because the program cannot manage memory allocations correctly. Over time, the program consumes more and more memory until it eventually crashes or causes other programs to crash because there is not enough memory left in the system.
Since this seems to be the cause of the addinprocess.exe process, the most obvious step is to disable it from the Task Manager.
So far, users have not had any luck in stopping this process. Also, deleting the file from its path is prohibited unless you take ownership of it, but that is still a long shot.
With those failed methods, we have curated this article to show you how to get rid of the addinprocess.exe.
How do I remove the Addinprocess exe?
First things first, check off the following:
- Ensure your system is up-to-date.
- Check that your drivers are all updated.
- Uninstall any suspicious application that you didn’t install yourself.
1. Run DISM and SFC scans
- Hit the Start Menu icon, type cmd in the search bar, and click Run as administrator.

- Type the following commands and press Enter after each one:
DISM.exe /Online /Cleanup-Image /Restorehealthsfc /scannow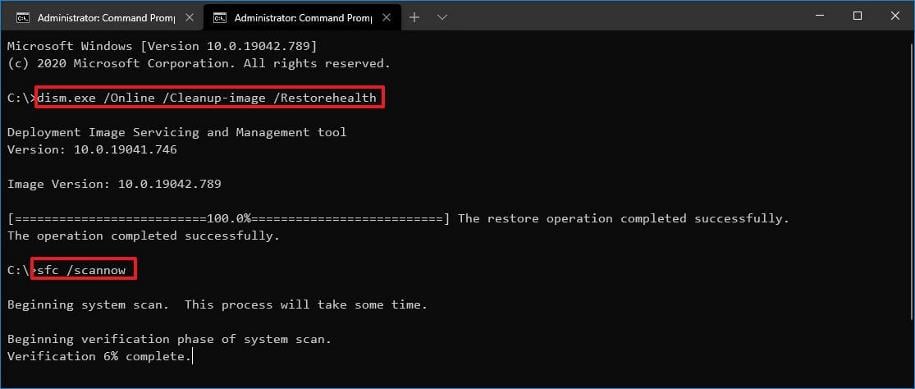
In case the steps above don’t suit your needs, we suggest you approach another effective way to solve this issue.
If you need to fix the issues related to this exe process, a dedicated system repair tool below is able to scan your PC and fix corrupted system files.
2. Scan for viruses
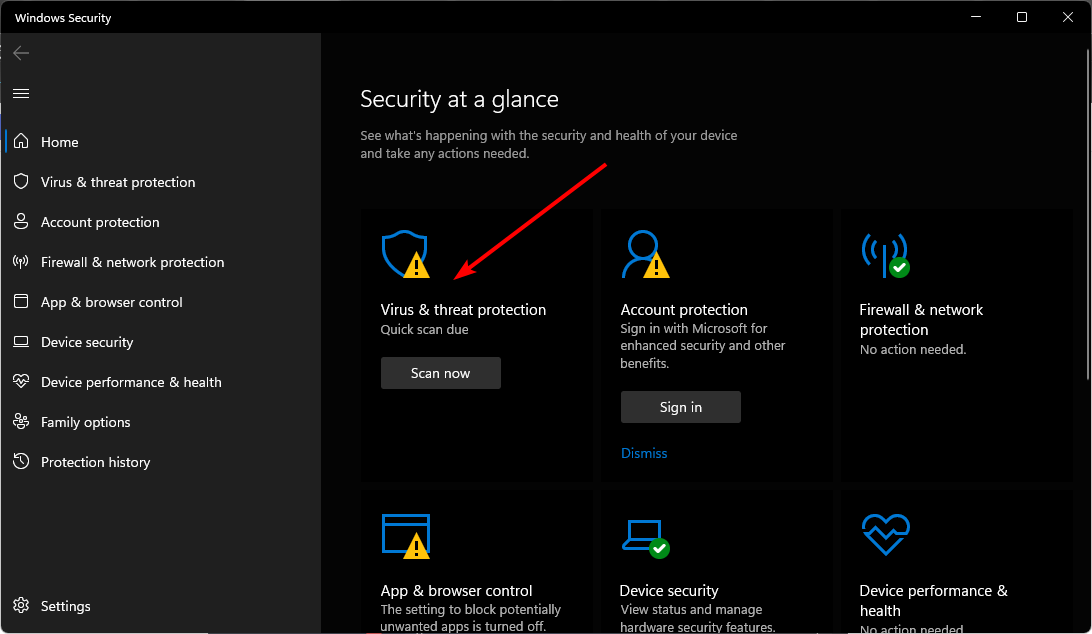
- Press the Windows key, search Windows Security, and click Open.

- Select Virus & threat protection.
- Next, press Quick scan under Current threats.
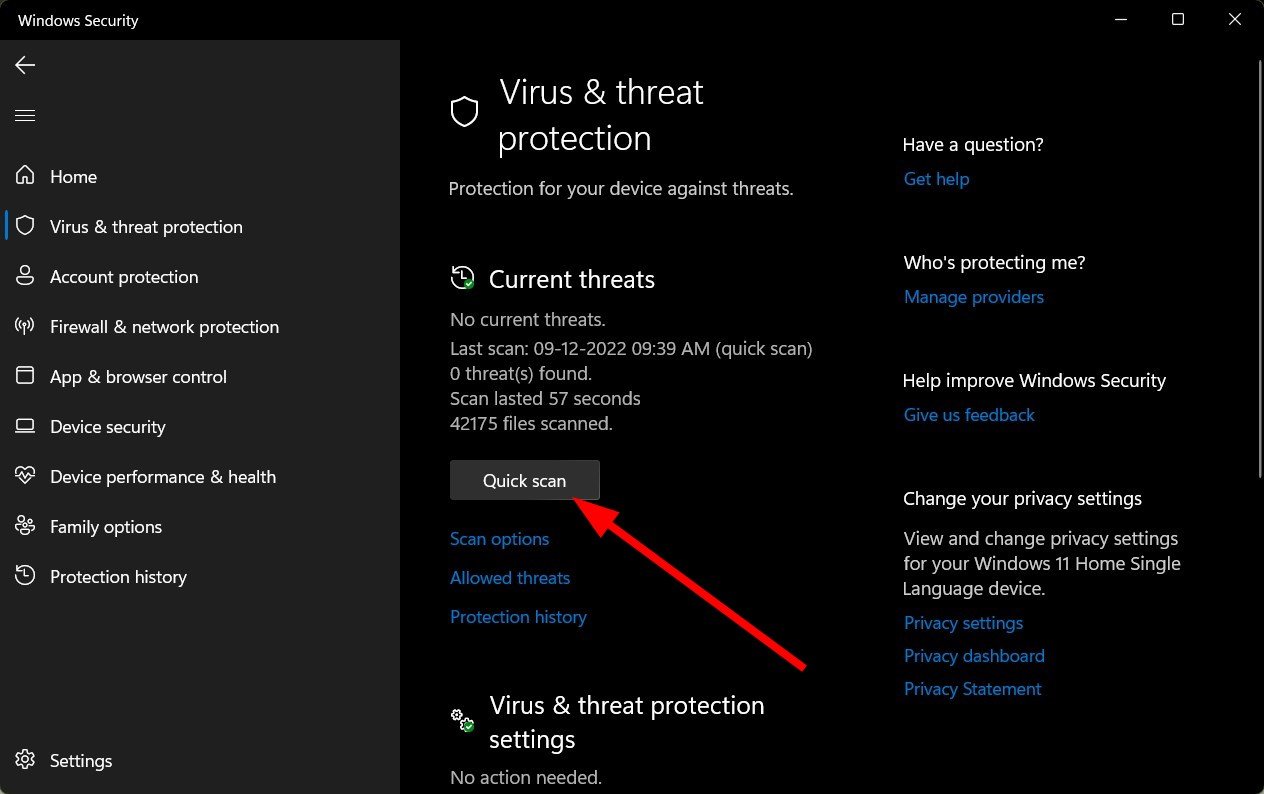
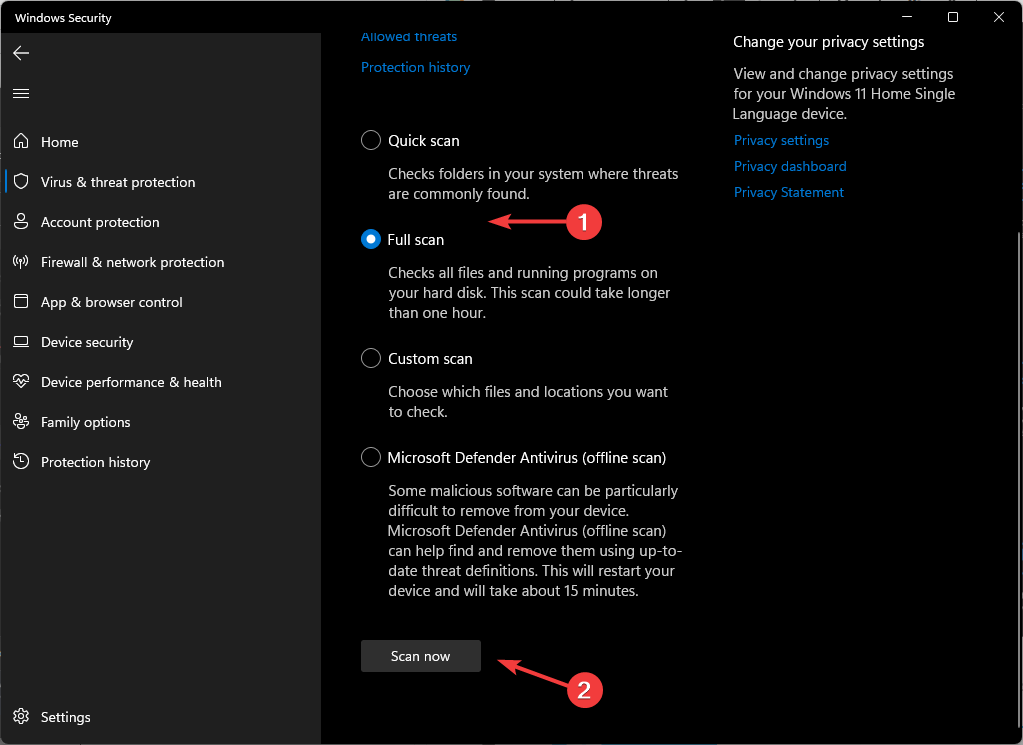
- If you don’t find any threats, proceed to perform a full scan by clicking on Scan options just below Quick scan.
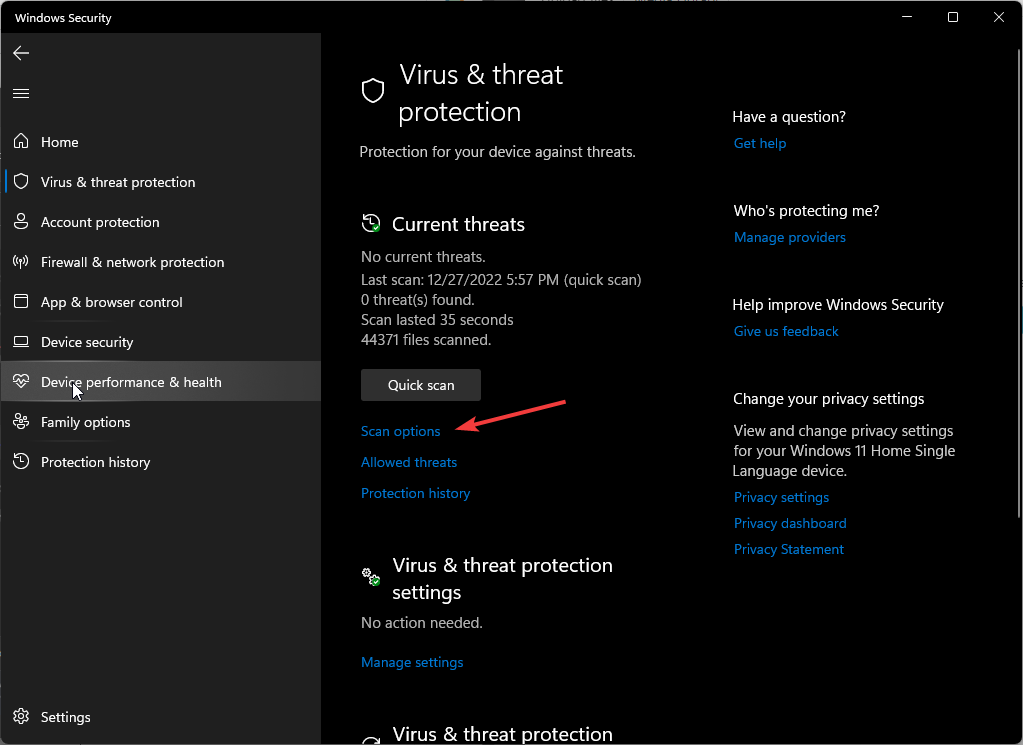
- Click on Full scan, then Scan now to perform a deep scan of your PC.
- Wait for the process to finish and restart your system.
3. Use Autoruns to remove the file
- Navigate to your browser and download Microsoft Autoruns.
- Locate the downloaded file and unzip it.
- Right-click on the autorun.exe file and select Run as administrator.

- Click on Agree to accept the license terms.

- Type and Enter srvhost in the Filterbox entry.

- Locate the following entry, right-click on it, and select Delete:
C:\Windows\Microsoft.NET\Framework64\v4.0.30319
4. Perform a clean boot
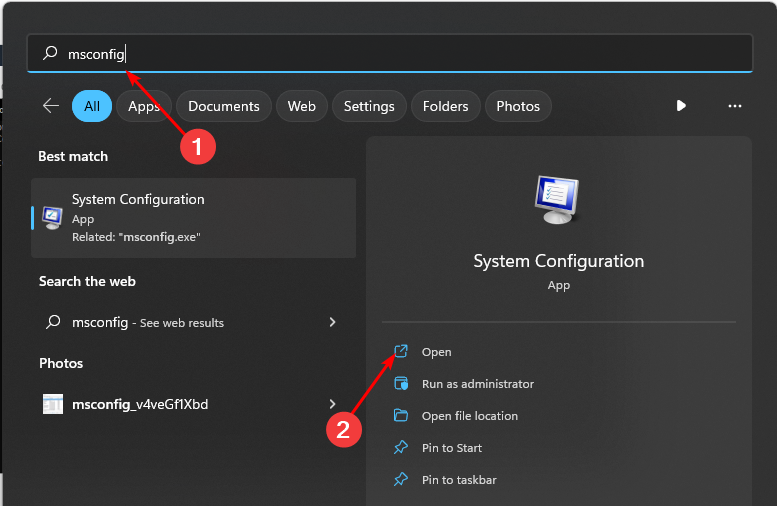
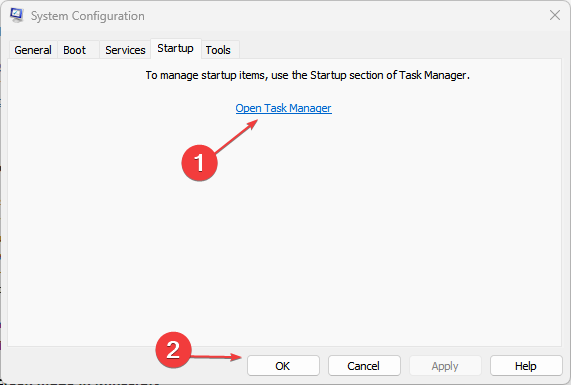
- Hit the Windows key, type msconfig, and open System Configuration.
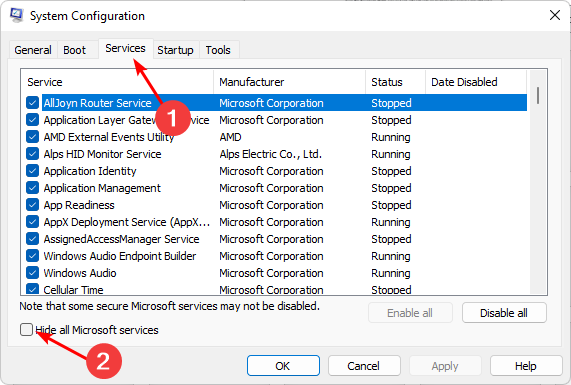
- Switch to the Services tab and select Hide all Microsoft services.
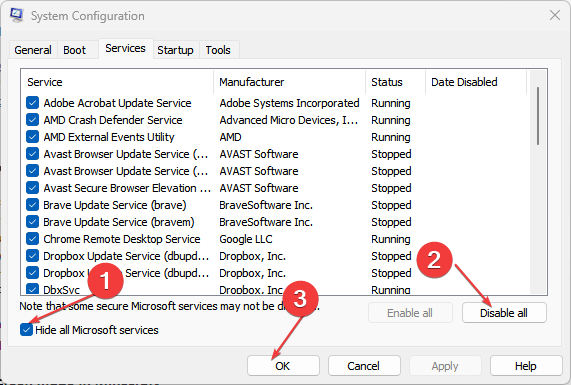
- Click on the Disable all button, then hit the OK button to save the changes.
- Go back and click on the Startup tab, select Open Task Manager then click OK.
- In the Startup tab of the Task Manager, Disable all the Enabled startup items.
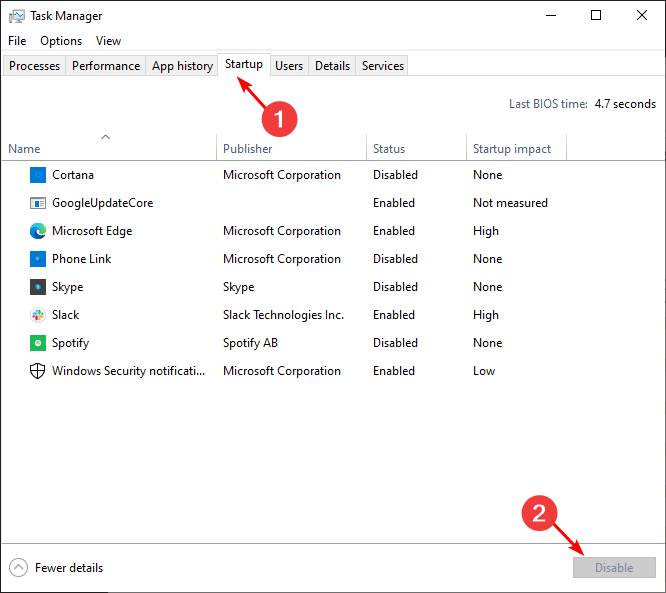
- Close Task Manager and restart your PC.
5. Update BIOS
- The process of updating BIOS will differ depending on your motherboard. For this step, we shall be updating the HP motherboard.
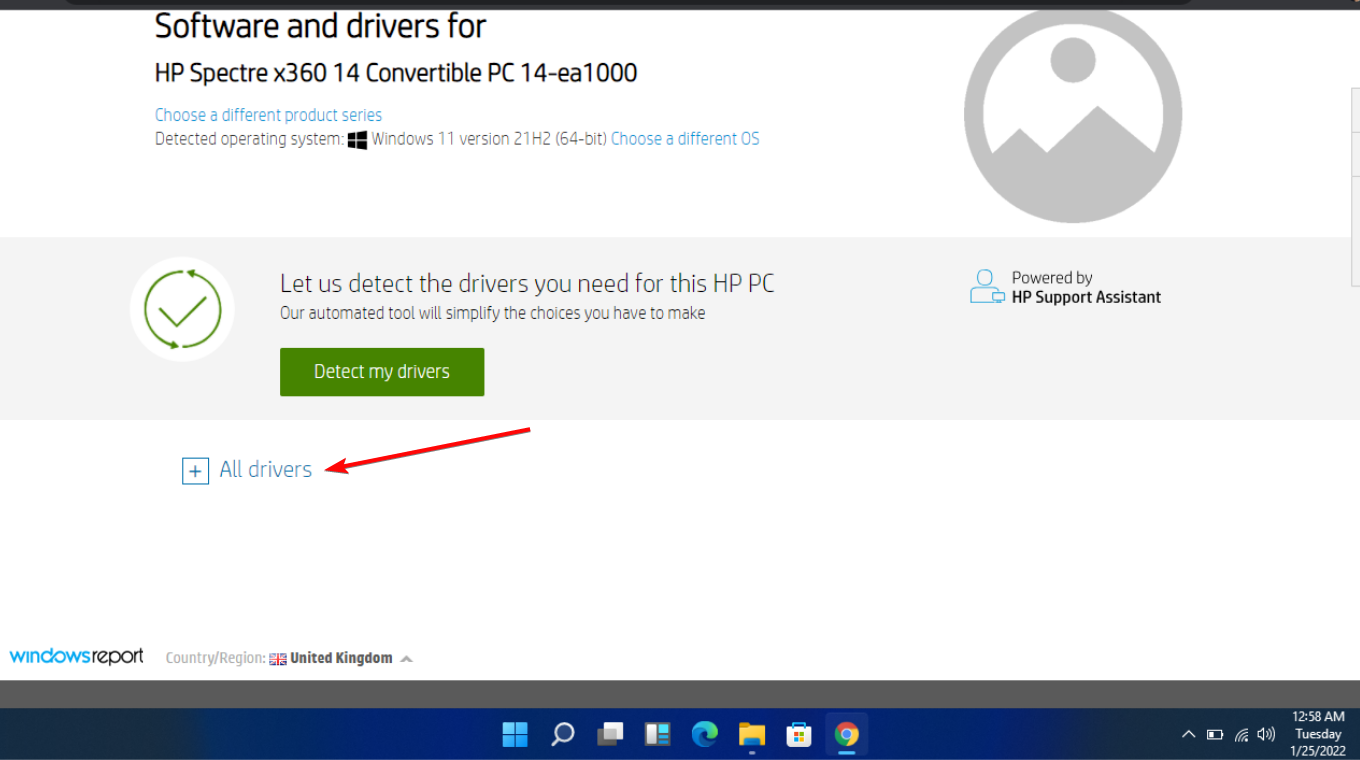
- Navigate to the HP driver and software download website.
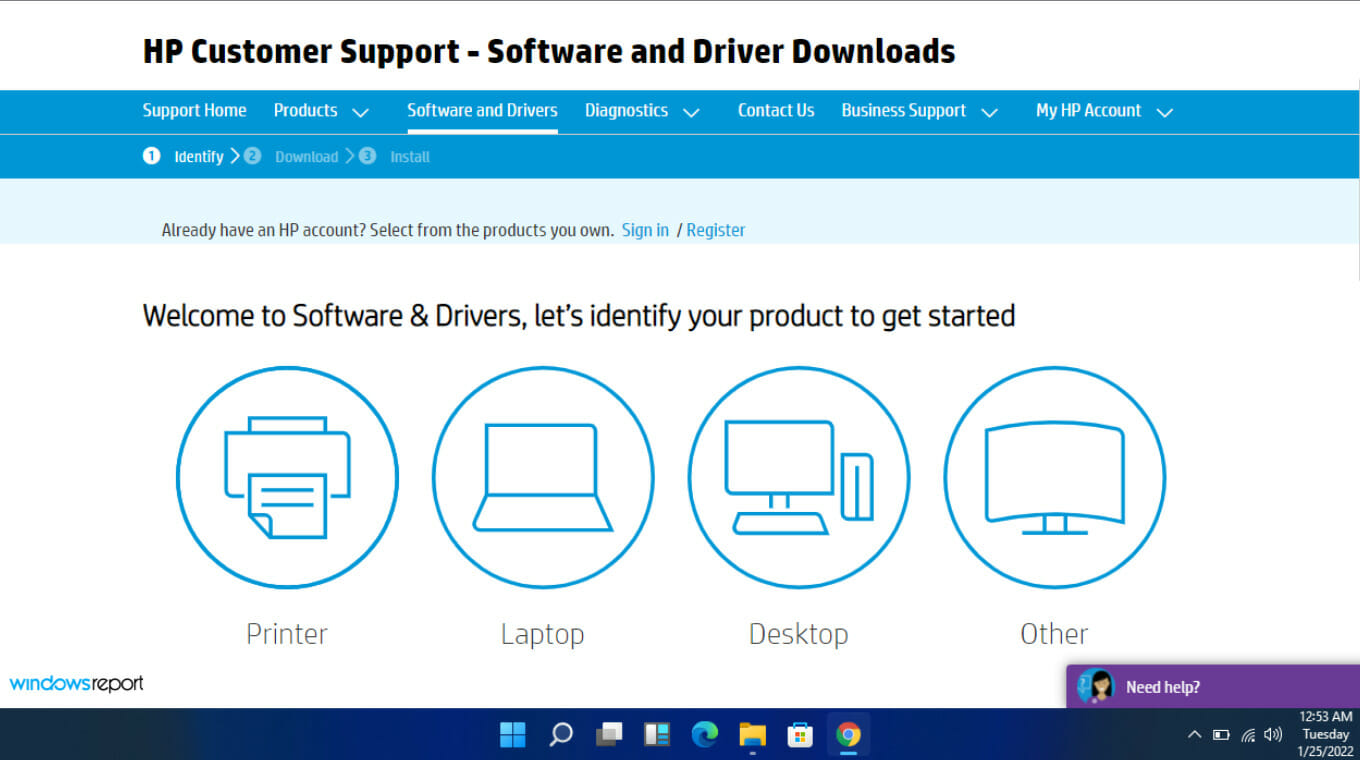
- Choose laptop or desktop, depending on the type of computer you’re using.
- Enter your exact serial number or your exact computer model.
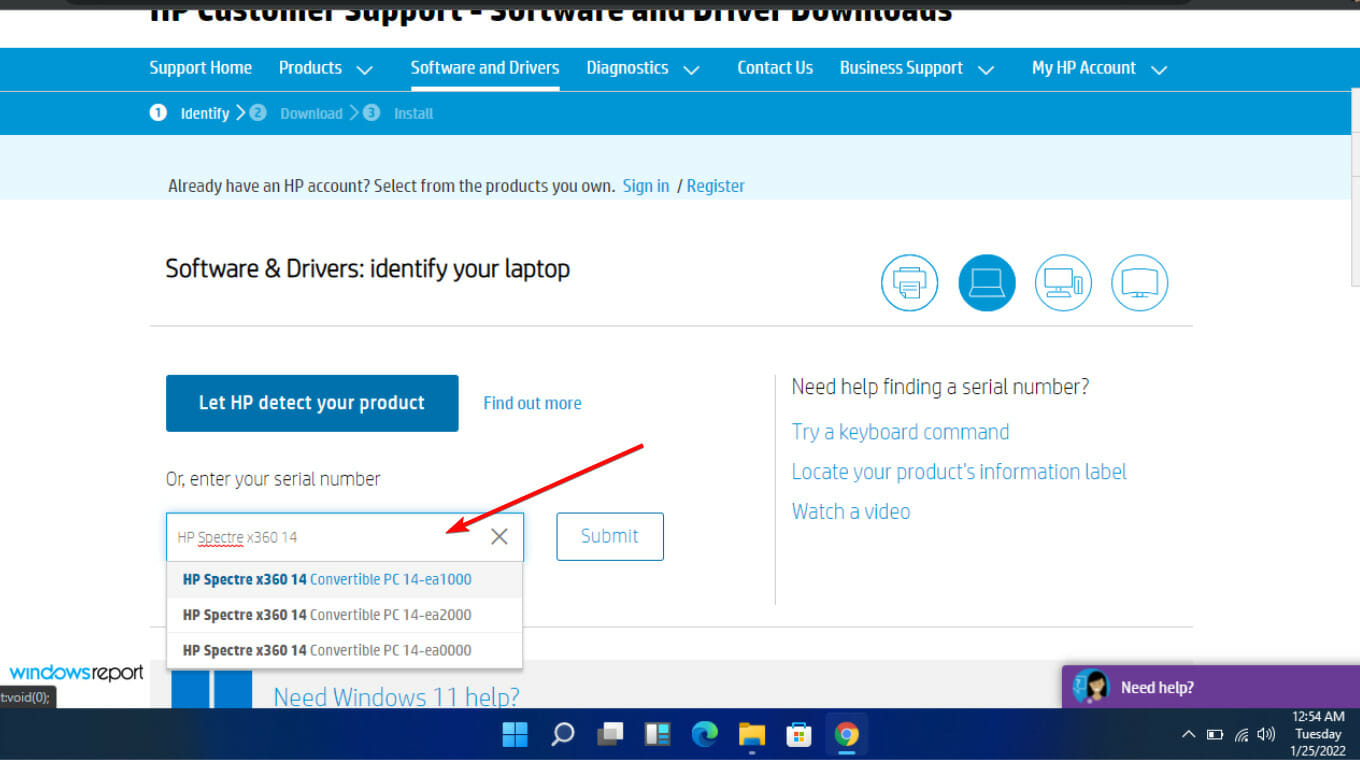
- Select your OS and OS version, then click Submit.

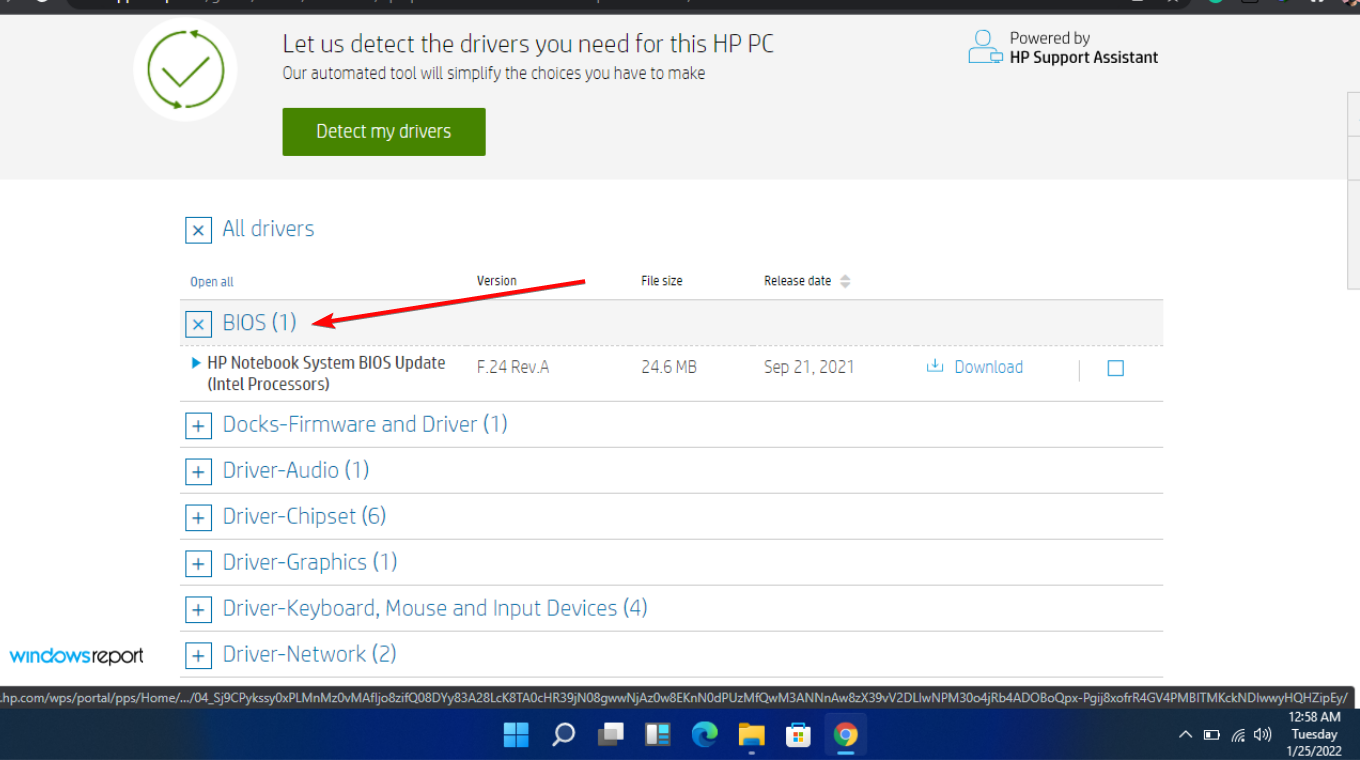
- Click on All drivers and then expand BIOS to see available updates.
- Click the download icon.
- Install the .exe file, following the on-screen instructions.
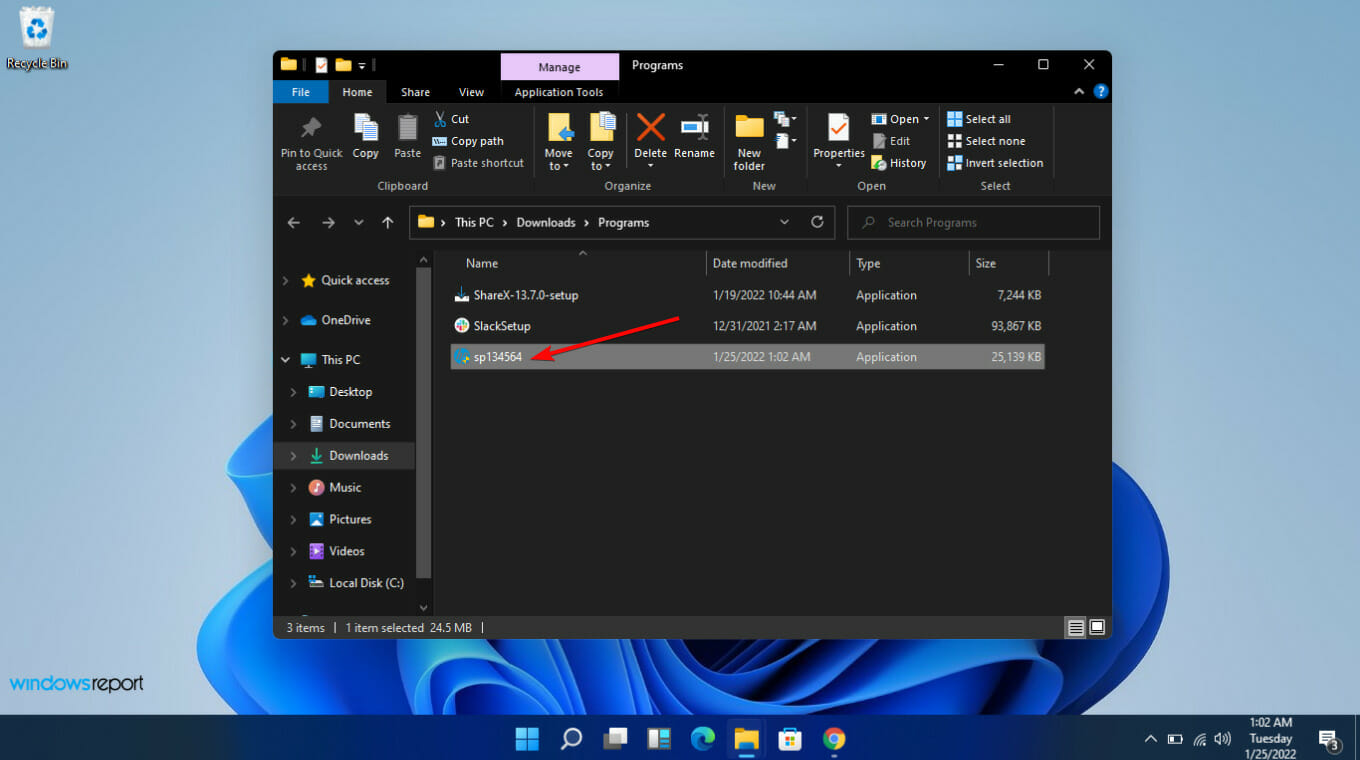
- Restart your PC.
Since the addinprocess.exe is not the only file that may find its way to your PC, we recommend getting uninstaller software for such problems.
You may also be interested in a similar article where we discuss the uiseagnt.exe and ASCService.exe and whether you should disable them.
For any further queries or suggestions, leave them in the comment section.
Read our disclosure page to find out how can you help Windows Report sustain the editorial team. Read more


Improve this guide


User forum
0 messages