Apache for Windows 11: How to Download, Install & Configure
With an Apache server, you can proces and deliver web pages
4 min. read
Updated on
Read our disclosure page to find out how can you help Windows Report sustain the editorial team. Read more
Apache is the most used web server software for the last 20+ years since its initial release back in 1995. It processes HTTP requests and allows us to store and deliver web pages locally or on the internet. All websites require a web server to be displayed in a web browser.
What do I need to install and run Apache?
Although it seems complicated, you will see that it’s not rocket science. Here’s what you will need to use Apache on Windows 11:
- A PC with Microsoft Windows 11 (It also works on Windows 10, but we will focus on the new OS)
- An internet connection to download the installer
- Patience and a little bit of focus
The software described in this article is free and can be downloaded from their dedicated websites or authorized mirrors. The problem is that manual configuration can take some time and requires some advanced computer/server knowledge to understand what each option does.
How do I get, install, and configure Apache on Windows 11?
1. Download and configure Apache
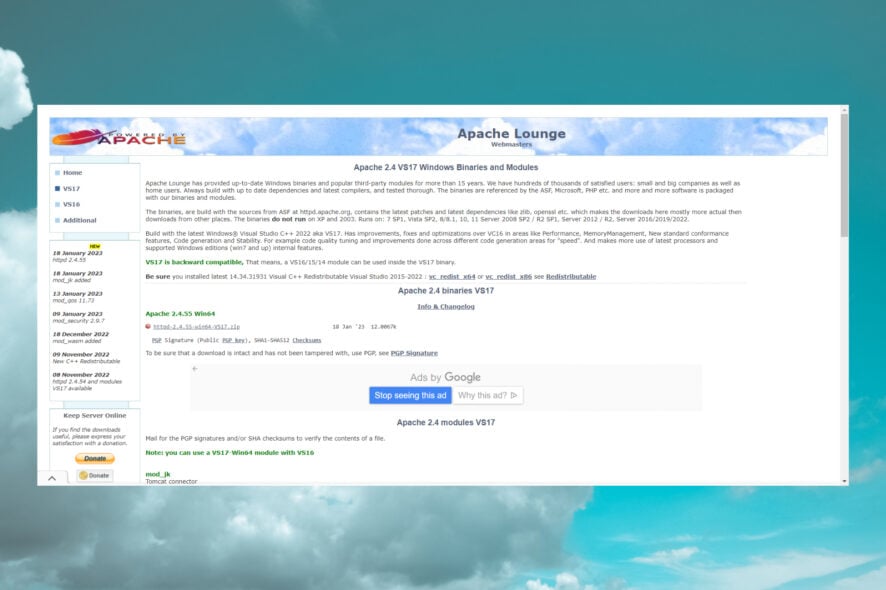
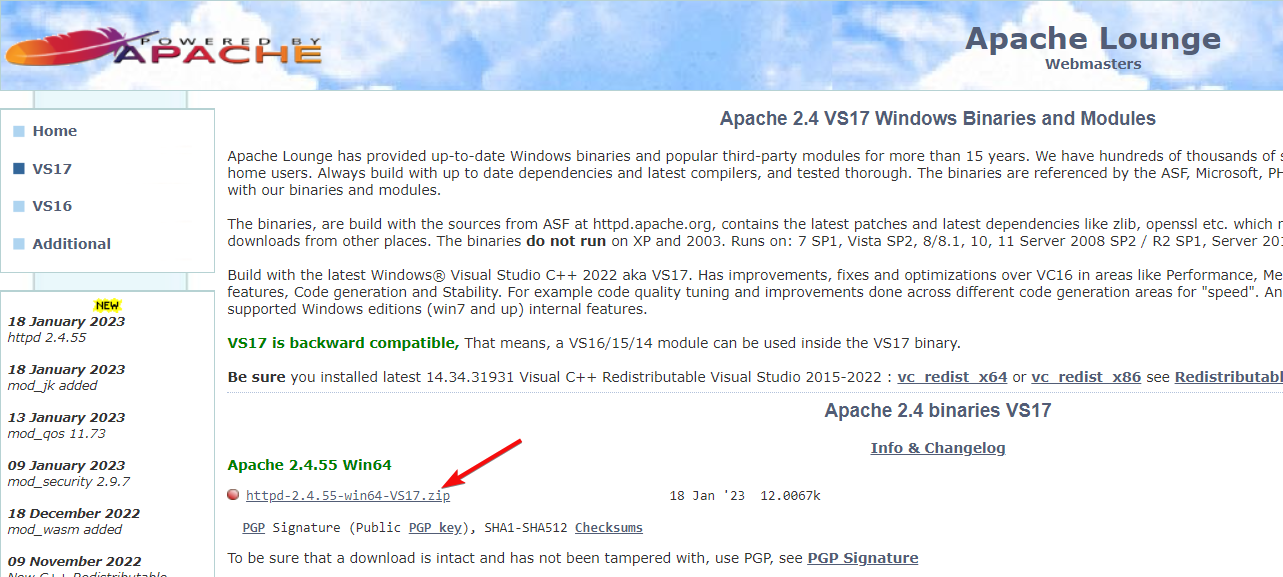
- Go to the ApacheLounge dedicated website and click the download link for the 64-bit version.
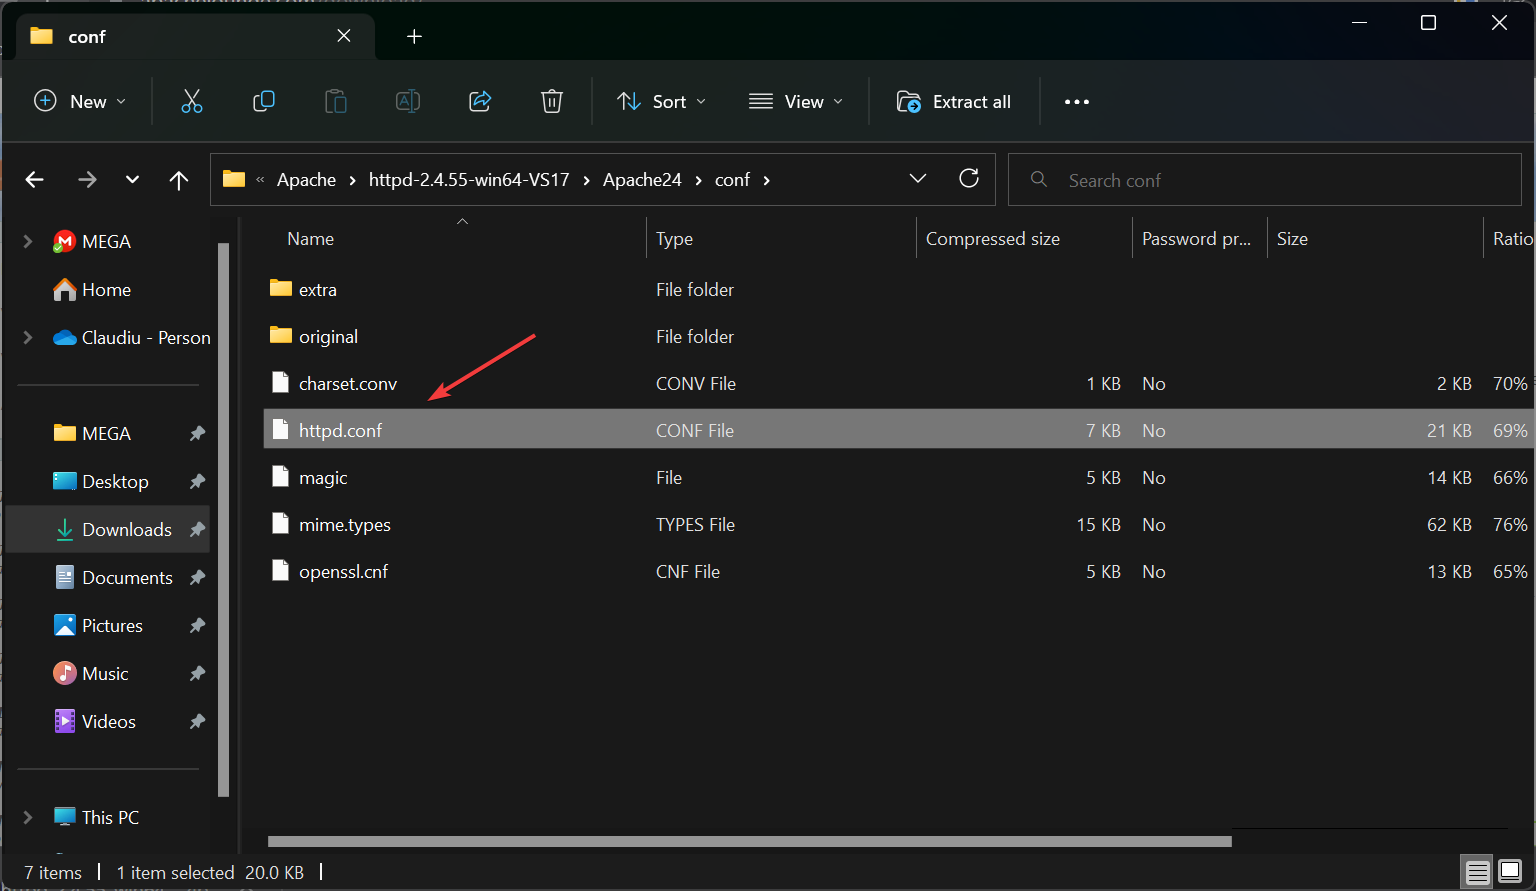
- Press the Windows key + E to start File Explorer, unzip the file into a new folder, and locate the httpd.conf file under the conf folder.
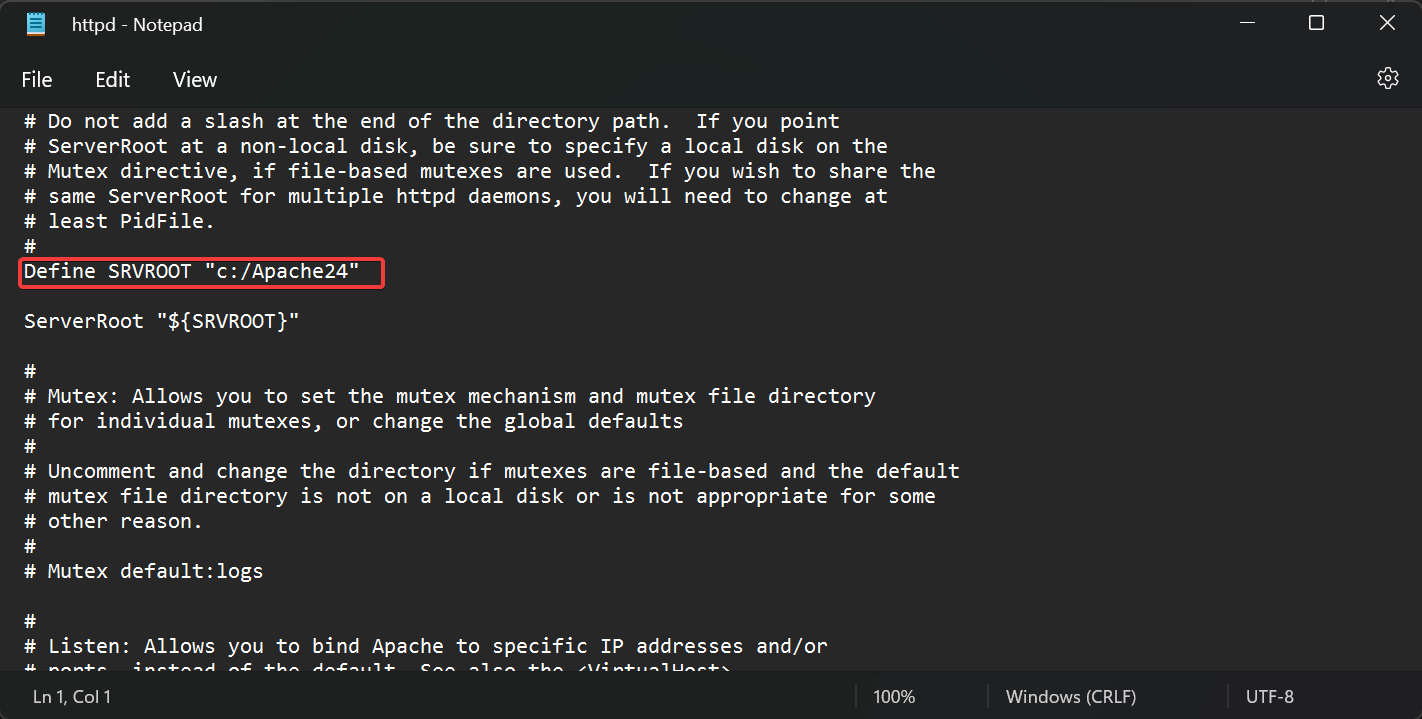
- Open it in a text editor such as Notepad.
- The configuration file assumes you installed Apache under the C: drive directly. If not, the first thing you should do is modify that information in the conf file you just opened.
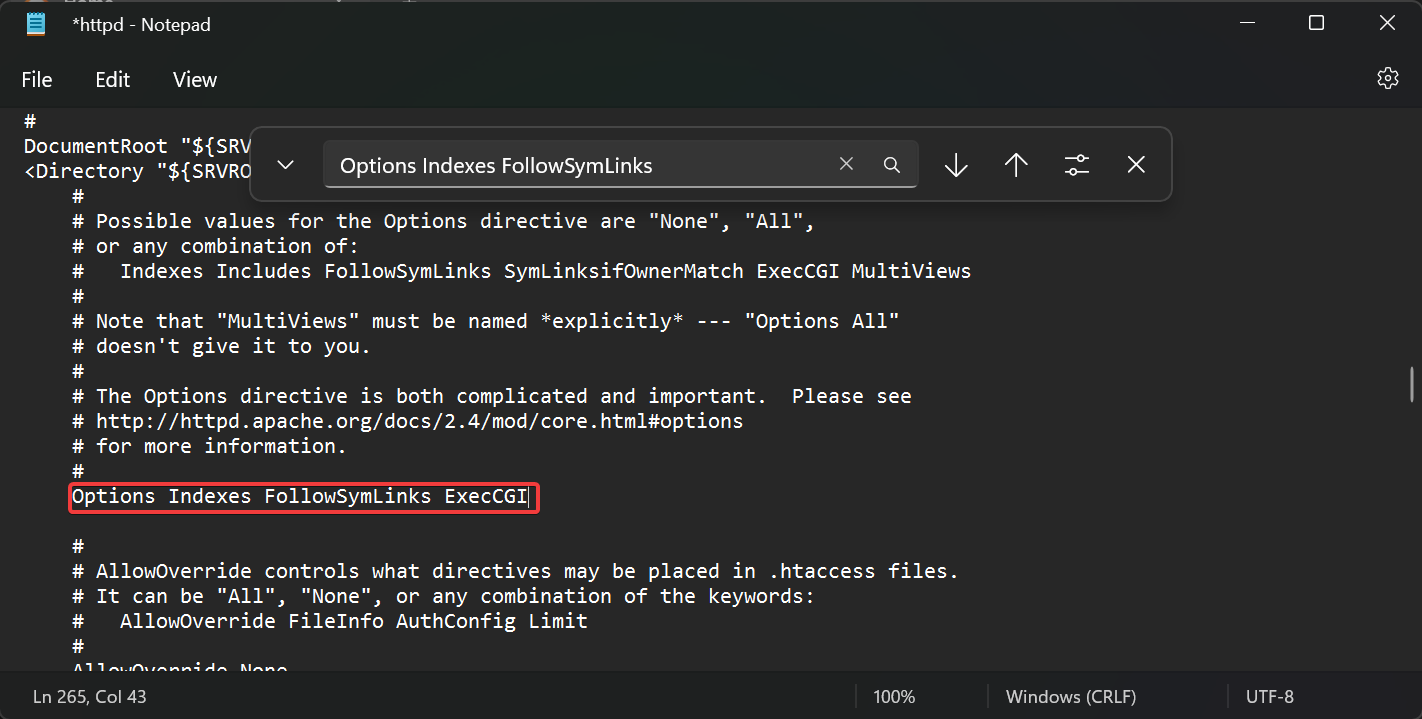
- Use Ctrl + F and search for the following line:
Options Indexes FollowSymLinks - Add ExecCGI at the end so that the line looks like this:
Options Indexes FollowSymLinks ExecCGI - Next, find the following lines and remove the # sign from the start:
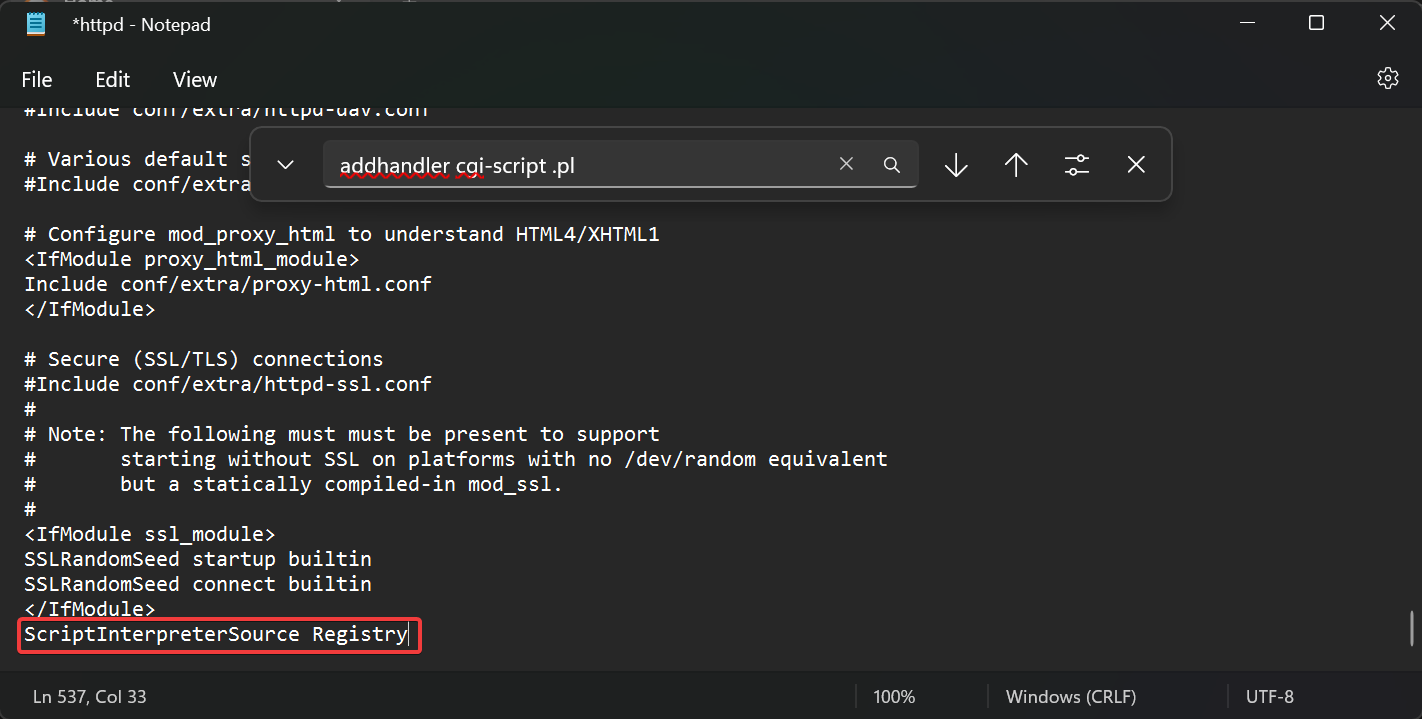
AddHandler cgi-script .cgiandAddHandler cgi-script .pl - Add the following line at the end of the httpd.conf file:
ScriptInterpreterSource Registry
2. Start the Apache server
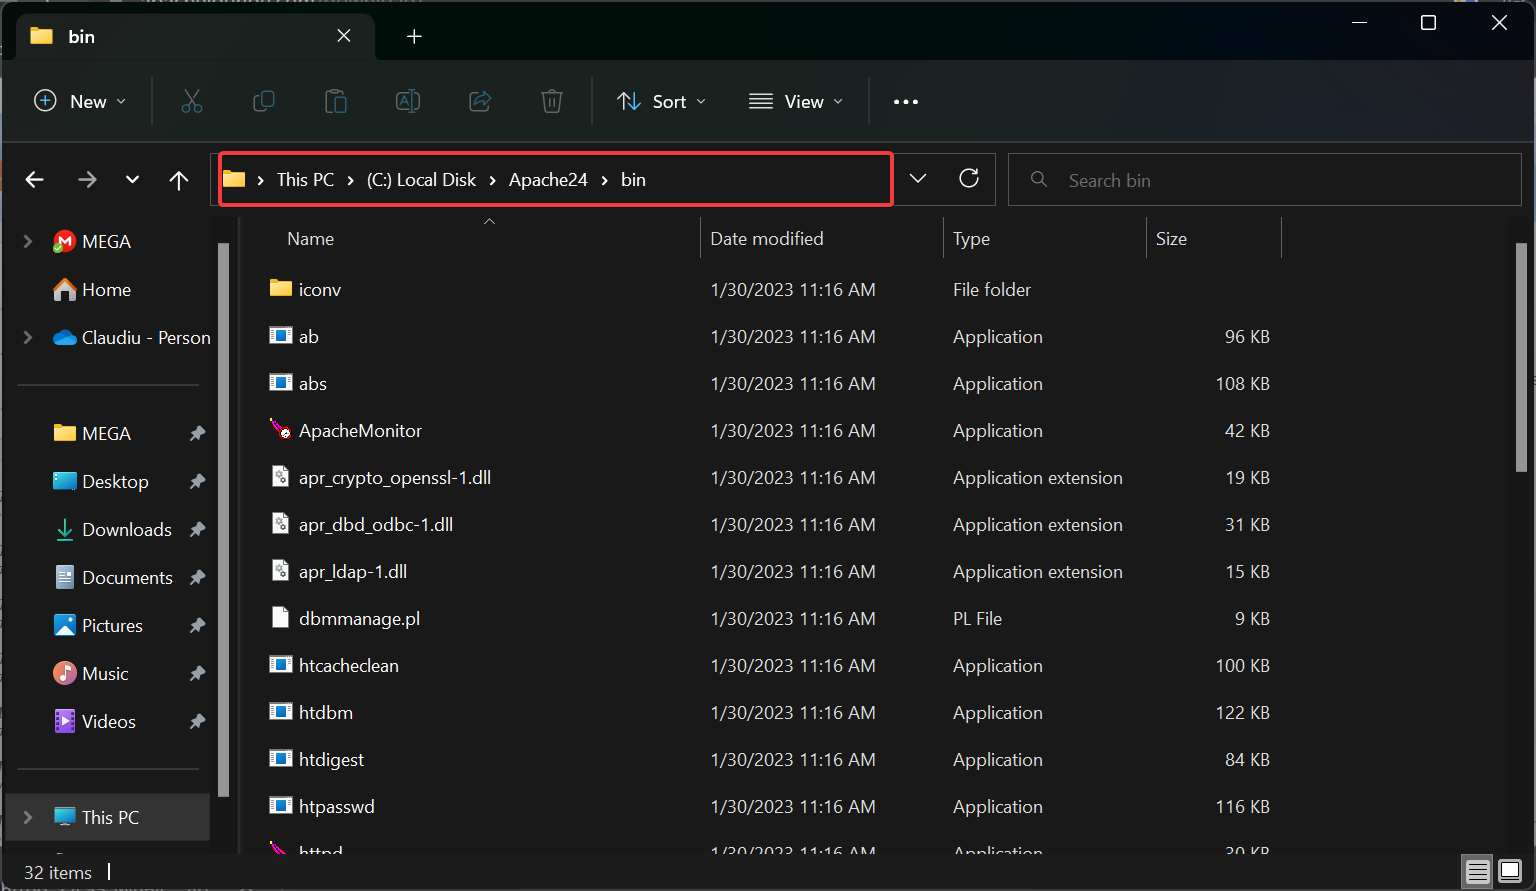
- Press the Windows key + E to launch File Explorer and go to the bin folder into the Apache24 folder.
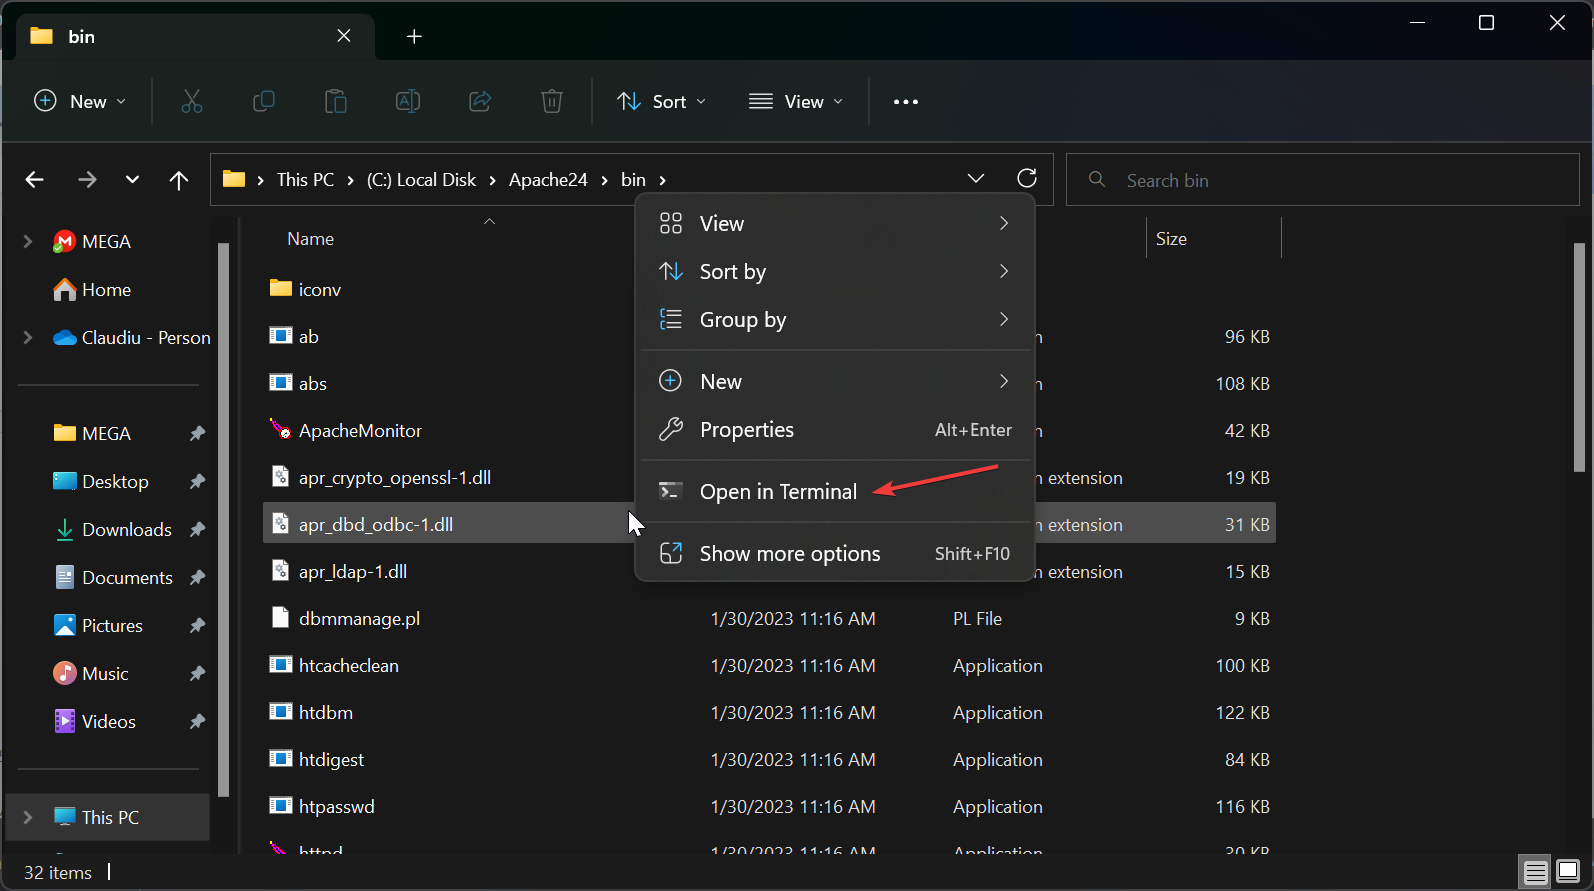
- Hold the Shift key, right-click somewhere on the right and select Open in Terminal.
- Type the following command and press Enter:
httpd.exe - You will be prompted to allow the installation through the firewall, and you should grant it access.
- To test the server, start any web browser and type localhost or the IP address of the PC into the address bar, and hit Enter. You should receive the message It works!
3. Configure the server as a system service
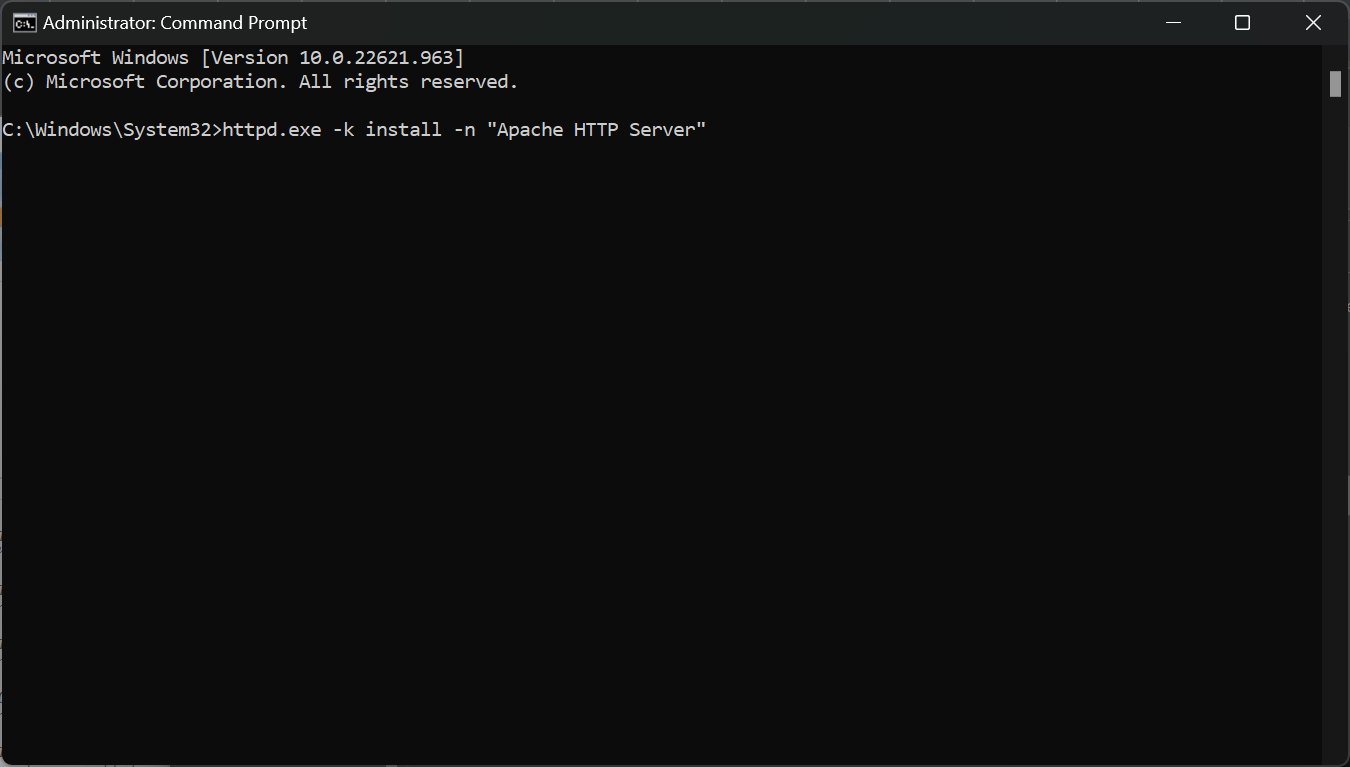
- Click the Search icon on the taskbar, type cmd, and select Run as administrator from the results.
- Change the folder to the following:
C:\Apache24\bin - Type or paste the following command and press Enter to run it:
httpd.exe -k install -n "Apache HTTP Server"
Congratulations! You have installed the Apache server on Windows 11. You can now test and develop websites by running them locally instead of uploading each file to a web server after editing it.
Just as additional information, Ports 80 and 443, used by default by Apache, may be blocked or reserved on your machine by other applications.
For example, Skype reserves these ports in case others aren’t available and continues to reserve them even though it doesn’t use them.
You can disable this in Skype by unchecking Use port 80 and 443 for additional incoming connections under Tools > Options > Advanced > Connection.
Installing Apache helps many get rid of An exception occurred in the driver: could not find driver error. If you need more tools, we suggest you download XAMPP for Windows 11 since it also comes with Apache and all other necessary software.
If you have any other questions, please use the comment section below.


User forum
0 messages