Fix: Can't Switch Between Headphones and Speakers Automatically on Windows 11
Ensure all the audio devices are properly connected

If your audio device can’t automatically switch between your headphones or speakers on your Windows 11 computer while playing your favorite audio or video, this guide can help!
We will explore the common reasons for the issue and discuss the expert-recommended solutions to fix the audio output problem.
Why does my laptop not automatically switch to headphones?
- Outdated sound drivers.
- Bad or pending Windows updates.
- Malfunctioning hardware.
- Third-party app interference.
How do I fix can’t switch between audio devices automatically on your Windows 11?
Before proceeding with any steps to switch between headphones & speakers on your Windows 11 automatically, go through the following preliminary checks:
- Ensure you have updated Windows to the latest version.
- Make sure all the audio devices are connected. You can also try restarting your computer and then replugging the headphones.
- Try plugging in the headphones to another device to ensure it is working.
- If the audio device is connected via Bluetooth, disconnect and pair it again.
1. Run the Audio troubleshooter
- Press Windows + I to open the Settings app.
- Go to System, then click Troubleshoot.

- Click Other troubleshooters.

- Locate Audio, then click Run. Follow the onscreen instructions to complete the process.

2. Run the Hardware and Devices troubleshooter
- Press Windows + R to open the Run dialog box.

- Type msdt.exe -id DeviceDiagnostic and click OK to open the Hardware and Devices window.
- Select Advanced.

- Click Apply all repairs automatically and click Next.

- The troubleshooter will try to find the problem and list the problematic device. If that’s not the device, click the I don’t see my device listed option.

- It will detect the issue and find a solution; click Apply this fix and restart your computer.

- Once your PC boots up, check if the issue persists.
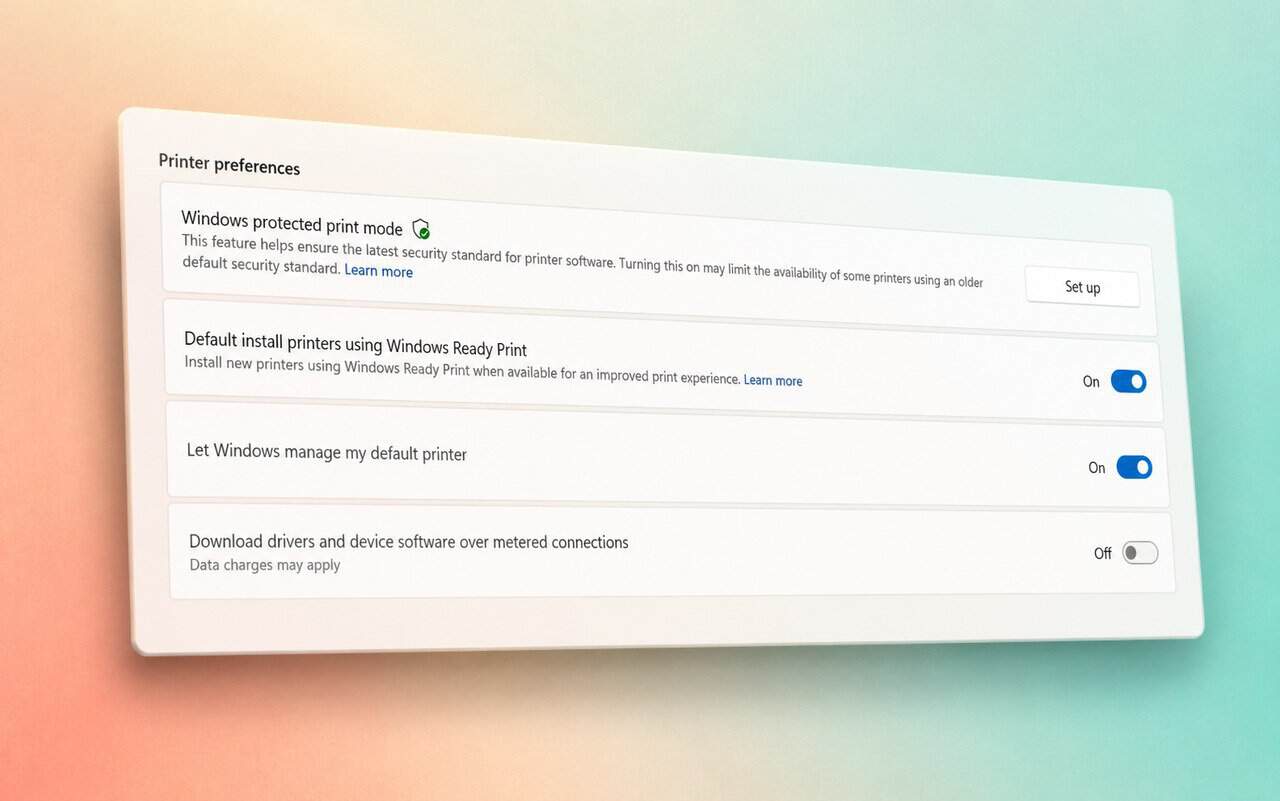
3. Set the audio device as Default device
- Press Windows + I to open Settings.
- Go to System, then select Sound.

- Click the More sound settings option.

- On the Playback tab, locate your headphones, right-click, and select Set as Default Device.

- Click Apply, then OK.
Setting the default device on your computer can help you easily switch between headphones and speakers, mainly if you use more than one audio output on Windows.
4. Update the sound drivers
- Press Windows + R to open the Run dialog box.

- Type devmgmt.msc and click OK to open Device Manager.
- Locate and click Sound, video, and game controllers to expand it.
- Right-click the sound driver and select Update driver from the context menu.

- Click Search automatically for drivers; if found, proceed with the steps to update it.

Alternatively, you can update your drivers by using specialized tools, such as Outbyte Driver Updater. This Software will scan your system, identify any broken or missing drivers, and download new, up-to-date ones. The whole process only takes a few minutes.
5. Reinstall the sound drivers
- Launch the Device Manager app and click to expand the Sound, video, and game controllers category again.
- Right-click the sound driver, and select Uninstall device.

- Now, go to your device manufacturer’s website; here, we are taking an example of HP devices.
- Select the type of device from Laptop or Desktop.

- Enter the serial number and click Submit. Then, mention your Windows OS to proceed.

- Click the + icon near All drivers to expand. Locate Driver-Audio.

- Click Download to get the latest driver.
Now, to install the driver on your PC securely, follow these steps:
- Right-click the downloaded driver file and select Properties.

- Go to the Compatibility tab, place a checkmark next to Run this program in Compatibility mode for, choose the operating system from the drop-down menu, then click OK and close the window.

- Now, double-click the driver setup file and follow the on-screen instructions to install it.
- Once done, restart your computer.
Remember to keep the device drivers and Windows OS updated to the latest version to avoid other similar audio device issues like Windows recognizing headphones as speakers.
To avoid the issue of switching automatically between speakers and headphones in the future, select the headphones or audio device as the Default device you use the most.
Did we miss a step that helped you? Don’t hesitate to mention it in the comments section below. We will happily add it to the list.
Read our disclosure page to find out how can you help Windows Report sustain the editorial team. Read more


Improve this guide


User forum
0 messages