6 Ways to Fix Chrome Autofill when It’s Not Working
Fixing this issue may require modifying some browser settings
5 min. read
Updated on
Read our disclosure page to find out how can you help Windows Report sustain the editorial team Read more
Key notes
- If Chrome autofill is not working, one culprit could be certain extensions.
- When Google autofill is not working you could use the Incognito mode in order to troubleshoot.
- Depending on your situation this problem may have to do with the user profile.
Chrome autofill couldn’t have come at a better time when people are tired of typing in their contact details like name, email, phone number, address, and other information online – it is a tedious process.
Autofill has been around for a while as part of the browser experience, but most of us don’t think about it as often or think to use it unless it is pointed out to us. With this feature, you can automatically store specific contact data in your browser and then use it when filling out forms online.
However, this feature still has its downsides because Google Chrome stores your credit card numbers, including its expiration date and CVV code, besides your contact information.
Even though Google tries hard to protect your information, it is wise to think twice about keeping such information on your computer. It differs from Autocomplete, which gives you suggestions as you type in a form field, as you would on your browser’s URL bar or search box.
Let us present the best solutions if Chrome autofill is not working on your browser.
Why is Chrome not autofilling my passwords?
While this service runs seamlessly for most users, a few things can trigger a malfunction in Chrome autofill. A few significant culprits are:
- Compatibility issues with extensions
- Outdated cache data
- A disabled autofill feature
- A corrupted browser
Whatever the reason behind the Chrome autofill not working, our solutions should effectively restore your browser to normal functionality.
Where is autofill in settings?
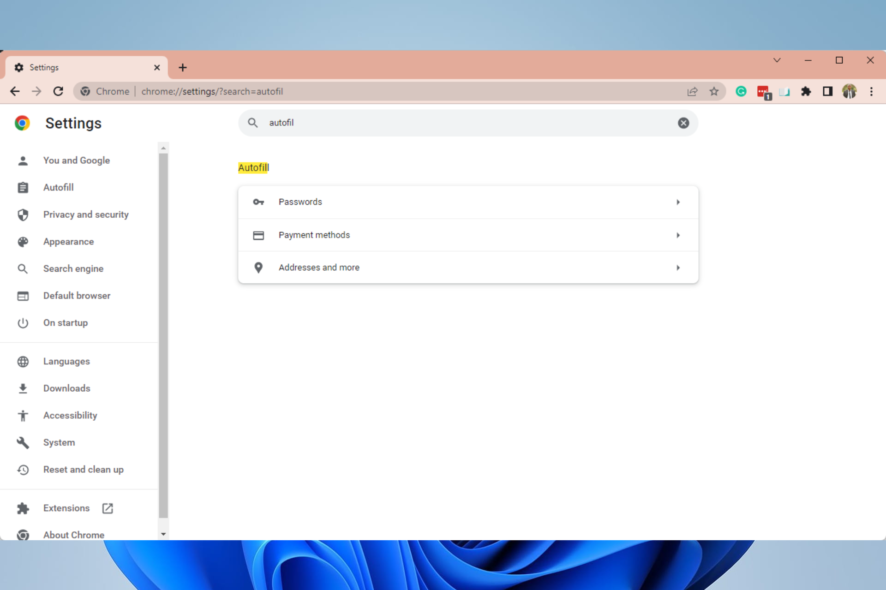
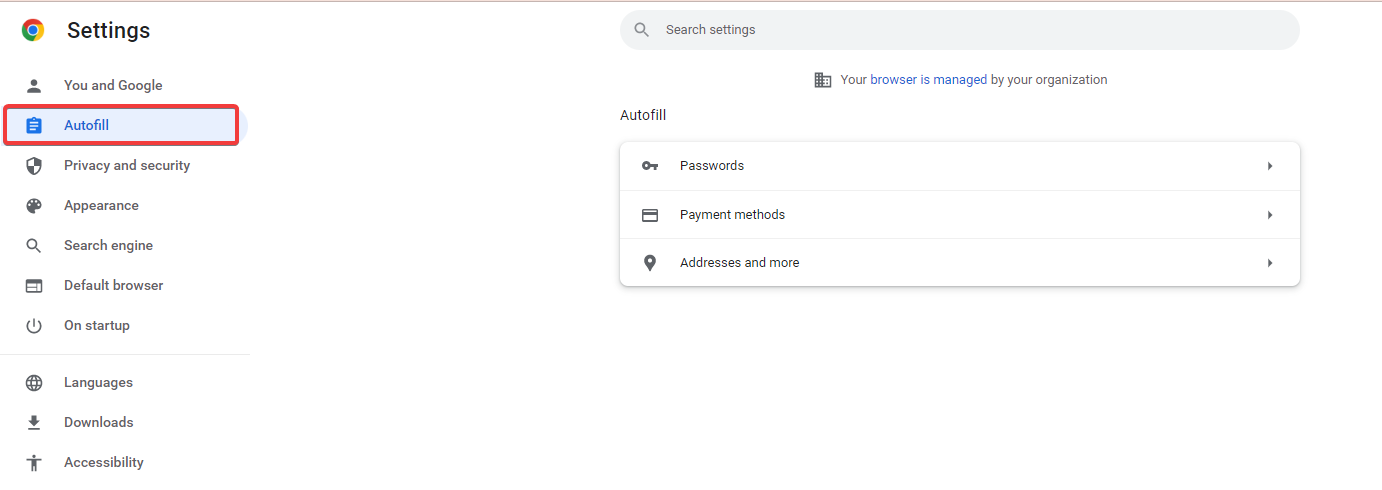
Once you are in your Chrome Settings, you will locate the autofill on the left pane, among other setting options.
Quick Tip:
If you are concerned and tired of Chrome’s autofill not working, then switching to a different browser is more efficient than trying to troubleshoot your old one.
Opera One’s autofill option it’s safe due to its fraud & malware protection. Plus, Opera One comes with built-in security measures such as VPN, Ad blocker, tracker blocker and it also features a native AI.

Opera One
Benefit from great privacy and online security, thanks to this browser with an advanced built-in VPN.How do I get Chrome to Autofill back?
1. Clear browsing data
- Launch the Chrome browser.
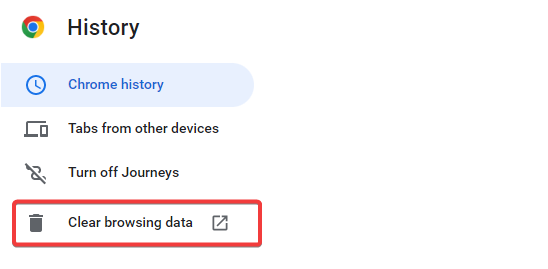
- On your keyboard, press Crtl + H.
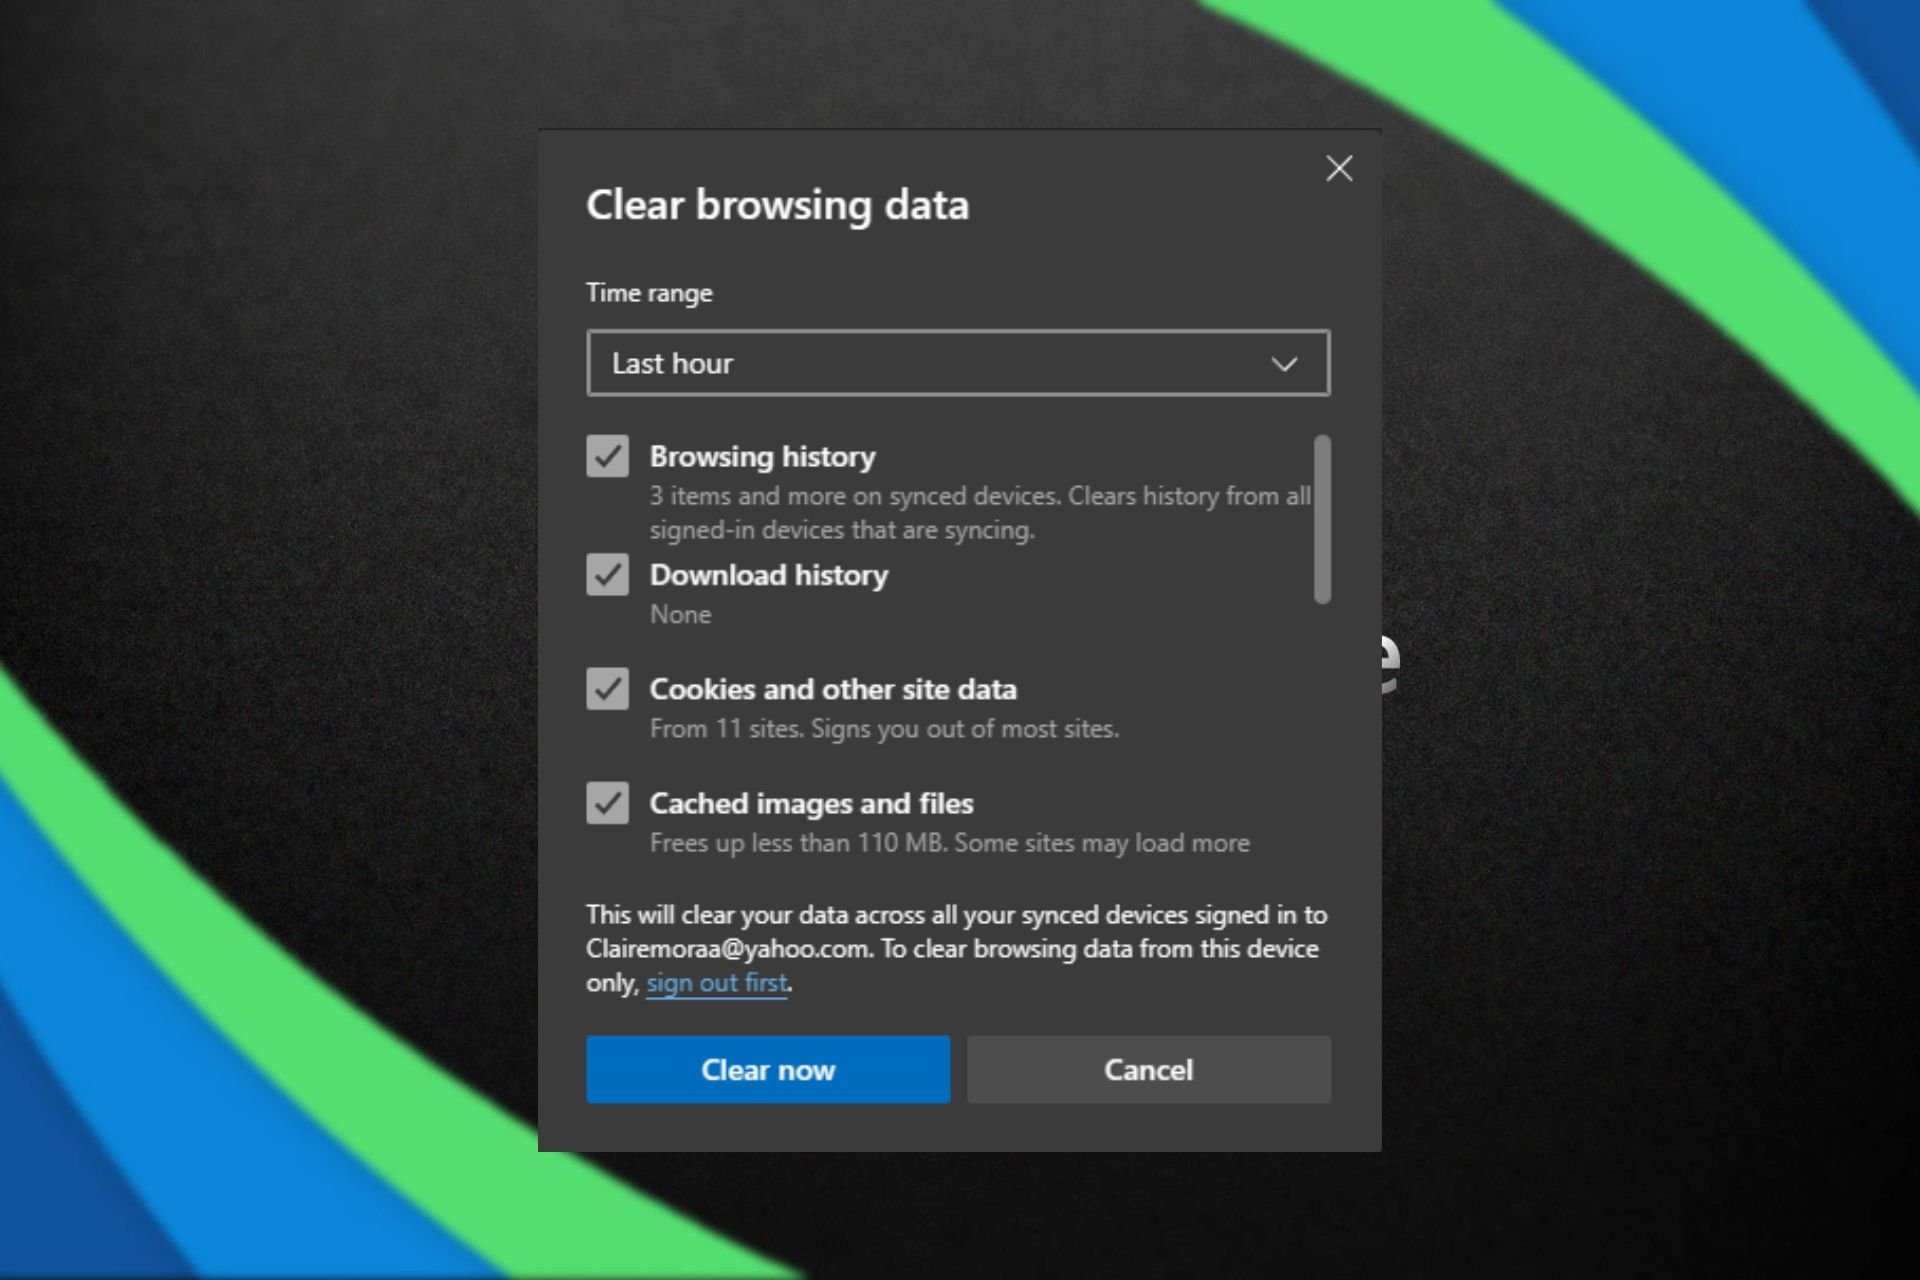
- Click on Clear browsing data on the left panel.
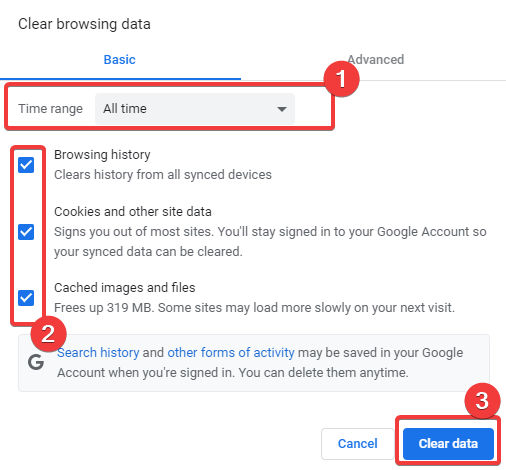
- Select All Time from the Time range dropdown box, tick the options for Browsing history, Cookies and other site data, and Cached images and files, then click on the Clear data button.
2. Turn on Chrome autofill
- Launch the browser.
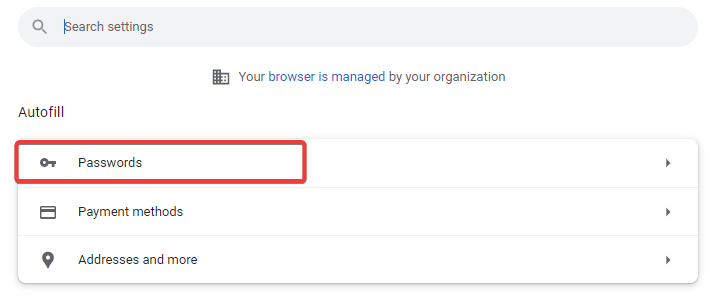
- Type the path below in your Address bar and hit Enter.
chrome://settings/autofill - Click on Password if Chrome is not auto filling passwords.
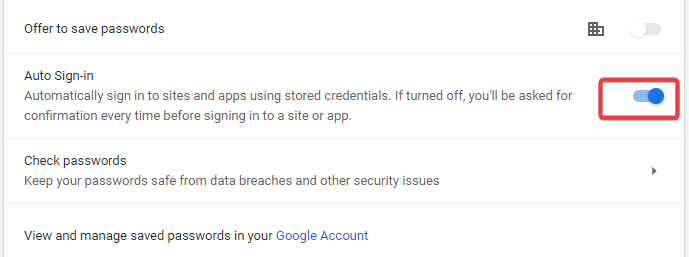
- Toggle on the Auto sign-in option.
- Repeat Step 2 if Chrome credit card autofill is not working, then click on Payment methods.
- Toggle on the option for Save and fill payment methods.
- Repeat Step 2, then click on Addresses and more.
- Toggle on the option for Save and fill Addresses.
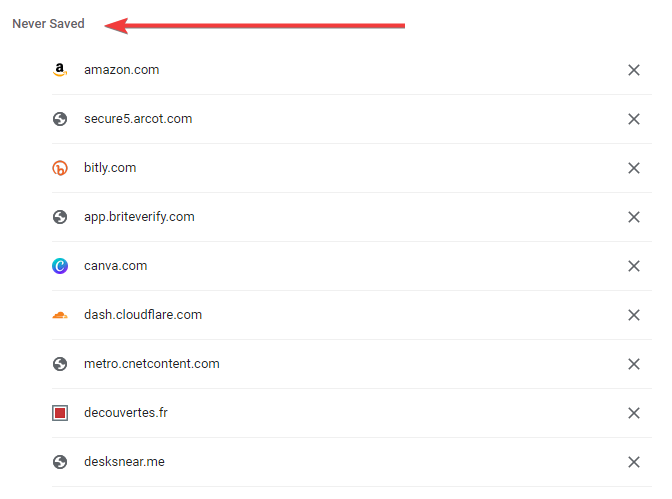
3. Check the Never Saved section
- Launch the browser.
- Type the path below in your Address bar and hit Enter:
chrome://settings/autofill - Click on Password.
- Scroll down to the Never Saved section.
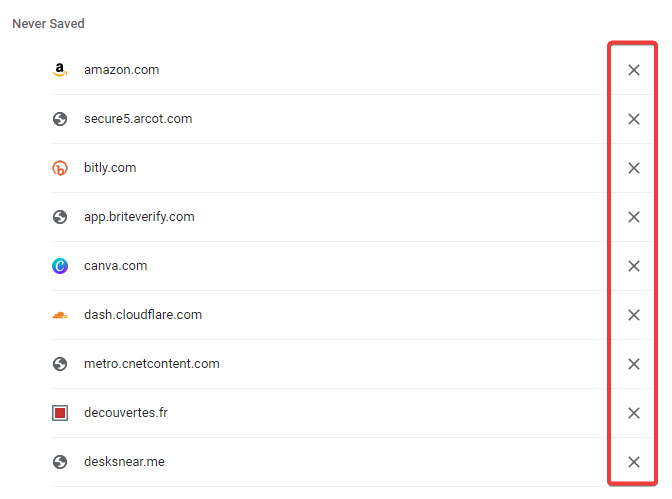
- Check if your site or sites are listed. If they are, remove them by clicking the X at the end of the row and revisit the websites.
This is an essential fix if Chrome autofill is not working on some sites.
4. Create a new user profile
- Exit the Chrome browser.
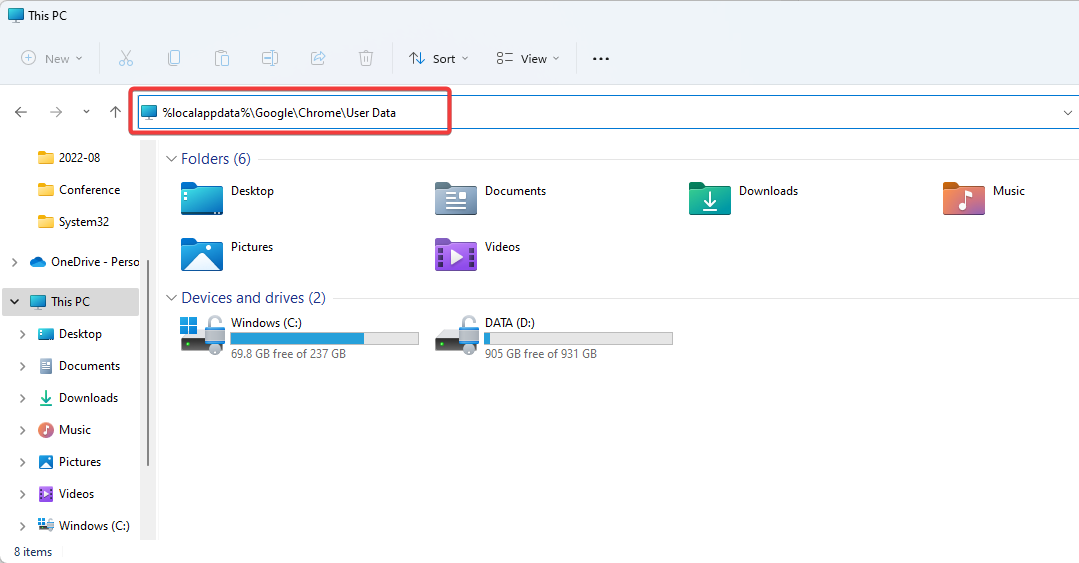
- Open your File Explorer.
- Type the path below in the address bar and hit Enter:
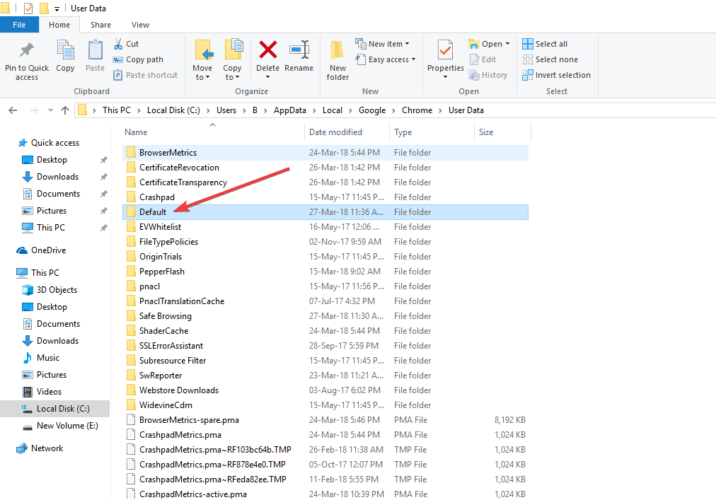
%localappdata%\Google\Chrome\User Data - Find the Default folder in the directory window.
- Rename it as Backup default.
- Open Chrome.
- A new Default folder will be created automatically as you start using the browser.
Now verify if the issue of Chrome autofill not working has been resolved.
5. Reset Chrome settings
- Launch the browser.
- Type the path below in your Address bar and hit Enter:
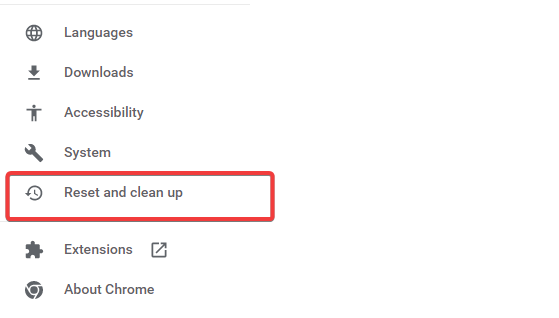
chrome://settings - On the left pane, click on Reset and clean up.
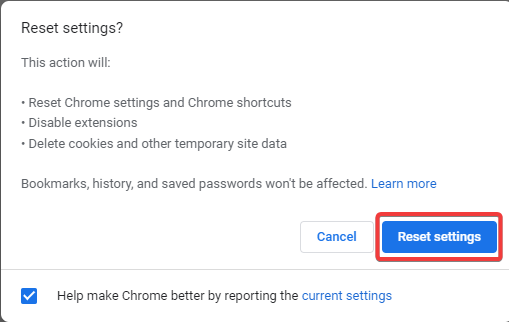
- Click Restore settings to their original defaults.
- On the popup, click the Reset Settings button.
Now verify if the issue of Chrome autofill not working has been resolved.
When you reset the Chrome settings, it changes the default search engine back to Google, your homepage and tabs, and your extensions and themes back to default.
6. Disable extensions
- Launch the Chrome browser.
- In the address bar, type the code below and hit Enter:
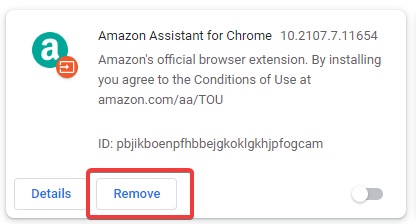
chrome://extensions - Click on the Disable switch for individual extensions.
Disable all the plugins in your Chrome browser using our instructions to find the problem extension.
Where is Google Autofill data stored?
Data from autofill is kept in the Google cloud. If you keep credit card information on your PC, your tablet and smartphone will also access this information.
In addition, note that if you delete your browser history, passwords, and sign-in information from a device, they will no longer exist on all your devices.
In this article, we presented you with all the solutions you can apply if you notice that Chrome autofill is not working.
So whether you opt to use a different browser or decide to go through the troubleshooting process, we are sure that you will be able to get rid of the annoying problem if you just follow our guide.
If any of these solutions helped, we’d like to hear more from you about it, so leave a comment in the dedicated section below.
If you have issues with password managers on Chrome, you may find our guide on fixing LastPass not auto-filling in Chrome handy.

