Quickest Way to Convert RAW to NTFS Without Formatting
You can use Disk Management tool to convert RAW to NTFS
Key notes
- You can use the Command Prompt to convert RAW to NTFS without losing data.
- Ensure that you have taken a backup of the data from the RAW drive before converting to NTFS.

When you boot up your PC and you come across a RAW partition, then you should understand that all the files inside are corrupt, or the system fails to recognize it.
This RAW drive or RAW files present inside a particular drive letter can be fixed if you convert the RAW to NTFS. In this guide, we will show you exactly how you can convert RAW to NTFS without losing data and without formatting.
What is the Raw File System?
You might have heard about the NTFS, exFAT, FAT32, RAW, etc., file systems. File systems basically mean how the system manages or handles the files, basically how it stores and retrieves them.
If your drive letter, partition, or external drive isn’t formatted to any of the file systems, then you won’t be able to access the storage device.
Such a selected disk is known as a RAW drive or RAW drives, depending on the number of drives you have. The storage device could be anything, like a USB flash drive, memory card, or others.
In case the partition becomes RAW, you will come across issues such as bad sectors, file system errors, or you won’t be able to perform RAW partition recovery.
Why should I convert from Raw drive to NTFS file system?
The RAW drives or RAW disk can get bad sectors because of the below reasons:
- Wrong disk management.
- File system corruption.
- The RAW disk’s drive table is corrupt.
- The RAW drive is unusable.
In such a case, it becomes necessary to convert the RAW drive to the NTFS file system. Below, we have shown different methods to format the RAW drive to NTFS without losing data and also convert RAW to NTFS without formatting.
How to convert a Raw disk to NTFS without formatting & without losing data?
Before you go ahead and convert a RAW drive to NTFS file format, we would strongly advise you to create a backup of your data or recover the data using data recovery software.
For your convenience, we have a guide that lists some of the best backup tools that you can use to create a backup of the RAW format drive.
Moreover, you can also check out our guide which gives you a list of the best partition recovery tools you can use.
Let us now check out the steps to convert the RAW disk to NTFS.
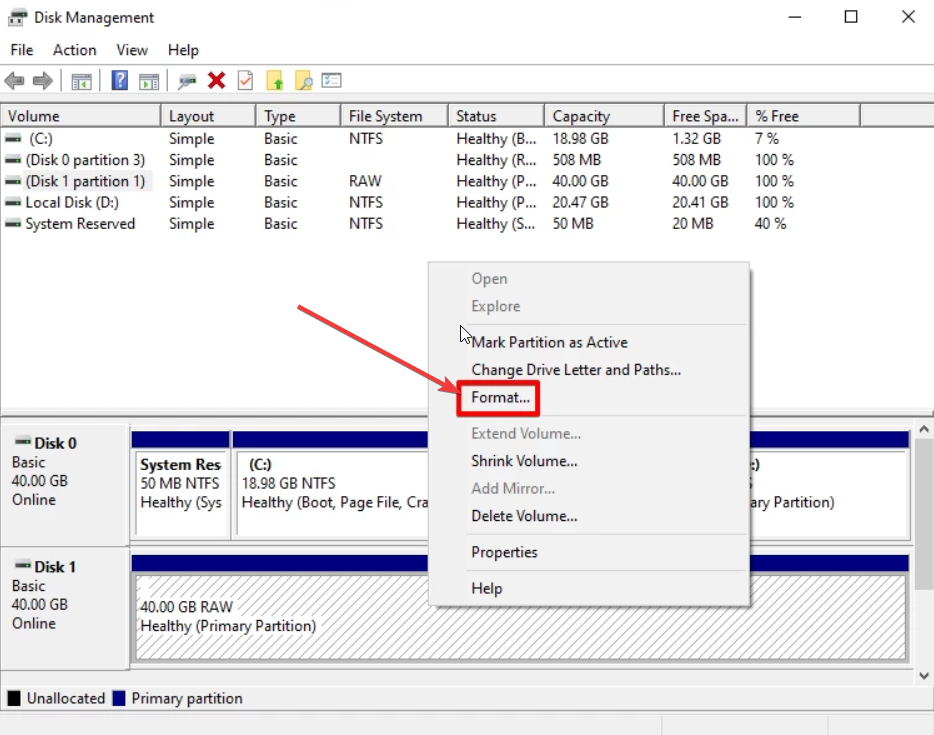
1. Use Disk Management
- Press the Win key to open the Start menu.
- Type Disk Management and open the top result.
- Select the disk by right-clicking on the RAW partition and selecting Format.
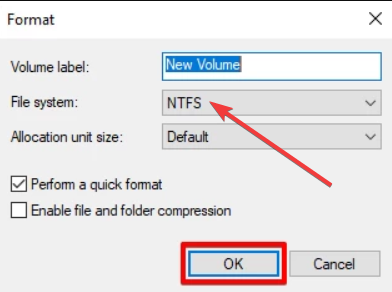
- Enter the name of the RAW partition.
- Under the File system drop-down, select NTFS and click OK when ready.
- In the prompt that appears, click on OK to confirm your actions.

Using the Disk Management tool, you do not have to rely on any third-party software to perform a quick format of your RAW drive to NTFS without losing data. Of course, this is unless your drive suffered physical damages that led to permanent loss of data.
In case you are having issues with the Disk Management where the Disk Management isn’t loading, then you should read our guide and apply the solutions to resolve the problem.
Also, we would suggest you check out our guide that will help you resolve the problem in case all options are greyed out in Disk Management. Now, let us check out another method to convert RAW drive to NTFS without formatting.
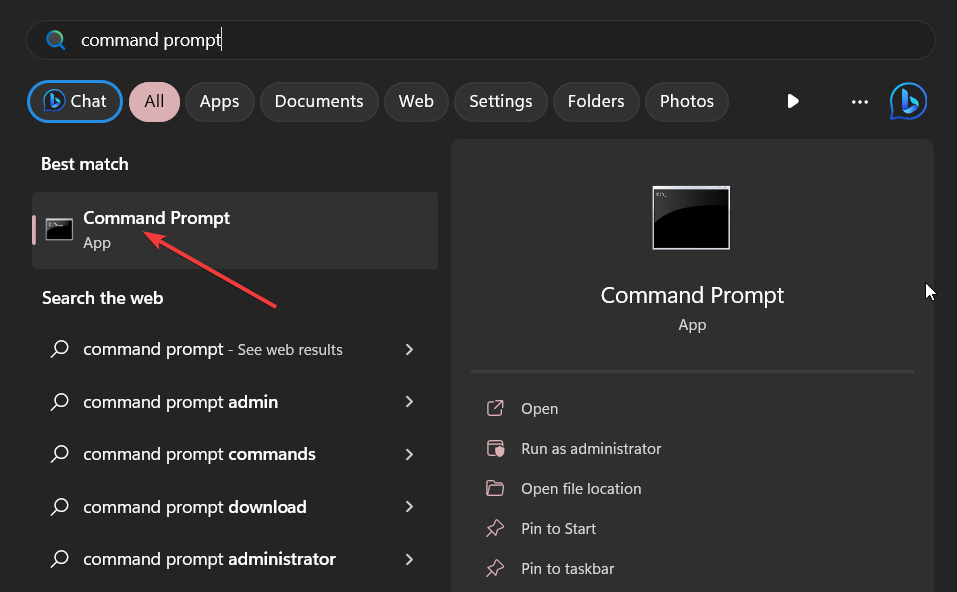
2. Use Command Prompt
- Press the Win key to open the Start menu.
- Type command prompt into the search box and run it as an administrator.
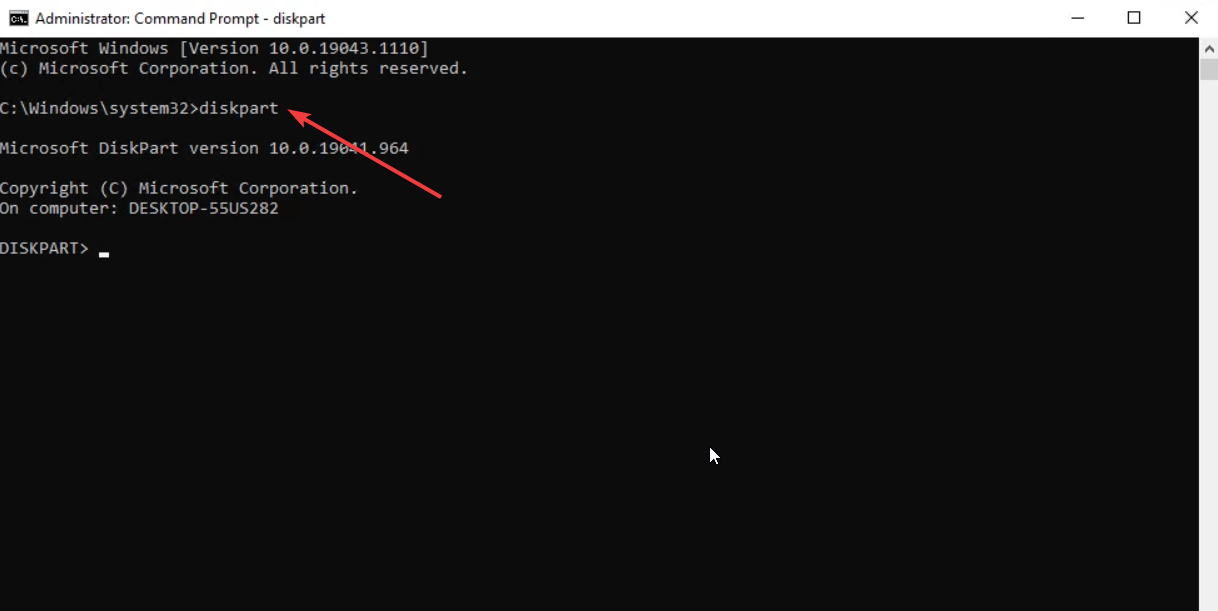
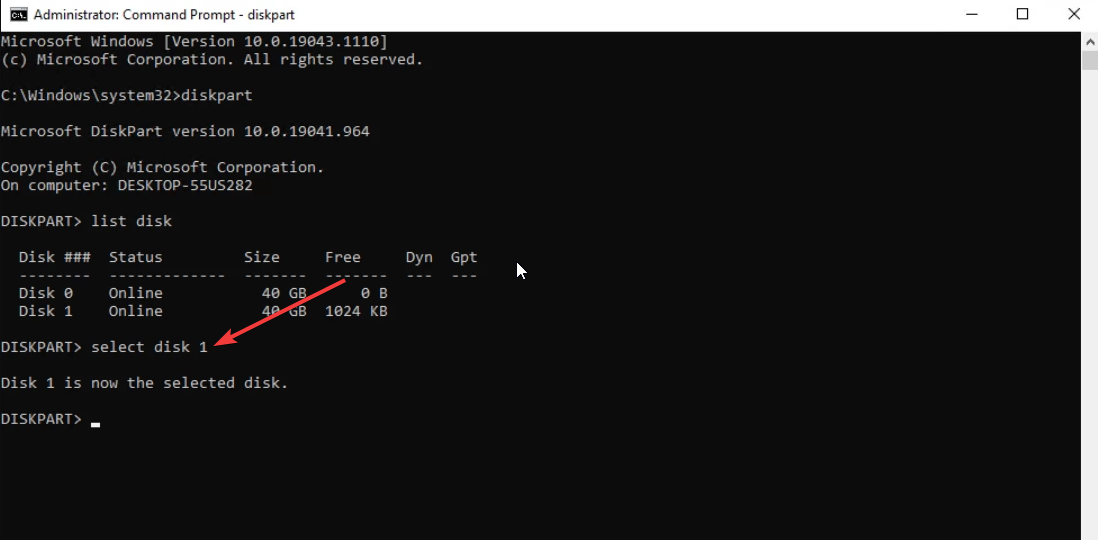
- Type the below command and press Enter.
Diskpart - Execute the below command to list all the disks on your computer.
list disk
- Type the below command to select the partition and press Enter.
select disk 1(Replace the number with the number for the RAW drive) - Execute the below command to wipe the disk and prepare it to accept a new partition.
clean
- Type the below command and press Enter.
create partition primary
- Run the below command to format the drive with the NTFS file system.
format fs=ntfs - Type the below command and press Enter to assign a drive letter to the partition.
assign
Usually, when you convert the RAW drive to NTFS using the command prompt, it will fix the RAW partition without formatting. However, at times, this method is known to fail. In that case, learn the other method below.
We have a guide that explains in detail, what is CMD or Command Prompt. You will get all information you need to know about CMD along with some important functions.
3. Use File Explorer
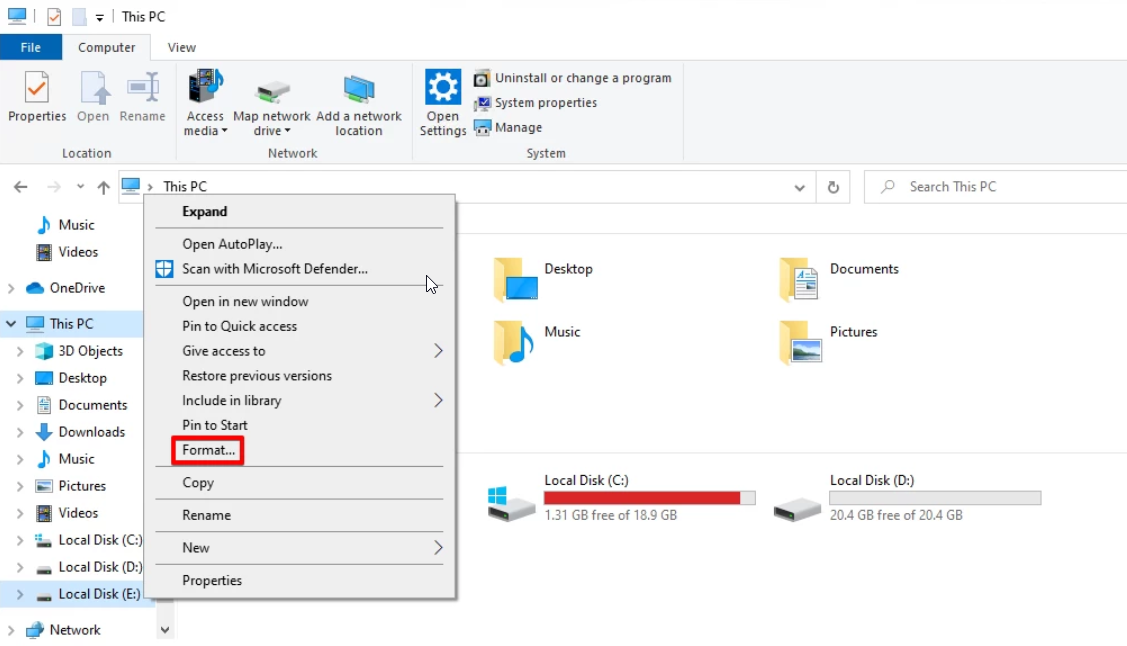
- Press the Win + E keys to open the File Explorer.
- Right-click on the RAW drive and select Format from the context menu.
- Assign a volume label (optional).
- Select NTFS from the File System drop-down.
- Check the Quick Format option and hit the Start button when ready.
- Click OK on the warning prompt that appears.

You can also make use of File Explorer to convert the RAW to NTFS without losing data. This method is easy to use and works faster.
Are there any risks when converting RAW to NTFS?
Notably, yes, there are some risks when converting RAW to NTFS, especially when you are converting a RAW disk to NTFS without formatting.
Data loss is a possibility. If you format the disk without backing up the data, then there are high chances of the drive getting corrupt or wiping the internal data to accept the new file system during the conversion.
What precautions should I take when converting RAW to NTFS?
Some of the most important precautions that we would suggest before you go ahead and convert your RAW disk to an NTFS file system are listed below:
- Make sure that the NTFS file format is supported in the device that you will be using the external drive or USB flash drive, etc.
- Ensure that you have taken a backup of the data before converting RAW to NTFS because there is a very high chance of the data getting wiped out.
- For data recovery from the RAW drive, do not hesitate to use a high-efficiency data recovery tool, as normal ones won’t produce the result you would expect.
That is it from us in this guide. We would suggest you check out some of the best disk management tools that you can use on your Windows PC.
Feel free to let us know in the comments below, which one of the above solutions you used to convert RAW to NTFS without losing data or without formatting.
Read our disclosure page to find out how can you help Windows Report sustain the editorial team. Read more


Improve this guide


User forum
1 messages