Creative Cloud Page is Not Available: 5 Ways to Restore it
If Creative Cloud apps page not available, update the client
3 min. read
Updated on
Read our disclosure page to find out how can you help Windows Report sustain the editorial team. Read more
Key notes
- If the Creative Cloud app page is unavailable when you open it, the problem might be app cache.
- Reinstalling the app can help with this and many other problems that you have.
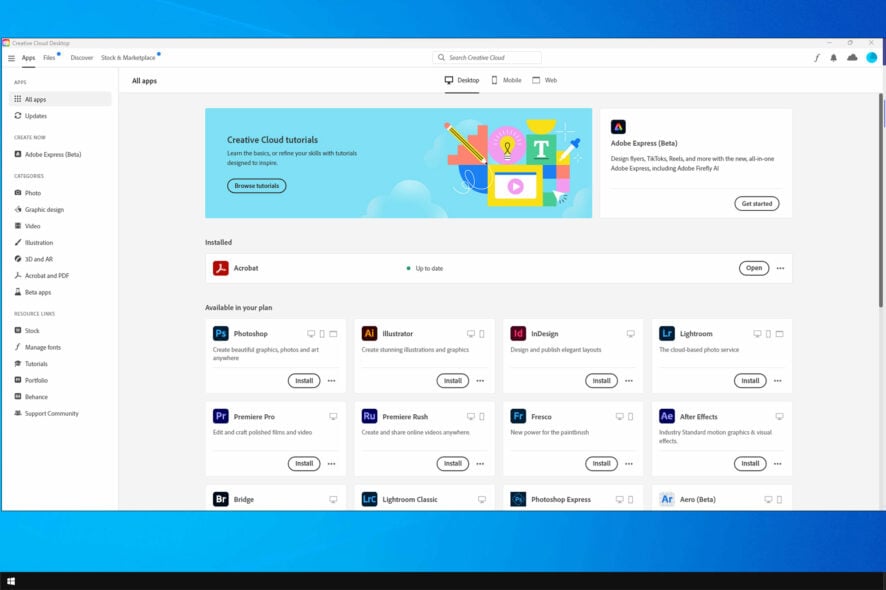
If the Creative Cloud page is unavailable, you won’t be able to use any of Adobe’s services, which can be a significant issue.
However, this can be fixed, and today, we will show you a couple of solutions that can help you with this issue.
Why is Creative Cloud blank?
- The software might be out of date.
- Its cache files or installation is corrupted.
- You’re not using the correct GPU with the software.
How do I fix blank Creative Cloud desktop apps?
1. Check compatibility
- Now, all Windows platforms are compatible with Creative Cloud.
- Users can only utilize CC on 64-bit Windows 10 platform or macOS v10.12 and higher.
- Thus, users who don’t have compatible platforms will need to upgrade to 64-bit Windows 10 or newer.
2. Update the Creative Cloud app
- Check the current version of Adobe Creative Cloud app.
- If it’s not up to date, update it.
- After doing that, check if the problem is resolved.
With every update, Adobe adds new features and security patches and increases compatibility. As with every piece of software, ensure you are using an up-to-date version for the best experience.
⇒ Get the latest version of Adobe Creative Cloud
3. Clear the OOBE folder
- Press the Windows key + E hotkey, which opens File Explorer.
- Click the View tab.
- Select the Hidden items checkbox.
- Enter this path in File Explorer’s folder path bar:
C:\Users\WindowsReport\AppData\Local\Adobe\OOBE - Change the user folder in that path to the actual title of your user folder.
- Select all the contents of the OOBE folder by pressing the Ctrl key + A.
- Press the Delete button to erase selected files.
4. Reinstall the Creative Cloud app
- Download the Creative Cloud Uninstaller from this page.
- Open the Creative Cloud Uninstaller ZIP in File Explorer.
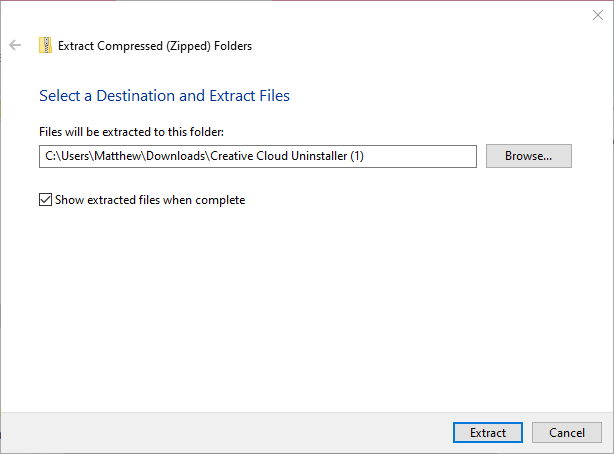
- Click the Extract all button.
- Press the Extract button.
- Then open the Creative Cloud Uninstaller from the extracted folder.
- Click the Uninstall button on the window that opens.
5. Select Power Saving Graphics for Creative Cloud
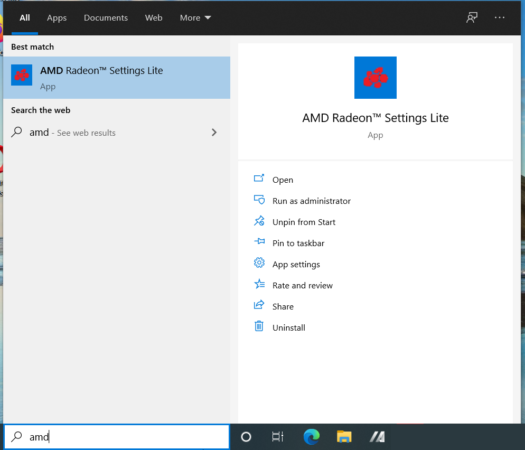
- Right-click the desktop and select AMD Radeon Settings.
- If you can’t find it there, type AMD Radeon Settings in the Windows search bar.
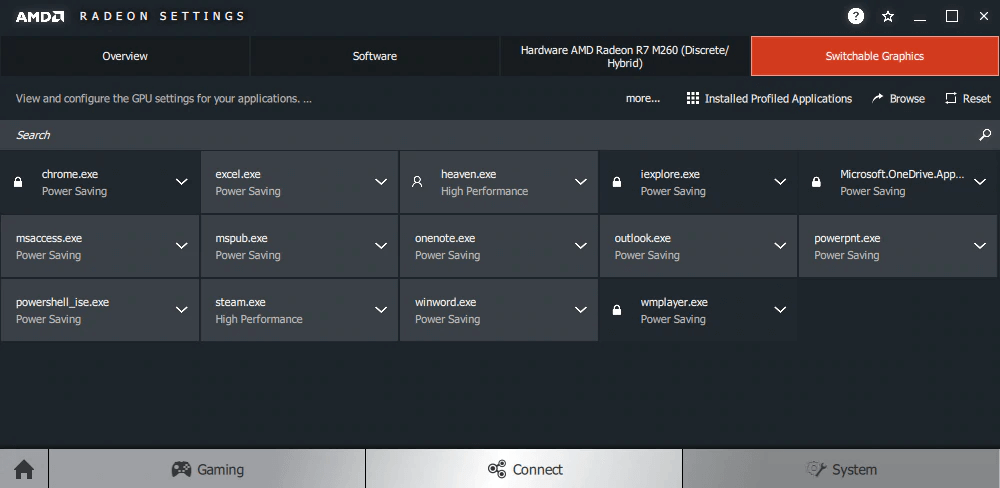
- Click the System tab on the Radeon Settings window.
- Then select the Switchable Graphics tab shown directly below.
- Enter Creative Cloud in the Search box.
- Click the Creative Cloud profile application to select the Power Saving option.
Some users with hybrid Intel/AMD graphics systems have said they’ve fixed the issue by switching Creative Cloud to Intel (power-saving) graphics.
The above resolutions will probably fix the Creative Cloud app for most users. However, this isn’t the only issue; many reported high CPU usage in Creative Cloud Desktop. If that happens, you might have to stop Creative cloud from running in the background.
Many reported Adobe Creative Cloud download error, but we have a unique guide that addresses that. What method did you use to fix this issue? Let us know in the comments below!





User forum
0 messages