How to Fix the CRYPTO_SELF_TEST_FAILURE BSoD in Windows
This is a rare BSoD that randomly appears during start-up
![]() 3 min. read
3 min. read
![]() Updated on
Updated on
Share this article
Improve this guide
Read our disclosure page to find out how can you help Windows Report sustain the editorial team. Read more
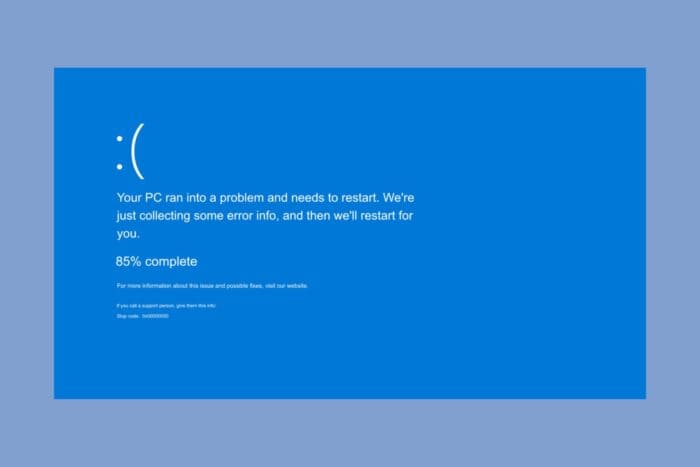
The CRYPTO_SELF_TEST_FAILURE BSoD, also known as 0x00000123 stop code, occurs when the driver that handles encryption is malfunctioning, or is damaged. It usually appears randomly during the system initialization. It’s often encountered on older OS versions such as Windows 7 or 8, but it has been spotted rarely on newer Windows versions as well.
How do I fix the CRYPTO_SELF_TEST_FAILURE BSoD?
1. Reset BIOS to default settings
- Restart your computer and press the key indicated during startup (usually F2, F10, DEL, or ESC).
- In the BIOS screen look for Load Setup Defaults or Load Default Options. The menu is different, depending on the manufacturer of your system.
- Save and exit the new settings (usually, by pressing F10).
If you recently made any modifications to your BIOS, that may be triggering the CRYPTO_SELF_TEST_FAILURE BSoD, so resetting the settings is the first step to fix this issue.
2. Roll back any recently updated drivers
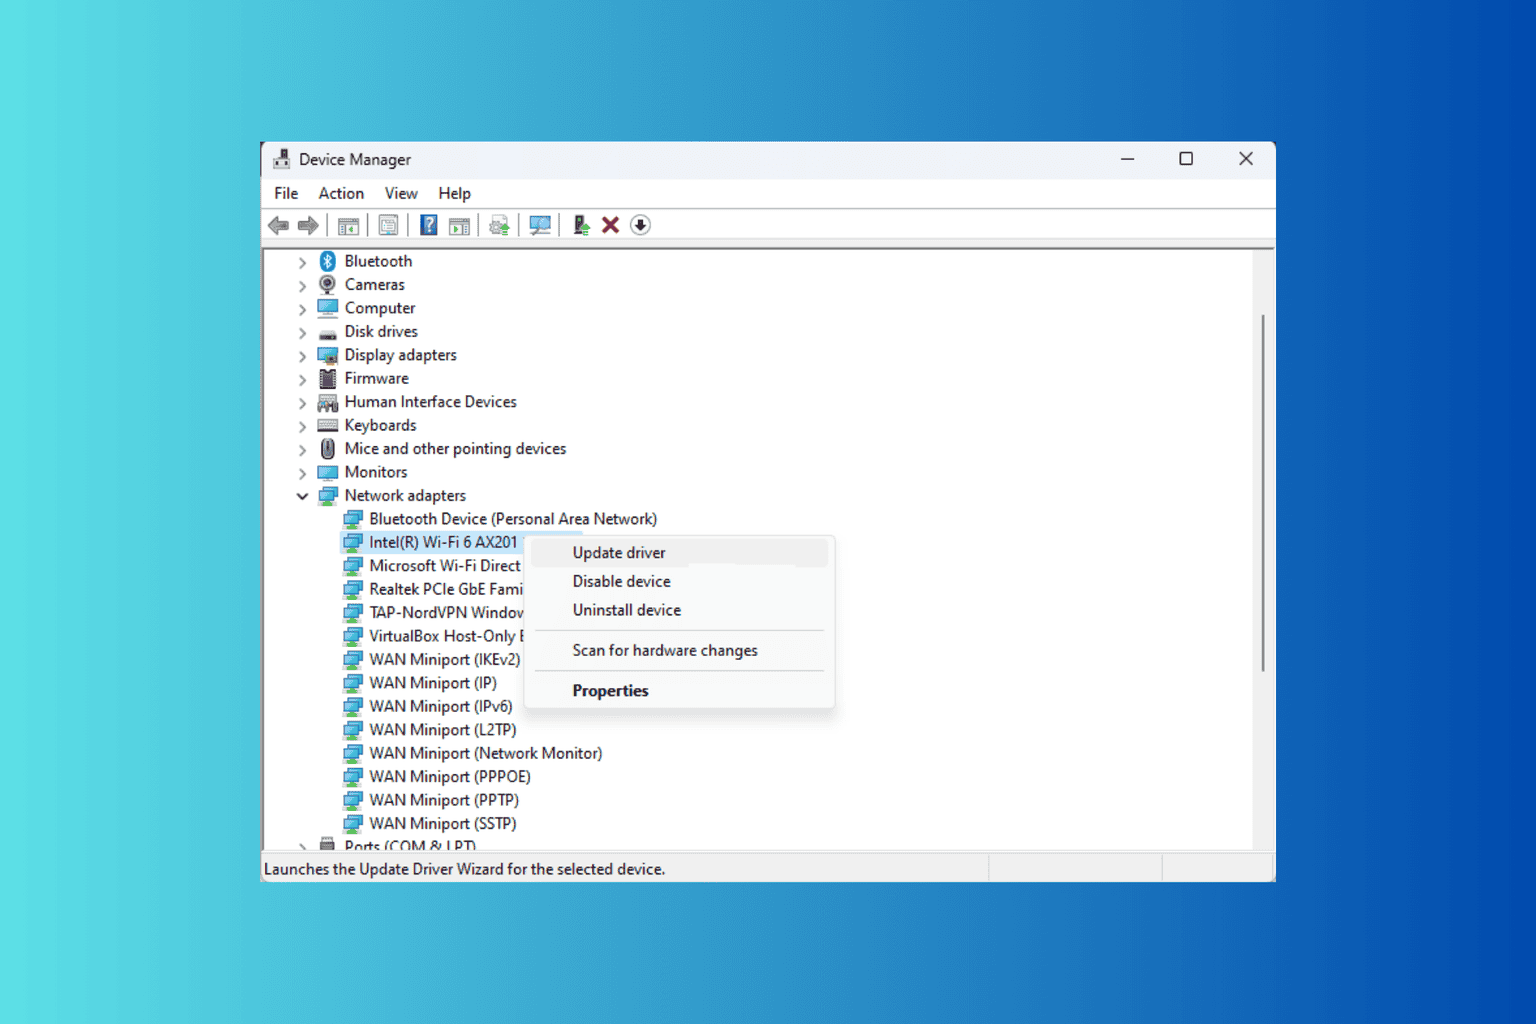
- Right-click the Start menu and select Device Manager.
- Here, go through all the categories and see if there is any yellow exclamation mark next to any of the drivers. If you find any, right click on it and select Properties.
- Next go to the Driver tab and select Roll Back Driver.
- If the option is grayed out, click on Update Driver instead.
- Next, click on Search automatically for drivers.
Even if you don’t remember updating a driver, Windows updates also come with driver updates that will install automatically. You may also try the Uninstall device option and restart your system to install a default driver for it. If this doesn’t work, you can also visit the manufacturer’s website for that component and download the correct driver for your device and OS.
3. Run SFC and DISM scans
- Click the Start button, type cmd and click on Run as administrator from the results.
- Type the following command and press Enter to run the SFC scan:
sfc /scannow - After the scan is complete, type or paste the following command for the DISM scan:
DISM /Online /Cleanup-Image /RestoreHealth - Restart your PC and see if the CRYPTO_SELF_TEST_FAILURE BSoD reoccurs.
The CRYPTO_SELF_TEST_FAILURE BSoD can also be triggered by a corrupt system or image and the SFC and DISM scans can clear these problems.
4. Run a System Restore
 NOTE
NOTE
- Click the Start button, type system restore and click on Create a restore point from the results.
- Now, click on the System Restore button.

- Select a restore point dated before the CRYPTO_SELF_TEST_FAILURE BSoD started to manifest itself and click Next.
- Follow the on-screen instructions to restore your system.
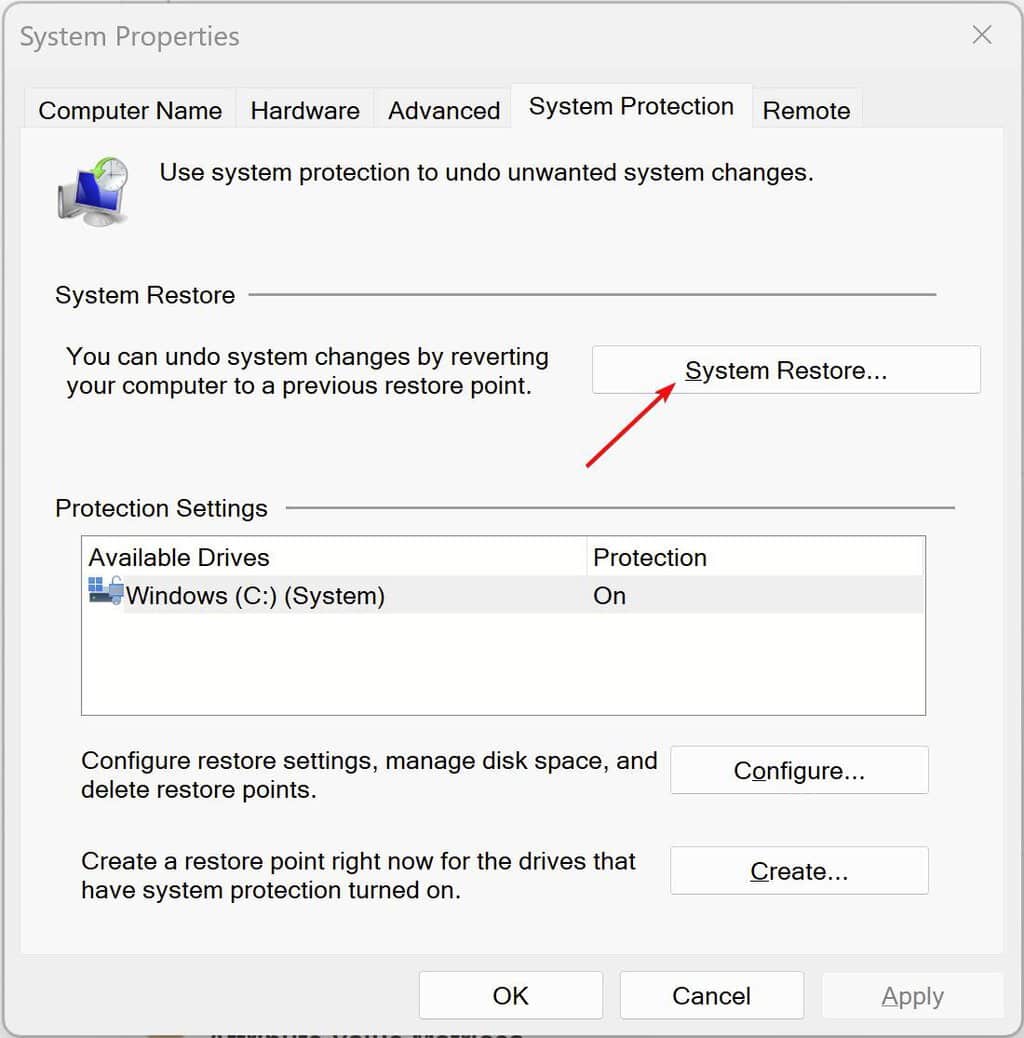
Running the System Restore is a great way to patch things up on your system, but for that, you will actually need to have a saved restored point of your OS. If you don’t, this solution won’t work.
Ultimately, a clean Windows reinstallation is the last resort, but hopefully, the solutions above will help you fix your system from the CRYPTO_SELF_TEST_FAILURE BSoD.
If you need more information, you can always check our guide on the causes of BSoD, just to get a better understanding of this interruption. Before you leave, don’t hesitate to check our latest Win32k_Atomic_Check_Failure article for more information.
Let us know in the comments below if our solutions helped you fix the CRYPTO_SELF_TEST_FAILURE BSoD.
User forum
0 messages