Uninstall Dell SupportAssist in 3 Simple Steps
This software can be removed just like any other application
3 min. read
Updated on
Read our disclosure page to find out how can you help Windows Report sustain the editorial team. Read more
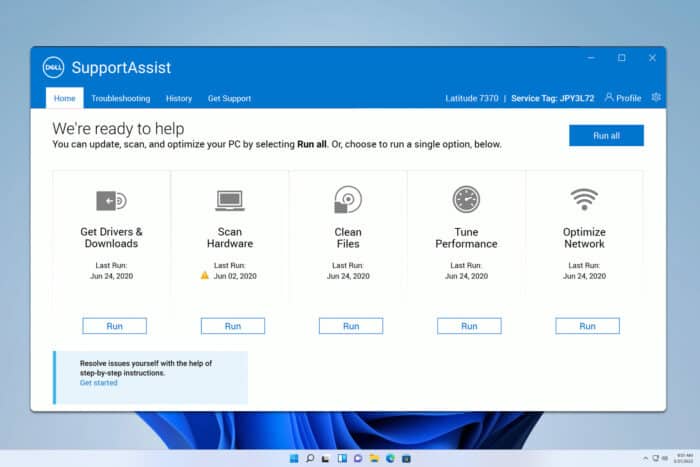
Many reported that can’t uninstall Dell SupportAssist, so in today’s guide, we’re going to show you how to properly remove this software from your PC.
How can I uninstall Dell SupportAssist?
1. Uninstall the software from the Settings app
- Before we start, restart your PC to ensure that no files associated with this software are loaded.
- Ensure that the following are closed: SupportAssist database, SupportAssist log files, SupportAssist UI. If you have Command Prompt or Registry Editor open with SupportAssist paths open, close them.
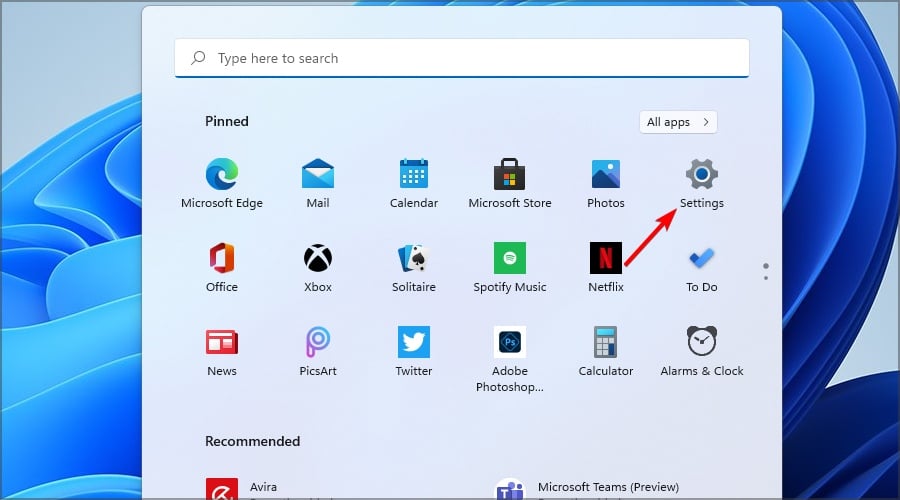
- Click on Start and choose Settings.
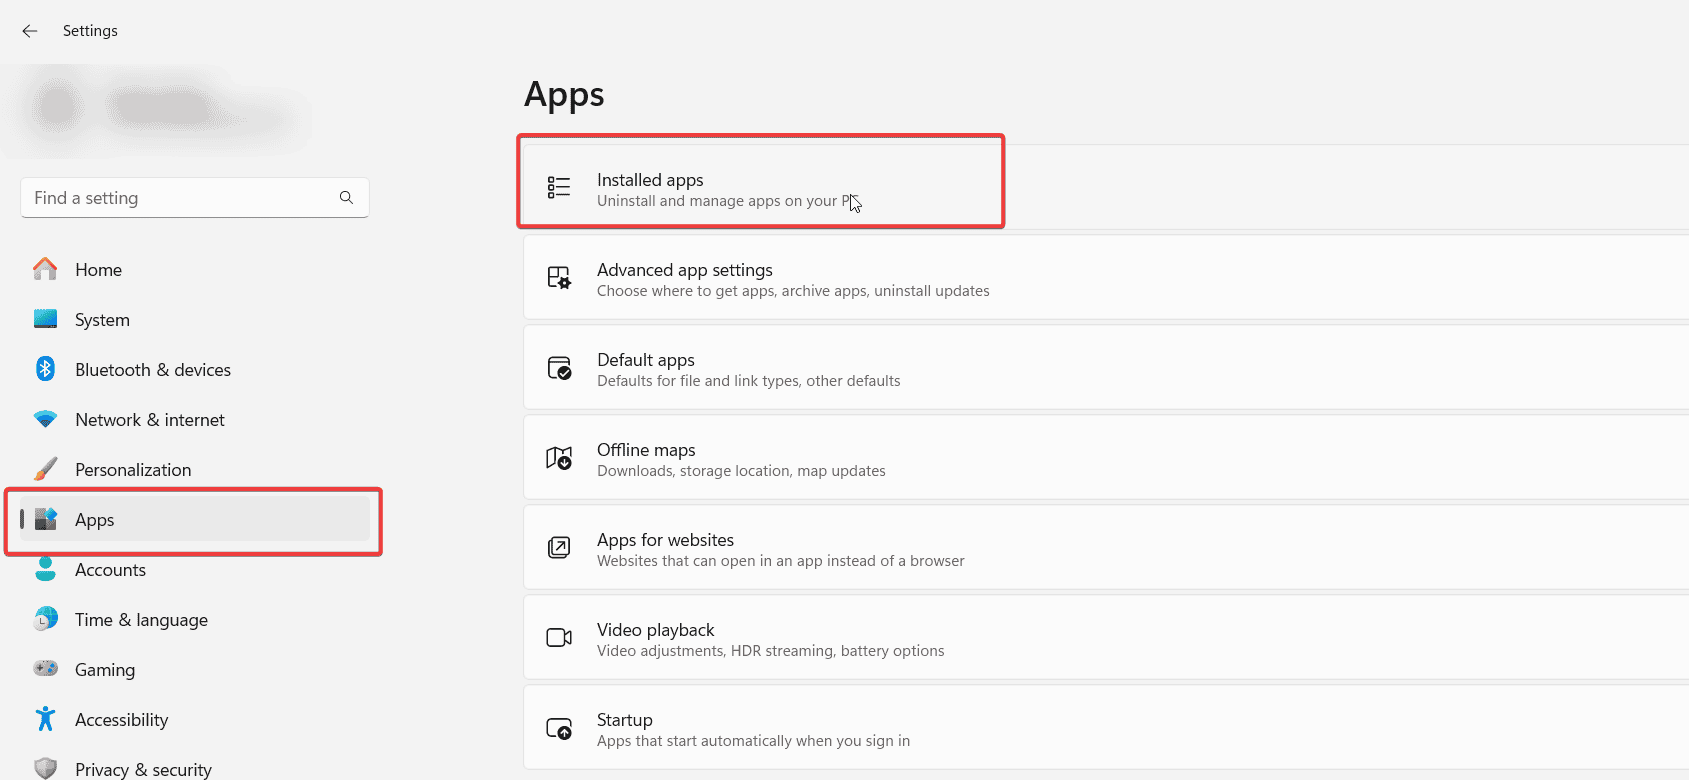
- Next, select Apps and choose Installed apps.
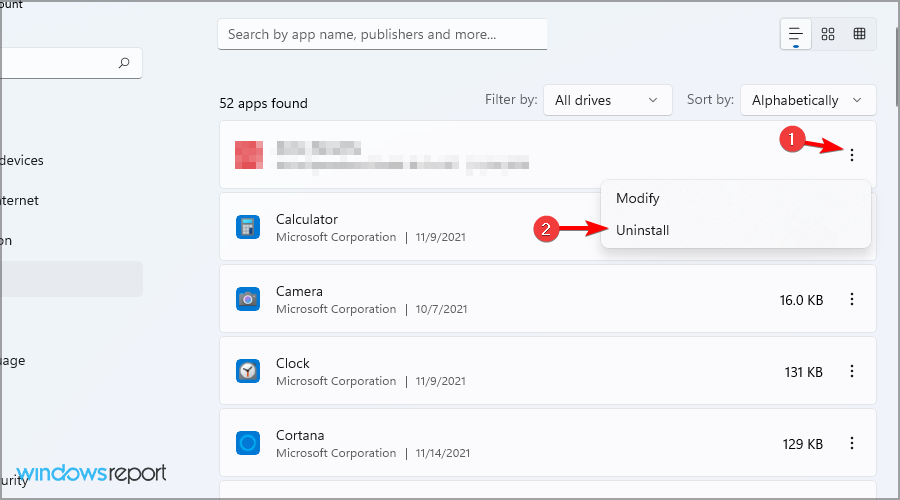
- Locate SupportAssist and click the three dots next to it.
- Choose Uninstall and follow the instructions on the screen.
Once the uninstall is finished, check if Dell services are removed:
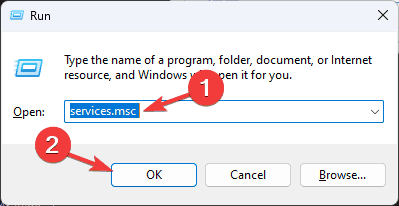
- Press Windows key + R and type services.msc.
- Look for the Dell services.
- If you can’t find them, it means that the software has been removed.
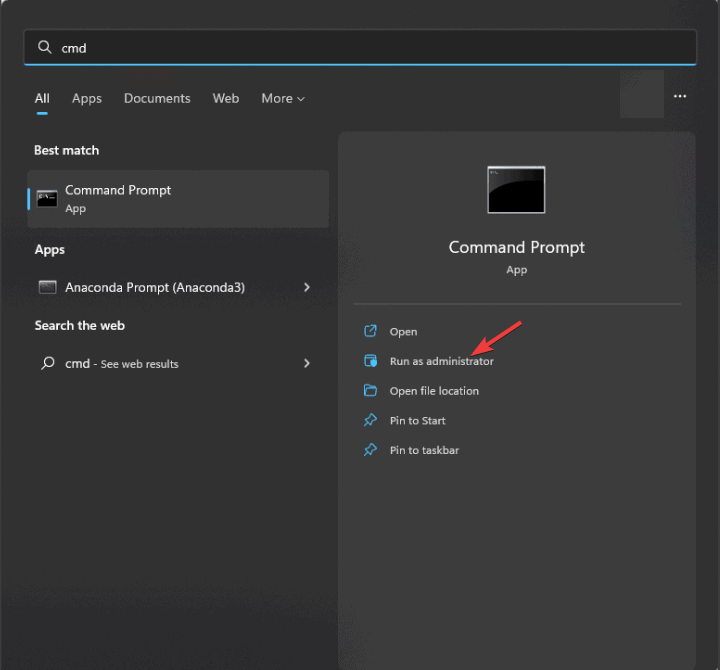
- If the services are still there, press the Windows key + S and type cmd. Choose Run as administrator.
- Run the following commands:
sc delete "DellClientManagementService"
sc delete "SupportAssistAgent"
sc delete "DDVDataCollector"
sc delete "DDVRulesProcessor"
sc delete "DDVCollectorSvcApi"
sc delete "DellTechHub"
If the process doesn’t work, you might have to try to uninstall it again.
2. Manually remove the files
- Navigate to
C:\Program Files\Dell - Try to delete SupportAssist. You can also remove SARemediation since it’s bloatware.
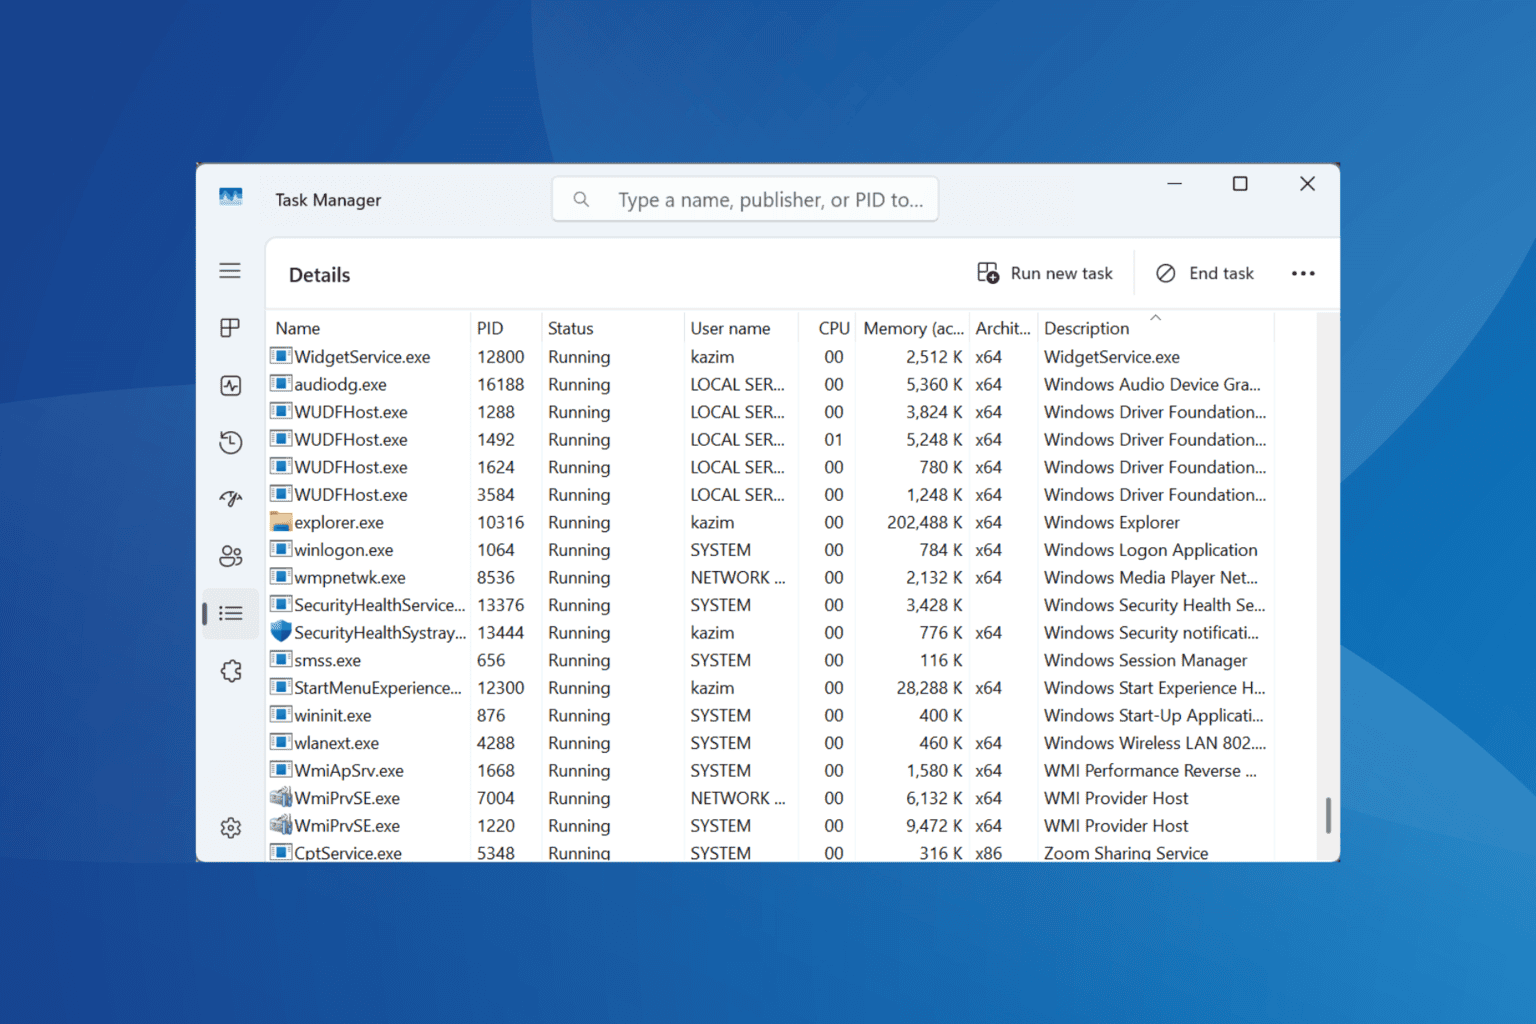
- Press Ctrl + Shift + Esc to open Task Manager.
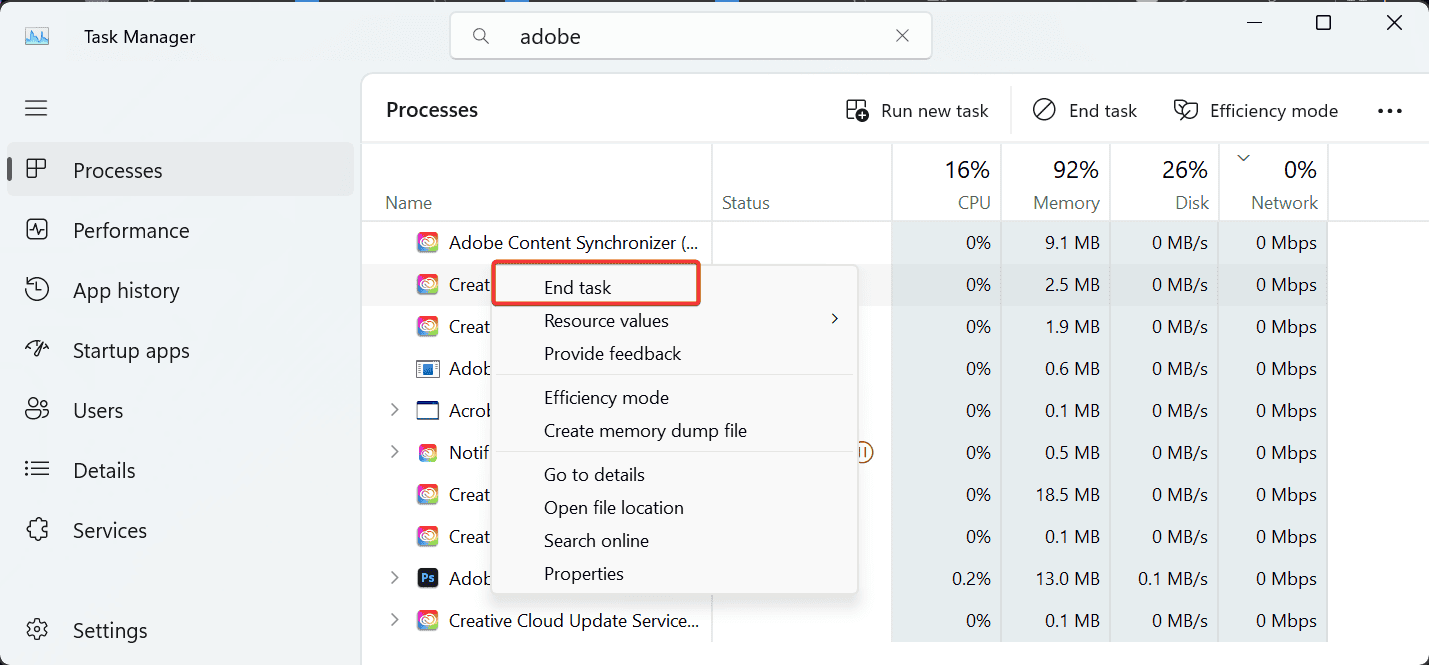
- Locate supportassist process and end it. You might have multiple processes enabled, so end them all.
- Go back to the Dell folder and try to remove the files.
- Keep in mind that SupportAssist will launch again, so you might have to end its processes again and then delete the files. It might take you a few tries to achieve this.
3. Install SupportAssist and try to remove it again
- Visit the Dell SupportAssist download page.
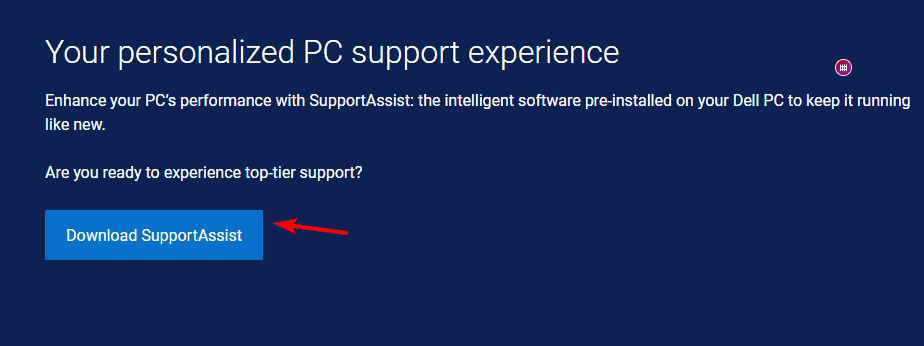
- Click on Download SupportAssist.
- Install the software.
- Once installed, try to uninstall it.
We also have an in-depth guide on how to download Dell SupportAssist, so you might want to check it out.
Is it okay to disable Dell SupportAssist?
Yes, it’s perfectly fine to disable this software, since it’s known to cause issues. The only time you might need it is when you want to contact Dell support.
It might be difficult to uninstall Dell SupportAssist, but it’s possible as long as you follow our guides. It’s no secret that this software has its share of issues and many reported Dell.SupportAssist.Client.Plugin.IDiags.dll error.
Others reported that Dell SupportAssist is not working at all, but we have a guide that addresses this issue, so don’t miss it. Many users are also wondering if you can use Dell SupportAssist on Windows 7, and we have a new guide that answers that.





User forum
0 messages