Fix: Dwm.exe issues on Windows 10 [High CPU, Crash, Virus]
- A crash caused by dwm.exe on Windows 10 can indicate malware infection or faulty hardware.
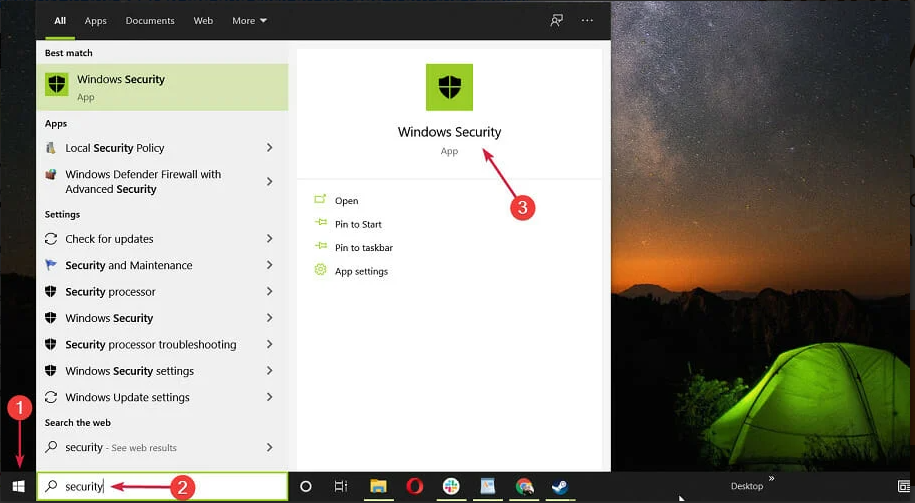
- You won't know the cause from the start, but you'll get a dwm notification window.
- A first step in dealing with a dwm.exe crash is to check your controller or USB devices.
- Running various system scans is also very helpful to eliminate the dwm.exe system error.
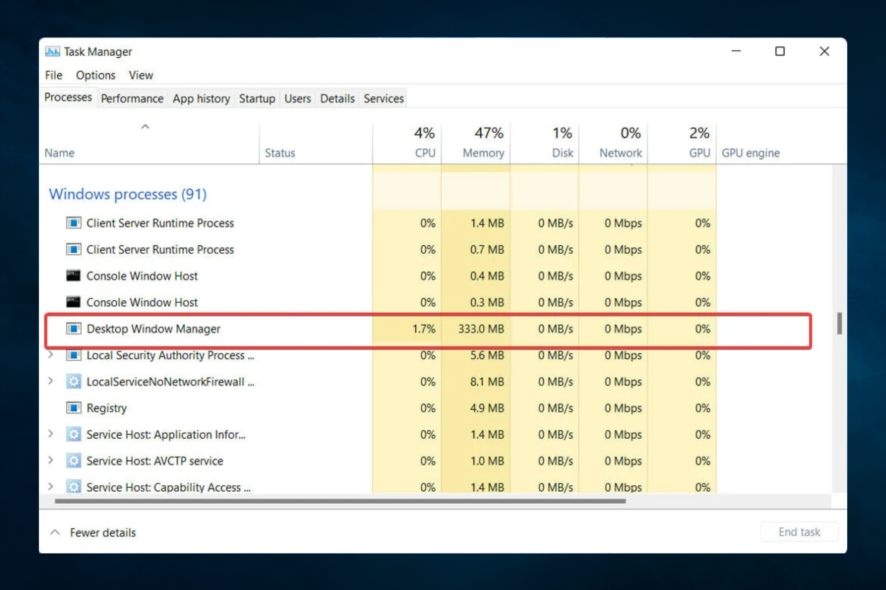
Dwm.exe stands for a core Windows 10 process called Desktop Window Manager. Even though this is an important process, many users reported issues with dwm.exe on Windows 10.
Users oftentimes experience crashes while gaming, once or more times a day. The screen or screens go black, although the sound is not affected.
Indeed, the system sometimes recovers by itself. However, there’s an underlying cause for the issue and you should investigate more.
What causes dwm.exe errors and how does that affect your PC?
- Malware or widespread virus infections
- Failing hardware components
- Corrupted or outdated drivers
- Incompatible or conflictual software/firmware interactions
Now, any of these factors can potentially trigger a dwm.exe crash. But there is more to it. Other common manifestations include:
- dwm.exe causing black screen
- dwm.exe causing CPU spikes (The Desktop Window Manager high memory issue may be caused by a recent Intel driver bug)
- GPU drivers acting erratically
- Random or multiple DWM notification windows
You can also choose to run a specialized app such as the Divvy Window Manager instead, but we’re also going to show you how to fix the issues.
How can I fix DWM.exe issues in Windows 10?
1. Update the controller firmware
Many gamers have been complaining about frequent crashes after installing a new Xbox controller. So what you should do is download the Xbox Accessories app from the Microsoft Store.
Install any available firmware updates you can find and relaunch your game to see if the issue reoccurs.
Replacing the controller has also worked for a few users. Or, in case you have a USB-connected controller, unplug it and see if the error persists.
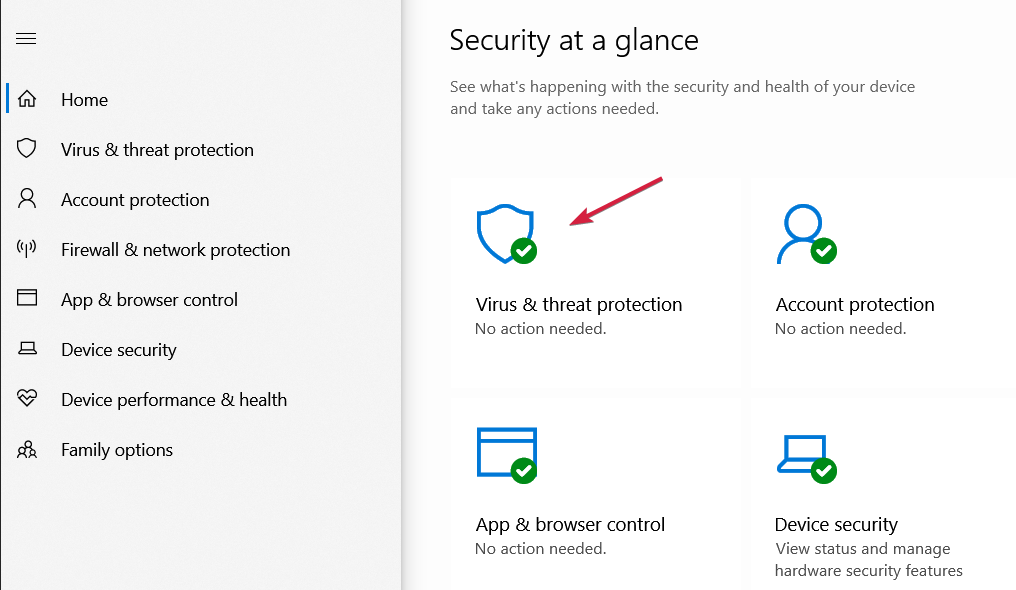
2. Check your computer for malware
If dwm.exe is using too much CPU power or memory, it might be due to a computer virus.
Users reported that after scanning their computer and removing all the suspicious files the problems with dwm.exe were fixed, so be sure to try that.
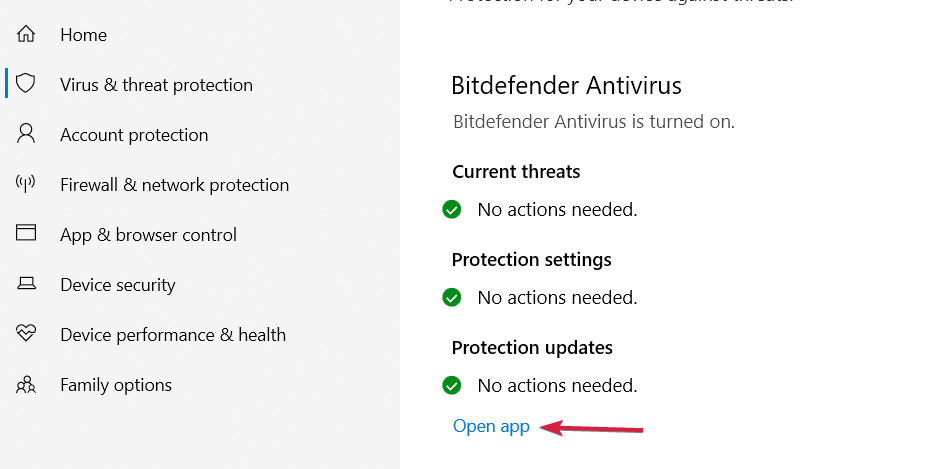
We already covered some of the best antivirus programs for Windows 10 in our previous articles, so be sure to check them out.
On the other hand, users reported that both Avast and AVG caused issues with this process, so you might want to remove those tools from your PC.
We have to mention that almost any antivirus program can cause problems with dwm.exe. So either remove ant third-party antivirus programs from your PC temporarily or disable the software.
For the Norton users, we’ve got a dedicated guide on how to completely remove it from your PC. There’s a similar guide for McAffe users, as well.
Just so that you don’t look too far for reliable security software, we recommend ESET Internet Security.
You’ve surely heard of ESET since they are a well-established antivirus developer. And they have been improving their antivirus solutions a lot.
ESET Internet Security
Make sure that whatever is causing the dwm.exe crash is not some malware that has sneaked into your device. ESET will help you with that!
3. Restart explorer.exe
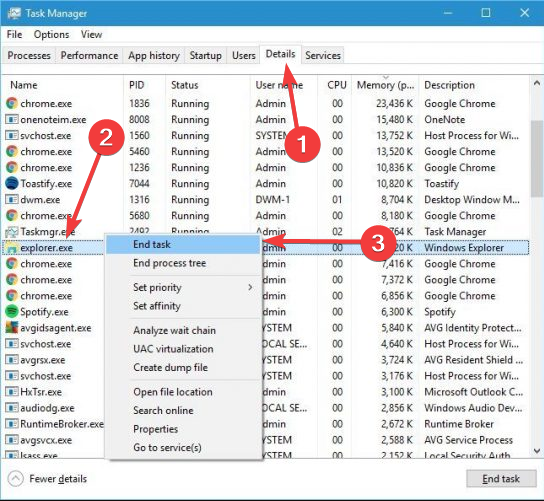
- Press Ctrl + Shift + Esc to start Task Manager.
- When Task Manager starts to go to the Details tab.
- Locate explorer.exe, right-click it and choose End Task.
- Now go to File > Run a new task.
- Enter explorer and click OK.
In case the process take up too much RAM, this step should cut resources and restore your device functionality.
You can also fix this problem by logging out and logging back into Windows 10. Bear in mind that this is just a workaround and you might have to repeat it every time this issue occurs.
4. Disable problematic services
- Press Windows Key + R and enter services.msc. Press Enter or click OK.
- Once the Services window opens you need to disable Skype Updater, Google Update (update), and Google Update (gupdatem) services. To do that, simply find the service that you want to disable and double-click it.
- When the properties window opens change Startup type to Disabled and click Apply and OK to save changes.
- Be sure to disable all services mentioned in Step 2.
5. Delete the mdi264.dll
- Click the Start button, press and hold the Shift key and click the Restart button.
- When your computer restarts choose to Troubleshoot > Advanced options > Command Prompt.
- When Command Prompt opens you need to enter the following:
cd C: \Users\Your Name Here\App\Data\Local\Temp
del mdi264.dll
- After deleting the file close Command Prompt and restart your PC.
6. Disable Chrome Pepper Flash extension
- Open Chrome.
- In the address bar enter chrome://extensions and press Enter.
- A list of active plugins will appear. Locate Chrome Pepper Flash and click Disable.
In some rare cases, Chrome extensions can cause issues with dwm.exe on Windows 10. According to users, you can fix this problem by disabling this extension. You might also find other suspicious or unused extensions that you want to delete.
7. Install older graphics card drivers
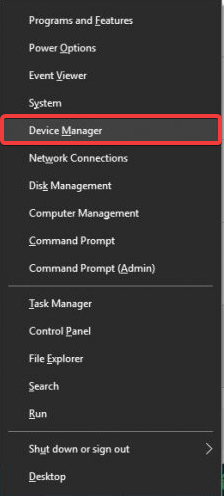
- Press Windows Key + X to open the Power User Menu. Select Device Manager from the list.
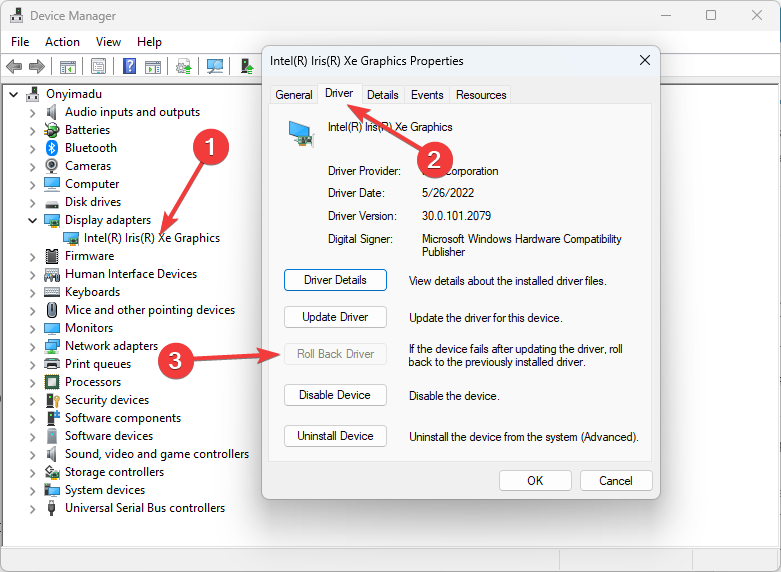
- When Device Manager opens locate your graphic card driver and double click it.
- Go to the Driver tab and click the Roll Back Driver button.
- Wait for the process to complete.
Users reported that the latest Nvidia drivers can cause dwm.exe to crash, and in order to fix this problem users are suggesting to revert to the older version of Nvidia drivers.
Few users reported that even integrated Intel HD 4000 graphics can cause this problem to appear, therefore be sure to roll back its drivers to the previous version as well.
If the rollback was successful, you’ll have to prevent Windows from automatically updating it in the future. To do that, follow this step-by-step guide.
Update drivers automatically
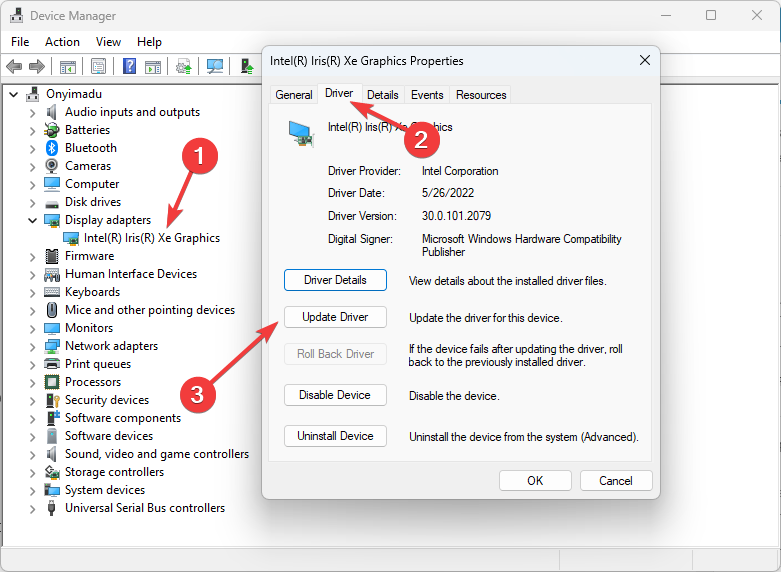
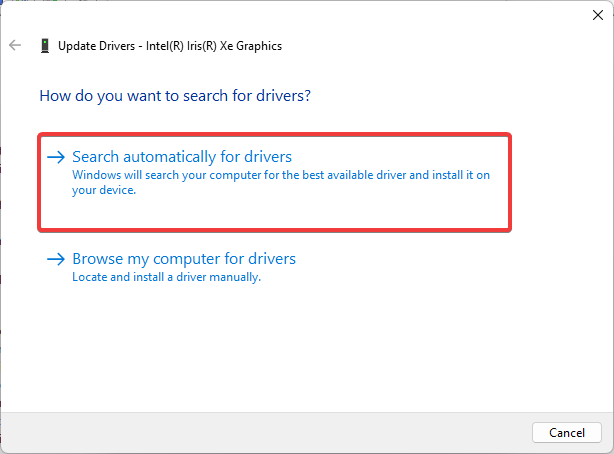
If installing an older driver didn’t get the job done, you might as well try the latest one. If you don’t want to do it yourself, we strongly suggest doing it automatically by using a dedicated tool.
With just a couple of clicks, you allow driver updater software to scan your device and find any problems with existing drivers, missing or out-of-date components, mainly. It will also save you the trouble of doing this manually.
8. Adjust Performance settings
- Go to Search, type performance, and open Adjust the appearance and performance of Windows.
- In the Visual Effects tab, check to Adjust for best performance.
- Save the changes and restart your computer.
Most users don’t know what to do when the Windows search box goes missing. Read this article to learn how you can get it back in just a couple of steps.
9. Run the SFC scan
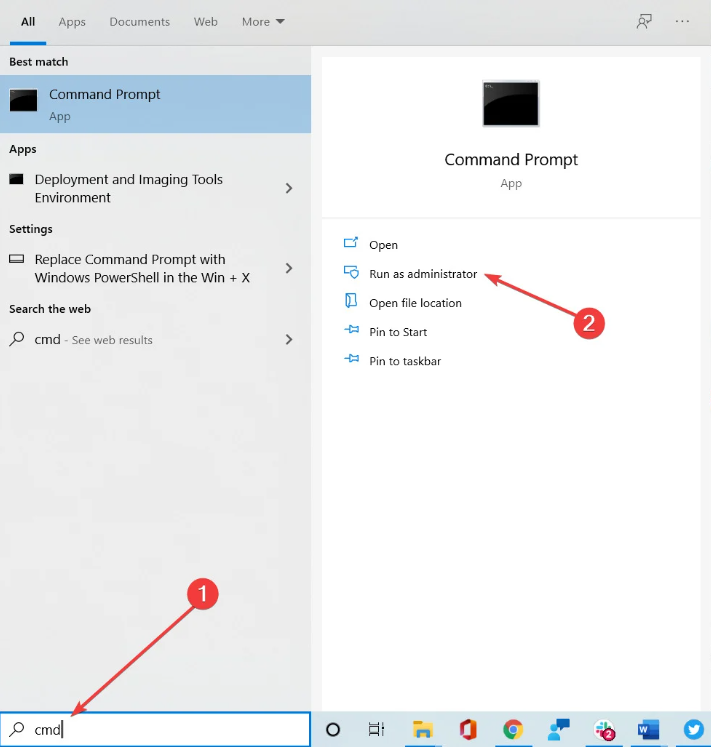
- Go to Search, type cmd, and open Command Prompt as Administrator.
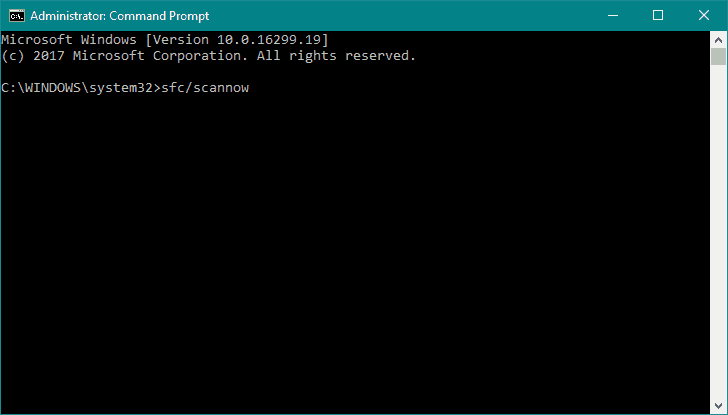
- Type the following command and press Enter:
sfc/scannow
- Wait for the process to finish (it could take a while).
- Restart your computer.
10. Run DISM
- Open the Command Prompt as Administrator.
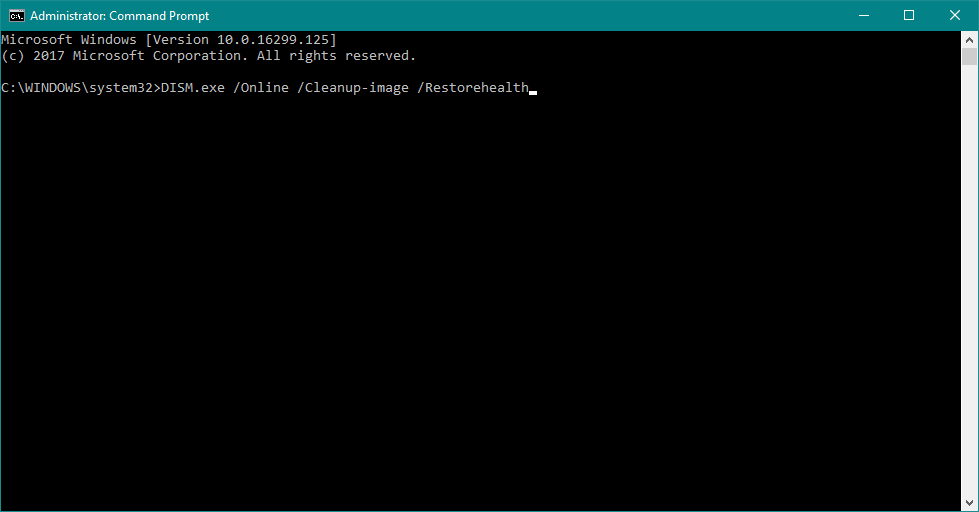
- In the command line, copy-paste these lines one by one and press Enter after each:
- Wait until the procedure ends (it might take up to 10 minutes).
- Restart your PC.
11. Try the Performance troubleshooter
- Open the Command Prompt as Administrator.
- Type the following command and press Enter:
msdt.exe /id PerformanceDiagnostic
- Wait for the process to finish.
- Restart your computer.
If the troubleshooter stops before completing the process, fix it with the help of this guide.
12. Change the wallpaper/screensaver
Even though it sounds unlikely, it’s actually possible for your wallpaper or screensaver to cause this problem. Since the DWM handles them.
So, if none of the previous solutions managed to get the job done, change your theme settings and disable the screensaver (if you’re still using one, tho).
To change your theme settings, simply right-click the Desktop and go to Personalization. From here, you´ll be able to change your wallpaper and other settings. To disable the screensaver, follow these instructions:
- Go to Search, type lock screen, and open Lock Screen Settings.
- Now, go to Screen Saver Settings.
- Under Screen Saver, select <None> from the dropdown list.
- Save the changes and restart your computer.
13. Disable Hardware acceleration in Office programs
- Open any Office app.
- Go to File > Options > Advanced.
- Locate Hardware Acceleration and disable it.
- After doing that, try to start Word 2016 again.
If you can’t disable Hardware Acceleration this way, we’re going to turn to the Registry Editor once again:
- Open Registry Editor.
- In the left pane navigate to this key:
HKEY_CURRENT_USER\Software\Microsoft\Office16.0\Common
- Right-click the Common key and choose New > Key from the menu.
- Enter Graphics as the name of the new key.
- Now right click the Graphics key and select New > DWORD (32-bit) Value. Name the new value DisableHardwareAcceleration.
- Double click DisableHardwareAcceleration value and set its Value data to 1. Click OK to save changes.
- Close the Registry Editor and check if the problem is resolved.
If you can’t edit your Windows 10’s registry, read this handy guide and find the quickest solutions to the issue.
14. Remove Logitech SetPoint software
According to users, tools such as Logitech SetPoint can also cause issues with dwm.exe, therefore it’s advised to find and uninstall this tool. Users reported that removing this tool fixed the issues, so be sure to try that.
Dwn.exe is an important Windows 10 process, and many issues with it can occur, but we hope that you managed to fix those issues by using one of our solutions.
As always, if you have any other suggestions or questions, feel free to leave them in the comments section below.
Frequently Asked Questions
-
You can do this in previous versions of Windows such as Vista or Windows 7. This can be done by running the Services app. Locate Desktop
-
Yes, it is. It is a core system process. However, sometimes malware disguises itself as a legitimate process. You need to perform a scan with a recommended antivirus to be sure it is a legitimate process.
-
It is not normal for this process to report high CPU usage continuously. Use a CPU monitoring tool to see exactly what’s going on.
-
The most common reason for DWM using a lot of your system’s memory is caused by a large number of notifications. Find out how to fix DWM notification issues on Windows 10.