How to Enable Secure Boot Without BIOS on Windows 11 - 3 Ways
Explore different methods to enable secure boot

Enabling Secure boot without entering BIOS is tricky, but what if you can’t see the option on your BIOS menu?
Some methods enable you to upgrade to Windows 11 without hassle, and we will cover them all in this guide, so make sure to read through them.
What can I do to enable Secure Boot without entering BIOS?
To start with, make sure that a valid Secure Boot certificate is installed on your PC and that your BIOS is up to date. Also, the boot mode should be UEFI instead of Legacy.
Now, let’s see how to turn on Secure Boot without BIOS:
1. Use the Registry Editor
- Press Windows + R to open the Run window.

- Type Regedit and press Enter to open Registry Editor.
- Follow this path:
Computer\HKEY_LOCAL_MACHINE\SYSTEM\CurrentControlSet\Control\SecureBoot\State - Now locate and double-click the DWORD UEFISecureBootEnabled.

- Change the Value data to 1 and click OK.
- Now restart your computer to confirm the changes.
2. Use the Windows PowerShell
- Press the Windows key, type PowerShell, and click Run as administrator.

- Type the following command and press Enter:
Set-SecureBootUEFI -Enable - Restart your PC to confirm the changes.
3. Change MBR to GPT
3.1 Check the partition style
- Press Windows + R to open the Run box.

- Type diskmgmt.msc and hit Enter to open Disk Management.
- Right-click on Disk 0 and select Properties.

- Now go to the Volumes tab, and check the partition style. If it is MBR, proceed.
3.2 Change the partition style
- Press Windows + I to open Settings.
- Go to System, then click Recovery.
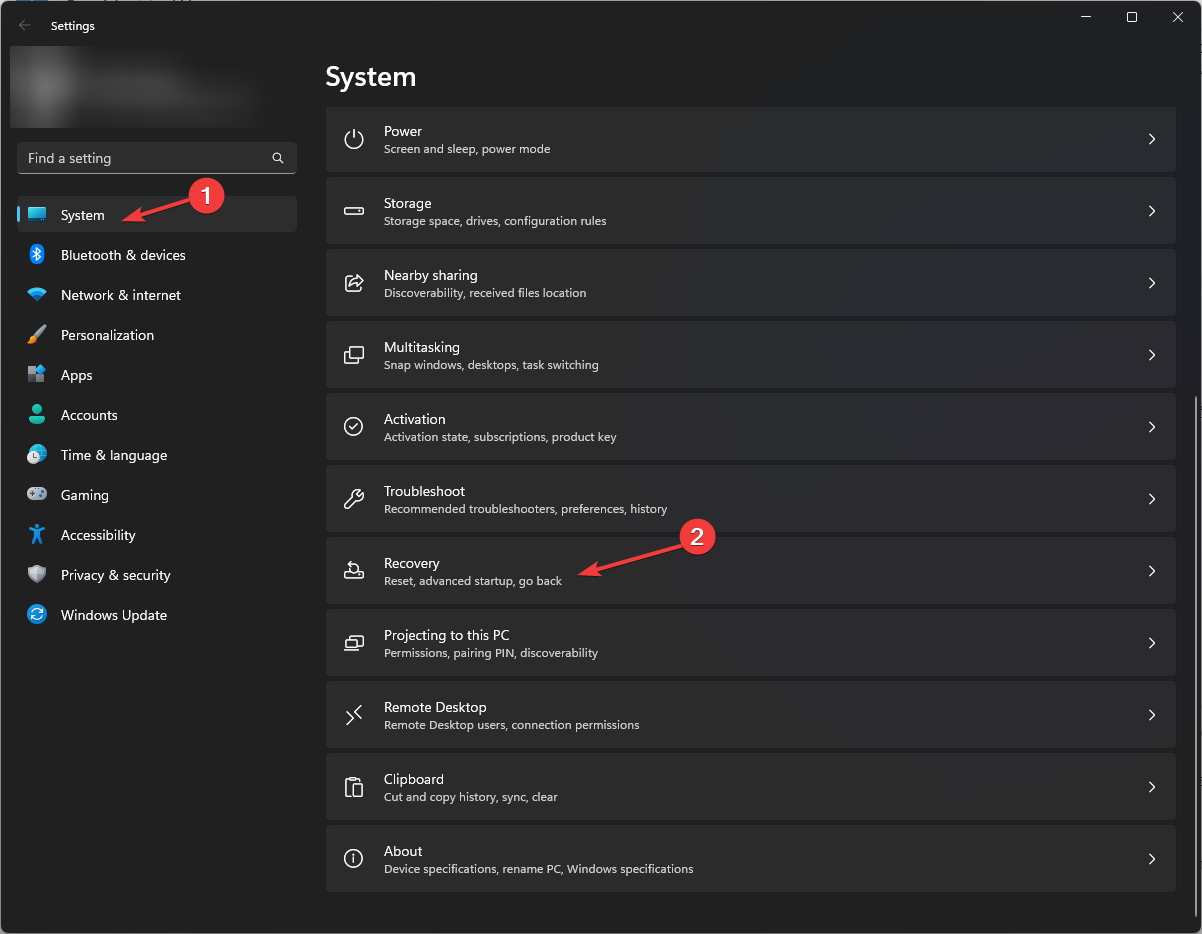
- Under Advanced startup, click Restart now.

- Now from Choose an option window, click Troubleshoot.

- Click Advanced Options.

- Select Command Prompt from the Advanced Options window.
- The computer will restart, select the user account and enter the password.
- Now you will get the Command Prompt window.
- Type the following command and press Enter:
mbrtogpt / validate / disk : 0 - Once you get validation completed successfully, copy and paste the following command and press Enter:
mbrtogpt / convert / disk : 0 - Now when you have the conversion completed successfully message, type the following command and press Enter: exit
- From Choose an option screen, click Turn off your PC. Restart your computer and try to install Windows.
Secure Boot can also affect gaming (Battlefield 2042 now requires Secure Boot to run properly). Thus, the method above can help you also with specific games to make them run well.
So, these are methods that you can use to enable secure boot without BIOS. Try them and let us know what worked for you in the comments below.
Read our disclosure page to find out how can you help Windows Report sustain the editorial team. Read more


Improve this guide


User forum
2 messages