Secure Boot State Unsupported [Windows 10 & 11 Fix]
Explore ways to fix this issue on Windows 11
Key notes
- If Secure boot is enabled, it prevents malicious software from loading on system startup.
- The error occurs if your computer doesn’t meet the requirements for Secure Boot.
- In this guide, we will discuss the available fixes for the problem.

If you see Secure Boot State unsupported on the System Information page on Windows 11, but it is enabled in BIOS, there could be a problem with Secure boot.
This guide will discuss the common reasons for the issue and potential fixes. Let’s start!
What is the reason for Secure Boot State unsupported on Windows?
There can be various reasons for the secure boot to be unsupported. However, some of the common reasons for the issue occurrence are:
- Features like TPM and Secure boot are disabled – If features, including Secure boot TPM 2.0, are not enabled, you might see Unsupported beside Secure Boot State on the System Information page. You need to enable these features to resolve the issue.
- Incompatibility hardware – If your Windows system requirements are not apt for device encryption, you might see the issue.
- BIOS mode set to Legacy – If BIOS mode is set to Legacy instead of UEFI, you get this error.
How do I fix the Secure Boot State unsupported error on Windows?
Before proceeding to advanced fixes, check out if your device supports the following features:
- If TPM Module 2.0 is enabled.
- Check if BIOS mode is UEFI.
- Check for Modern Standby Support.
Now, let us perform detailed troubleshooting steps to fix Secure Boot State unsupported on Windows 11:
1. Enable Secure Boot in BIOS
- Press Windows + R key to open the Run window.
- Type msinfo32.exe and press Shift + Ctrl + Enter to open System Information with administrator rights.
- Click on System Summary from the left side pane.

- Navigate and check if Secure Boot State is On. If it is not enabled, press Windows + I to open Settings.
- Click System, then Recovery.
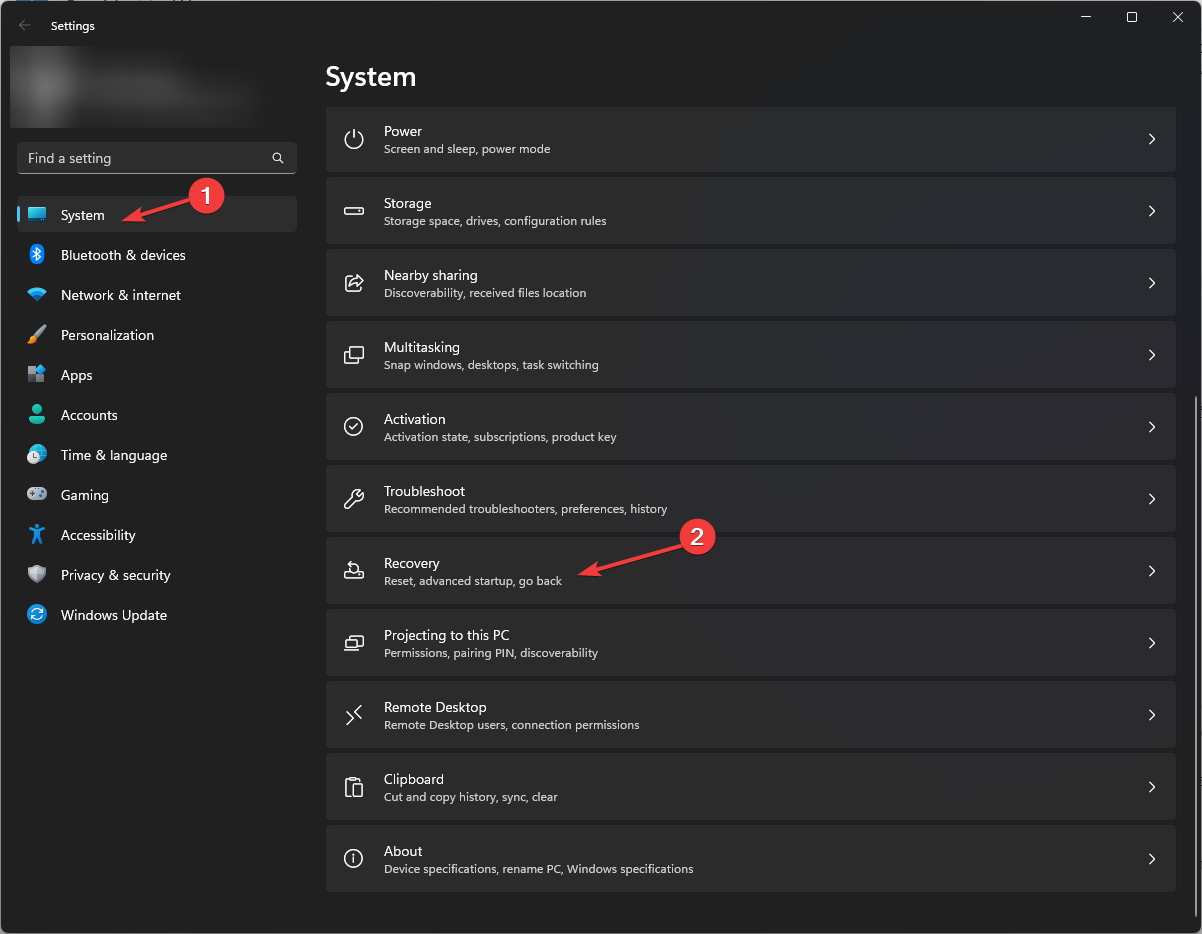
- Now go to Advanced startup, and click Restart Now.

- On Choose an option screen, select Troubleshoot.

- On Troubleshoot, click Advanced Options.

- Now click UEFI firmware settings and then click Restart.

- From the next screen, select the appropriate option to enter BIOS.
- Go to the System Configuration tab, and enable the Secure Boot option.
2. Change BIOS mode to UEFI
- Press Windows + R to open the Run window.
- Type msinfo32.exe and press Shift + Ctrl + Enter to open System Information.
- Click on System Summary, locate BIOS Mode and check if it is Legacy or UEFI. If it is Legacy, we need to change it to UEFI.

- Press Windows + I to open Settings. Click System, then Recovery.
- Go to Advanced Startup, and click Restart Now.
- On Choose an option, select Troubleshoot.
- Now, on Troubleshoot, click Advanced Options.
- Click UEFI firmware settings and select Restart.
- From the next screen, select the appropriate option to enter BIOS.
- Go to the Boot tab, click the Boot configuration option, and set it to UEFI.
- Now, go to the Exit tab, choose Save changes and Exit, and restart your PC.
3. Convert MBR to GPT partition style
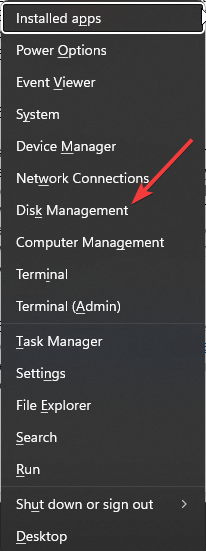
- Press Windows + X and choose Disk Management.
- Right-click the hard disk, and select Delete Volume from the context menu.

- The whole disk will be displayed as unallocated space; right-click on it and select convert to GPT.
4. Enable TPM support
- Press Windows + R to open the Run window.
- Type tpm.msc and press Enter.

- On the TPM management window, click Action.
- Select Prepare the TPM.

- Restart your PC.
5. Perform a Clean Boot
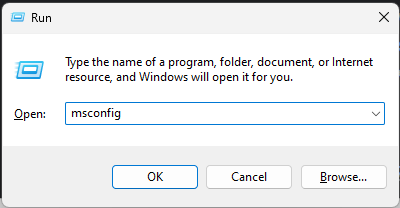
- Press Windows + R to open the Run console.
- Type msconfig and press Enter to System Configuration.
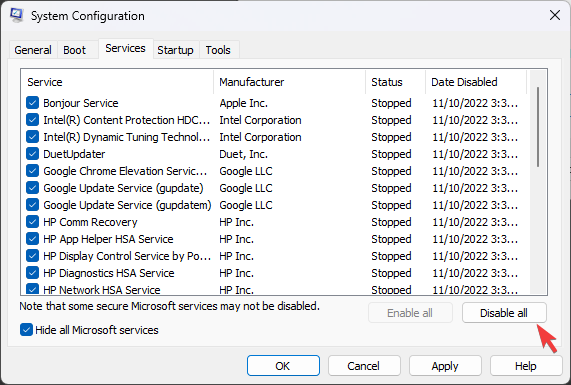
- Go to the Services tab, and select Hide all Microsoft services. Click Disable all.
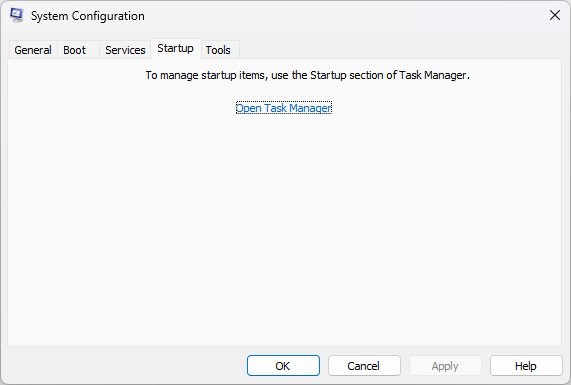
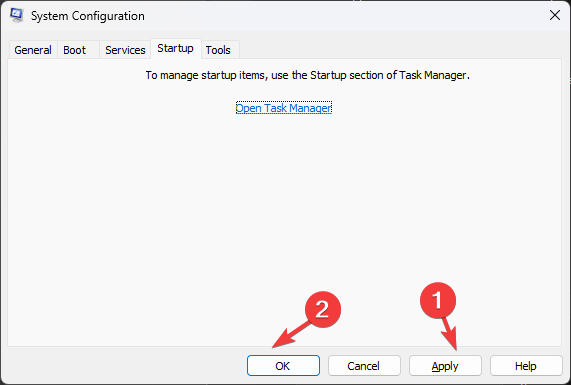
- Now go to Startup, and click Open Task Manager.
- For every Enabled item, right-click on it and select Disable.

- Now close Task Manager, click Apply, and OK on System Configuration.
- Click on Restart on the prompt.
6. Perform an in-place upgrade
- Go to Windows 11 software download website.
- Under Download Windows 11 Disk Image (ISO), select Windows 11 (multi-edition ISO) from the dropdown.

- Click Download. Select the product language and click Confirm.

- Now click on 64-bit Download.
- Right-click on the ISO file ad click Mount, then click Setup.exe.
- Click Yes on the UAC prompt.
- Now on Install Windows 11 window, click Next.
- Click Accept and click on Keep personal files and apps on the Ready to install page.
- Click Install, and the process will take some time.
So, these are methods to follow to resolve secure boot unsupported on Windows 11. However, if nothing worked for you, it’s possible that Secure Boot is grayed out on Windows 11 and can’t be enabled.
If you are stuck in between the process anywhere, feel free to let us know in the comments section below. We will be happy to help.
Read our disclosure page to find out how can you help Windows Report sustain the editorial team. Read more


Improve this guide


User forum
0 messages