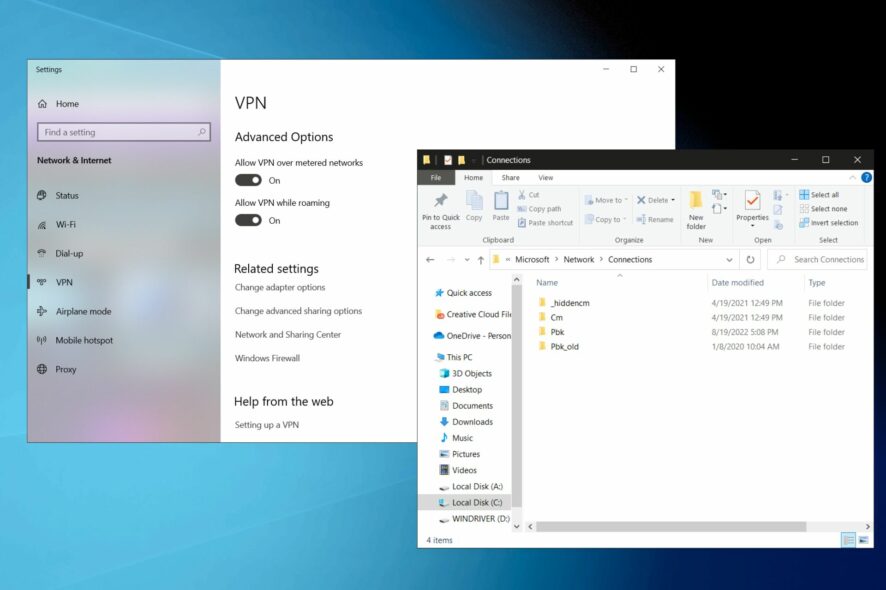
How to Export and Import VPN Settings in Windows 10
Import your settings for the built-in VPN in Windows 10 using simple settings
3 min. read
Updated on
Read our disclosure page to find out how can you help Windows Report sustain the editorial team Read more
Key notes
- Microsoft hasn't implemented an option for easily exporting VPN settings in Windows 10.
- But you can export and save VPN settings by copying and pasting a folder of all VPN connections.
- It's easy workaround for switching profiles with different VPN login credentials, server addresses, and other connection details.
- However, this method doesn't compare to a premium VPN service, where you can easily customize settings.

There’s no option in Windows 10 to export VPN settings, but there’s an easy workaround.
Creating a VPN connection in Windows 10 using the operating system’s native settings is a great way to conceal your IP address, spoof your geo-location, access blocked websites, and improve your ping while gaming without having to install a desktop client.
But it’s also a bit more complicated than using the actual VPN client designed for Windows 10 because you have to create a new VPN connection or edit your existing profile every time you want to change the VPN protocol or connect to a different VPN server address.
Besides, you can’t export the VPN settings in Windows 10 as easily as clicking a button to save the profile to another location.
Although Microsoft’s operating system hasn’t come up with a simple solution for this, you can do it by copying and pasting the system folder that contains all VPN connections in Windows 10.
How do I export VPN settings in Windows 10?
- Open the Windows 10 File Explorer (Win key + E).
- Type the following in the address bar and press Enter:
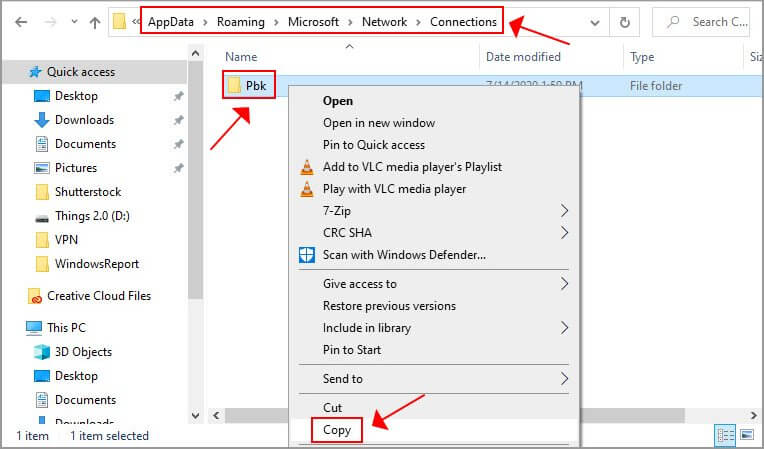
%AppData%\Microsoft\Network\Connections - Select the Pbk folder, right-click and Copy (Ctrl + C).
- Choose a different location on your PC and Paste (Ctrl + V).
How do I import VPN settings in Windows 10?
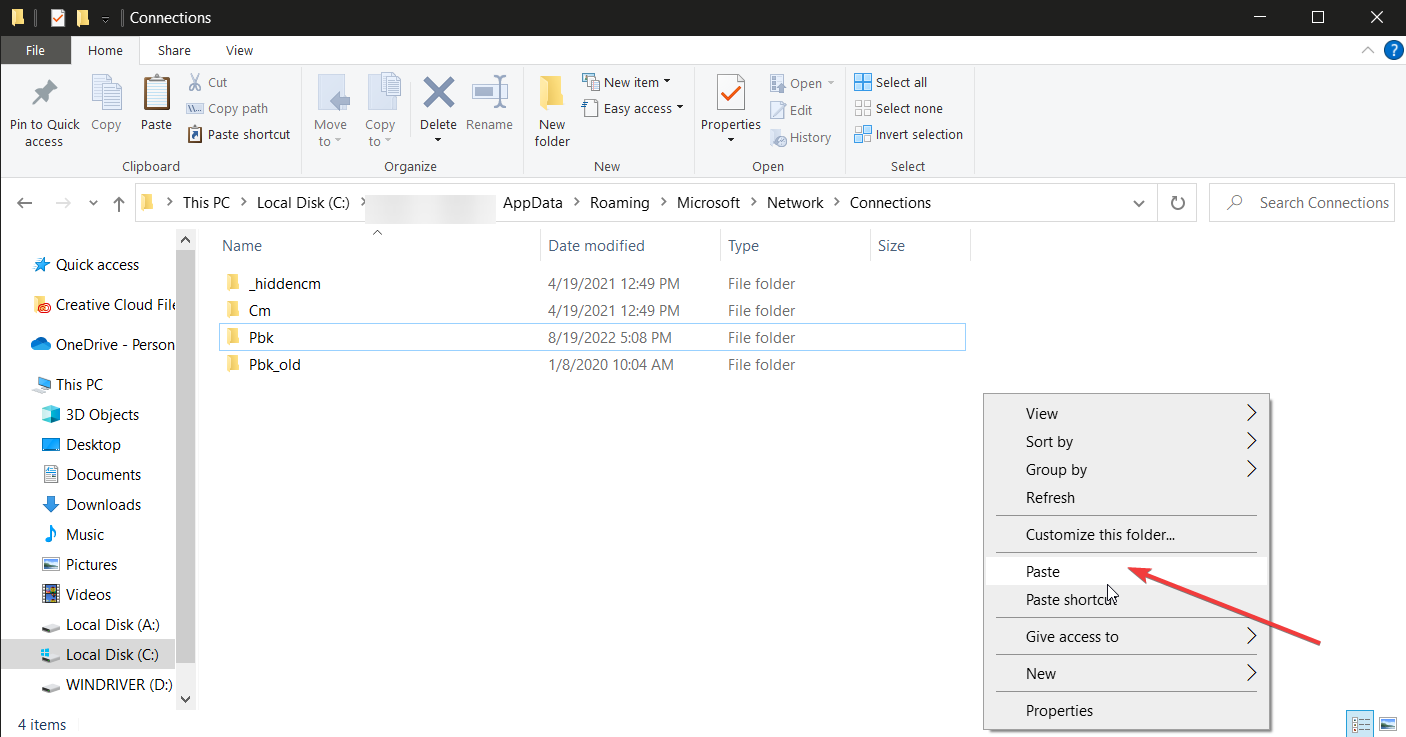
To import settings in Windows 10, you have to go to the same location and paste the Pbk folder.
Since the folder size is quite small, you can keep it stored in OneDrive or another cloud storage service as well as keep it saved as a draft in your email account.
- On the PC you want to import VPN settings, launch File Explorer.
- Type
%AppData%\Microsoft\Network\Connections. - Copy the Pbk file from OneDrive or the removable media device you decide to use and paste in this folder.
You can use this method to export/import VPN settings between pretty much any Windows 10 PC.
For example, you can import the VPN settings from your home PC at work on Windows 10. Just keep in mind that any existing VPN profiles will be overwritten with the new ones.
If you’re interested in keeping multiple VPN profiles on standby, create multiple folders on your PC where you can paste the Pbk folder with your preferred VPN settings.
Whenever you need a new profile with specific VPN settings, simply swap the existing Pbk folder with one of the copies.
To conclude, it’s not exactly a walk in the park to export VPN settings in Windows 10. But it’s still possible by using the workaround above.
We suggest investing in a premium VPN service for Windows 10 on the long run since it will save you a lot of headaches.


