Failed to Locate Framework.dll: How to Fix This Error
This error is often caused by malware or virus attacks
4 min. read
Updated on
Read our disclosure page to find out how can you help Windows Report sustain the editorial team. Read more
Key notes
- The failed to locate Framework.dll file error on Windows PC occurs when the programs depending on the file can’t access it.
- You may encounter this error due to corrupt system files and malware infection on the computer.
- Running an SFC and DISM scan and re-registering the framework.dll file will prompt it to be accessible and intact.

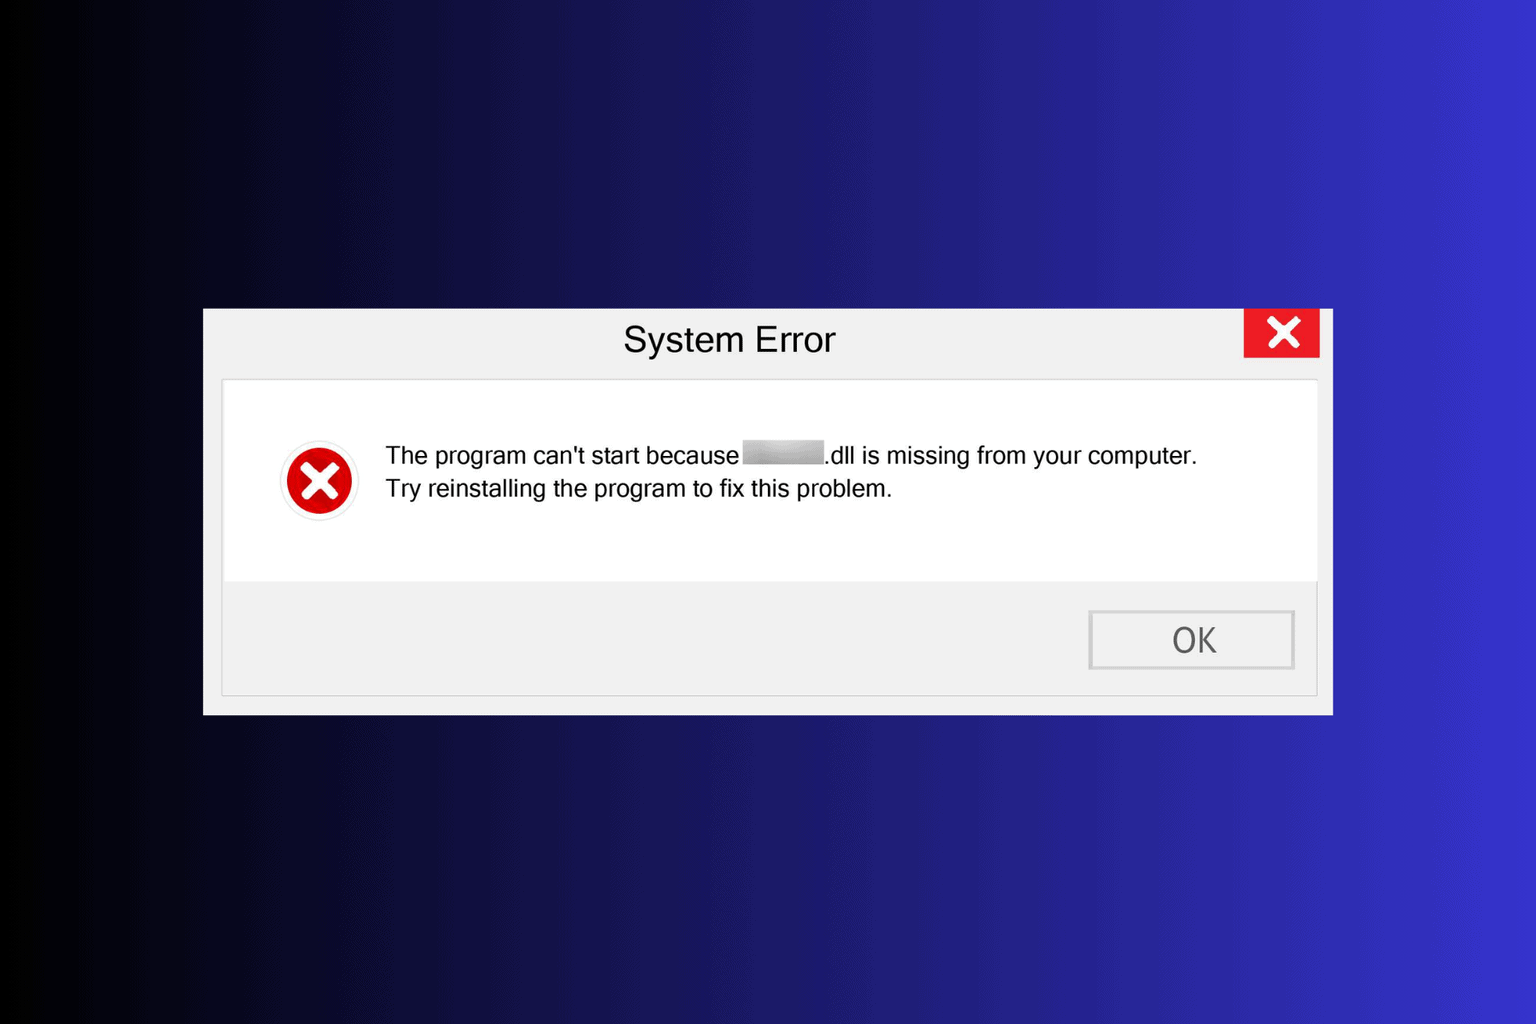
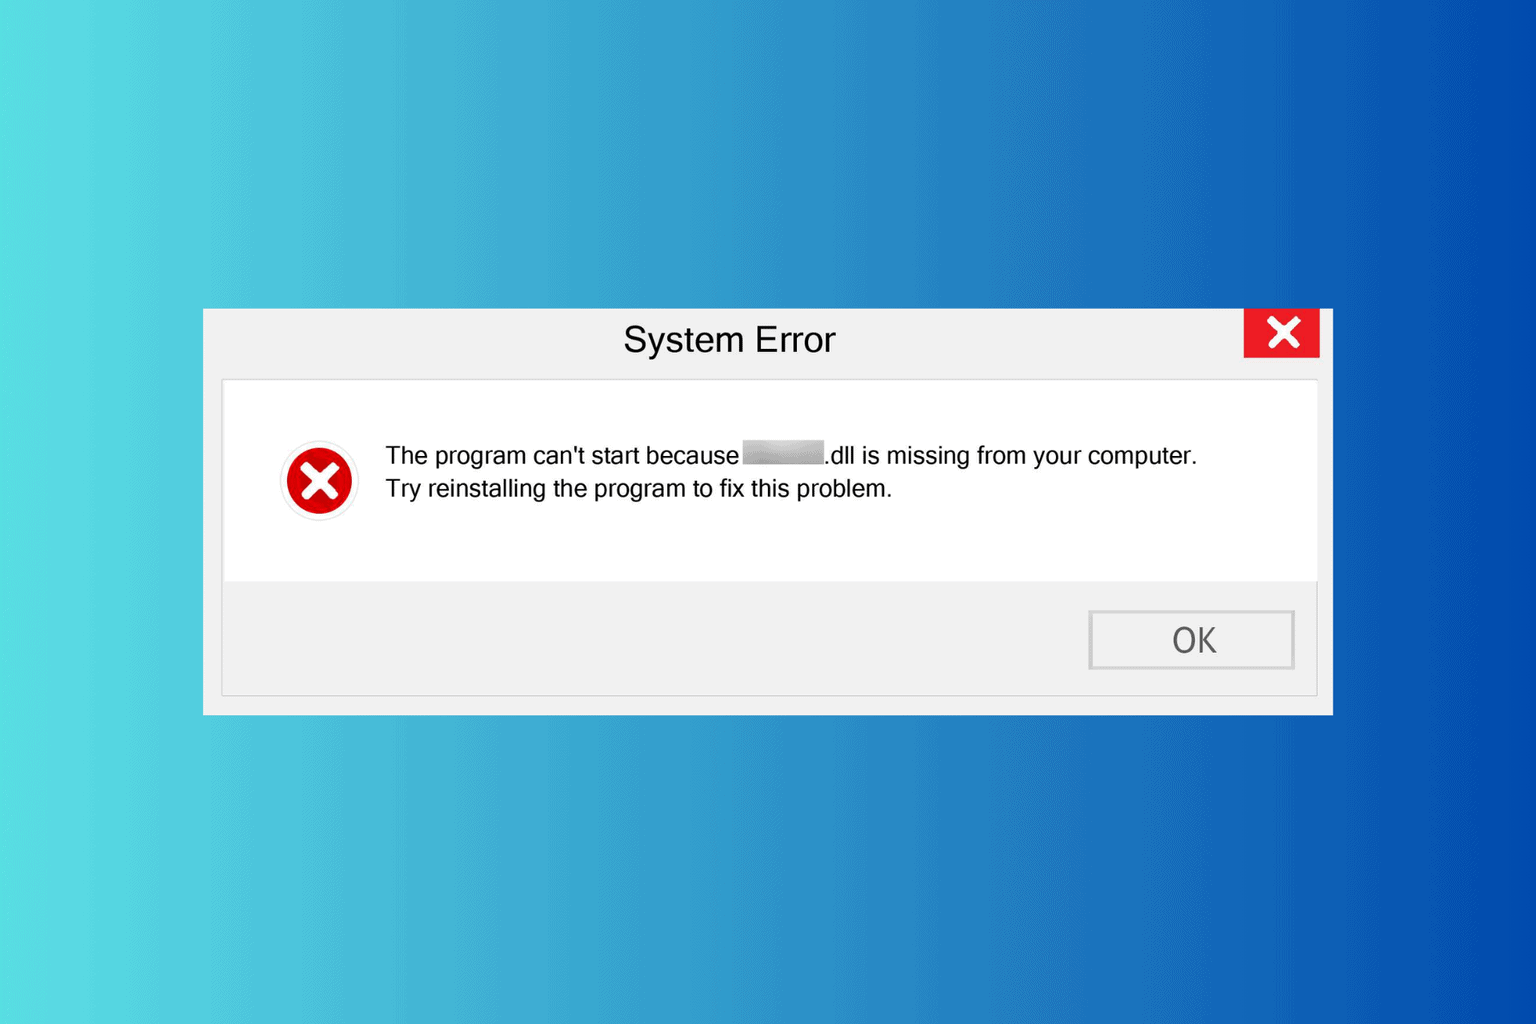
There are many system files responsible for the numerous services running on the computer. These system files have DLL file (Dynamic Link Library format) extensions. However, users report DLL file errors they encounter on their PCs, and Framework.dll is missing on your computer is a common one.
Hence, we’ll see how to fix the failed-to-locate Framework.dll issue. You can also go through our guide on the best DLL repair tool you can download to fix DLL errors on your PC.
What causes failed to locate Framework.dll?
Many factors can prompt the Framework.dll is missing on your computer error on your computer. It occurs when a DLL file needed by a specific program is inaccessible and can’t run the program. Hence, you’ll receive an error message on your computer.
Furthermore, some causes of the error are:
- Corrupt system files – When some essential files on your computer are corrupted, they can impede the performance of the services running on the PC. So, corrupt system files can prompt the failed to locate Framework.dll error.
- Issues with the program – Sometimes, the error Framework.dll may occur due to the program you’re using. If it is outdated or its installation files are not intact, it can impede its functionality and prevent it from accessing the file.
- Malware or virus infection – Malware or viruses may block the functionality of the programs trying to use the Framework.dll file on your computer. It can prevent system files, including the Framework.dll file, from being visible when invoked by programs.
There are other likely reasons for the error, but you can fix them by trying some troubleshooting steps.
How can I fix failed to locate Framework.dll?
Try the following preliminary checks before attempting any advanced steps:
- Turn off background apps running on your PC.
- Reconnect the Keyboard to your computer.
- Restart Windows in Safe Mode and check if the keyboard issue persists.
If the issue persists, go ahead with the solutions below:
1. Download and replace the Framework.dll file
 NOTE
NOTE
- Launch your browser and visit this DLL site.
- Depending on your Windows operating system, choose a 32-bit or 64-bit file version and select the latest version.
- Double-click the downloaded zip file to open it, click the Extract icon at the top bar, and select Desktop for a location to extract the DLL file.
- Restart your PC and check if the error persists.
Downloading a new copy of the Framework.dll file will replace the missing copy and it should fix the file not located error.
2. Run an SFC scan
- Left-click the Start button, type Command Prompt, and click the Run as administrator option.
- Click Yes on the User Account Control (UAC) prompt.
- Type the following and press Enter:
sfc /scannow - Restart your PC and check if the error persists.
An SFC scan will find and repair corrupt system files causing the failure to locate the framework.dll error on your computer. Check how to fix the run as administrator option if it’s not working on your PC.
Another effective solution to fully diagnose your Windows PC for DLL issues is a dedicated repair app.
3. Re-register the DLL
- Left-click the Start button, type Command Prompt, and click Run as administrator.
- Click Yes on the User Account Control (UAC) prompt.
- Type the following and press Enter, then Wait for Windows to register the DLL:
regsvr32 framework.dll - Restart your PC and check if the error persists.
Re-registering the framework.dll file will rewrite and prompt it to appear when initialized by dependent programs.
4. Run System Restore
- Press Windows + R key to open the Run dialog box, type control, then press Enter to open the Control Panel.
- Type recovery in the Control Panel search bar.
- Click on Recovery, then Open System Restore.
- Click Next in the Restore system files and settings page.
- Choose the restore point you want to restore from, then click Scan for affected programs.
Running a System Restore backdates your PC to an earlier point in time. It removes any apps, drivers, and updates installed on your PC after the restore point.
You can read how to fix Restore Point if it’s not working on your PC.
In conclusion, our readers may be interested in the Autorun.dll error on Windows 11 and its fixes. Also, check the steps for uninstalling apps on Windows 11 if you can’t get through with the app.
If there are further queries or questions, kindly drop them in the comments section.


User forum
0 messages