Here's What to Do When You Can't Install Chrome On Windows
A few things to try when you're unable to install Chrome in Windows 11
4 min. read
Updated on
Read our disclosure page to find out how can you help Windows Report sustain the editorial team. Read more
There are a few different reasons why you can’t install Google Chrome on Windows 11.
Your antivirus might mistake it for a threat, you might get registry issues or you’d get a Microsoft-verified error, just to name a few.
Today, we’ll help you navigate this problem and show you different tested ways to fix it.
How do I fix Google Chrome not installing?
1. Use Uninstall troubleshooter
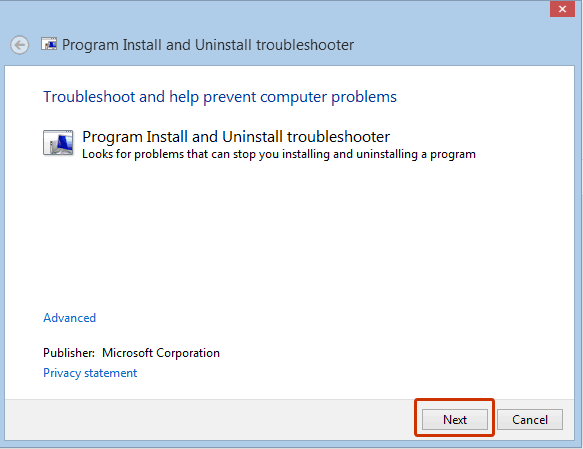
- Download and launch the software.
- Click on Next to start troubleshooting the problems.
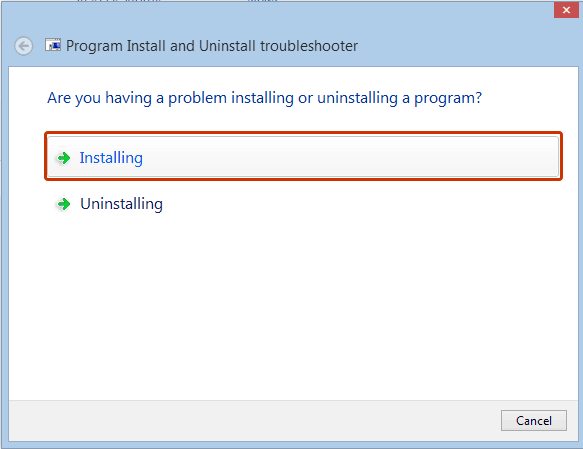
- Select Installing if you cannot install the Chrome browser.
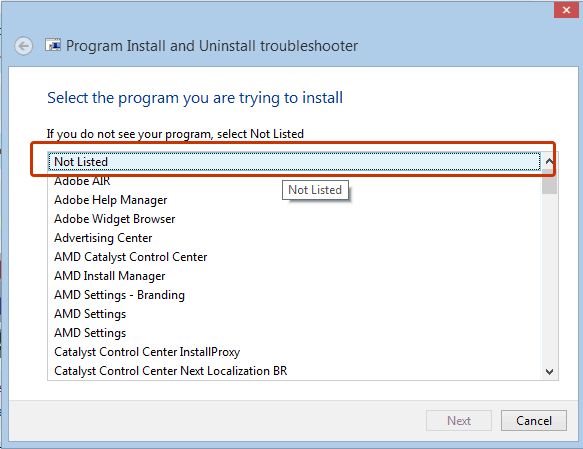
- Check if Google Chrome appears on that list, otherwise select Not Listed.
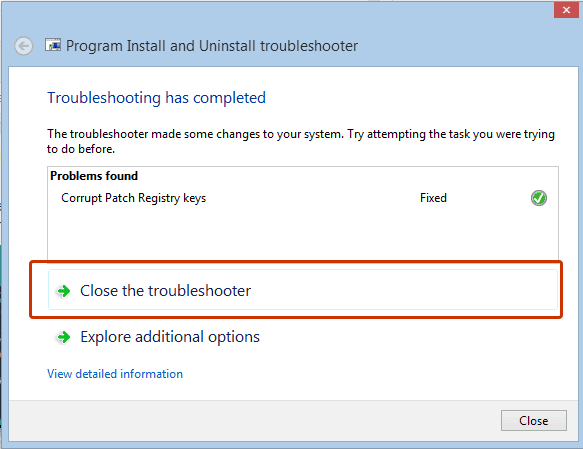
- After the processing stage, you will see a notification about the problems which have been solved.
- You can click on Explore additional options if you are curious about other program features.
- If you consider you finished the job, click on Close the troubleshooter.
2. Change app installation settings
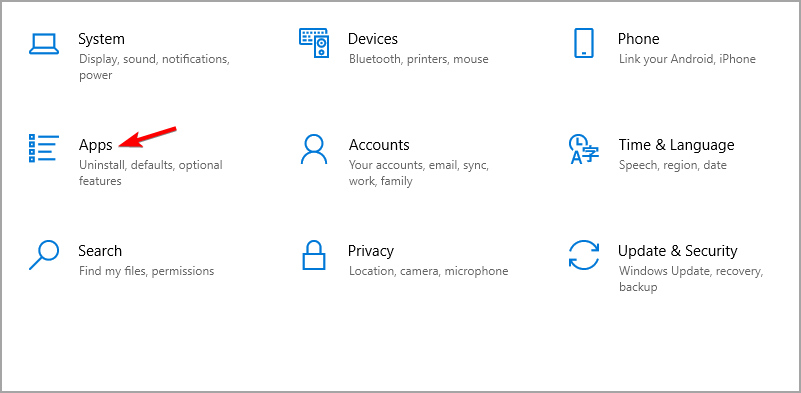
- Press Win + I to open the Settings app.
- Select Apps from the list.
- Select Advanced app settings and go to the Choose where to get apps option.
- Change this setting from The Microsoft Store only (recommended) to Anywhere.
- Go back to Chrome’s website and try to download and run the installation file.
Changing the app installation settings to Anywhere allows you to bypass the Microsoft verification and install Chrome directly from Google’s website.
3. Check your antivirus
Many people who’ve had an antivirus interference got an error that reads Google Chrome installation failed due to unspecified error, error code 0xa043.
To test if this is the problem, disable your antivirus and try to run the installer again. But make absolutely sure you downloaded the installation file from Chrome’s official website or from the Microsoft Store.

If it works, it means your antivirus mistakenly identified Chrome as a threat and stopped the installation to protect your PC.
To prevent this from happening again, keep your anti-virus up to date and use a reputable option such as ESET HOME Security Essential.
4. Uninstall all previous versions of Chrome
- Open the Run dialog by using the hotkeys Windows + R.
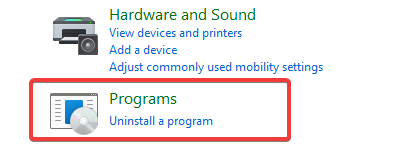
- Type Control Panel and hit Enter.
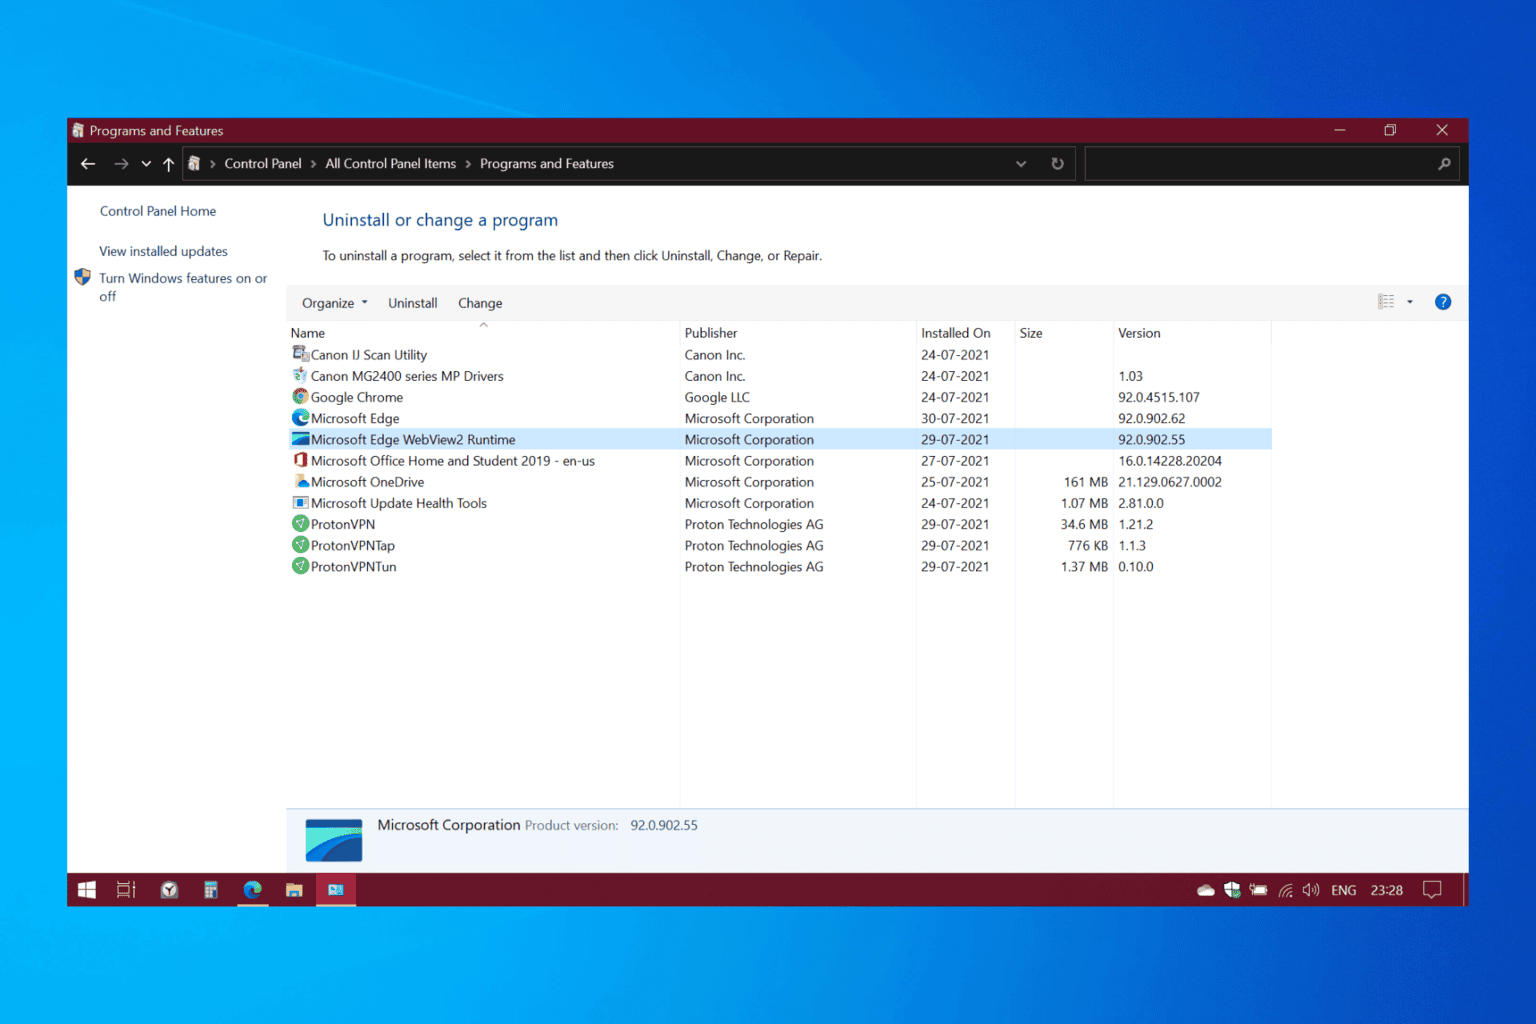
- Select the Uninstall a program option.
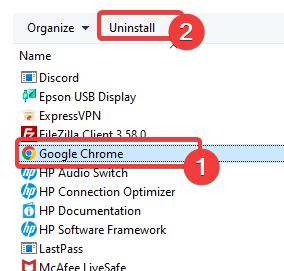
- Click on Google Chrome, then click the Uninstall option.
- Follow the wizard to complete the uninstallation.
Restart your computer to make sure all actions take effect and try installing Chrome again.
If you want to prevent this from happening, you can use an uninstaller software that automatically checks and removes obsolete software files.
5. Check if the necessary services are running
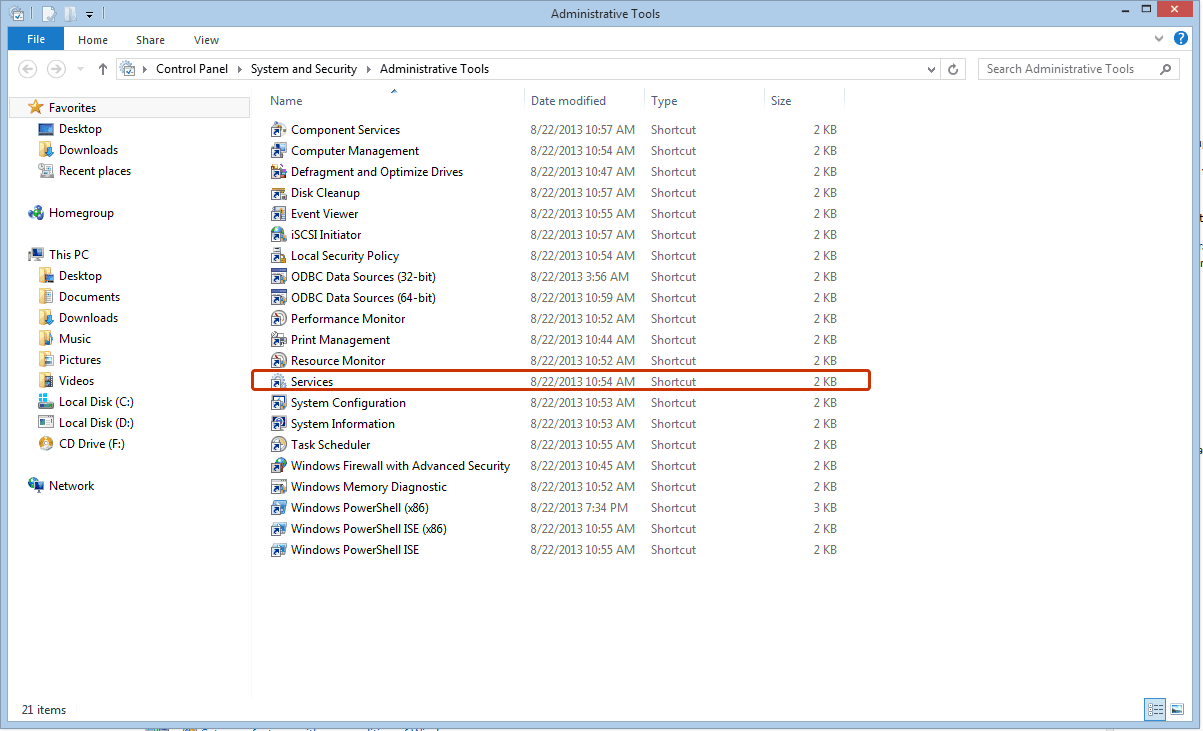
- Go to Start > Control Panel > System and Security > Administrative Tools > Services.
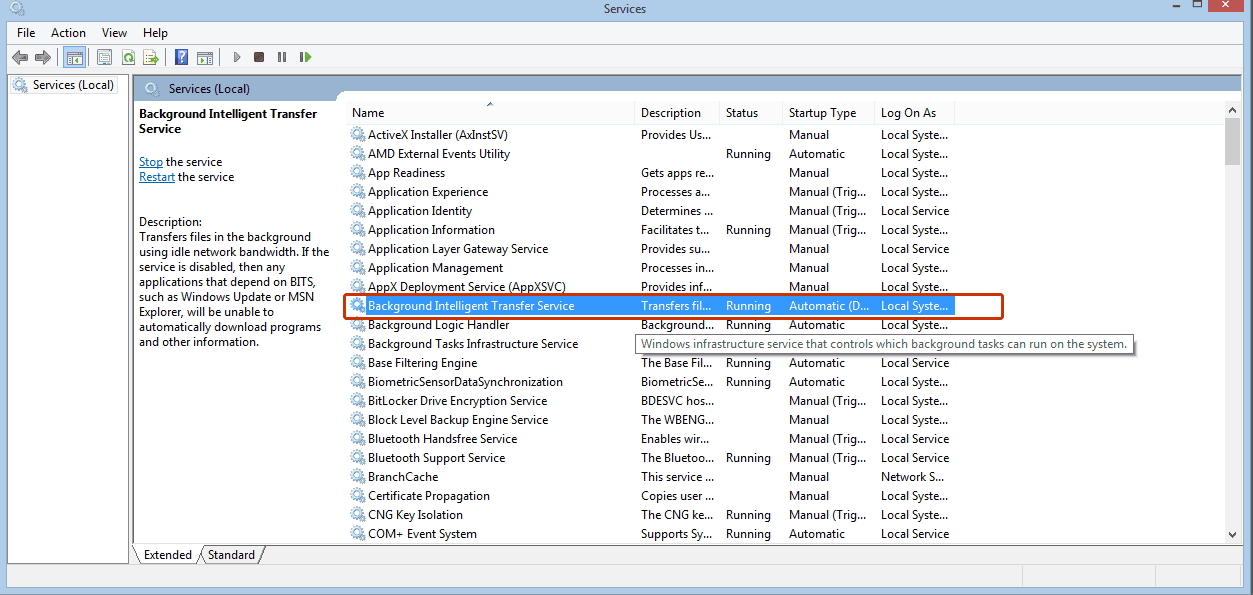
- Open Background Intelligent Transfer Service. This will open a window with settings and service details.
- Change the Startup type to Automatic and ensure the Service status is Running.
BITS is a system service that facilitates the asynchronous, prioritized, and throttled transfer of files between machines using idle network bandwidth.
In other words, this system allows you to install different programs from other devices and the Internet.
6. Modify your registry
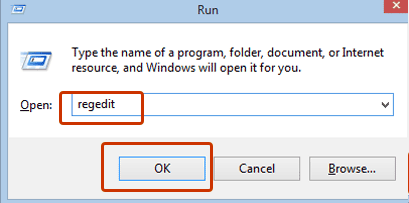
- Go to Start > Run.
- In the Run tab, write regedit and click OK.
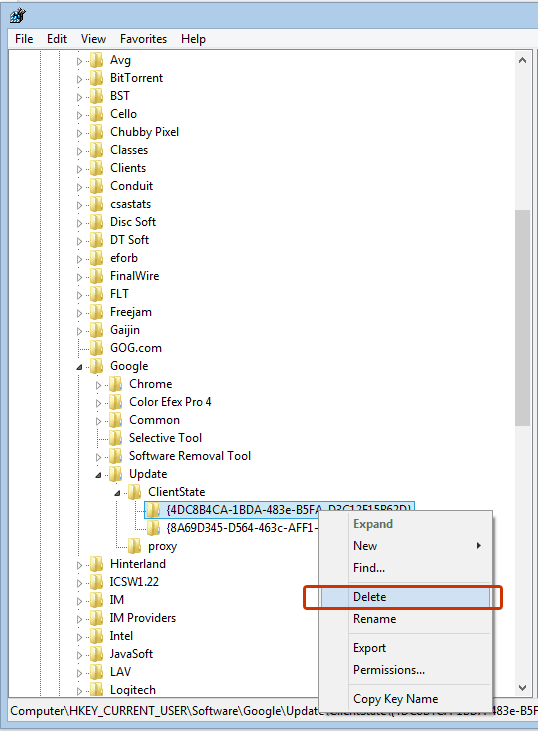
- From the Registry Editor menu select
HKEY_CURRENT_USERGoogleUpdateClientState
Once you delete the {4DC8B4CA-1BDA-483e-B5FA-D3C12E15B62D} folder, you can close the Registry Editor tab and try to install the browser one more time.
Several users recommend completely deleting any Chrome registry entries before you try installing it. To do that, find these keys in your registry and remove them:
-
HKEY_CURRENT_USERSoftwareGoogle -
HKEY_LOCAL_MACHINESoftwareGoogle -
HKEY_LOCAL_MACHINESoftwareWow6432NodeGoogle
Once you remove those keys, check if the Chrome not installing in Windows 10 is resolved.
7. Delete Google Update directory
- Press Windows Key + R and enter the value below:
%LOCALAPPDATA%Google - Now press Enter or click OK.
- You should see the Update directory available. Delete this directory.
8. Use beta versions
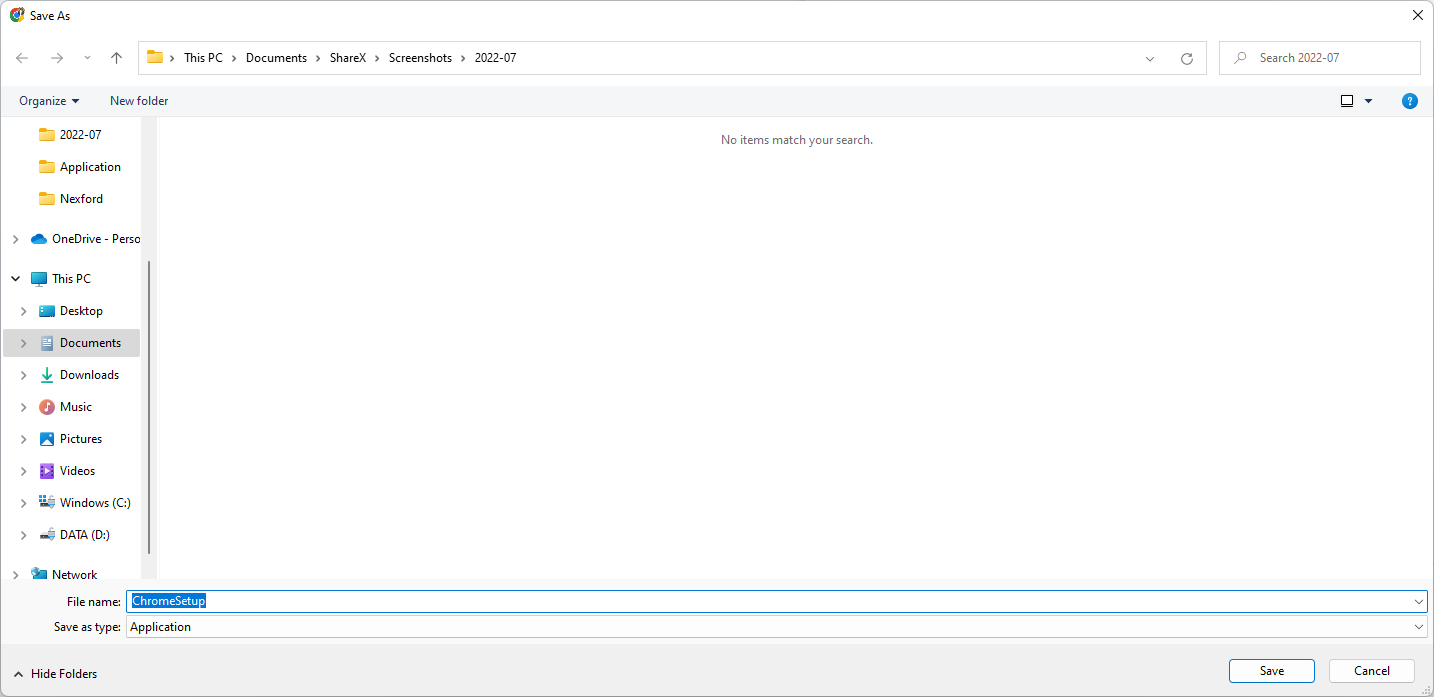
- Download the Beta or the Canary versions by clicking the Download Chrome Beta or Download Chrome Canary buttons.
- Save the downloaded file and double-click on it to start the installation.
- Follow the wizard to complete the installation.
9. Turn on User Account Control
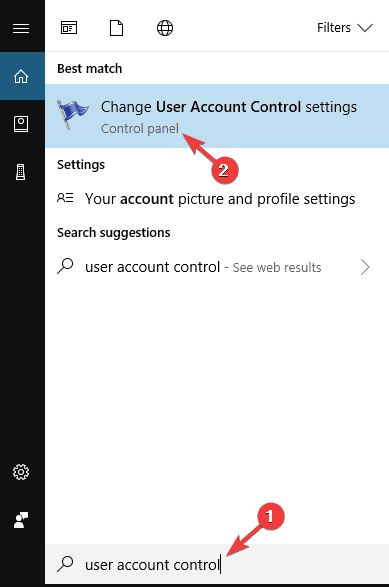
- Press Windows Key + S and enter user account control; select Change User Account Control settings.
- Move the slider to the default position and click OK to save changes.
Summary
We hope this answers your questions and that the steps above helped address the Chrome installation failed issue. If you have any more questions, feel free to let us know.
And if you were able to fix this in a different way, leave a comment telling us how. You might help out a peer in need.








User forum
2 messages