File History Not Working in Windows 10: How to Fix it
Do not hesitate to use a physical USB drive
2 min. read
Updated on
Read our disclosure page to find out how can you help Windows Report sustain the editorial team. Read more
Key notes
- When file history is not working in Windows 10, it could be that the drive is not connected properly.
- A simple solution is to use a physical USB stick instead of a network drive.
- To get things running, set up file history all over again with the correct drive and parameters.
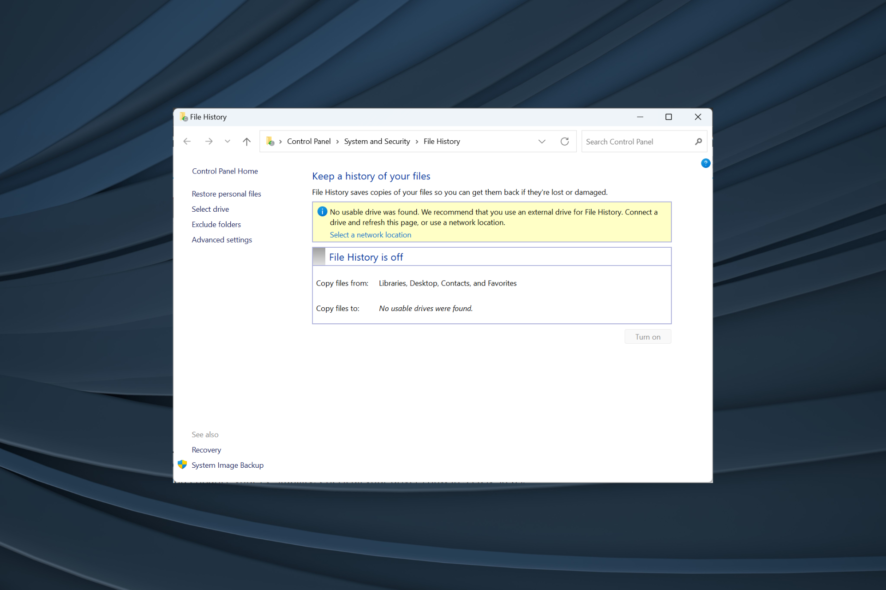
The File History feature will back up your operating system files if you ever have any trouble. But for many users, File History in Windows 10 is not working.
The problem arises both on Windows 10 and 11 and is often accompanied by the error message, Could not enable File History. The service cannot be started. If you are also facing this problem, keep reading to find solutions.
How do I turn on file history in Windows 10?
1. Select where you want the backups to be saved
- Plug in the external hard drive or the USB stick in the device.
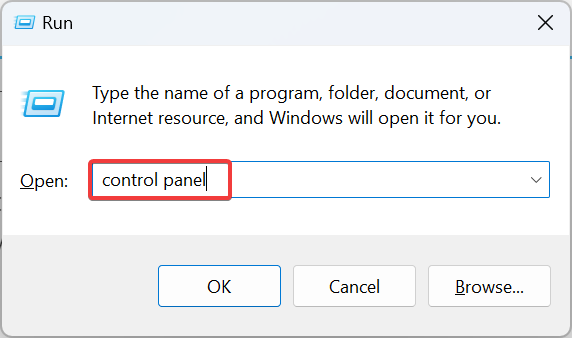
- Press Windows + R to open Run, type control panel, and hit Enter.
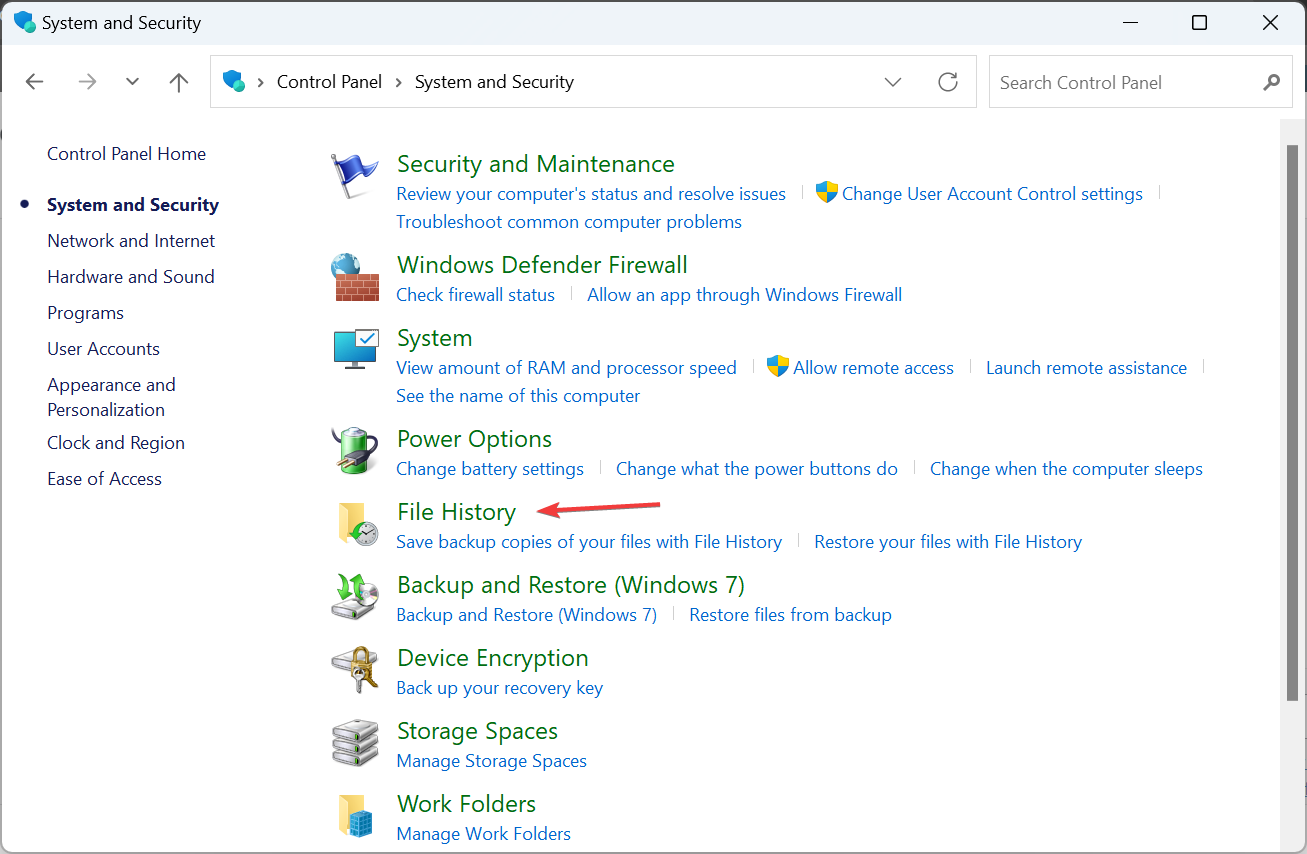
- Click on System and Security.
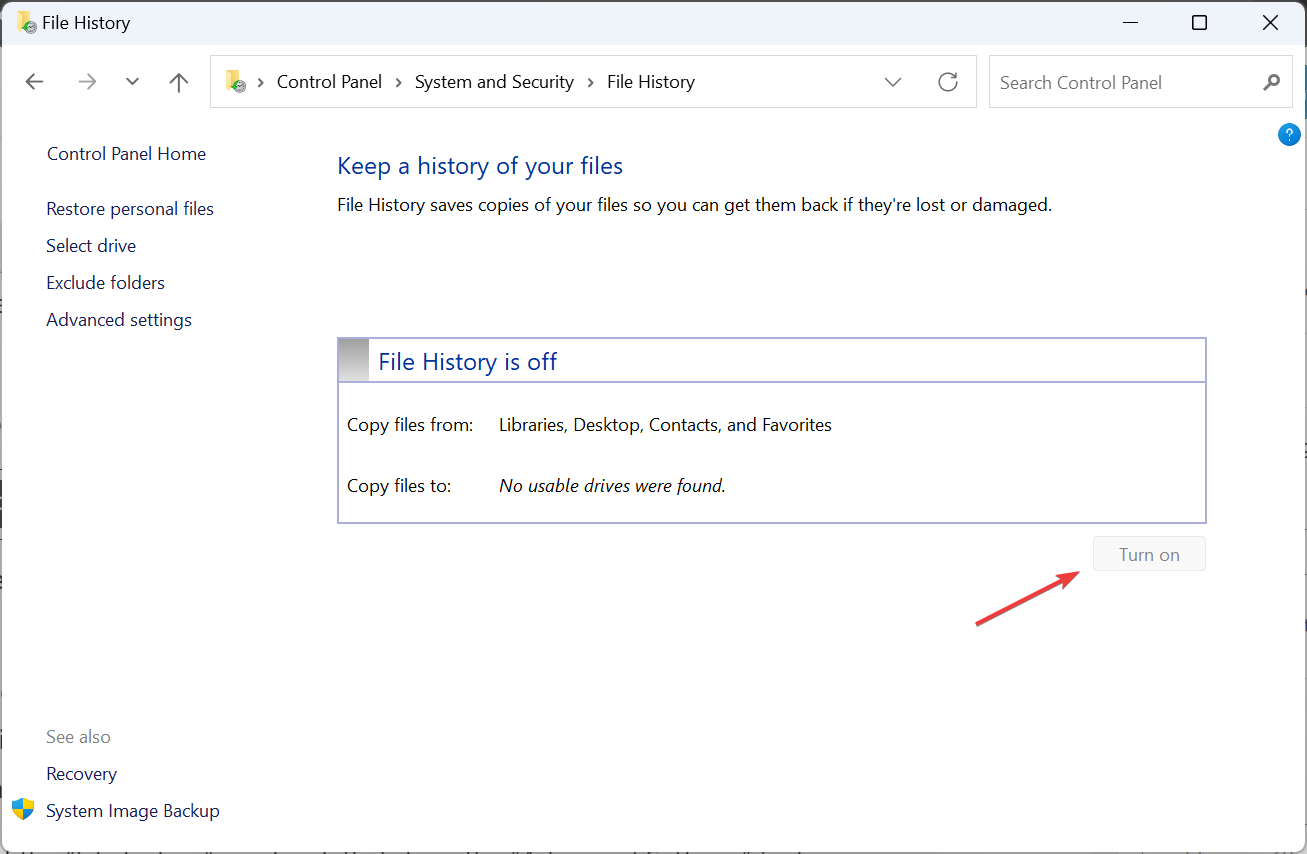
- Now, click on File History.
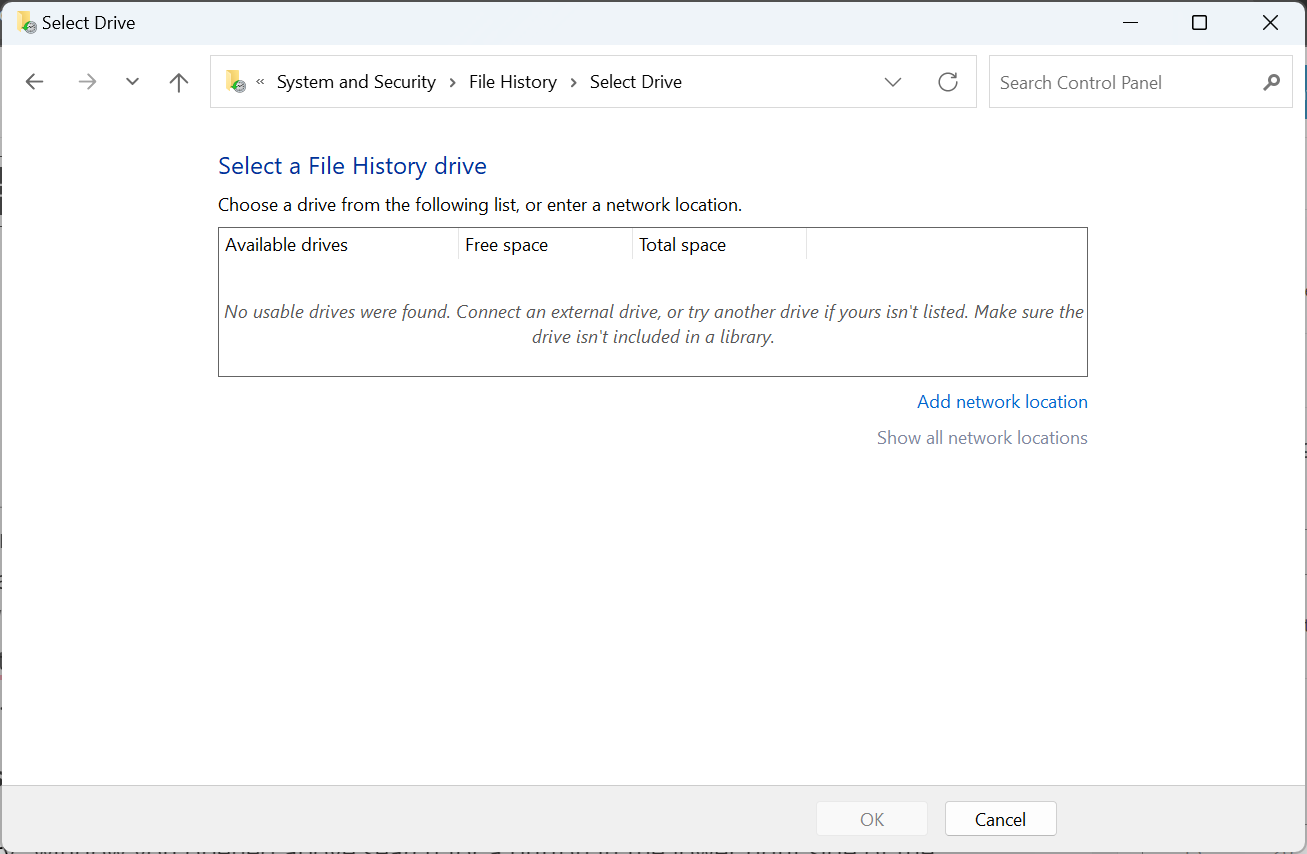
- Click on Select Drive in the navigation pane on the left.
- Select the external hard disk or the USB stick that is plugged into the Windows 10 PC, and click OK.
- Click Yes in case a confirmation prompt appears.
Once you have set up the drive, be it an external one or a network drive, all that’s left is to enable the feature when file history is not working in Windows 10.
2. Turn the file history feature on
That’s it! If Windows file history backup is not working, adding another USB drive or correctly configuring the first one should get things up and running in Windows 10. In case the error persists, we recommend using a restore point or performing an in-place upgrade.
Before you leave, find out how to recover deleted files in Windows.
For any queries, drop a comment below.


User forum
1 messages