8 Ways to Fix Windows Defender Not Working/ Opening [Tested]
Remove interfering apps & files, reset Defender & more
When Windows Defender isn’t working, it’s most likely due to system file problems, or because you have or have had a third-party antivirus installed on your PC. Also, Windows Defender may not open if the Security Center is disabled.
No matter the specific issue, the solutions below should help you sort it out.
How do I fix Windows Defender not working?
1. Check your system files
1.1 Run a SFC scan
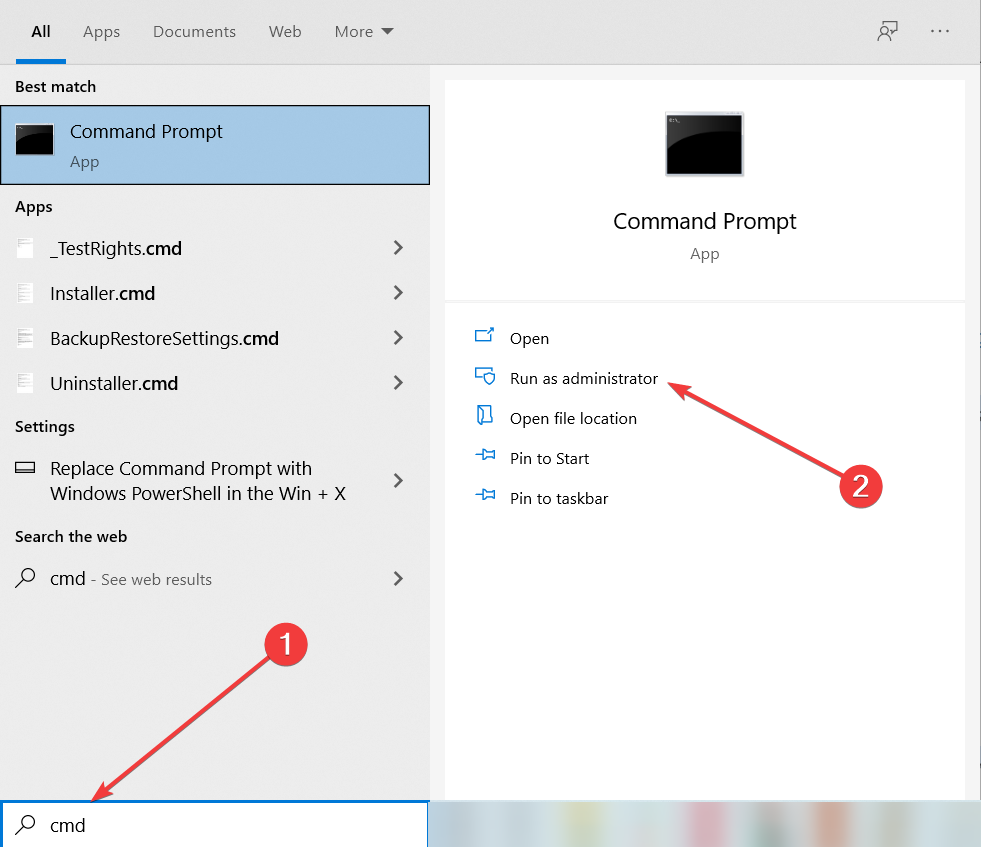
- Press the Windows key + S, type cmd, and click on Run as administrator to start Command Prompt as administrator.
- Type the following command and hit Enter, then wait for the scan to complete:
sfc /scannow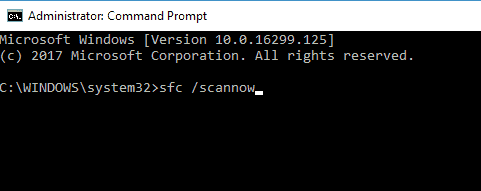
The System File Checker repairs corruption in system files. You can use it to verify whether Windows Defender is corrupted or not.
If you can’t run an SFC scan or if SFC can’t fix the problem, you might want to try using a DISM scan instead. To do that, just follow the next step.
1.2 Run a DISM scan
- Start Command Prompt as administrator, as shown in the previous step.
- When Command Prompt opens, enter the following command and press Enter to run it:
DISM /Online /Cleanup-Image /RestoreHealth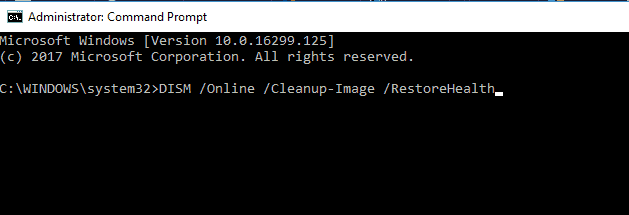
- DISM scan will now start. This scan can take up to 20 minutes, so don’t interrupt it.
2. Clean boot your computer
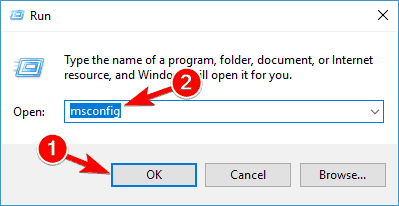
- Press Windows Key + R and enter msconfig. Press Enter or click OK.
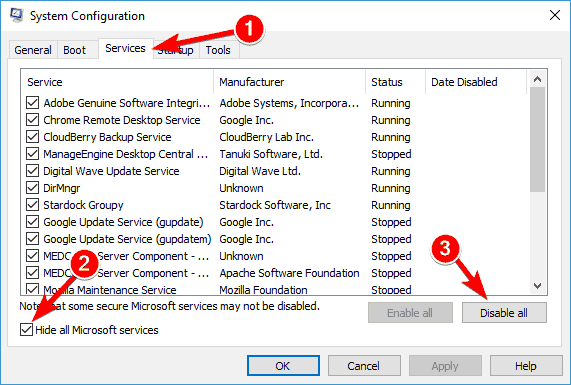
- The System Configuration window will now appear. Go to the Services tab and check Hide all Microsoft services. Now click the Disable all button.
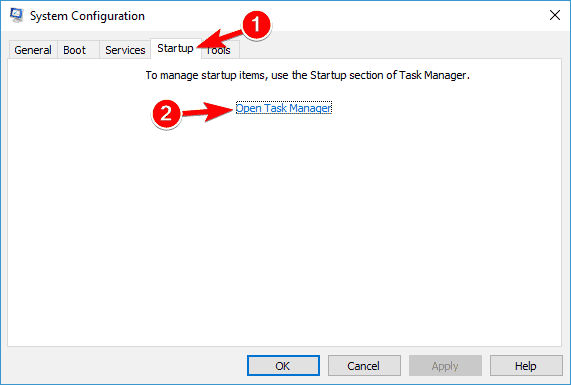
- Navigate to the Startup tab and click Open Task Manager.
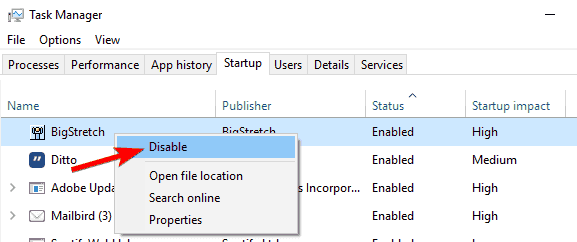
- Now you’ll see a list of startup applications. Right-click the first entry on the list and choose Disable. Repeat this step for all startup applications.
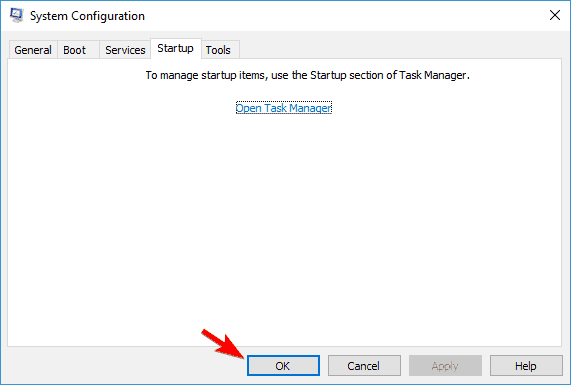
- Once you disable all startup applications, go back to System Configuration window and click Apply and OK. Now choose to restart your PC.
Sometimes third-party applications can interfere with Windows and cause this problem to appear. However, you can find the problematic application by performing a Clean boot.
3. Remove third-party antivirus tools
If you have another antivirus installed on your PC, it can interfere with Windows Defender. To make it work, uninstall said antivirus. Then make sure it’s completely gone by following the steps below:
3.1. Delete leftover files from Program Files
- Open File Explorer (press Windows + E or search for it in the Start menu).
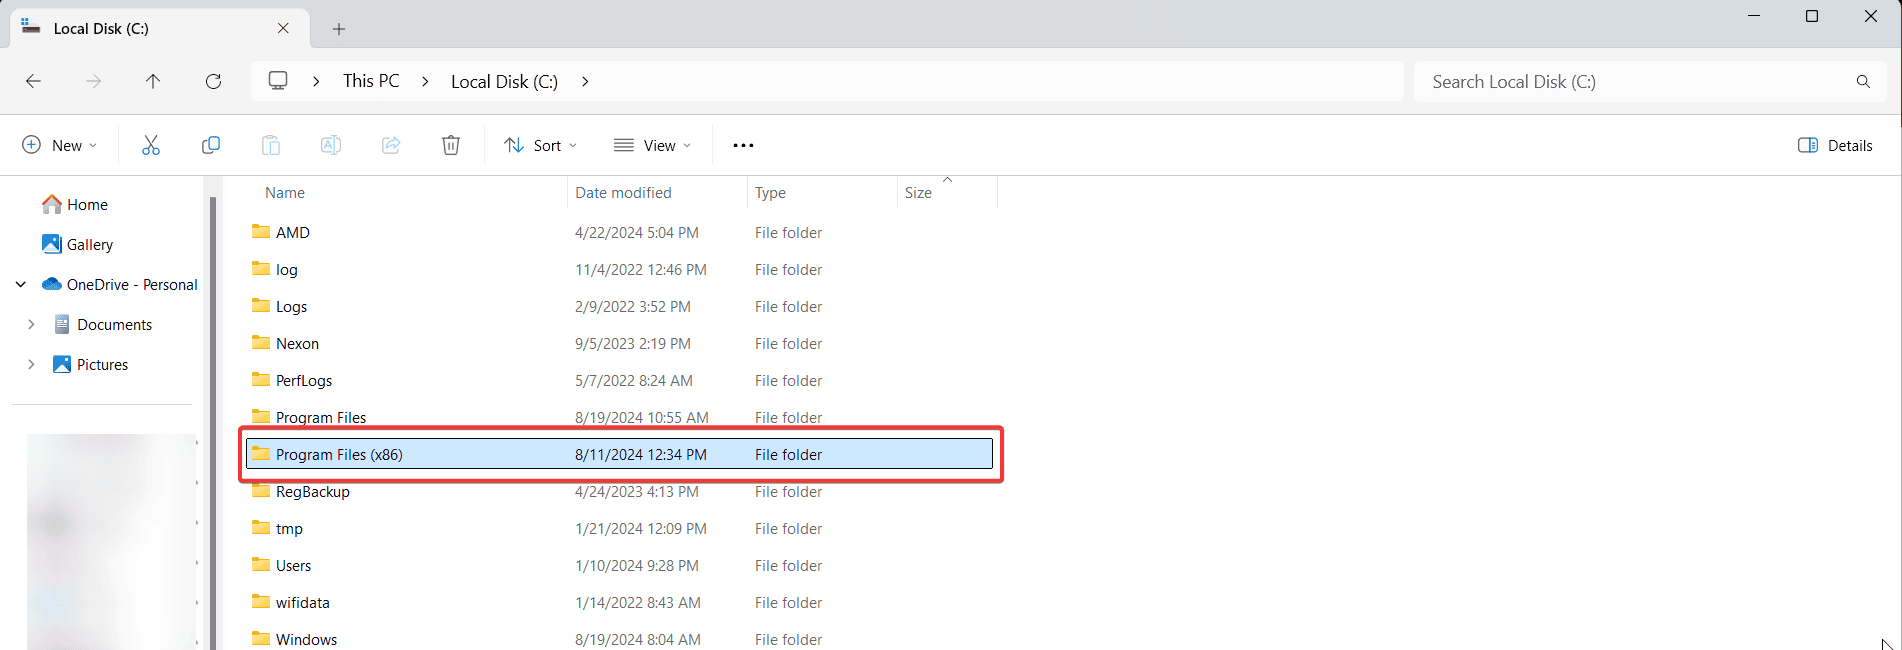
- Go to This PC and then open the C: drive.
- Open both Program Files and Program Files (x86) folders.
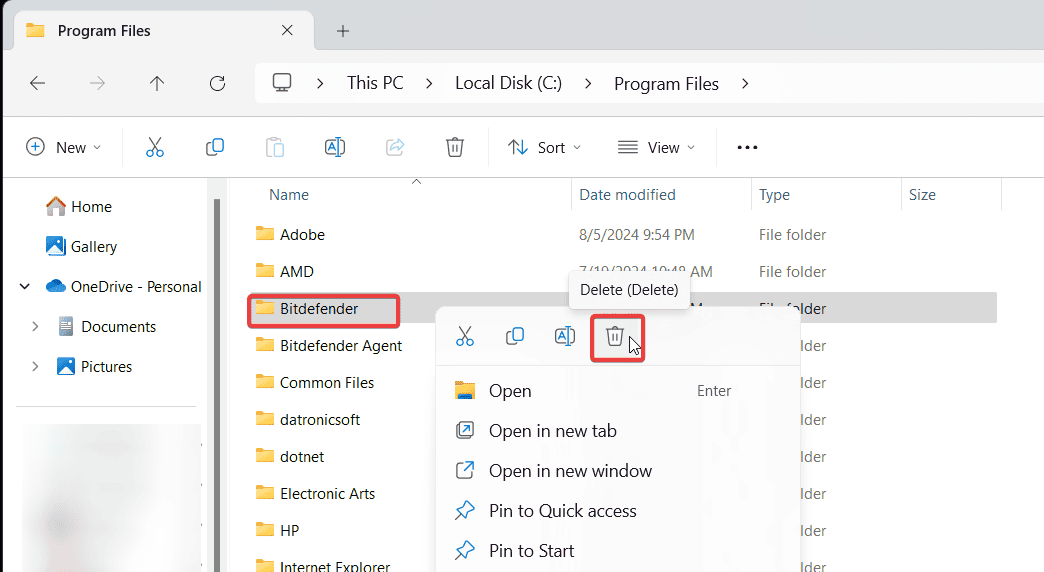
- Look for folders related to your antivirus software (e.g., Norton, Avast, McAfee) and delete them by right-clicking the folder and selecting Delete.
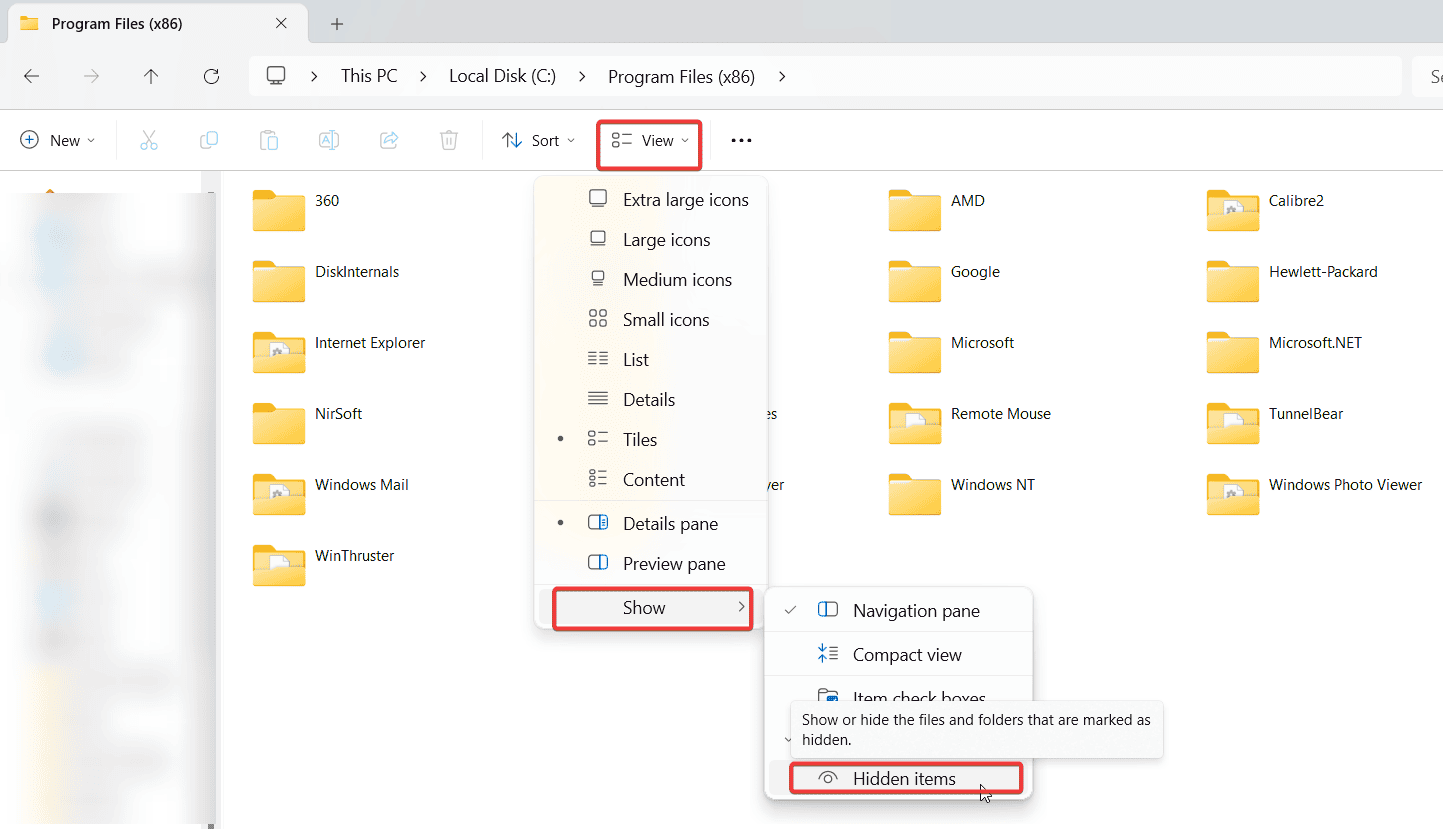
- In File Explorer, click on the View tab and check the box for Hidden items to show hidden folders.
- Delete any files and folders related to your antivirus.
3.2. Use an uninstaller software
- Download and install a reliable uninstaller software such as IObit Uninstaller.

- Go to the Software Health Section.
- Locate your Uninstallation Leftovers and Select Scan Now.
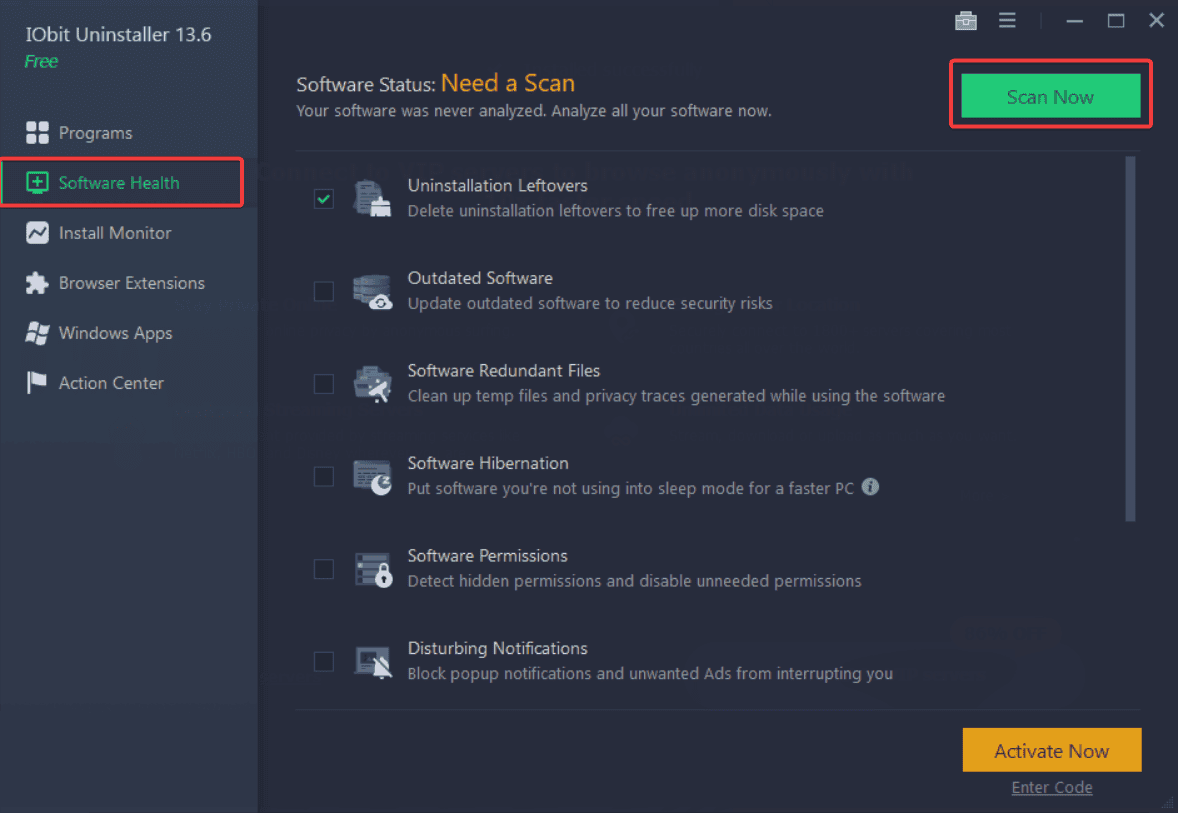
- Select and delete any remaining files or registry entries found by the scan.
Uninstall the remnants of your previous antivirus, restart your computer and Windows Defender should be automatically enabled.
4. Restart the Security Center Service
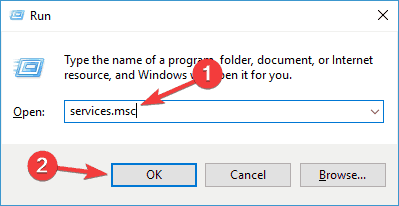
1. Press Windows key + R to launch the Run app.
2. Type services.msc in the Run dialog box and hit Enter or click OK.
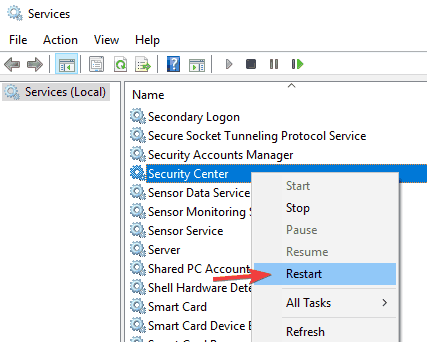
3. In Services, search for Security Center.
4. Right-click on it and select Restart.
5. Once you restart the required services, check if the problem with Windows Defender is resolved.
In order for Windows Defender to work properly, you need to have certain services enabled. If those services aren’t running properly, Windows Defender won’t be able to turn on at all.
However, you can always start the necessary services by performing the steps above.
5. Change your group policy
 NOTE
NOTE
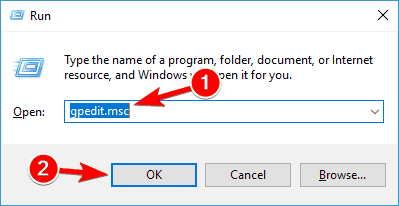
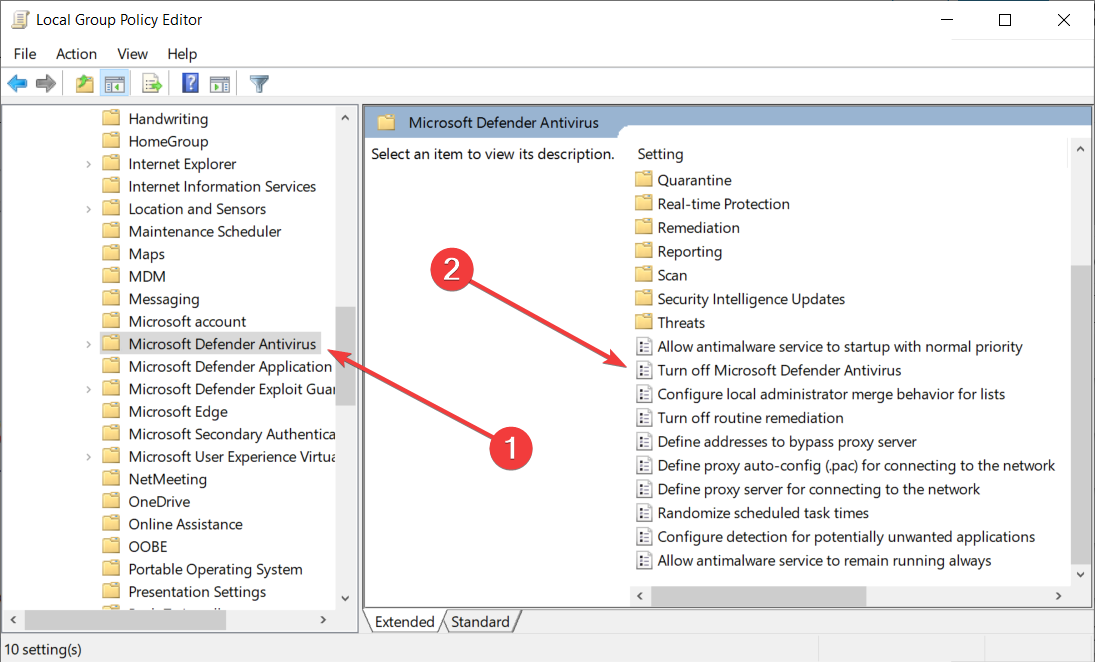
- Press Windows Key + R and enter gpedit.msc. Now press Enter or click OK.
- When Group Policy Editor opens, in the left pane navigate to the following path:
Computer Configuration/ Administrative Template/ Windows Components/ Microsoft Defender Antivirus - In the right pane, double click Turn off Microsoft Defender Antivirus.
- Select Not Configured and click on Apply and OK to save the changes.
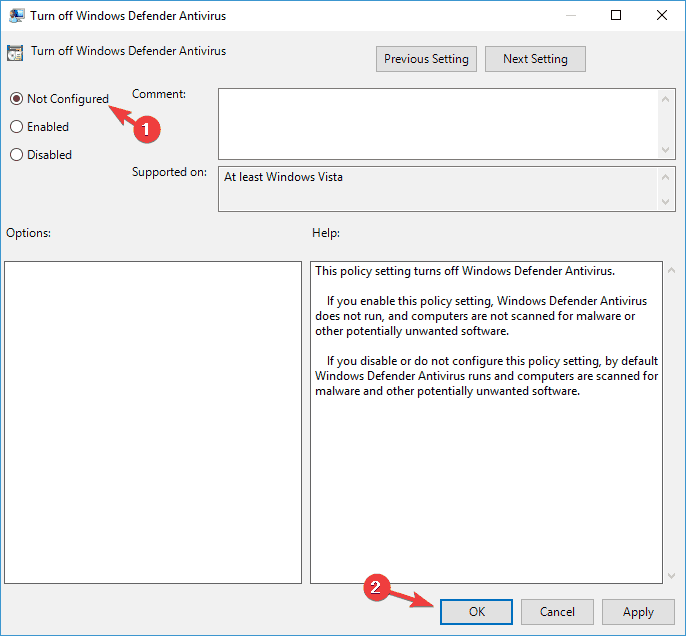
Sometimes Windows Defender won’t turn on because it’s disabled by your group policy. After making these changes, it should work.
6. Modify your registry
6.1 Use the Registry Editor
- Press Windows Key + R and enter regedit. Press Enter or click OK.
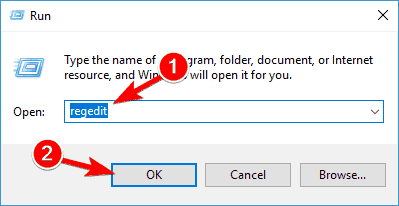
- When Registry Editor opens, navigate to this key in the left panel:
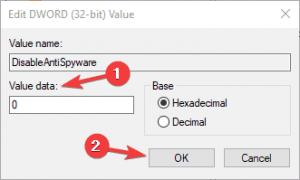
HKEY_LOCAL_MACHINE/SOFTWARE/Policies/Microsoft/Windows Defender - In the right pane, look for DisableAntiSpyware DWORD and double click it.
- If the DWORD isn’t available, right-click the right pane and choose New and select DWORD (32-bit) Value from the menu.
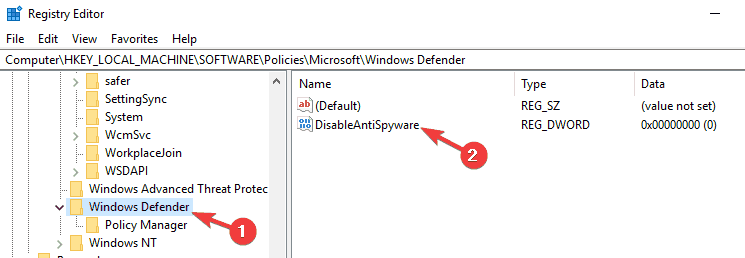
- Set Value data to 0 and click OK to save the changes.

6.2 Use Command Prompt
- Start Command Prompt as an administrator.
- Now enter the following command and press Enter to run it:
REG ADD "HKLMSOFTWAREPoliciesMicrosoftWindows Defender" /v DisableAntiSpyware /t REG_DWORD /d 0 /f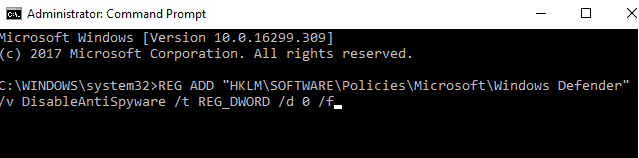
If you’re an advanced user and you prefer using the command line, you can do this from Command Prompt or PowerShell by performing the previous steps.
Some users are also suggesting deleting the DisableAntiSpyware DWORD key, so you might want to try that as well.
7. Restart Windows Defender
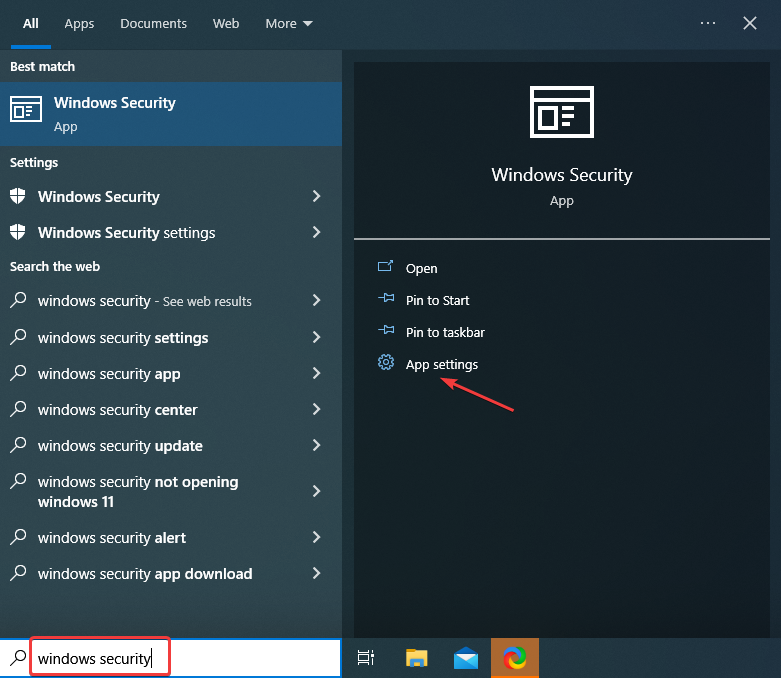
- Type Windows Security in the Search bar, and click on App settings on the right.
- Now, scroll down, locate the Reset button, and click on it.
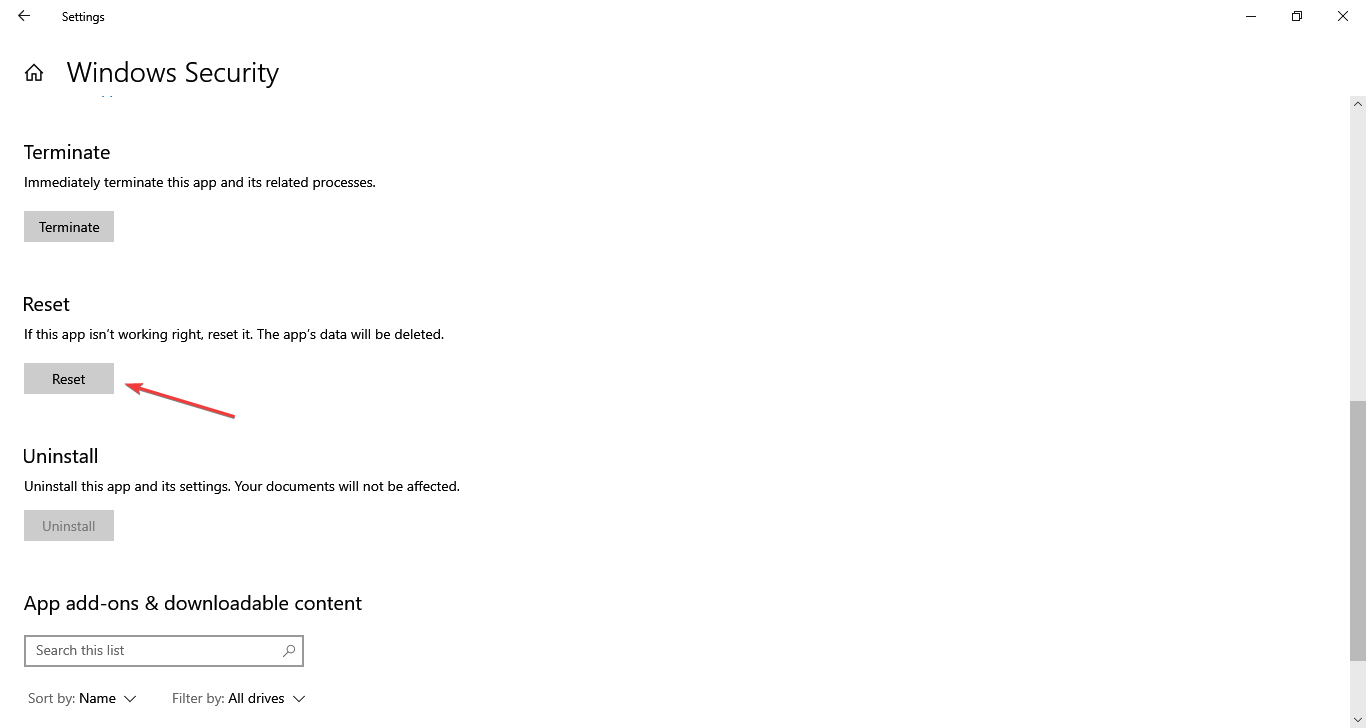
- Again, click Reset in the confirmation prompt that appears.
8. Install a better antivirus
Windows Defender is a decent security solution for your PC, but it can’t match the services and features of a third-party antivirus.
If you’re using the Internet for shopping, banking, work, and communication, you must protect your sensitive data with a top antivirus like the one recommended below.
This tool supports all major platforms, including Windows and Android, and provides advanced banking and privacy solutions.
Over 110 million users trust ESET’s multilayered protection solution in the world so make sure you try it. You can benefit from a 30-day trial period right now.

ESET HOME Security Essential
Make sure to fully protect your PC with a top antivirus solution like ESET HOME Security Essential.Wrapping up
With that, we conclude our guide. We hope that our solutions helped you fix this Windows Defender not opening problem for good.
We also have a guide that explains what to do if you cannot open Windows Defender Scans folder, so don’t miss it.
If you’re an advanced user, you can use CMD virus scan command to get rid of the malware.
For any other suggestions on how to deal with this problem, write us a comment below.
Read our disclosure page to find out how can you help Windows Report sustain the editorial team. Read more


Improve this guide


User forum
8 messages